First I created the layer for the card base:
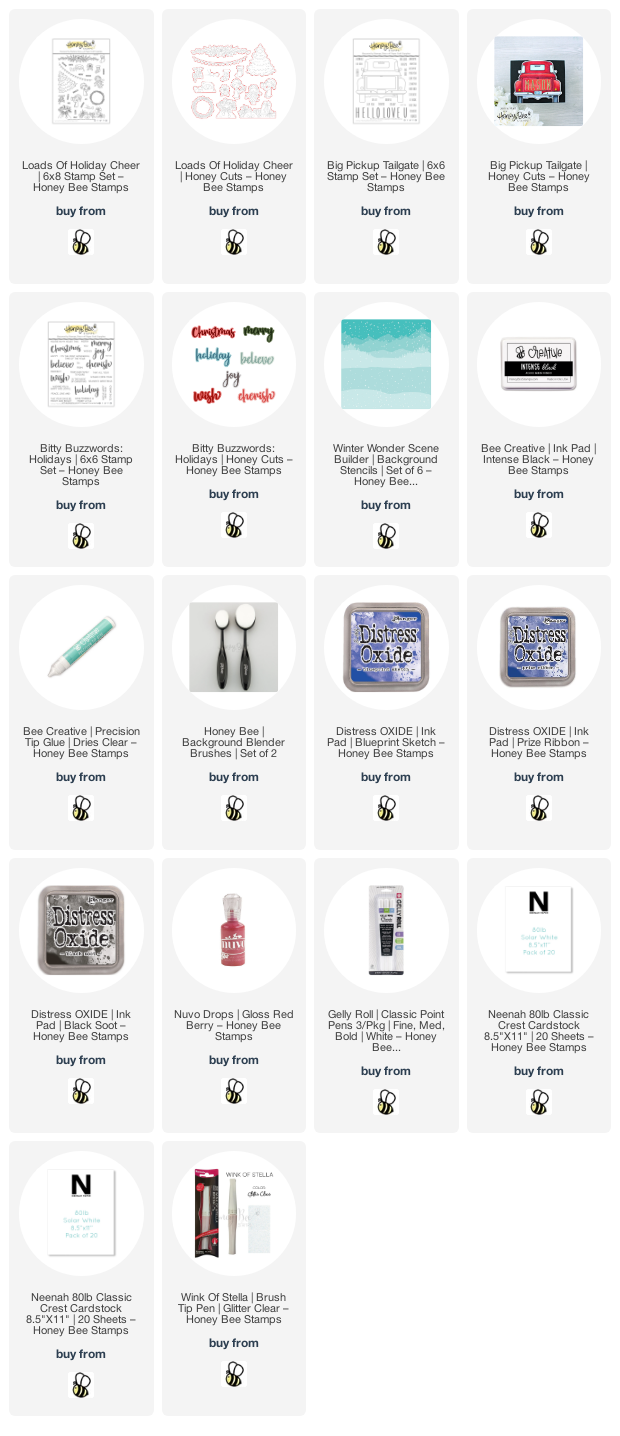
- I inked the edges of a piece of 6-¾" x 4-¾" blue card stock with Prize Ribbon, Blueprint Sketch and Black Soot Distress Oxide inks (in that order) using Background Blender brushes. I then used a heat tool to dry the ink.
- Next I placed the snowfall stencil in the Winter Wonder Scene Builder Stencils set over the blue card stock and spread on some white texture paste. The stencil isn't quite large enough for this size card, so I let that dry and then stenciled the remaining area.
- When the stenciling was drying, I adhered the panel to a top-folding A7 card base I made from 80# Neenah Solar White card stock. Bee Creative glue is perfect for this and is what I used!
- Then I die cut two hill from white glitter card stock with the hills from the Horizon Slimline Borders Honey Cuts. I trimmed it to 4-¾" long and adhered them to the card with Bee Creative glue.
Now it's time to stamp, color and die cut the images:
- First I stamped the pickup from the Big Pickup Tailgate stamp set with Intense Black ink. This truly is my most favorite ink ever!! Then I colored the truck with my Copic markers. I used C5, C3, C1, and C00 for the body and the bumper of the truck. The tires are C9, C7, and C5. The lights are R39 and R37. Then I die cut the truck with the coordinating Honey Cut.
- I stamped the "hohoho" (from the Loads of Holiday Cheer stamp set) onto the license plate with Versamark ink (after applying my anti-static pouch) and sprinkled on some white embossing powder. Then I heat set it with my heat tool.
- Next I stamped the other images with Intense Black ink, choosing several from the adorable Loads of Holiday Cheer stamp set. I used these Copic markers: reds are: R89, R39, R37, and R35; greens: G28, YG17, and YG25. The toy bag and the elf's hair are E59, E57, and E23. When I was finished coloring I used the coordinating Loads of Holiday Cheer Honey cuts to cut them out.
- Using Bee Creative glue, I adhered the elf and toy bag to the truck. I added foam tape to the poinsettia garland and attached it to the truck.
- Next I die cut the "Christmas" from the Bitty Buzzwords: Holidays Honey Cuts. I colored the shadow layer with a few of the same red Copic markers I used previously. I adhered the top layer to the shadow with glue.
- Before attaching any of the images to the card front, I folded the card inside out and placed it in my MISTI. I planned out my placement of the extra images by just setting them in place without gluing. (see photo below) Then I stamped the sentiment from the Bitty Buzzwords: Holidays stamp set with Intense Black ink.
With my sentiment stamped, I can now adhere the die cut pieces to the inside of the card.
I finished up the card by adhering the pickup to the card front. I added some foam tape to the tree and added it to the card. I added details to some of the images with a white gel pen and also some more dots for snow to the background. A clear glitter pen adds some fun sparkle to the white parts of the elf's hat and candy canes, and the mirrors.


Love, love, love this adorable stamp -- and that amazing truck full of fun!
ReplyDelete