
Happy Sunday my friends! Oh my gosh the expressions on these adorable fish make me have such a big smile!! These fun fish with an attitude are from the Rubbernecker Stamps Fish Group stamp and they have a coordinating die too! I also have a couple of tips to show you how to make your own coordinating ribbon, add extra detail to your stamped images, and how to get more use from of your dies. Keep reading for these easy tips!

Let's create the ocean background:


Read on for another way I used my die differently for the sentiment:


Let's create the ocean background:
- Ink up white card stock in a blue ombré pattern. I used an ink blending brush and Distress Oxide inks in these colors: Blueprint Sketch, Salty Ocean, and Mermaid Lagoon.
- I used a "rays" stencil and inked some white pigment ink over the ombré panel. Before removing the stencil, I spritzed some glitter spray over it and set it aside to dry.
- When the panel is dry, adhere it to an A2 card base.
- Ink up two strips of white card stock in the same colors for the waves. Die cut these with two of the dies from the Waves die set. Offset them and adhere together.
- Die cut the ombré panel with the largest Nested Inside Scallop die.
- Using the same Nested Inside Scallop die, place the waves at the bottom and die cut it. This will give you the same edge as the ombré panel. See this next photo for more explanation. This is one way to use your dies in a less conventional way!
- Pop up the waves with some foam tape and adhere it to the card base.


Read on for another way I used my die differently for the sentiment:
- I stamped the sentiment from the Under The Sea set in black ink on a piece of white card stock.
- Place the smallest Nested Tag Stitch die, and the included hole die, over the sentiment and die cut it.
- Now move the die up to cut the bottom edge. (Second photo)
- You can feel the stitches from the die align with those on the card stock. Run through your die cutting machine. Here are a couple of photos for a visual explanation:


- I inked up another piece of card stock with the Distress Oxides and trimmed it to layer behind the tag.
- Next I dyed some ribbon from my stash to coordinate. More photos are below to show you the process. Smoosh the inks onto your mat, spritz with water, and gently swirl the ribbon in the ink. The more water you spritz, the more diluted the ink will be and the lighter your ribbon will turn out. Set it aside to dry.
- When the ribbon is dry, loop it through the hole and tie some bakers twine in a bow.


Now onto adding a few details to your stamped images and finishing up the card.
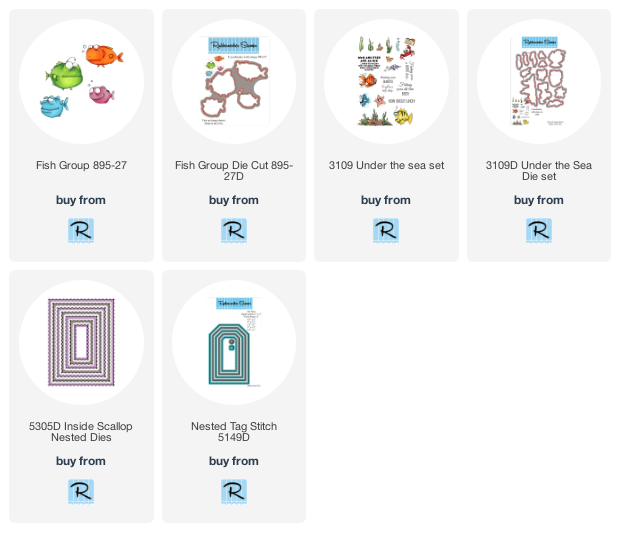
- I stamped the fish from the Fish Group set and a couple plants from the Under The Sea set in Copic safe ink. I LOVE how the four fish are on one stamp and the one die cuts them all out together! Makes it so easy! The coordinating die sets are Fish Group 895-27D and Under The Sea 3109D.
- Next, I added some stripes and dots to two of the fish. For the striped fish, I penciled in the stripes, erasing and fixing them until I was satisfied. I used a .05 black Micron pen to trace over the pencil lines. I colored the fish and plants with my Copics.
- Then I used the same pen to add dots in the shadows of the orange fish. It's a subtle detail, but makes a big difference!

- I popped up three of the fish and the sentiment tag with foam tape and adhered them to the card base.
- I used liquid glue to adhere the other fish and plants.
- I used Distress Collage Medium Matte adhesive to glue the clear acrylic droplets.

I hope you've enjoyed my tips and that this card makes you smile like it does me! Thank you so much for stopping by! Have a fabulous and crafty week!
Such a fun scene, I love all the bright and cheery colors!
ReplyDelete