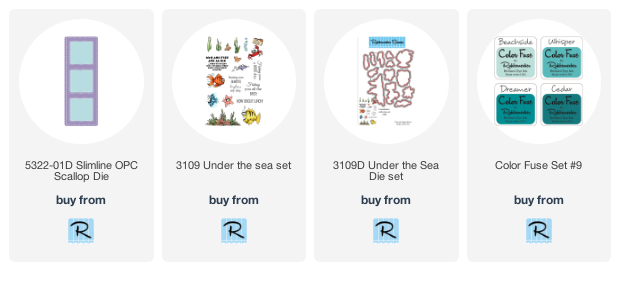
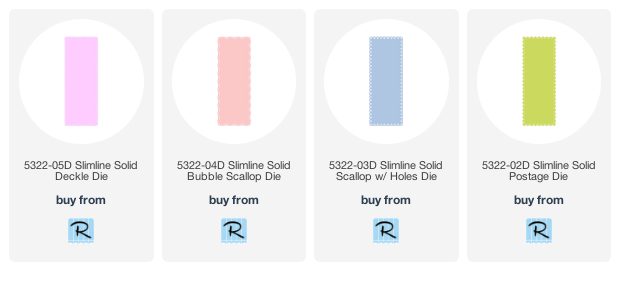
Hello my friends! Today I have a super fun slimline shaker card with one of the new Rubbernecker Stamps Slimline Scallop dies! This die is SO awesome and there are four other beautiful slimline dies available too! I've paired the Scallop Die with the adorable Under The Sea set for my card.
Steps for the card base:
- With removable tape, mask off a rectangle shape with a ½" border on the edges on the front of a teal 3-¼" x 8-¼" card base. I used a pre-cut and scored piece from The Paper Cuts Festive Variety Scored Slimline Cards set.
- Use an ink blending brush to blend blue ink in an ombré pattern, light to dark at the bottom. I used Whisper, Dreamer, and Cedar inks from Set #9 Color Fuse ink set.
- Carefully peal back the tape from the card front.
- Die cut four of the Slimline Scallop Dies from 80# white card stock.
- Adhere three of the die cuts with glue.
- Next, trim a piece of acetate to fit behind all three openings and adhere to the stacked die cuts.
- Adhere the final Scallop die cut to the top.
- Add foam tape to the back of the stacked die cuts, but not in-between the windows, just the four sides. I wanted the shaker bits to go freely from one window to another.
Finishing the shaker:
- Stamp and color your images from the Under The Sea set in Copic safe ink and color with Copic markers.
- Use the coordinating dies to cut them out.
- To aid in planning of where to place the images, I die cut a piece of printer paper with the slimline die. I used a bit of temporary adhesive to stick it down. Once I had the arrangement I wanted, I adhered them to the card base.
- I added some clear droplets for the "bubbles" with Ranger Distress Collage Medium Matte.
- Now, let's talk about the shaker bits. I've had these super fun micro beads in my stash for an amount of time I won't admit to! LOL! I really wanted to use them and they match the colors I was using too.
- The downfall: these things roll EVERYwhere!!! Don't ask me how I know! Hahaha! Normally with shakers, you can just put your bits where you want them, then cover them with the stacked die cut piece.
- Plan B: Remove the foam tape backing from the bottom and sides. Adhere it in place.
- Since the top foam isn't stuck down, I added these beads through the top by sticking in a paint brush handle to keep it open and funneled them in with a coffee filter.
- Phew! I used tweezers to pull off the top foam tape to trap the beads in!
To finish up, I stamped the sentiment in black in and trimmed it into a flag shape with a turquoise layer.
Adhere the sentiment and the crab with some glue.
Have you created a slimline card yet? If not, I hope you will try Rubbernecker Stamp's slimline dies--these really make it easy for your card making! Thank you so much for stopping by today! Have a fabulous, crafty week!
Rubbernecker products I used for my card:

Here are links to the other fabulous slimline dies:


No comments:
Post a Comment
Thank you so much for using my product links to shop. Some of the product links I've provided may have what is called an "affiliate" link. By using my links to purchase products, I may earn a bit of a commission, at absolutely no additional cost for you. Thank you for supporting my blog.