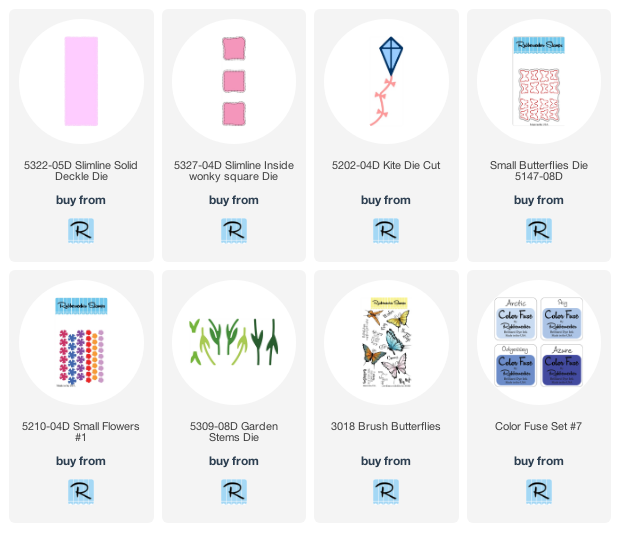
Hello friends! I have another fun slimline card using another new slimline die from Rubbernecker Stamps! They have released several new "accessory" dies to go with the slimline layers called Slimline Inside Dies. My card today uses the Slimline Solid Deckle die and the just released Wonky Square Slimline Inside die. I built my sweet scene for this card using the Kite Die and Small Flowers #1 die.
First I created the card base. Here are my steps:
- Create a slimline card base by scoring a 8-½" x 7" card lengthwise at 3-½".
- Center the Wonky Square Slimline Insert in the center of the Slimline Deckle Die. I taped these together on the non-cutting side with blue painters tape.
- Die cut four of these from white card stock and adhere all layers together with liquid glue.
- Put temporary adhesive on the back of three of the wonky squares that remain from the die cutting.
- Center the layered frame on the card front and stick each wonky square in its corresponding opening. Set the layered from aside.
- Ink a cloud background using Color Fuse Set #7, a blending brush, and a cloud stencil. Note: You are inking over those wonky squares that are temporarily adhered from the previous step. I stenciled my clouds in an ombré look starting with the darkest ink at the top. (Don't pay attention to the order of the ink pads in the photo below! LOL!)
- Remove the wonky squares and adhere the layered frame to the card base when you are finished with the cloud stenciling.
- Glue the wonky squares into the openings.
Card elements:
- I die cut the Kite Die, Small Butterflies Die, Garden Stems Die, and the Small Flowers #1 die from white card stock. If you prefer, you can just die cut these from different colors of card stock. I prefer to color them with Copic markers rather than endlessly searching through my colored card stock for just the right colors. (Maybe I should take that clue and organize my card stock better? Haha!)
- Die cut the kite three more times to have enough extra kite bows to make two layers each. Also, take one kite string and adhere it to the end of another. When everything is colored, snip six of the bows from the extra strings. Add a dot of glue just to the center of the bottom bow and layer another bow on top.
- When the glue is dry on the bows, bend up the sides to add dimension.
- A tip for easy coloring of the small die cuts. After you die cut them, put some temporary tape on the back of the die cut negative, and put your die cuts back in place. This makes it really easy to color them without have to try to hold onto them while coloring!
- After I had everything colored, I used a stylus to add some shape to the flowers and attached them to the stems.
- Trim the Garden Stems as you like to create a cluster of flowers in the bottom wonky square.
- Adhere some of the flowers with liquid glue and a few with foam tape.
- Add a foam square to the back of the kite and adhere in the top square.
- Add a few drops of liquid glue to the kite string to adhere to the middle square.
- Add glue only to the center of the butterflies and arrange on the card front.
- Stamp the sentiment from Brush Butterflies in black ink and trim into a rectangle shape.
- Color a scrap of card stock with a dark blue Copic marker and trim to fit as a layer behind the sentiment.
- Adhere the sentiment with liquid glue.
To finish up, I added some white dots to the kite with a gel pen and some gem stickers to the kite string. Because I love my sparkle, I added some to the butterflies with a clear sparkle pen.
I love these new slimline dies and inserts! Which ones are your favorites? I have a hard time choosing! LOL! Stay well, and crafty, my friends!


So precious! I just LOVE this little scene, and how wonderful to carry it to all 3 areas!
ReplyDeletePretty card with great colors!
ReplyDelete