
Hello Rubbernecker friends! Today I'm using just one sweet stamp with its coordinating die, to make three sweet cards! I've used the Tree with Bench Swing stamp to create one clean and simple card, plus two more that are a bit more involved. It didn't take me very long at all to put these together!

All three cards are top-folding A2 card bases made with Neenah Solar White 80# card stock. For each card, the swing image is colored with Copic markers. Also, I've added some clear acrylic hearts to each card for a touch of bling! This first card is my CAS card, which let me tell you, is WAY out of my comfort zone! Haha!

Card directions:
- Die cut white card stock with the largest Nested Inside Scallop die.
- Blend Beachside ink, from Color Fuse Set #9, in the center with an ink blending brush.
- Add some thin foam tape to the back and attach it to the card base.
- Add foam squares to the back of the colored and die cut swing and adhere it to the card front.
- Stamp the sentiment from the Kittie Says Phrases #1 with Versamark clear embossing ink onto black card stock. (Don't forget to use your anti-static bag first!)
- Sprinkle with white embossing powder and heat set.
- Trim the sentiment and adhere it to the card with foam squares.

For this next card I created an ombre striped background to go behind the tag.

Card directions:
- Ink up the Horizontal Stripes background stamp with each color from Color Fuse Set #9 in an ombre pattern. I used a clean paper towel as I went along to dab the edges of each ink color to eliminate any harsh lines.
- I used a MISTI stamp positioner and stamped it a couple of times until I was happy with my stamping.
- Die cut the striped panel with the largest Nested Rectangle Small Stitched die and adhere it to the card base.
- Die cut one tag from the Nested Tag Stitched dies. Ink up the center with Beachside ink from Color Fuse Set #9.
- I died some white ribbon to coordinate and tied it onto the tag. (see photo below) To die the ribbon, I smooshed some ink onto my glass mat and spritzed the ribbon and ink with a bit of water. Swirl the ribbon around to absorb the ink and set aside to dry.
- Adhere the swing to the tag.
- Stamp the sentiment Kittie Says Phrases #1 in black ink.
- Adhere the tag to the card front with foam tape.
 |
| Die your own ribbon! |

My final card is just a bit more detailed, but definitely easy to make!

Card directions:
- Ink up the Branch Shadow background stamp with Fern ink from Color Fuse Set #11 and stamp onto a 4-¼" x 5-½" white card stock. Trim to 4" x 5-¼".
- Using the coordinating swing die, position it on the card front and run through your die cutting machine. (Photo #1 below.)
- Die cut the swing in the stamped Branch Shadow piece. I did this by placing it inside the card base and taping them together with temporary tape. (See Photo #2.) Place the die on the previous die cut opening on the card front. Make sure your card base is not folded before you run it through your die cutting machine.
- This step very easy when using a stamp positioner such as the MISTI. Stamp the swing on the inside of the card by closing up your card base. Center the stamp in the die cut opening, then pick up the stamp with the positioner door.
- I did a test by placing some scrap paper in and stamping onto it first to make sure I had the stamp centered.
- Remove the scrap paper and stamp the swing onto the inside of the card.
- Color the swing and stamp the sentiment in black ink. This sentiment is from the Best Friends set.
- Adhere the Branch Shadow piece to the card front making sure to line up the die cut openings.
- Stamp the sentiment from Best Friends in black ink.

I love how you get a peak at this adorable swing and then see the full scene when you open the card!

Oh, I forgot to add that I used a black .05 Micron pen to draw around the die cut opening. I think it brings more definition and attention to it this way.

Thank you so much for stopping by! I hope you've found some inspiration here for using this sweet stamp! Have a wonderful and crafty week!
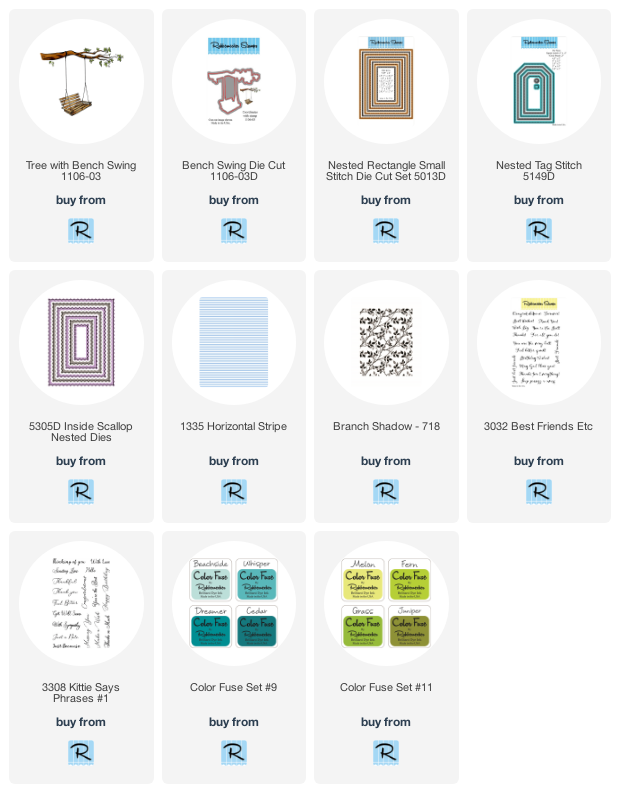
Rubbernecker products used:
Your threefer is perfect for springtime, Carol! I love the sweet designs of all three from the same stamp and you wrote a terrific instructional post! BTW, you should do CAS more often!! Take care and keep safe! Hugs, Darnell
ReplyDeleteYes! Beautiful cards, but your instructions are wonderful too! Great cards, Carol
ReplyDelete