Hello friends! Today I have a card using the beautiful NEW Color Fuse Inks by Rubbernecker Stamps! There are four sets out with more coming soon. These inks are perfect for inking up the fabulous new layering stamp sets!
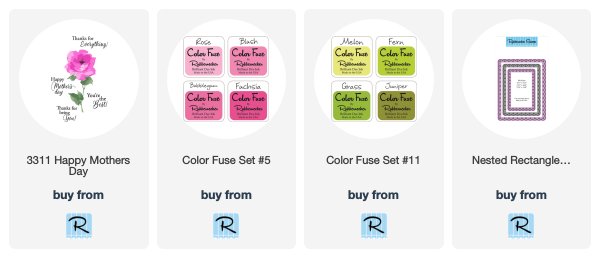
For my card today I've used the gorgeous new Happy Mother's Day set. I love that there are other sentiments included to use any other time of the year! Also, if you are new to using solid layering stamps, keep reading as I've included a list of tips that I find helpful.
Steps to make the card:
- Following the included layering guide, stamp the bottom layer in the lightest ink color. I used the pink set and began with Rose. I did stamp each layer twice as I love a vibrant color!
- Stamp the second layer with Bubblegum and the third with Fuchsia.
- Stamp the flower center with Melon from the green set.
- Stamp the stem with leaves in Melon, then Fern, and the last layer with Grass.
- Die cut the panel with the largest die in the Nested Rectangle Scallop w/Holes die set.
- Stamp the sentiment in black ink.
My tips for using solid layering stamps:
- "Season" the stamp. (Not with salt and pepper--LOL!) I have tried several ways, but what seems to work the best for me is to use an eraser all over the stamp. Use a dry microfiber cloth to wipe off the eraser debris.
- Next stamp Versamark Clear ink onto the stamp. Use your dry microfiber cloth to very lightly wipe some of it off. See the photos below for a before and after "seasoning".
- I use a MISTI to do my stamping, especially layering stamps. It's handy to use a stamp positioner so you can do a second stamping if needed.
- Ink up the stamp. Tap the ink pad lightly to the stamp. If you mash the ink pad down too hard, it will leave lines in the ink from the edges of the ink pad.
- I always do a trial run of my stamping on scratch paper.
- Stamp the layer a second time, if needed.
- LET EACH LAYER DRY (or use your heat tool) before stamping the next layer! If you stamp the second layer before the first is dry, the edges of the second layer will kind of feather out.
Did you notice the perfectly matched pink layer? Well, these inks blend LIKE BUTTER!! I used an ink blending brush with the Bubblegum ink and inked up the edges of an A2 sized white card stock piece. Adhere the card panel to the pink card and add to a top-folding A2 card base.
I added a few clear pink acrylic hearts for a bit of embellishment.
I absolutely LOVE the watercolored look of this floral stamp! It's so easy to line up and create a beautiful image! I hope my tips help you when you give these beautiful new stamps and inks a try! Thanks so much for stopping by today! Have a wonderful, crafty week!


What a beautiful card, and so completely amazing! Thanks for the tips too
ReplyDelete