
Hello my friends! This month we are featuring Rubbernecker Stamps amazing collection of background stamps! I wanted to do something a bit different that I've never tried before! Heat embossing the background onto acetate!

To begin, I created my card base.
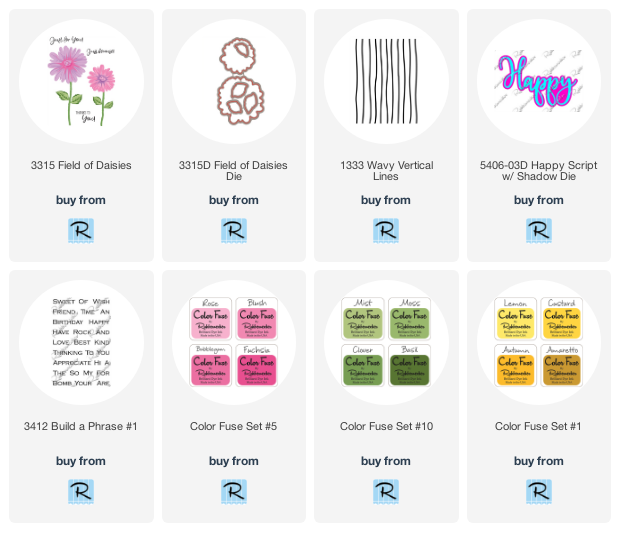
- Use a foam blending tool to blend Rose, Bubblegum and Fuchsia inks (from Color Fuse set #5) in an ombré pattern on an A2 white card panel.
- Important: you must use heat resistant acetate for this next step! A web search will show you a few different brands to try.
- Cut a piece of heat resistant acetate to 4-¼" x 6". Also very important: pat on an anti-static bag all over the acetate.
- Then stamp the Wavy Vertical Lines background stamp onto the acetate with Versamark ink.
- Turn on your heat tool now to allow it to thoroughly warm up.
- Sprinkle on your embossing powder and then heat set. Don't stay in any one area very long--keep the heat tool moving. While the acetate is heat resistant, it is not heat proof, and can warp if you aren't careful. I had just a few tiny ripples in the acetate when I was done, which don't distract from the card at all.
- Next I used my score board to score a line in the acetate at ½". See the photo below. I used a ball stylus as the usual scoring tool didn't work as well. Fold the acetate at the score line and press it down with a bone folder to sharpen the crease.
- Then add some very strong double-sided adhesive, such as Scor-Tape, to the back top edge of the ombré inked panel.
- Place the ombré inked panel onto the back of the acetate piece and fold the acetate flap to the back of it. (see photo) Now adhere this piece to a top-folding A2 card base.


The card front elements:
- Stamp the first layer of the flowers from the Field of Daisies set with Rose ink.
- Stamp the second and third layers of the flowers with Bubblegum and Fuchsia inks.
- Stamp the flowers' centers with Lemon ink.
- Die cut with the coordinating dies.
- Stamp the leaves with Mist ink for the first layer, then with Clover for the second layer. These are in Color Fuse Set #10.
- Die cut the leaves with the coordinating dies.

- Ink up a scrap of white card stock with Bubblegum ink. Die cut the top layer of the Happy Script w/Shadow die from the pink card and three more times from white card stock.
- Adhere all of the layers together with liquid glue. This gives lots of dimension!
- Die cut the Happy shadow from the Happy Script die set from white card stock.
- Adhere the stacked layer to the Happy shadow and add foam tape pieces just under the "p" and "y".
- Stamp "birthday" from the Build a Phrase #1 stamp set in black ink. Trim it into a rectangle shape.
- Adhere two flowers to the card front with foam tape. Adhere the remaining flowers and the leaves with liquid glue.
- Next add foam tape to the Happy sentiment. I just added the tape to the right side of the sentiment and liquid glue to the back left end and adhered it to the card front.
- Adhere the "birthday" sentiment with liquid glue and a small piece of foam tape.
- As you can see from the next photo I added more double-sided adhesive to the back of the acetate, behind the flowers and sentiment. This will hold the acetate in place and helps to minimize the tiny bit of warping from the heat.

After I had the card all assembled, I felt like the "happy" sentiment was getting lost with the other pink. So I took a RV06 Copic marker and carefully colored over the Bubblegum ink. Much better!


I absolutely love how this turned out and hope I've given you some inspiration today! Thank you so much for stopping by!
No comments:
Post a Comment
Thank you so much for using my product links to shop. Some of the product links I've provided may have what is called an "affiliate" link. By using my links to purchase products, I may earn a bit of a commission, at absolutely no additional cost for you. Thank you for supporting my blog.