Hello my friends! Today I have a card featuring Rubbernecker Stamps' beautiful Heavenly Hydrangeas stamp set and the Splatter Background stamp. I used vellum for the flowers and colored them with Copic markers on the back side! Read on for details.
Here are the steps for my card base:
- Stamp the Splatter Background stamp on the front of a top-folding A2 card base in Slate ink (from Color Fuse set #12).
- Die cut the Deckle Frame die four times from 110# Neenah card stock. Adhere the layers together with liquid glue.
- Attach the Deckle Frame to the card front.
Card elements:
- Prep a piece of 40# vellum with anti-static powder to avoid stray bits of embossing powder. It's important to use the 40# vellum to withstand the heat while embossing.
- Stamp the flowers, leaves and stems from the Heavenly Hydrangeas set with clear Versamark embossing ink and sprinkle on white embossing powder. Let your heat tool warm up for about a minute, and heat set the embossing powder. Be sure to move the heat tool around to avoid warping the vellum.
- Then I flipped the florals over and colored them with a few Copic markers. I used RV04, RV13, YG67, and YG25. When coloring on vellum, don't try to blend as it will just make a mess! I found that coloring with the lightest shade first worked the best. Also, coloring from behind avoids getting your marker tips in the embossing and also gives a lovely soft appearance to your coloring. I snapped a quick photo of the back of them after I finished coloring. Check out how vibrant and bright it looks!
- Die cut the flowers with the coordinating dies. Fussy cut the leaves and stems.
- Next, I laid my floral elements on the card without adhering so that I could plan on where to stamp my sentiment.
- Then I placed my card into my MISTI, removed the florals, and stamped the sentiment from the Best Friends set in Versamark Onyx Black ink. I sprinkled on some clear embossing powder and heat set it. I think this helps the sentiment to stand out from the Splatter Background!
- I adhered the flowers, leaves, and stems with tiny circle foam dots and some rolled up glue dots. I was surprised that the adhesives didn't show, but I think the Copic coloring helped to hide it.
I really enjoyed coloring these beautiful flowers on vellum and love how it turned out! Thank you very much for stopping by! I hope you have a wonderful, crafty week!
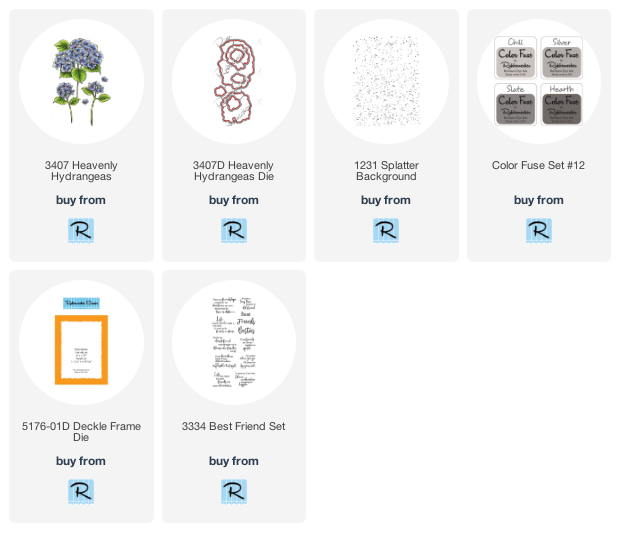
If you'd like, click these links for details of the products I used.


Wonderful -- your hydrangea is beautiful, as is the whole card! I just adore coloring with Copics on vellum -- such a wonderful look
ReplyDelete