
Happy Sunday friends! Today I have a two-for-one set of cards using Rubbernecker Stamps' beautiful, new Just Because stamp set and coordinating dies. I had so much fun making the inky background for the slimline card. I had only planned on making this one card, but as I was cleaning up I noticed how the single flower looked so pretty with the embossed sentiment, so I made another card!

Here are the steps for my slimline card:
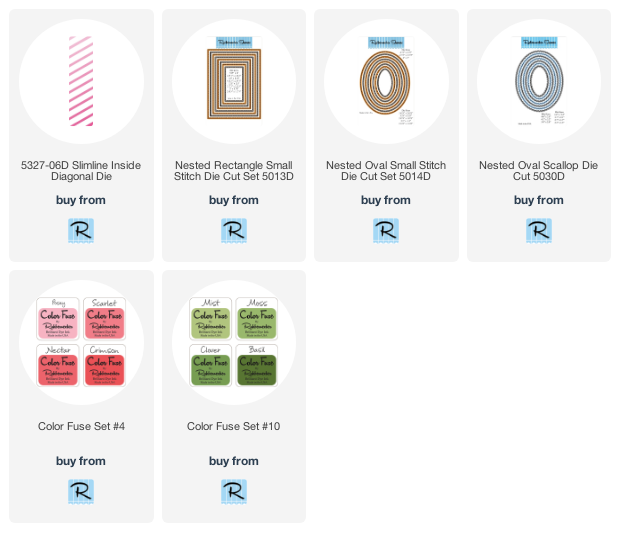
- Die cut a piece of watercolor paper with the Slimline Inside Diagonal die.
- Now for the fun, inky part. Ink some Posey, Nectar, and Crimson ink onto a craft mat. (These are in Color Fuse Set #4.)
- Spray the ink lightly with water. The more water you add, the more dilute your colors will be. As you can see from these photos, I sprayed just enough water for the inks to bead up.

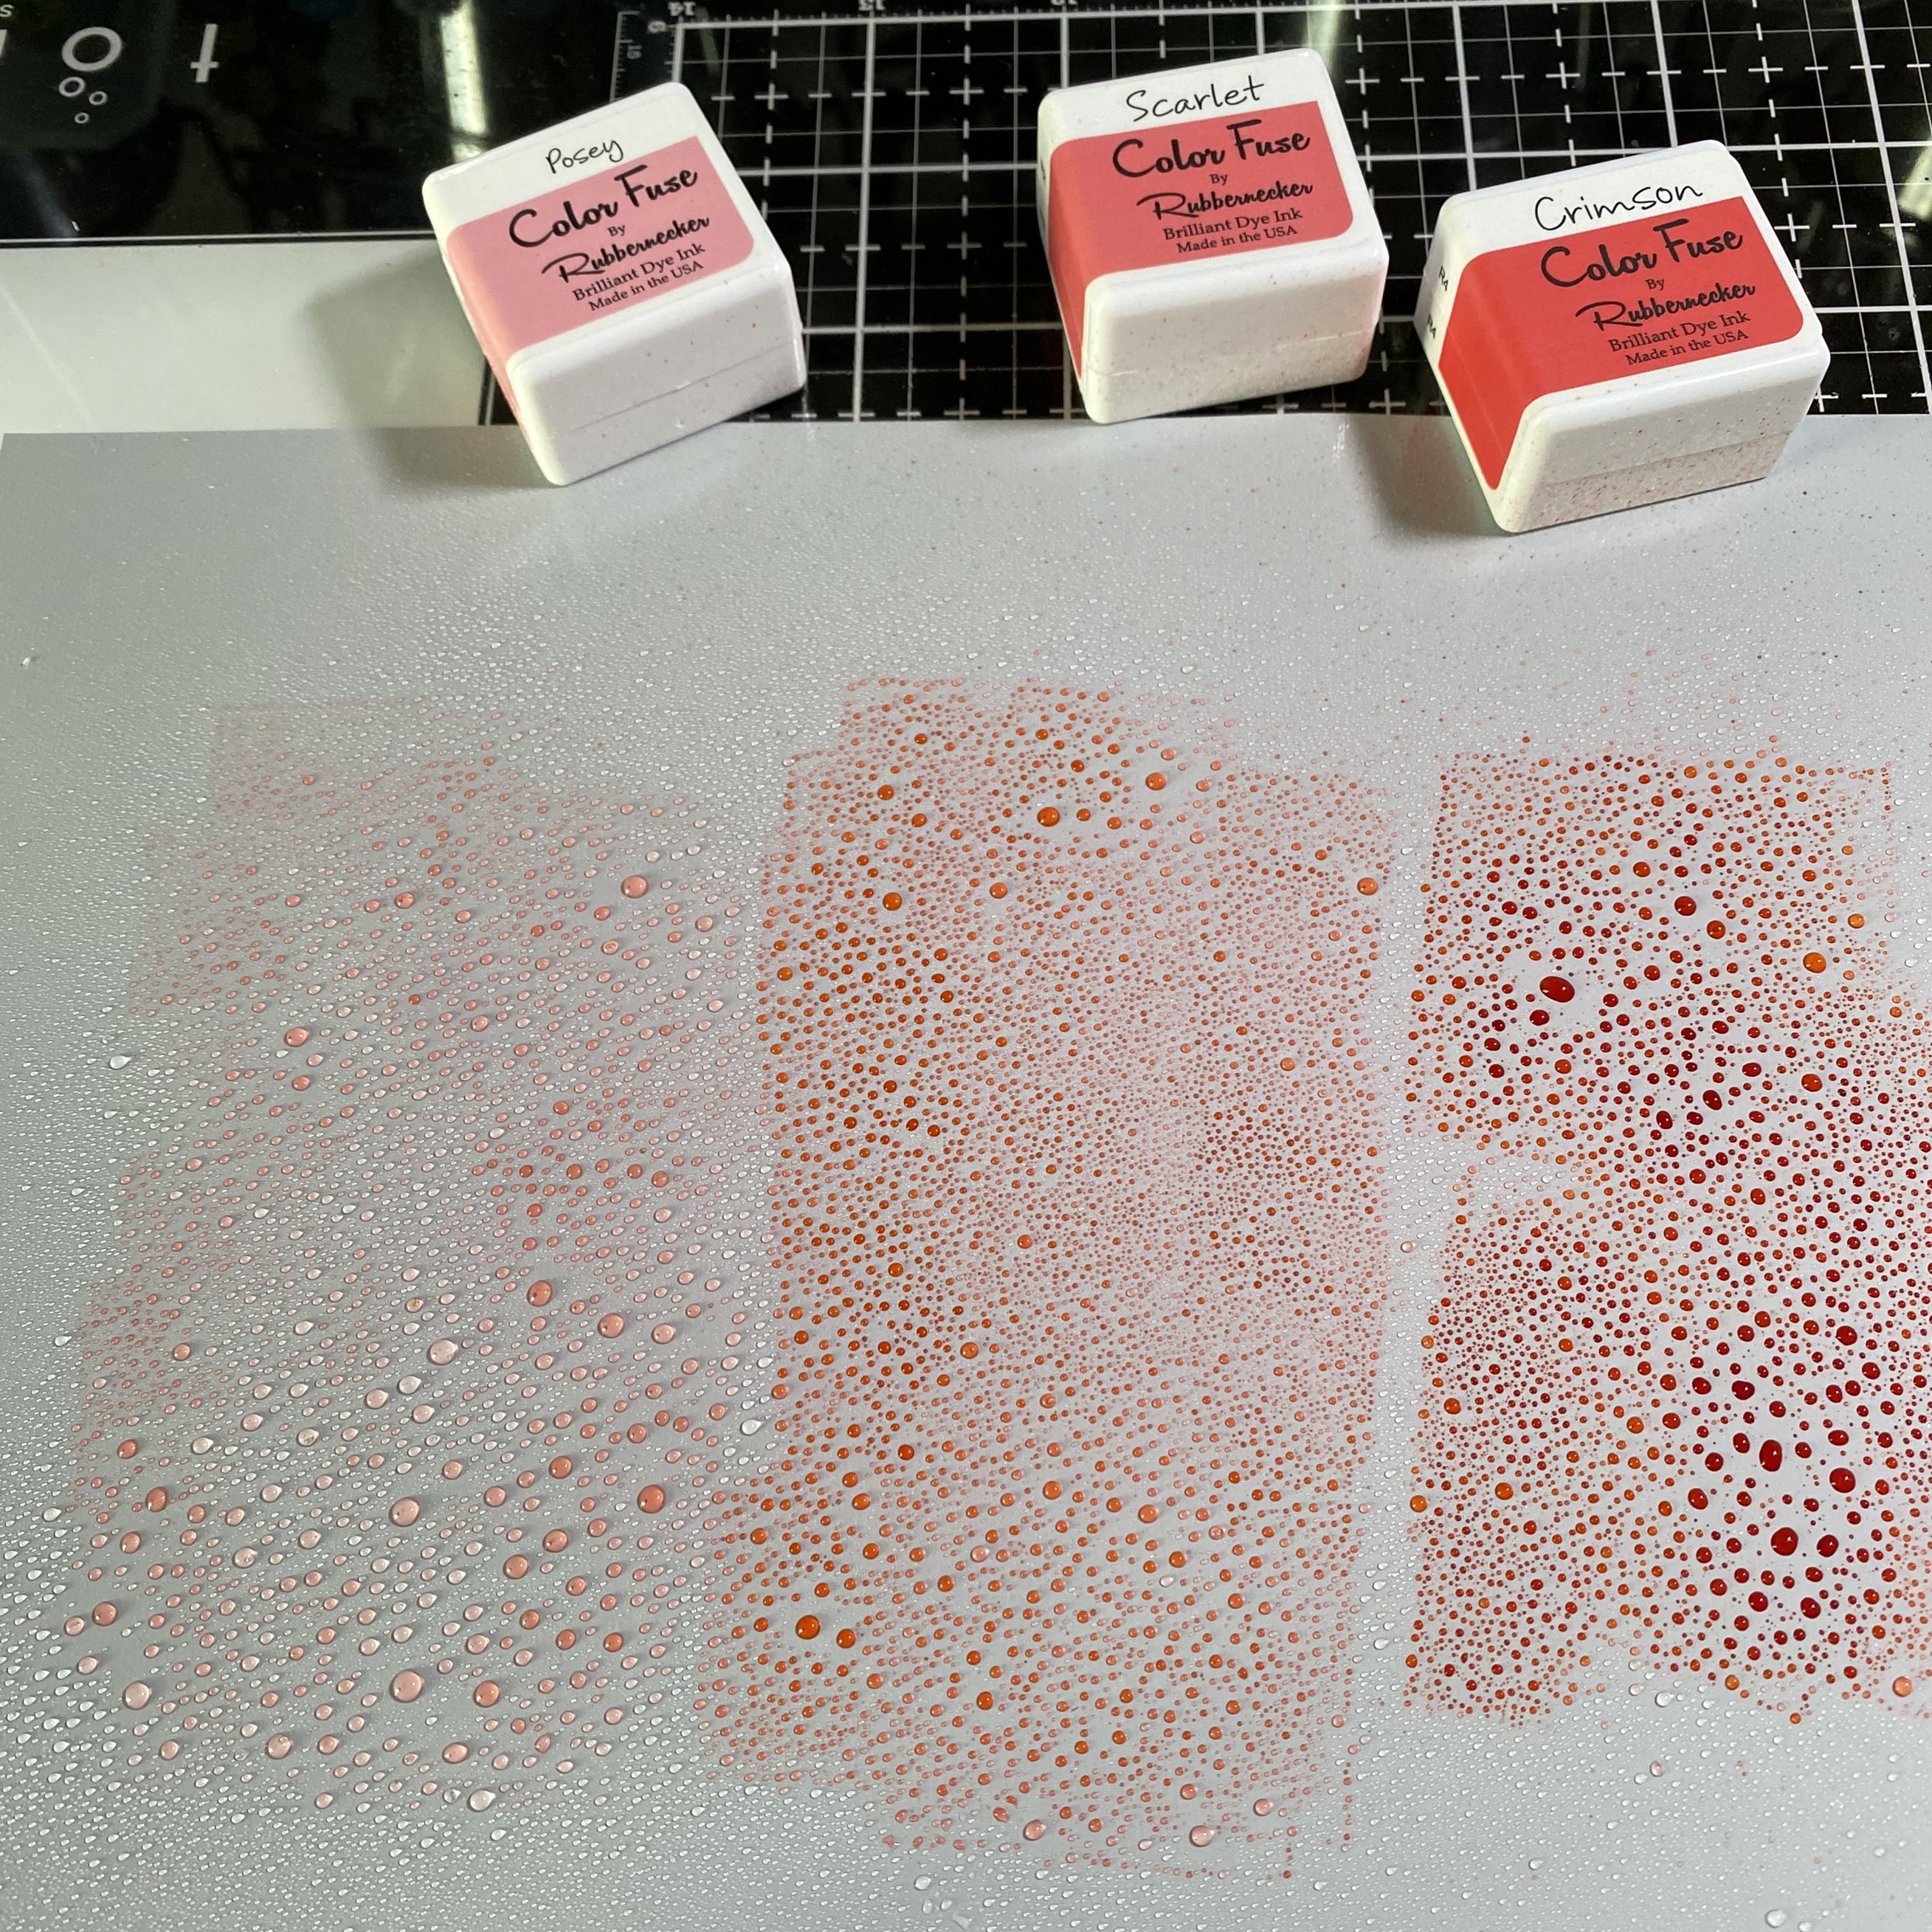
- Take the die cut Inside Diagonal piece and dip it into the inks. I repeated this until I had the look I wanted. Be sure to use your heat tool to dry between each time you put it into the ink so you can get the textured looking layers. Set it aside to dry thoroughly.
- Next I stamped the flower layers in the Just Because set. Again, I used Posey, Nectar, and Crimson. I stamped four flowers.
- Stamp the leaves and stems with Moss, Clover, and Basil from Set #10.
- Die cut the flowers and stems with the Coordinating Die set.

- Next I stamped two sentiments from the set with Versamark ink onto black card stock. (Be sure to use an anti-static bag before stamping so you don't have white embossing powder stuck everywhere!) I added white embossing powder and heat set it.
- I trimmed "Thinking of You" into a strip, added a white layer, and foam tape to the back.
- Die cut one Nested Oval Scallop die from black card stock.
- Die cut one Nested Oval Small Stitch die from white card stock. Center and adhere this to the black scalloped oval.

Assemble the card:
- Adhere the diagonal stripe water color piece to a slimline card base (3-½" x 8-½").
- Adhere the oval layers.
- Arrange the flowers to your liking and add foam tape to the back of them. I crossed the stems near the bottom and added some black and white twine tied into a bow.
- Adhere the flowers to the ovals.
- Attach the sentiment to the card. I added some black gem stickers for a touch of bling.

My bonus card was super quick and easy since I had the flower and sentiment already done!

- Die cut some 80# Neenah with the largest Nested Rectangle Small Stitch die.
- Ink the edges of this with Crimson ink using an ink blending brush.
- Attached it to an A2 top-folding card base.
- Die cut 80# Neenah with the next-to-largest Nested Rectangle die.
- Add spatters in various colors. I smooshed a bit of Nectar ink onto my craft mat, added a bit of water with a paint brush and tapped the color from the brush onto the card.
- The other colors are diluted black acrylic paint and Gansi Tambi Starry Colors Champagne Gold.
- When the spatters are dry, add foam tape to the back and attach it to the card base.
- Add foam tape to the back of the sentiment panel and the top of the flower. Attach these to the card.
- I added Champagne Gold dots to the black layer.

I hope I've inspired you have some inky fun with these beautiful flowers! Thank you so much for stopping by and have a wonderful, crafty week!
Just love this. How do I save for later, anybody know. Thanks for sharing your design.
ReplyDeleteBeautiful cards! Yes the delicate flowers look wonderful with the offset of white ink on black for the sentiment. Also wonderful is the way your diagonal background has the ombre effect
ReplyDelete