Showing posts with label Double Stitched Squares. Show all posts

Wednesday, January 19, 2022

Enjoy Your Day! | Honey Bee Stamps

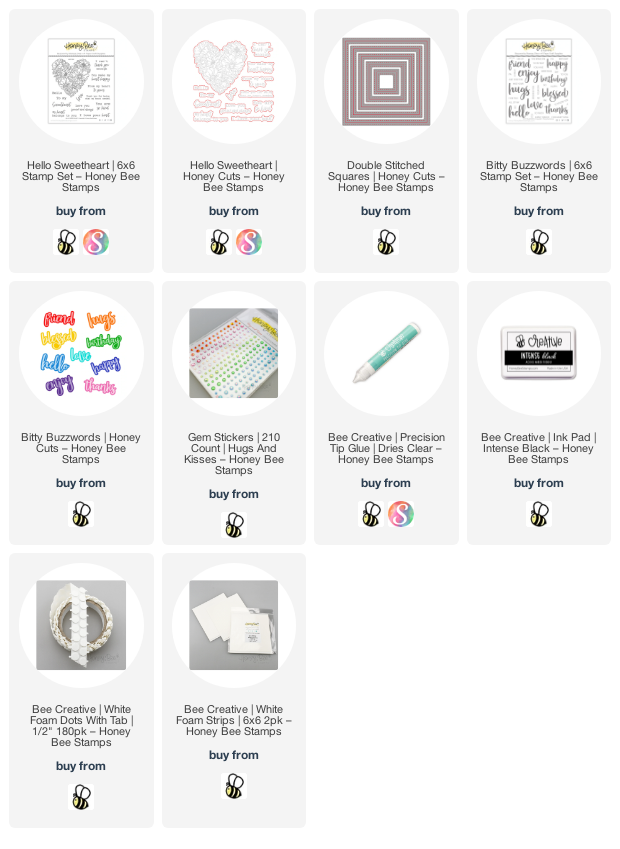
Hello Honey Bee friends! I'm still adding to my birthday card stash with this card featuring the gorgeous Hello Sweetheart stamps and coordinating Honey Cuts. Instead of using the coordinating stencils to color the flowers, as I did here, and here, I had some fun coloring with my Copics. Read on to learn how I added more popped up dimension to this beautiful image!


 First I stamped the Hello Sweetheart image twice with Intense Black ink onto two pieces of 80# Neenah. To get the fabulous dimension of the flowers, I fussy cut the main flowers from the second stamped image. Then I colored the flowers and the image with my Copic markers.

For the flowers I used: RV99, R56, RV34, R83, RV11, and RV32. If you've ever wondered, I list the colors from dark to light because that's how I color my images. To get the really rich depth in my coloring, I have learned that repeating my coloring a second time makes all the difference! I colored the leaves with YG17, YG25, YG23, and YG13. (The flowers that are underneath the popped up flowers are colored just with R56 around the edges.)

I used the coordinating Hello Sweetheart Honey Cut to cut out the heart shaped image. Then I added foam circles on the back of the fussy cut flowers and adhered them to the heart. I used thin foam strips to adhere the heart to a panel I die cut with a Double Stitched Squares Honey Cut. Next I created my own color-coordinated mat layer by coloring the edge of 4-½" square with Copic marker R56. I adhered it beneath the heart panel and then adhered that to a 4-¾" top-folding square card base. Bee Creative glue is perfect for adhering your layers!

I used the Bitty Buzzwords stamps and Honey Cuts for my sentiment. I die cut the shadow from white card stock and "enjoy" three times from black card stock. I adhered all of the layers with Bee Creative glue and adhered it to the card with foam circles. I stamped "your day" from the Bitty Buzzwords stamp set with Intense Black ink. I trimmed it into a little banner shape and adhered it with glue.

I added some sparkle to my card with some beautiful gems from the Hugs and Kisses Gem Stickers pack. I love the various sizes of these new gems and how they are SO sparkly!! LOL!

Thank you so very much for stopping by today!  Have a wonderful, and crafty, week!

Thank you should you choose to use my affiliate links: 💗
Wednesday, August 12, 2020

Paradise Blooms No-line Coloring Birthday Card | Honey Bee Stamps

 Happy Wednesday friends!  Today I'm sharing a very special card I made with Honey Bee Stamps beautiful Paradise Blooms stamps and dies.  What makes this card so special is that I made it for our daughter to give to her on her birthday, which was Monday.  I had so much fun creating the background with the Palm Frond stencil and then no-line coloring the flowers and leaves.


I stamped the flowers and leaves with Ink On 3's Fadeout No-line Coloring Detail ink and copic colored them all.  I used a couple of Prismacolor pencils to add details and more shadows to the flowers.  When I finished my coloring, I used the coordinating dies to cut them out.  What I've learned about no-line coloring is that it will look way worse before it looks better!  Just tell yourself to keep going!

For the background, I used the Palm Frond stencil (spray the back with Pixie Spray to make it easy to use this intricate stencil) and inked on some Spun Sugar and Picked Raspberry Distress Inks onto white card stock.  Then I slightly shifted the stencil and applied some Ranger clear transparent  embossing paste through the stencil.  After I removed the stencil, I immediately sprinkled on some chunky glitter.  I love the subtle sparkle of this background!


I die cut a frame from the Double Stitched Squares Honey Cuts and added foam tape.  When the background was dry, I trimmed it to 5-¼" square and adhered it to the background.  I adhered all of this to a 5-½" square pink card stock base.

The sentiment is from the Slimline Sentiments Eyelet Honey Cuts and I die cut three from white card stock and one from pink.  I adhered all of the layers together, added some clear sparkle pen and adhered it to the frame.  I stamped "birthday" from the Wish stamp set in clear embossing ink, sprinkled on white embossing powder, and heat set it.  After I trimmed it into a rectangle I added some small foam squares to the back and adhered it.  Then it was just a matter of die cutting my florals and arranging them.  I used glue to adhere the leaves and foam squares for the flowers.


Thank you so very much for stopping by today!  Have a wonderful and crafty rest of the week!!!

Supplies:
Honey Bee Stamps:
Other:
Distress Inks: Spun Sugar and Picked Raspberry