
Hello, crafty friends! Do you ever find yourself in a bit of a crafting slump? I have been in one and my tip for you to overcome this is try a "unique-for-you" color combination! Then add in a fun folding card to keep the creativity flowing!
That's what I did for my card here that features Honey Bee Stamps gorgeous Harvest Blooms collection. There are multiple ways to purchase one or more. Here are links for you to check out:
- Harvest Blooms stamp set
- Harvest Blooms Honey Cuts
- Harvest Blooms Stencil set
- Harvest Blooms stamp and die bundle
- Harvest Blooms stamp, die, and stencil set bundle

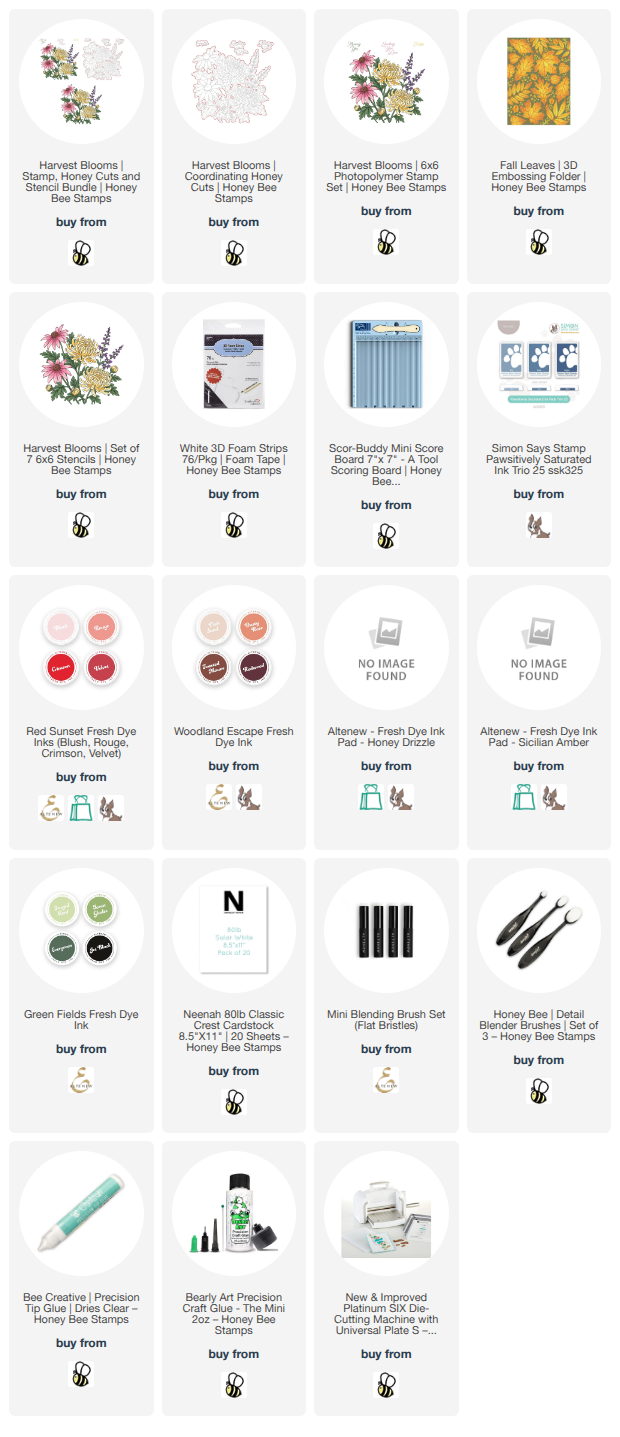
As I usually do, I did all of my stenciling first before stamping. I used several blending brushes and various shades of inks to color through each of the seven stencils in the Harvest Blooms stencil set. Honestly, I don't remember that I've ever used blue inks for flowers! I have to say that I really do like these! (The ink colors I used are linked in the list below.)
Next I placed the colored floral panel into my MISTI. I place the Harvest Blooms stamp over the stenciled image taking a moment to make sure it was properly aligned. I picked up the stamp with the MISTI door, inked it up with black pigment ink, then stamped it onto the stenciled piece.
Then I cut out the stenciled florals with the coordinating Harvest Blooms die. I set this aside while I worked on my card base.
First, you will need to emboss two white cardstock panels, one A2 sized and another 6" x 4-¼", with the Fall Leaves 3D embossing folder.

Score the 6" embossed Fall Leaves panel ½" from the top edge. Fold along the score line and glue the folded flap to the back of an A2 sized piece of white cardstock making the embossed panel the front of the card.
What we will do next is plan where to place a score line on the Harvest Blooms die cut floral piece. Here is a list of the steps:
- I opened up the card and laid it flat with the card front facing up.
- Position the Harvest Blooms floral towards the bottom right of the embossed panel.
- Make sure none of the florals on the right overhand the right hand edge.
- Holding the floral in place on the card, flip it over.
- Use a pencil to draw a line on the back of the floral using the card edge as a guide.
- Use a score board to score the floral along the score line.
- Fold the floral and glue the flap to the back of the embossed panel.

Next glue the other Fall Leaves embossed panel to the inside of the card front. This will cover up the folded edge of the Harvest Blooms die cut. This is how it will look nice and finished:

Next I used some blue ink to stamp a portion of the Harvest Blooms floral on the card inside.
I stamped all three of the sentiments in the Harvest Bloom stamp set and then cut them out with the coordinating dies.
As you can see in the photos, I glued one sentiment to the inside of the card. I also glued another sentiment onto the embossed panel under the Harvest Blooms flower. I made sure to place it where it would not show.
The other sentiment is adhered to the floral piece with a foam adhesive strip.

I really had fun designing this card! Of course, you surely know by now that I love coloring stencils! The seven Harvest Blooms stencils add so much detail to the beautiful floral! Of course, this image would be beautiful colored markers, pencils or watercolors!
I hope I've given you some inspiration to try this style of card! Thank you for stopping by. Have a wonderful and crafty day!
P.S.: Be sure to stop by my Instagram and watch my reel (posted soon) to see lots of the card making process!
I so appreciate that you use my affiliate links to shop! (There's never any additional cost to you.) It helps me with the expenses of posting my creative content, thank you. Note: You must have "allow cross-site tracking" and cookies turned on in your browser in order for it to know you use my links.

I really love your blue blooms, as well! Very pretty card
ReplyDelete