Hello friends! It's almost Thanksgiving and I have a card that would be perfect to give to a host or mail to anyone to say thank you! I had so much fun coloring this beautiful Rubbernecker Stamps' Slimline Fall stamp. This is a gorgeous slimline collage of autumn images!
Except for the time it takes to color the image, this card is very simple to make! I'll be sharing some tips for coloring this style of image that helps me. I hope you'll keep reading and let me know if these are helpful to you too!
Getting started:
- Cut 80# Neenah card stock to 7" x 8-½" and score it at 3-½". This creates a side-folding 3-½" x 8-½" card that will fit into a standard business size envelope. No extra postage required! (In the USA.)
- Stamp the greeting from the Best Friends, Etc. set with Versamark clear ink onto white card stock. Sprinkle with gold embossing powder and heat set. Trim it to about ½" x 3-¼". Add foam tape and set aside.
Coloring tips:
- This image can be colored with any medium you want such as colored pencils, watercolors, or alcohol markers. I used my Copic markers to color this card and stamped it in a Copic safe ink.
- My first tip is to choose the easily identifiable images and color those first. I began with the pumpkins, then went to the green leaves, and then the golden brown oak leaves. The more images you color, the clearer it all becomes!
- I agonize a LOT over what colors to use, all the time! I purchased a very inexpensive color wheel that helps so much! I knew I wanted to stay with warm colors and this wheel helped keep me away from the cooler toned colors!
- The ribbony tendrils and the background were the last things to color. It really helped to see the tendrils when I colored in the background. The next two photos show the before and after coloring the background. (Note: I used Copic B37 here. When I was totally finished coloring, I decided I wanted it darker and went over it with a B39.)
- My final tip is to stamp the image TWICE! So I am showing you a NOT PRETTY image here! Haha! I use that second image to test out colors and color blends. This sure helps prevent making huge mistakes on the original image! You can see where I almost went over to the "cool" side of the color wheel on the tendrils (lower left side). While these are my usual go-to greens, these definitely didn't fit in with my other color choices!
- To complete my card, I trimmed my colored panel to 8-¼" x 3-¼" and adhered it to the card base. Then I added the sentiment strip towards the bottom of the card.
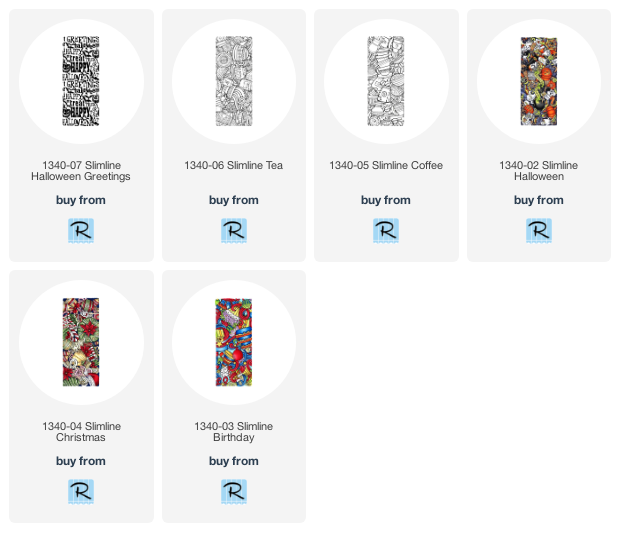
Rubbernecker has several of these beautiful collage sets that I've linked below. I hope these tips are helpful to you and that I've inspired you to give this beautiful stamp set a try! Have a wonderful, and crafty, week!
For this card I used:


Oh it's so bright, cheery and wonderful! Love that you shared that you went for a color wheel -- I hold the same anxiety. I used to use one a LOT but now I can't find it for some reason -- must get another! Great card, Carol
ReplyDeleteYou did a great job with the colors! I've made two, but stayed close to the colors in the sample they have.
ReplyDeleteCindy, I am totally smitten with your beautiful coloring of this amazing image. Thank you so much for sharing your coloring tips, they make so much sense as a logical way to approach this large stamp. It is an intimidating piece but you've made it look doable. Thanks for all the beautiful work you share here and on IG!
ReplyDelete