Showing posts with label Fresh Florals. Show all posts

Tuesday, March 2, 2021

Beautiful Wishes Birthday Card | Rubbernecker Stamps

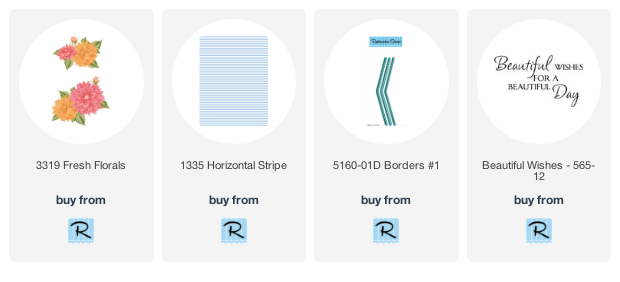
 Hello crafty friends!  Today I have a birthday card using just the outline stamp of Rubbernecker Stamps' gorgeous Fresh Florals layering stamp set.  I love layering stamp sets that have an outline stamp as it give you another way to stretch the use of your stamps!

I began by creating the card base:

  • Trim a piece of white card stock to 4" x 5-¼" and use Copic V05 to color the edges to create a coordinating layer.  Adhere to a white A2 card base.
  • Ink up the Horizontal Stripe background stamp with black ink and stamp onto white card stock.  Trim the striped panel to 3" x 5".
  • Next use a scallop border from Borders #1 to die cut white card stock.  Trim ¼" from each end.  Trim length-wise to 2-½" at the widest point.
  • Layer the scallop border piece over the striped card to create a 3-¾" x 5" piece. Adhere the pieces together with liquid glue.  Adhere to the card base.

Next stamp the outline layer of each flower in the Fresh Florals set in Copic safe ink.  I began by coloring the largest flower with the markers you see in the next photo.  I have found that when coloring detailed images like these flowers, it helps to start with the petals that you think will be easiest to color and start there.  Also, coloring one petal at a time helps and before you know it, you're done!

I colored the leaves with YG67, YG17, YG25, and YG03.  When I started with YG67, I colored over the black shadows that the stamp creates with YG67, extending just beyond the edges of the shadows.  I blended out with the other colors from there.  (I almost always go from darkest to lightest colors with my Copics.) 

Die cut the flowers and leaves with the coordinating dies.

Stamp the Beautiful Wishes sentiment with black ink on white card stock.  Next use the smallest Nested Oval Scallop die to cut it out.  Add thin foam tape to the back.

Next I arranged the flowers, leaves, and sentiment on the card.  When I had it how I liked, I adhered the small flower with liquid glue.  I added regular foam tape to the largest flower, and thin foam tape to the medium sized flower.  The three smallest leaves were adhered with glue and the other two with foam tape.

Of course, I always add a bit of bling whenever possible!  LOL!  I added dots of Lilac Whisper Nuvo Glitter Drops here and there around the flowers.


I hope I've inspired you to look through your layering stamp sets and find those that have the flower and leaf outline stamps!  Thank you so much for stopping by!

Sunday, November 8, 2020

Thanks for Being You! | Rubbernecker Stamps

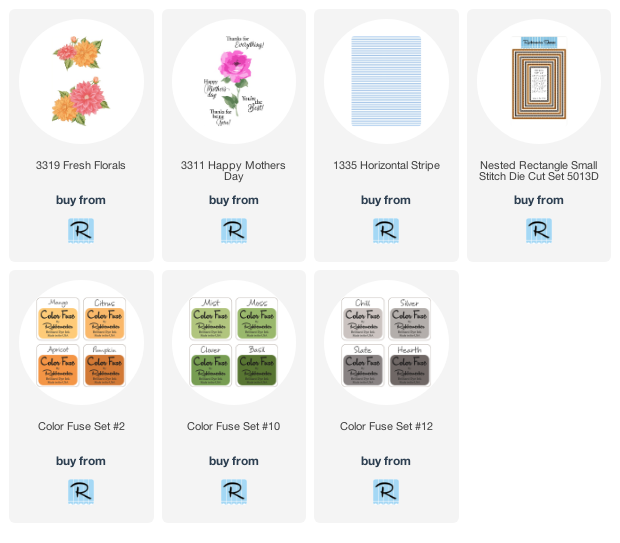
Hello my friends!  Today I have a thank you card using Rubbernecker Stamps Fresh Florals layering stamp set.   This set is so beautiful and depending on the colors you use, it can be used for any season!  I wanted gingham on this card and didn't have any in my stash to use.  I finally had the idea to use the Horizontal Striped Background stamp and create my own!  Read on to learn how I did this!

Card base:
  • Die cut black card stock with the largest Nested Rectangle Small Stitched die and white card stock with the next to largest.
  • Adhere the die cut layers to an A2 top folding card base.
  • Create the gingham:  Stamp the Horizontal Stripe background stamp in Versafine Onyx Black ink onto white card stock.  Rotate the stamp 45ยบ and stamp in Hearth ink (from Color Fuse set #10).  Ta-dah!!  Gingham!  This is so easy and just about any combination of ink colors can be used!
  • Die cut the stamped gingham paper with the next to largest Nested Rectangle Stitched die.  Trim the piece to 1" tall, keeping the stitching on each end.  Adhere to card base.

Flowers:

  • Using the layering stamps in the Fresh Florals set, ink the first layer of each flower in Citrus.  Let the ink dry.  Then ink the subsequent layers in Mango, Apricot, and Pumpkin.  These inks are in Set #2.
  • Here's a tip:  to be sure to get that final layer positioned correctly, lay a piece of acetate over the stamped images.  Then stamp the next layer to see if the stamp is in the correct place.  If it's not, (as you can see in the second photo) wipe off the acetate, reposition the stamp and try again!  (Of course, you can do this with any layer you want to check.)  Click on any photo to enlarge.

  • Ink the leaf layers in Clover and Basil.  Ink the Basil a second time to intensify the color.
  • Die cut the flowers and leaves with the coordinating Fresh Florals dies.
  • Lay out the flowers and leaves on the card base to decide where to stamp the sentiment.  The sentiment used is from the Happy Mother's Day set and is stamped in Versafine Onyx Black ink.
  • Adhere the medium and small flower with liquid glue to the card base.  Add foam tape to the large flower and adhere.  Either glue or pop up the leaves around the flowers.

I love how the gingham turned out and think it really adds a fun autumn vibe to my card!  Thanks so much for stopping by!