Showing posts with label Spring Bouquets. Show all posts

Wednesday, February 15, 2023

You Bring A Smile to my Face -- Heart Hugs Bear

Hello crafty friends! Today I'm sharing a card with the sweet bear from the Heart Hugs Honey Cuts set. He's surrounded by daisies I made from a few dies in the Spring Bouquets Honey Cuts. Now that Valentine's day is past, all I can think of is springtime with all of the flowers and trees leafing out!

First I die cut the bear from the Heart Hugs die set from 80# Neenah. I used the new Lost Shadow Distress and Distress Oxide inks to color him with a couple of detail blender brushes. Then I glued on the eyes and nose die cut from black cardstock and the ear inside that I colored with a Copic marker.

Next I stamped the sentiment from the Best of Everything stamp set with black ink. I stamped it near the bottom of an A2 sized piece of white cardstock. I added a strip of removable tape to mask off the sentiment. I blended on some Tumbled Glass Distress Oxide in the center of the panel. I occasionally placed the bear on the card while I was inking to make sure I had the ink out far enough beyond the bear. Here are a couple photos for you:


Then I placed the Lazy Daisy Pierced A2 Cover Plate die onto the panel keeping the bottom edge of the die at the line of the inking. The previous photo shows the details of this step.

I die cut a bunch of the daisy like flowers from white cardstock with the dies in the Spring Bouquets Honey Cuts. I die cut some leaves and leafy stems from green cardstock and added a bit of shading with a couple of green Copic markers. I adhered the yellow flower centers to the daisies. Then I shaped the flower petals a bit with a stylus from the Flower Shaping Essentials Kit. I glued one of the daisies to a leafy stem and placed it in the bear's paws with a small foam dot.


I played around with the flower arrangement and when I was happy with it, I used Bee Creative glue to adhere the floral elements in place. I added some Glimmer and Shine Enamel Stickers to the flower centers.

I could not resist drawing in a little smiley face with a black pen on the flower center in the bear's paws! I used the same black pen to draw him a mouth and a white gel pen to add details to the eyes and cheeks.

I have always had a "thing" for all the bear dies and stamps, and this cute little guy is no exception!! There are so many ways to use the bear and other adorable critters in the Heart Hugs Honey Cuts set and I hope I've given you some inspiration today! Thank you so much for stopping by!

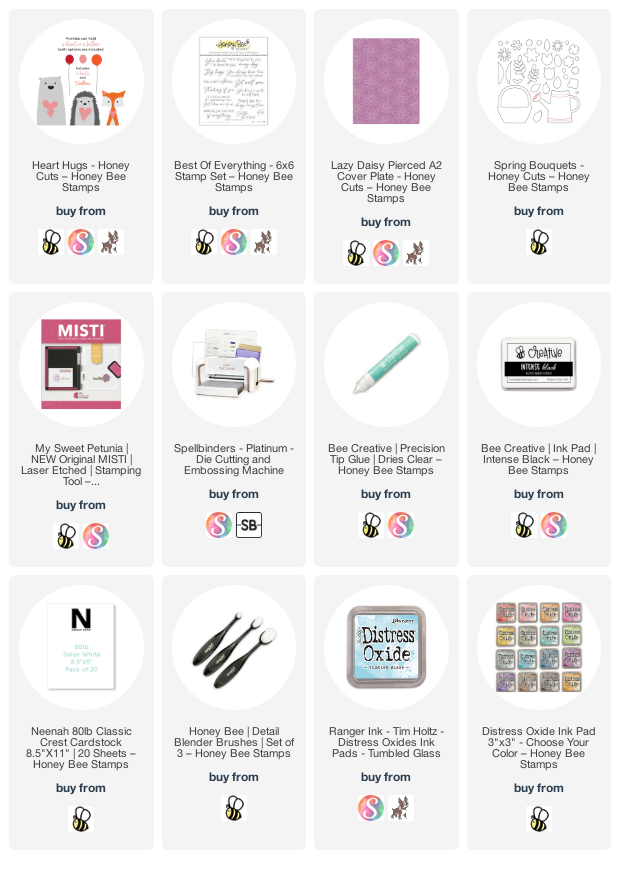
Check out the supplies I've used (affiliate links--never any additional cost to you).

Wednesday, April 28, 2021

You Brighten My Day! | Honey Bee Stamps

 Hello my friends!  Today I have a sweet note card-sized floral card using Honey Bee Stamps beautiful Spring Bouquets and the Wood Frame Builder dies!  I love being able to use my colored card stock scraps and also use some of my (hoarded) patterned paper for a no-coloring, quick-and-easy card!

This card is a bit smaller than an A2 size.  It measures 5-½" x 3-½".   Just score a piece of 5-½" x 7" white card stock at 3-½".  Then I cut the gingham paper from the Playful Pastels paper pad to fit the card and adhered it with Bee Creative Glue.

There are five different lengths of Wood Frame Builder dies in the set.  I chose the two that are 3-½" and two that are 5-½".  I die cut three of each from 110# Neenah Solar White card stock.  Then I adhered them with Bee Creative glue.   I set them aside to dry and set a large stamp block on them to make sure the pieces dried flat.

While the frame pieces were drying, I chose a few of the flowers and branches from the Spring Bouquets Honey Cuts.  I die cut several of the flowers and branches from colored card stock scraps in my stash.  I used a ball stylus from the Flower Shaping Essentials Kit to add just a bit of dimension to the flowers and branches.

Next I adhered the frame pieces to the card base with Bee Creative glue.  I also glued the flowers and leaves to the frames.

I chose a sweet sentiment from the Thanks A Bunch stamp set and stamped it with Versamark clear ink.  (Be sure to use your anti-static powder first!)  Then I sprinkled on black embossing powder and heat set it.  Next I used the coordinating die to cut it out.  I added foam tape to the back and popped it up on the card.

It's not often I make a card that does not involve any type of coloring!  I love how sweet this card is, but also quick and easy to make!  Thank you so much for stopping by!

Thursday, May 28, 2020

Hello Beautiful! - Floral Shaker Card

Hello beautiful friends!  Today I have a sweet shaker card using the Honey Bee Stamps Spring Bouquet Honey Cuts along with a few other of their products.  I've also been wanting to use some of the many sequins mixes I've been hoarding, um I mean accumulating!  LOL!


I began by creating the frame for the shaker portion.  I aligned the two largest A2 Double Stitched Frames Honey Cuts together, centering the smaller one inside the larger one.  I taped them together with some purple tape.  I believe I die cut about six of these from white card stock.  The number you need will depend upon the thickness of your shaker bits.  I glued five of them together and put a large stamp block on them to keep the frame flat while the glue dried.  Next I inked up the Woodgrain Background stamp with light gray ink and stamped the remaining frame.

Next I used some heat-resistant acetate and stamped the sentiment in Versamark clear embossing ink. The sentiment is from the Thanks A Bunch set.  I added white embossing powder and heat set it.  Make sure you let your heat gun warm up for about ½ minute and melt the embossing powder by applying the heat for just a few seconds at a time.  Trim the acetate to fit the frame and adhere with some 1/8" Scor-Tape.  Add more Scor-Tape onto the acetate and adhere the woodgrain stamped frame.  Turn the frame over and add the yellow sequin mix from the Rainbow Deluxe Sequin Set.  Next I adhered some patterned paper from The Bee's Knees 6x6 paper pad onto the back of the frame.  Next I adhered the shaker to a top-folding A2 card base.


Next die cut the flowers and leaf branches from patterned paper from the Spring Lullaby 6x6 paper pad.  I decided to color the leaf branches with a couple of Copic markers for some dimension.  The flower centers are from a scrap of patterned paper from The Bee's Knees paper pad.  I also die cut a few flowers from white card stock.  I used the Flower Shaping Kit tools to add dimension to to them.  I used liquid glue to adhere the flower layers together.


To finish up the flowers (and use more "saved" bling) I added some yellow enamel dots from the Spring Fling set to the flower centers.  I just love how Honey Bee's patterned papers and embellishments from different sets can be mixed and matched!  Now all that's left to do is arrange the flowers and branches using liquid glue to adhere them.


So, remember to use all the bling!  That just means you can totally justify buying more bling!  Haha! Thank you so much for stopping by!  I hope your days have been, and will be, safe, happy and crafty!


Supplies: