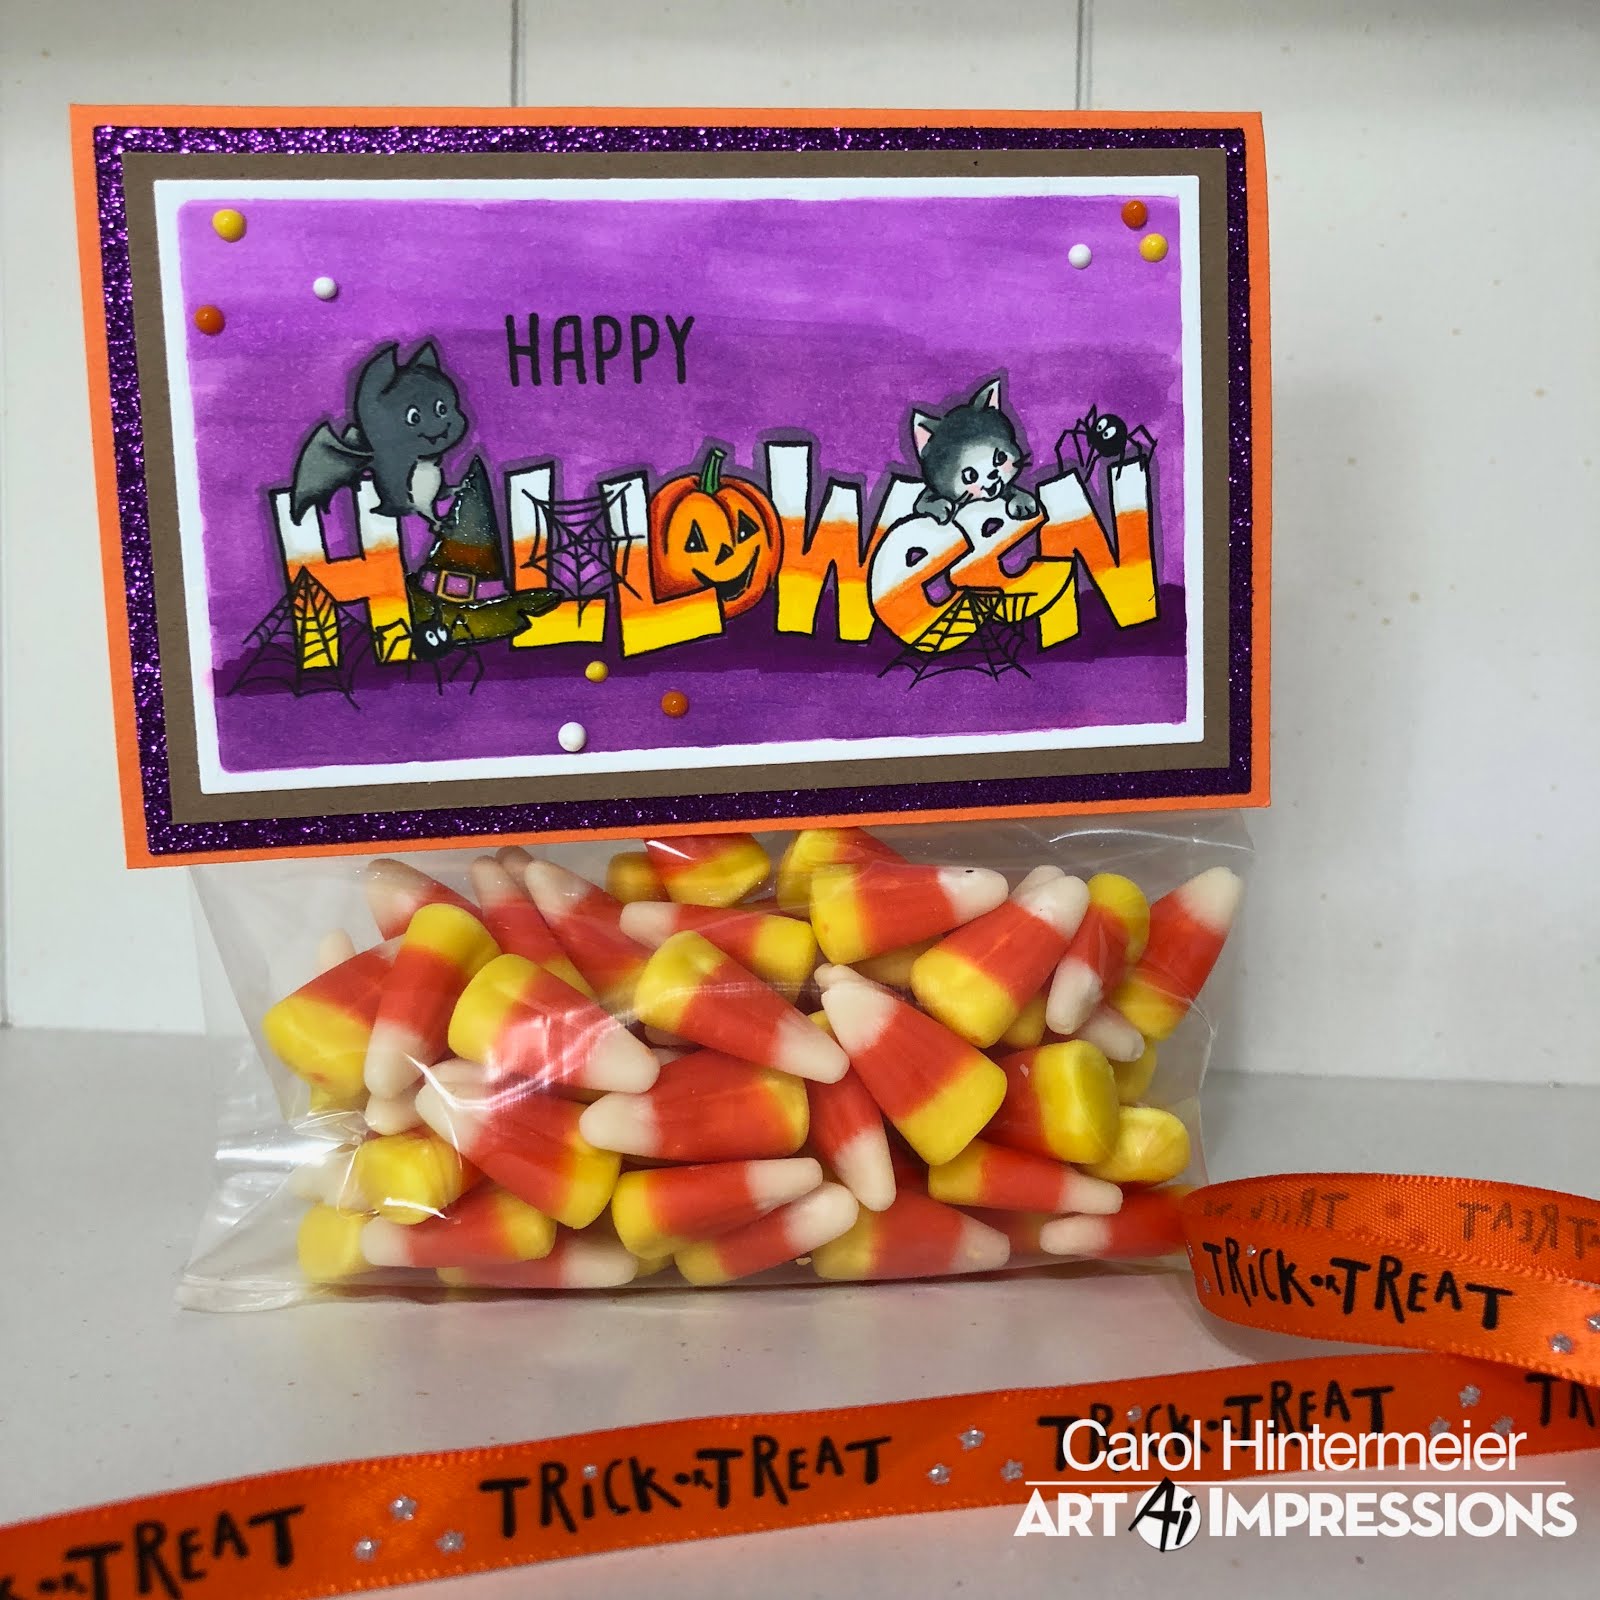
Hi friends! I've created a fun Halloween Votive Lantern for Rubbernecker Stamps' non-card Halloween feature! I used the Halloween Slimline stamp to create the lantern for my battery operated votive. Here is what it looks like in the daylight. Keep reading to see it lit up!

To create the lantern:
- Cut a piece of 40# vellum to 8-½" x 4".
- I stamped the Halloween Slimline stamp onto the vellum with Versafine Onyx Black ink.
- Add clear embossing powder and heat set. Make sure your heat tool is hot and move it around quickly to minimize any warping of the vellum.
- Color the backside of the stamped image with Copic markers. Don't bother to try blending your shades, as it doesn't blend well, and frankly, kind of makes a mess! Ask me how I know! Haha!
- More coloring tips: Use dark shades of your colors! The vellum really mutes the colors. I used a #10 white Jelly Roll pen for images I wanted white.
- To give it a finished look, I pulled out some ribbon from my stash and ran the strips through my old Xyron Sticker Maker. I overlapped the ribbon and adhered it to the top and bottom edges of the vellum.
- Apply ¼" Scor-Tape to the short ends and adhere together to form a round shape.
- Next I created the little ghosts and bat bangles.

I pulled out my Ranger Shrink Plastic and die cut the the shapes from the Ghosts die and the bat that's in the Bats and Spiderwebs die. I followed directions on the shrink plastic package and used my heat tool to shrink them down. Once they cooled off I used a white gel pen and a Sharpie to color the back side of the pieces. I attached silver thread with glue to hang them. I added a bow to the top edge.
And now here it is lit at night:

Thank you for stopping by and I hope I've inspired you to try creating a non-card project!