Showing posts with label Fluttering Hearts Coverplate. Show all posts

Wednesday, January 26, 2022

Antique Layering Roses Birthday Card | Honey Bee Stamps

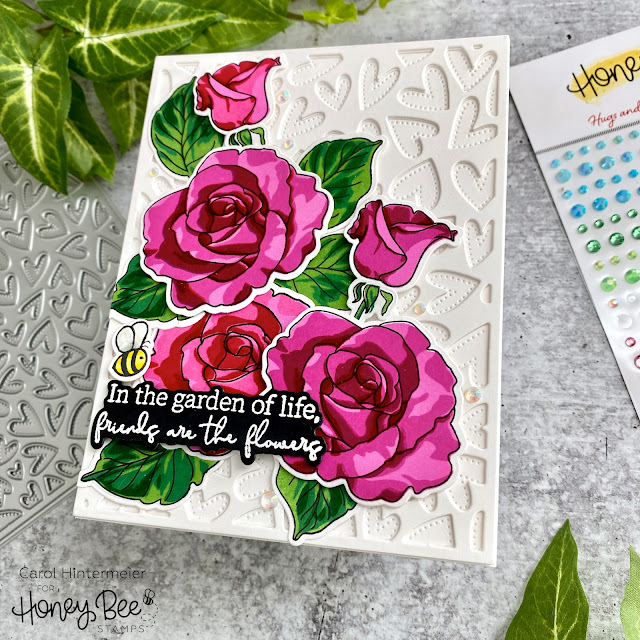
Hello my crafty friends! Today I'm sharing a birthday card I made using the gorgeous Antique Layering Roses stamp set and coordinating Honey Cuts. The sentiment on the inside makes this into a perfect birthday card for your special friend!

I created my card base and layers by die cutting the Fluttering Hearts Cover Plate die three times from 80# Neenah. I adhered the layers together with Bee Creative glue and then adhered that to a piece I die cut with the Fluttering Hearts Pierced Cover Plate. I added this to my A2 card base with glue.

Next I stamped the images from the Antique Layering Roses stamp set with Intense Black ink. I highly recommend using a stamp positioning tool such as the MISTI with these layering stamps. Then I followed the included layering guide and stamped each layer with various inks in my stash. I experimented with my inks by stamping some layers multiple times. When I stamped the final layer, I discovered that I didn't have an ink that was card enough. So I stamped it a couple times with a cranberry red ink, and then stamped over it with a mahogany ink that helped to define that layer! Another tip is to do your experimenting on cheap paper, such as printer paper. It won't be exactly as stamping on Neenah, but you will be able to see if the colors work.

Before I added the images to the card front, I used the Inside: Birthday Sentiments stamps to add my greeting inside the card. I added also added one of the rose buds to make it pretty!

After I used the coordinating Honey Cuts to die cut the images, I arranged them on the card front. I used Bee Creative glue to adhere the center rose and leaves. I am loving the new Honey Bee foam dots to use for dimension like I did for the other two roses and the rose buds.

I stamped the sentiment from the My Favorite Flower set with Bee Creative Clear embossing ink onto black card stock. Then I heat set the white embossing powder, die cut it with the coordinating Honey Cut, added foam dots and adhered it to my card. I love adding sparkle to my cards and these gems from the Hugs and Kisses Gem Stickers were just right!

I couldn't resist adding the cute little bee from the Busy Bees stamp set.  I have several of these little guys saved from previous projects!

Layering stamps are lots of fun and I hope you've found some inspiration here today!  I always appreciate you stopping by!  Have a fabulous, crafty day!

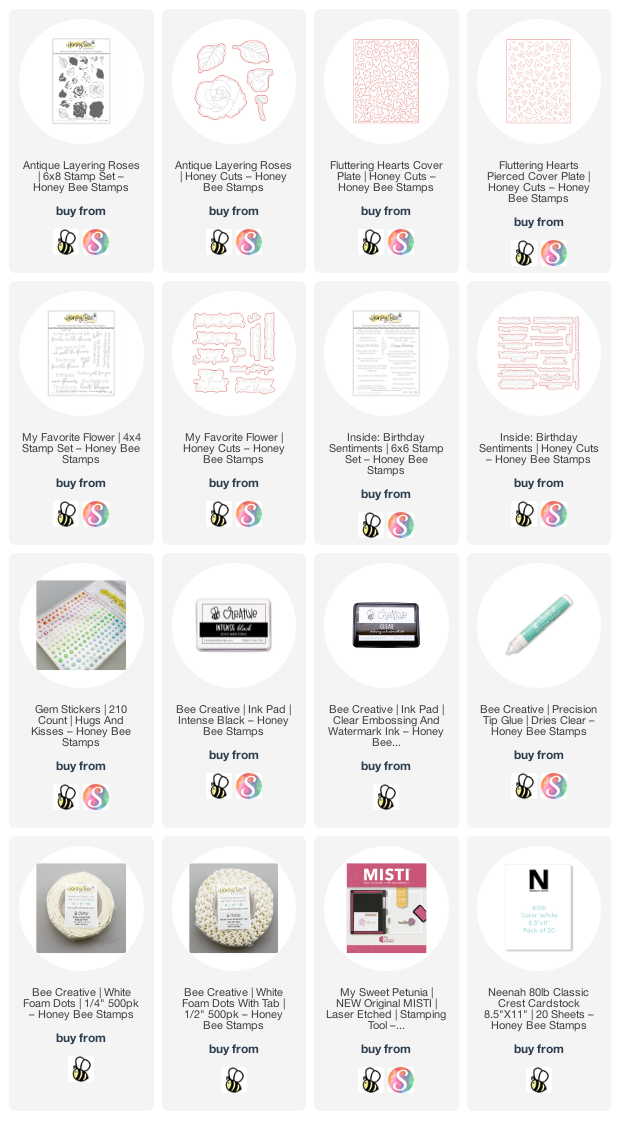
Check out the products I've used here:
Thursday, January 23, 2020

Fluttering Hearts | Honey Bee Stamps

Happy Thursday friends!  Today I've used Honey Bee Stamps Fluttering Hearts and Fluttering Hearts Pierced cover plate dies and made three cards with one main die cutting.


I didn't really plan on making three cards, but once I had this idea, I just kept going!  I started out making this card first.


Here are my steps to make this card:

  1. Using an ink Blending Brush, blend Seedless Preserves, Picked Raspberry, and Spun Sugar Distress Oxides onto an A2 sized white card panel.  Die cut this piece with the Fluttering Hearts Pierced Cover Plate die.
  2. Die cut 80# Neenah Solar White card stock with the Fluttering Hearts Cover Plate die.  NOTE:  While this is still on the cutting plate, place a piece of Press N Seal over the entire piece to keep all of the little hearts in position.  Press firmly, then carefully remove the die cut, leaving the hearts on the Press N Seal.
  3. Adhere the Fluttering Hearts die cut onto the inked Fluttering Hearts Pierced layer.
  4. Ink a small piece in the same Distress Oxides, then die cut the top layer from the Heart Honey Cuts.  I cut the middle and bottom layers from 80# Neenah.  I added some clear Wink of Stella to the middle layer and adhered all three layers with liquid glue.  Stamp the rest of the sentiment from the Heart stamp set with Versafine Onyx Black ink and cut into strips.  Add foam tape to the back.
  5. Die cut three bows (Mason Jar Card Honey Cuts).  Ink one in each of the Distress Oxides used above.  I glued them together, slightly offset.
  6. Stamp, color and die cut the lollipop and cake pops from the Sweet Treats stamp and Honey Cuts.  Arrange them and adhere together, then add the bow.  Add a few small foam strips/squares to the back.  I added some Glossy Accents to the lollipop and candy bits for some shine!
To finish, I arranged the elements and adhered them to the card base.  I love how beautiful the Fluttering Hearts are!


This next card is where I used all the little hearts leftover from the first card.


I ink blended another panel with the same Distress Oxides and adhered all the hearts.  This was easy as the hearts were still on the Press N Seal.  I just added dots of liquid glue to each one and then flipped it over onto the card layer.  As pretty as this was, I decided to die cut a heart window.  I had already adhered the panel to an A2 card base though. I used the smallest heart from the Pierced XOXO Hearts dies, and I did need to run it through my machine several times for it to cut all the way through.

I die cut another Pierced Heart from Neenah Solar White and stamped the sentiments from the Kisses stamp set in Onyx Black ink.  For the Love, I used a bit of Seedless Preserves and Picked Raspberry Distress Oxide.  With the card closed, I adhered this heart through the window onto the inside of the card.


I love how this adds so much to the inside of the card while leaving plenty of room to write a personal note inside.


Of course, I couldn't let the die cut heart from the previous card go to waste!  Here is the final card I made that began from the one die cut of the Fluttering Hearts Cover Plate.


This was very quick to make.  I die cut one Fluttering Hearts Pierced Cover Plate from a piece of 80# Neenah.  Attach that to an A2 top-folding card base. Die cut one more heart from black card stock and glue it to the back of the heart, slightly offset.  I added some thin foam tape to the back of the heart and attached it to the card. I like how the black offset helps the heart to stand out better from the white background.

I stamped the sentiments from the XOXO stamp set and cut them with the coordinating Honey Cuts.  Use the dies and cut some black card stock, adhere these to the sentiments, again, offset.  I added some foam strips to the back and attached them to the heart.  Done!


Thank you for stopping by today!  I hope I've inspired you to use a special die and see how far you can make it go!  Have a wonderful, crafty day!

Supplies:
Honey Bee Stamps:

Other:
Copic markers for cake pops/sucker:  RV55, RV02, E57, E55, E53, C3, C1, C00