Hello friends! Today I'm sharing a card I made using Rubbernecker Stamps' new Bird/Rose Background stamp set. This set has two beautiful stamps in it sized perfectly for your mini slimline cards! I had fun creating my heat embossed/resist card layer--read on!

First I created my card base and layers:
- Create the mini slime card by scoring a 6" x 6-¼" piece of white cardstock at 3". Crease with a bone folder.
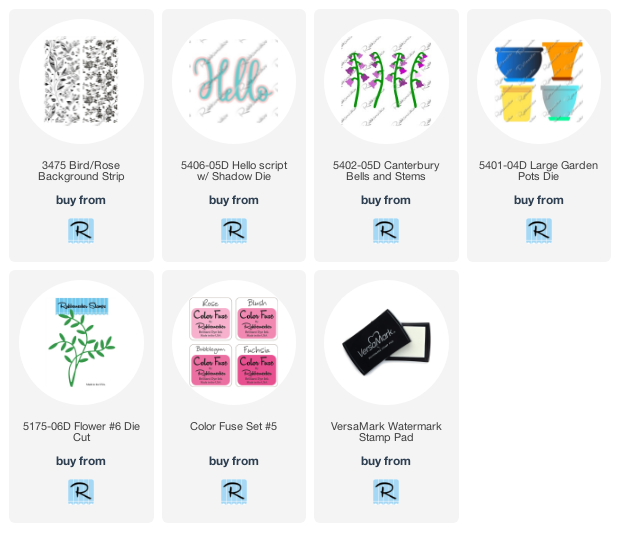
- Using my MISTI, I put the Rose Background Strip stamp on the door. Then I inked up the stamp with inks from the Color Fuse #5 set. I used a sponge dauber to soften the edges of each ink color in order to blend them more smoothly. I repeated the colors as needed to create the ombré effect. Keep the stamp and cardstock in the MISTI!!
- Next I used my anti-static bag over the piece and then stamped the image again with Versamark clear embossing ink. I added White Satin Pearl embossing powder and heat set it.

- Trim the stamped background piece, leaving about a 1/8" border.
- Place removable tape along the edges of the white border and place on some scrap paper.
- Now for the emboss resist! In a reverse order, using the darkest ink over the lighter inked roses, add the inks, in an ombré pattern, over the piece.

- Carefully remove the tape for the beautiful reveal! (apologies that I forgot to photograph that)
- Cut a piece of white cardstock to 2-½" x 5-¾" and ink up the edges with Fuchsia ink for a perfectly coordinating mat layer. Adhere the embossed image to the layer, add foam tape to the back and pop it up onto the card base.
- Die cut the Hello three times from white cardstock. Adhere the layers together with glue.
- Die cut the Hello shadow from black cardstock and then adhere the white Hello layers to it.
- Die cut the Flower Pot from white cardstock with the Large Garden Pots die. Color the edges with Copic markers for some shading. I used C3, C1, and C00.
- Die cut the Canterbury Bells and Stems from white cardstock. Color the stems with Copic markers (YG17, YG25). I love that this is all one die to cut ALL the pieces you need!
- Using a flower shaping tool, slightly shape the flowers and then adhere to the stems with liquid glue.

- Glue the flower stems to the back of the flower pot.
- Die cut one Flower #6 and color with Copic Markers (YG67, YG17, YG25). Snip it into three pieces and glue in back of the flowers.
- Add some foam tape to the back of the flower pot and adhere it to the card.
- Add a few foam squares to the bottom back of the Hello. Adhere to the card.

Heat embossing over a stamped image and then inking for the emboss resist gives the stamped image such a different look! I really enjoy this technique too! Thank you so much for stopping by today!
These are links to the products for my card: