
I'm so thrilled to have been invited to have a play with these beautiful Spellbinders' die from Susan's Spring Flora Collection by Susan Tierney-Cockburn. Some of the very first dies I bought many years ago were flower shaping dies, so these dies are definitely right up my alley! I've always loved creating these super dimensional flowers to make stunning cards!
My first card features the gorgeous Parrot Tulip dies. This flower was not very familiar to me, so I just did a web search for images, and wow! there are so many colors of these beauties!

This post is mostly photos for you, along with colors and supplies I used. I love how Spellbinders has videos, by the designer herself, to show us how to use these dies. I will provide links to her videos, as well as links to the supplies I've used for my cards.
Before I got started on my card, I watched Susan's video for the Parrot Tulips. My goodness me, she creates the most stunning cards with her dies!!!! I used my Spellbinders' Platinum Die Cutting Machine to cut out the flower and leaves from white card stock. I really like how the flower pieces are all on one die, and also there is a number etched into the die to tell you how many times it needs to be die cut to complete the flower!!!

I colored my flower parts with my Copic markers. I used R24, R14, R22, and YR28. For the leaves I used YG17, YG25, and YG03. I followed Susan's directions for assembling the flowers. I did add a touch of glitter to the stamens, which I think you can see in the photo.

I created my card base by dry embossing the next-to-the-largest A2 Matting Basics A Card Creator die on an A2 card panel. Next I die cut a rectangle with the middle-sized A2 Matting Basics A die. I used the Embossing Plate and Mat to create more dimension around the edges of the rectangle.
Then I stamped the sentiment in black ink from a retired set in my stash in the upper right corner. Next I added some coordinating spatters with Abandoned Coral Distress Ink and popped it up on the card front with some foam tape. I arranged my flowers and adhered them with liquid glue.

-----------------------------------------------------------------------------
My next card features the so sweet and very pretty Sweet Pea Etched Dies. Susan's video for the shaping and assembly of these was so very helpful!

When I searched the images of Sweet Peas, I found so many beautiful colors, from pastels to brights! As you see, I went with bright!
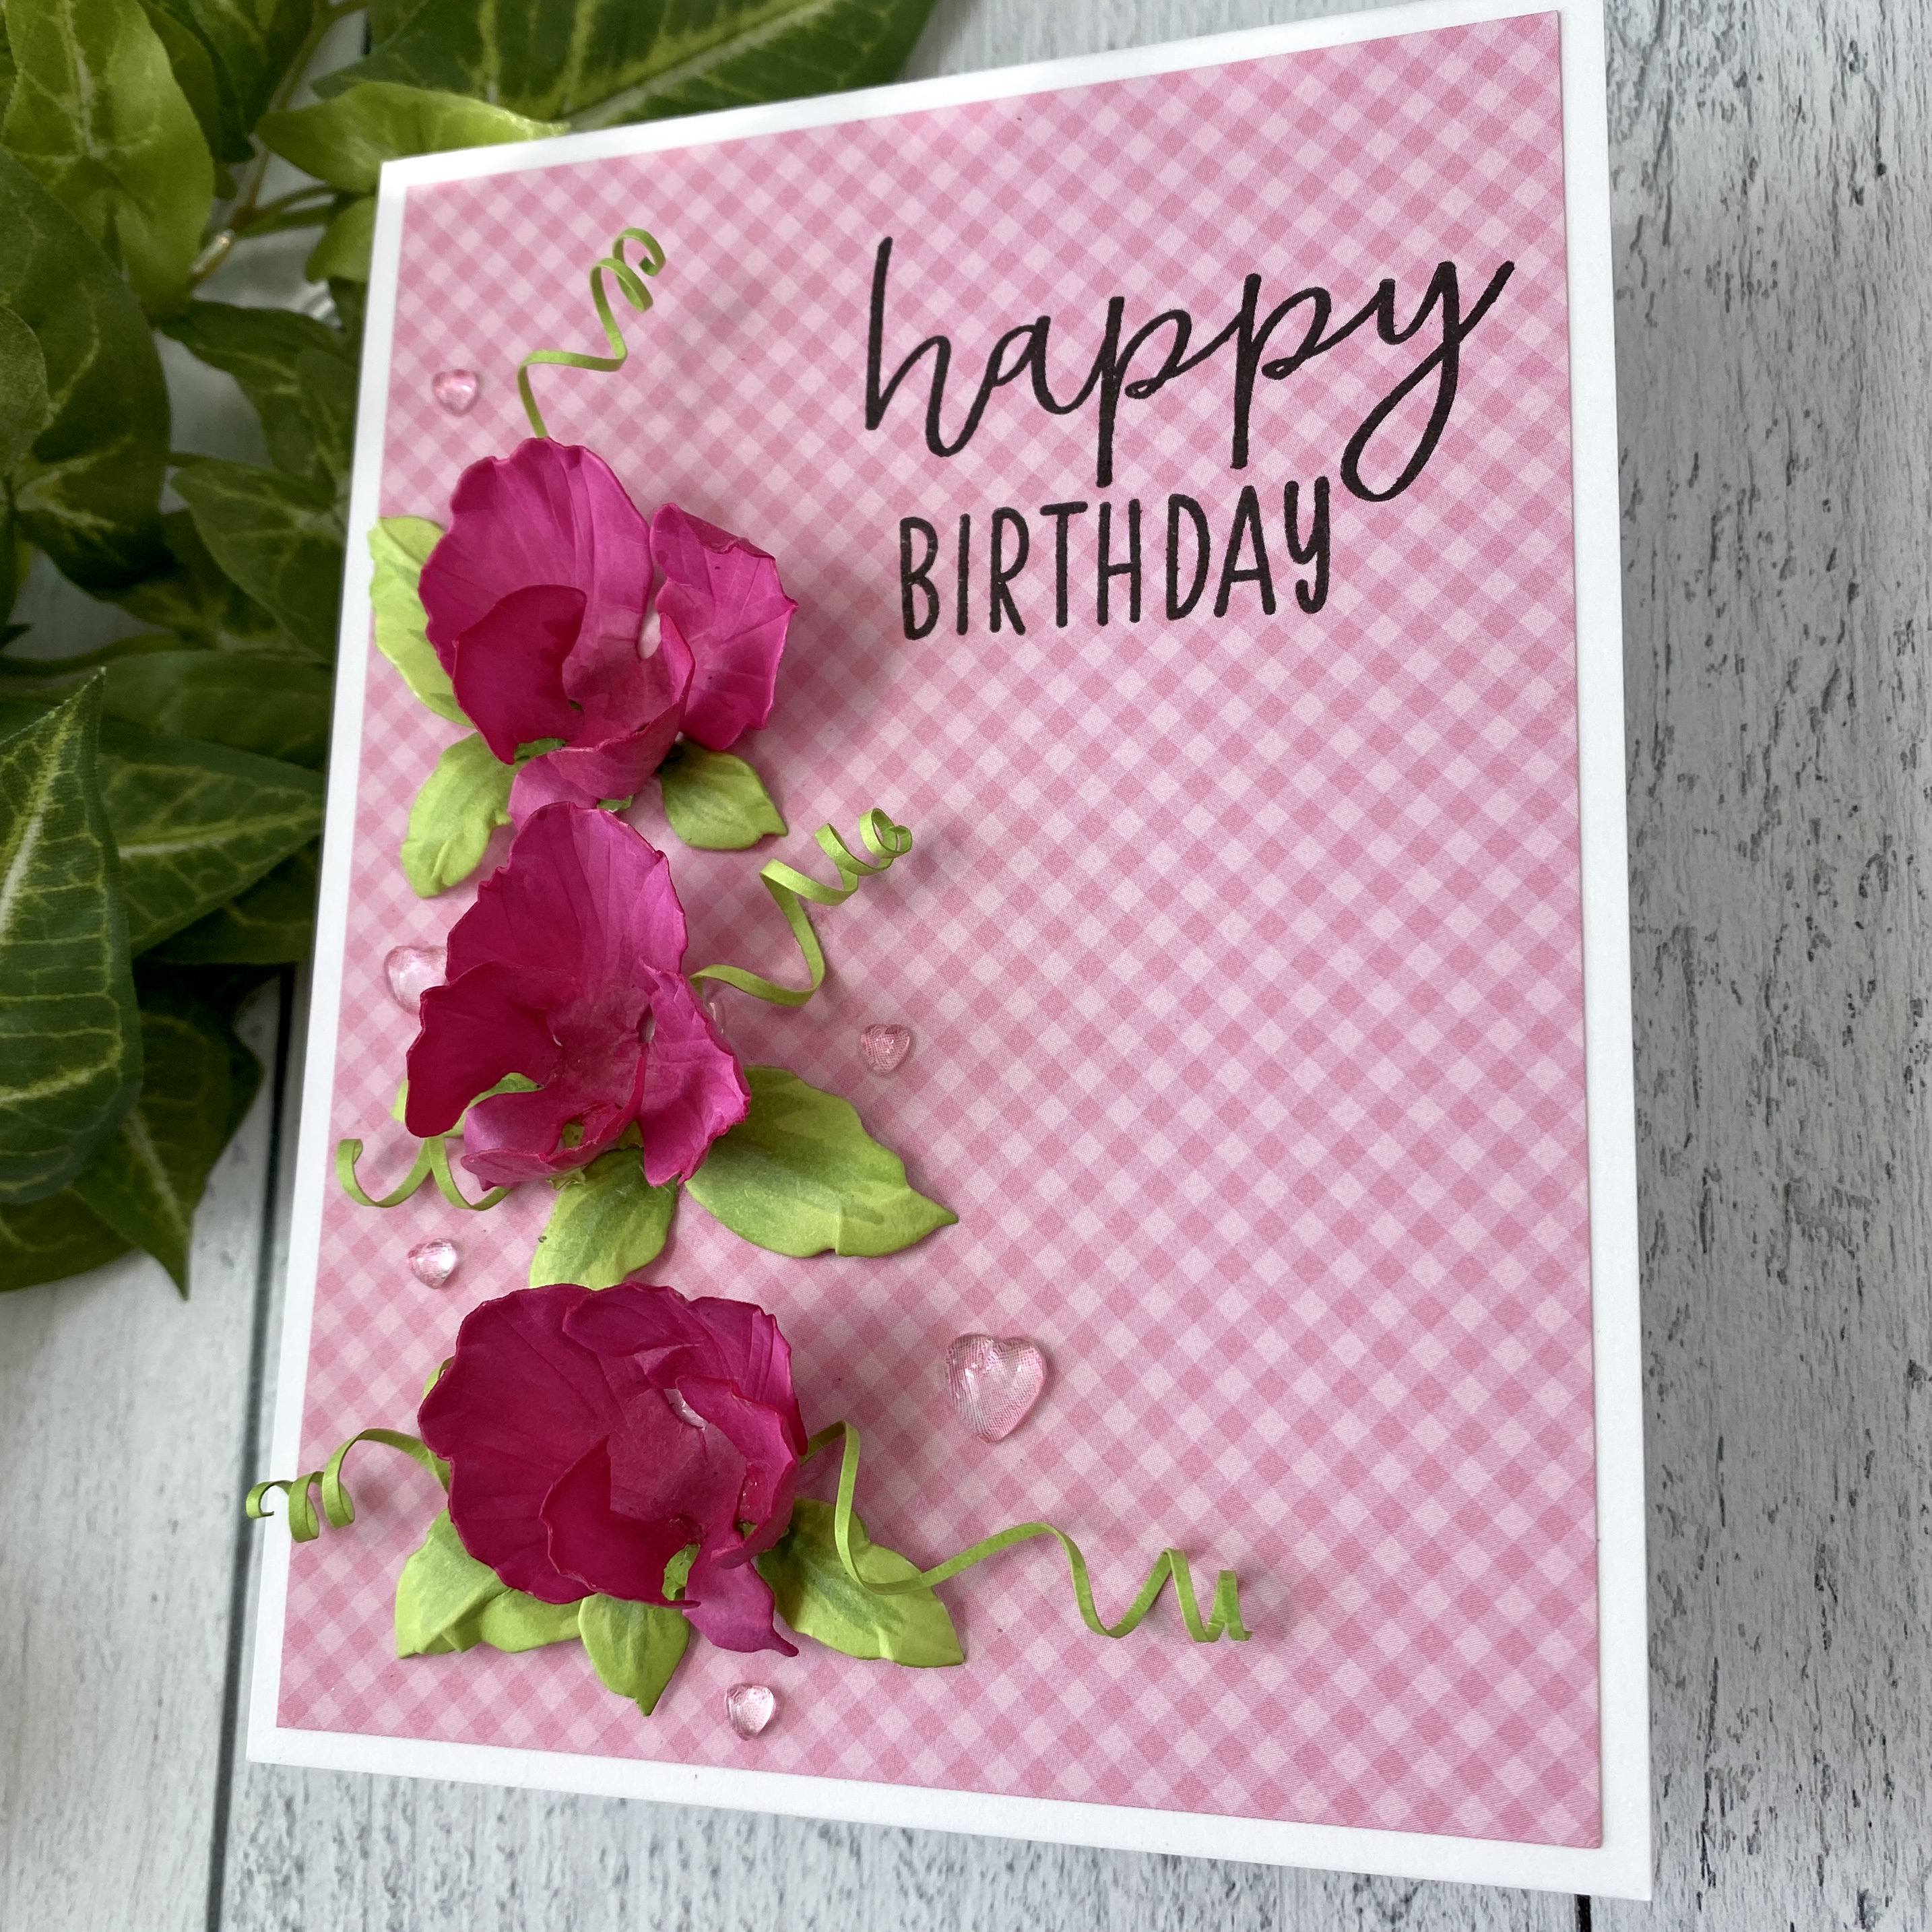
Again, I die cut these with my Platinum machine from white card stock. Then I colored them with my Copic markers. I used RV19, RV17, RV09, and YG17 and YG23 for the leaves.

Because I love gingham, and Sweet Peas just seem to fit, I adhered them to a card panel of pink gingham after I stamped my sentiment. I added some clear acrylic hearts around these sweet flowers for a touch of bling!

I absolutely loved playing with these beautiful dies! I thank you so much for stopping by and hope I've inspired you to give these a try! Thank you for stopping by today, and I hope you have a wonderful, crafty weekend!
Those tulips are awesome. The look absolutely real! The coloring is perfection.
ReplyDelete