
Today I'm sharing an adorable friendship card for those dog-loving friends you may have! I've used Rubbernecker Stamps Dogs Front and Back stamp set and the coordinating dies. This is a cool set as it stamps the front of the dogs and has another stamp that's a mirror image and stamps the back! I pulled out my neglected Prismacolor Pencils and some Gamsol to color up these cuties!

First I began by coloring the row of dogs.
- I stamped the Dogs Front and Back in black hybrid ink onto Neenah 80# Solar White card stock.
- I used my Prismacolor pencils to color the dogs. As I added each layer of pencil color I used a blending stump with Gamsol to blend out the colors.
- Working with Gamsol and pencils is quite easy. I played down the shadow color first, dipped the tip of the blending stump into Gamsol, then blended out the color.
- The principal of coloring and shading is the same as any other coloring medium you might use. If you are new to using pencils with Gamsol, do a search in YouTube and find one that suits your style to learn.
- A tip for coloring the fronts and backs of the dogs is to color a dog's front, then find the back of him and color it right away. I almost messed up one dog but was able to save it!
- When I finished my coloring, I die cut the images with the coordinating dies.
Next I created the card base. I wanted the rest of the card to be fairly simple so that the focus would stay on the dogs and the work I did coloring them!
- First I took a side-folding A2 card base and trimmed part of the card front off. I first cut along the score line from the top down to about 2-¾". Then I trimmed along the horizontal line. See the photo for a visual. Click on the photo for a larger image.

- Next I die cut two 1" strips of white card stock with one of the Slimline Grass Border dies. Line them up together and trim to 5-¼". Then I colored them with some green Copic markers. NOTE: Color one grass piece on the front and the other on the back so you will have mirror images!
- Then I cut two 1-¼" strips of green striped paper and adhered them to the flap of the card front, one on the front, and the other on the back.
- Now adhere the grass pieces on the front and back of the flap, lining up the grass blades of the die cut. Add strips of black card stock where the striped paper and bottom edge of the grass pieces meet.
- Adhere the Dogs Front and Back pieces. I used liquid glue for all of my attaching.
- Next open up the card and ink on some clouds with a cloud stencil, a blending brush and Arctic ink (from Color Fuse Set #7).
- Stamp the sentiments from the Kittie Says Friends set in black ink.

These little pups are just as cute from behind!

I like the element of the extra sentiment when the card is opened up.

Would you like this card displayed on your desk? I think it turned out really adorable!

I really do appreciate you stopping by today! Have a fabulous, and crafty, rest of the week!
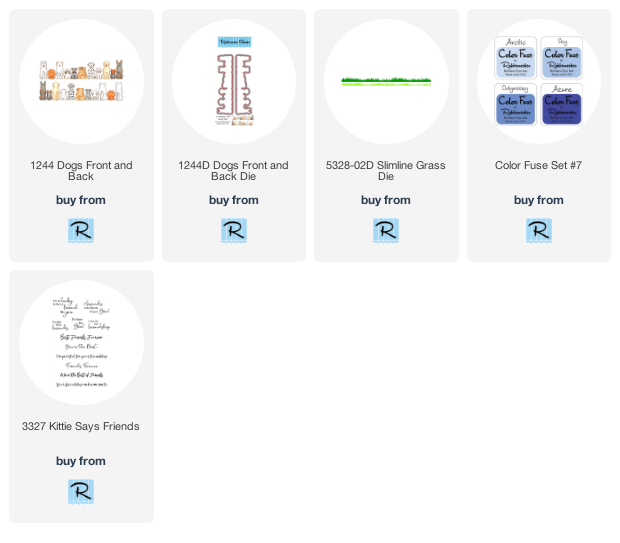
Rubbernecker supplies:
So cute....love this card!
ReplyDeleteCute card! And so clever how you did the inside...
ReplyDeletePretty adorable indeed! Love the partial front, and the two-sided dogs adds a bit of unexpected fun!
ReplyDelete