Showing posts with label Christmas. Show all posts

Friday, July 31, 2026

Wrapped In Blooms -- Honey Bee Stamps

Hello, friends!!  I'm sharing this quick post to tell you about the Honey Bee Stamps Wrapped In Blooms Kit that just became available!  This kit is a "Christmas In July" kit that will inspire you to get a head start on your holiday cards!

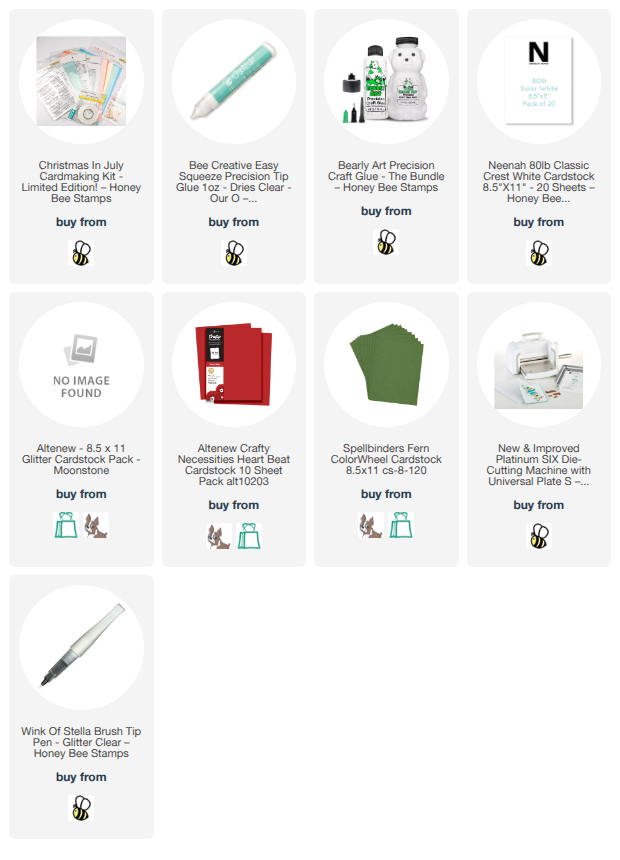
This amazing Wrapped In Blooms kit includes the following:  Lovely Layers: Festive Florals, Lovely Layouts: Wrapped In Blooms and coordinating stencils, Filled With Wonder stamp set and dies, Hive Hues Christmas In July paper pack (10 beautiful colors), White Foam Tape Roll, and a mini bottle of Bee Creative Glue and a pack of gorgeous sequins!

I think that creating a white card with one stunning pop of color is my favorite style of card!  I created this gorgeous poinsettia and sprigs from the Lovely Layers: Festive Florals dies.

I added some subtle glitter accents to the poinsettia and white gel pen accents to the berries.  I also added sparkle to the mistletoe berries with a glitter pen.

The card band is die cut from white glitter paper with one of the dies in the Lovely Layouts: Wrapped In Blooms die set.  For the remainder of the card, I used white cardstock.  These beautiful folding flaps are part of this set too!

The band from the Lovely Layouts: Wrapped In Blooms is perfectly sized for easy on and off.  Also, the etched design is neutral and can be used for any occasion.

The sentiment here is from the Filled With Wonder stamp set and stamped onto another die included in the Lovely Layouts: Wrapped In Blooms die set.

I stamped two more sentiments from the Filled With Wonder stamp set.  I cut them out with the coordinating dies and glued them to the inside of the A2 card.

I totally love this Wrapped In Blooms card kit!  The poinsettia was so easy to assemble!  I really do feel like this kit will be a best seller!  Be sure to check it out over at Honey Bee Stamps' shop!

Thank you so much for using my affiliate links to shop (never any additional cost to you)!
Monday, November 25, 2019

Warmest Wishes | Art Impressions

Happy Monday!  I'm over on the blog at Art Impressions today with a quick-to-make holiday card.  I've used one of the three images that is in the beautiful Christmas Scene TryFold set.  Each of these images can totally stand alone for a card.  I love being able to use one stamp set in several different ways!


I created my card base first because I wanted to make sure I got the openings and image lined up just right.  First I put a a piece of Neenah 80# into a snowflake embossing folder and ran it through my machine.  I trimmed it to 4" x 5-¼".

I used the middle sized Oval Double Stitched Die and die cut an opening in the embossed panel.  I lined up that die with the next largest and die cut a red frame and adhered it to the embossed panel.  I die cut an opening in the red card base with the larger die of the two.  (Doing this gave me a bit of a margin for error when lining up the layers and not having to worry that the ovals would be off.)


I stamped the image in Copic safe ink and colored it with the markers listed below.  


I added some sparkle to the snowy areas with a clear Wink of Stella pen.  Then I die cut it out with a Rectangle Double Stitched die and adhered it to the inside of my card base.  I added a snowflake to the outside that I had made a while back for a previous project.


Thank you so much for stopping by today!  I hope you all have a very happy and blessed Thanksgiving!

Copic markers:
BOOO, B0000, BV20, C0, C00, C1, C3, N0, N2, N5, 
R35, R46, R59, W1, W3, WS5, W7,
Y11, Y14, YG03, YG25, YG67, YR23

Supplies:


Thursday, October 31, 2019

Stocking Gift Card Holder 2 Ways | Honey Bee Stamps

Hello friends!  I’m over on the Honey Bee Stamps blog today and I’m using the so cute Stocking Gift Card Holder.  I’ve made two of these, one a little more rustic and another a little more elegant. 


For this rustic one, I used Thermo Web’s flocking sheet in Winter Latte for the stocking topper, toe, and heel.  I was super happy to find that you can stamp directly onto the flocked piece.  This sentiment is from the Santa Express set.  I used my MISTI and some black dye ink and stamped it twice. 


I used the Holiday Traditions 6x6 paper pad for both of these.  You will need to cut two of the stockings for each one.  For the second cut, be sure to cut it on the opposite side of the paper—in other words, put the die on the back side of the patterned paper for the second one.  This way you'll have the same pattern showing on the front and back.  Fold in the tabs and adhere the two pieces together for the stocking.  Be sure to put your line of glue just along the side and bottom edges so the insert will fit in.


For the wreath on this stocking, I used the Joy Noel Wreath Honey Cuts. I cut the wreath twice from Neenah Desert Storm card stock.  I used a Detail Blender Brush to add some Gathered Twigs Distress Ink to the edges. I intertwined them and added a couple drops of glue to hold them together.  I die cut the leaves, berries, and bow from red card stock.  I used a ball stylus from the Heartfelt Creations Flower Shaping Essentials Kit to shape them.  I used Ranger Distress Collage Medium Matte to adhere everything in place.  The Honey Bee Die Release Tool is very handy here too!

One of my favorite things to do with die cuts like this is to put a thin glaze over them.  It helps to hold the shape and also makes them pop!  I like to use JudiKins Diamond Glaze for this.  I pour out a tiny bit and add a few drops of water to thin it.  I use a paint brush to apply a thin coat and let it dry.


For a little extra embellishment, I added stitched lines with a white gel pen and more leaves and berries on the heel and toe.


Next up is the "elegant" stocking.  The main part of the stocking is die cut from a sheet of paper from the Holiday Traditions paper pack.  For the other pieces, I used a specialty paper from Tonic Studios called Snowdrop Meadows.  I was quite pleased to see that even after die cutting, the texture and dimension remained!


For this wreath I used some Tim Holtz Kraft-Stock Gold Metallic paper.  Before I die cut the bow, leaves and berries from the specialty paper, I adhered a small piece to some Neenah 80# card stock.  This specialty paper doesn't have a lot of heft to it so by backing it, I was able to do some shaping of the elements.


For this sentiment, also in the Santa Express set, I stamped it with Versamark and heat embossed it with WOW! Metallic Gold Rich embossing powder.  I trimmed it down with my paper trimmer.  I used one of the little edge dies from the Banner Builder Honey Cuts to add the stitching on the end.

I think it's amazing how this patterned paper looks like REAL glitter paper!  I've used so much of the Holiday Traditions paper pad, I'm going to need to order more soon!


Here is a photo showing the inserts slid out a bit.  These inserts are the perfect size to hold a gift card.  Of course, you can just stamp or handwrite a sentiment instead!


So....are you team rustic, or team elegant?  LOL!  I'm definitely both!  Thank you so much for stopping by today!  Have a wonderful crafty time until we meet again!  Carol :)

Supplies:
Honey Bee Stamps Stocking Gift Card Holder
Honey Bee Stamps Joy Noel Wreath Honey Cuts
Honey Bee Stamps Santa Express
Honey Bee Stamps Banner Builder Honey Cuts
Honey Bee Stamps Holiday Traditions 6x6 paper pad
Honey Bee Stamps Die Release Tool
Honey Bee Stamps Detail Blender Brush Set
Tonic Specialty Paper Snowdrop Meadow
Tim Holtz Kraft-Stock Metallic Gold
Tim Holtz Distress Collage Medium Matte
Therm O Web White Latte Flock Transfer Sheets
WOW! Metallic Gold Rich embossing powder
JudiKins Diamond Glaze
Versamark ink
Heartfelt Creations Flower Shaping Essentials Kit


Thursday, October 17, 2019

Nativity Circlet MTF & Week 2 of Tag or Ornament Challenge | Art Impressions

Hello friends!  My card today features the new Nativity Circlet MTF.  It's Week 2 of the Tag or Ornament Challenge over at Art Impressions, so I've made an ornament for inspiration!


I stamped all three images in Copic safe ink and colored them with the Copics listed below.  Here are a photo of each image colored for you to see what each layer looks like in case you'd like to make the trifold card this set is designed for.


I used the coordinating dies included in the set to cut out the openings.  (I used my craft knife to cut out the openings in the fence of the top layer.)  I then used circle dies and a tag shaped die to cut them out.  I also stamped the base layer that has the sentiment again and used two circle dies to cut just the sentiment out.  I adhered the sentiment onto the top layer so it will show when I have the ornament assembled.  

If you don't have THIS foam tape in your stash, you NEED it!  Haha!  It really makes popping up smaller images so easy!  I removed the backer to easily shape it around the circle, as you can see here:


As you can see here, I used the scallop tag die to cut a white glitter tag.  I didn't like the all white tag so I die cut the base layer with a circle die so the sparkly tag will show.  I cut the hole reinforcer included in the die set (see the listed supplies) from some silver mirror paper and used ribbons from my stash.


I wish the photos could show the pretty dimension better!


I always so appreciate you stopping by!  I hope to see your tag or ornament entered into the challenge!  Stay crafty!! :)


Copic markers:

B000, B01, B21, B23, B23, B27, B39, C00, C0, C1, C3,
E25, E31, E27, E29, E41, E51, E55, E57, R20, T0, T2, T3, T5, T7,
Y04, Y06, Y08, Y21, Y32, YG03, YG17, YG25, YG97,  YR14, YR21

Supplies: