
Hello, crafty friends!! I'm back today with another holiday card that is just SO cute!! Honey Bee Stamps has the most adorable Lovely Layers: Mouse die set and this is the star of my card! I had an idea to create a mouse hole and inside you can see this mouse getting the tree ready for Christmas!

For this post, I'm putting the steps into a list form. Let me know if you like this style better than the process being described in paragraphs!
First I created the mouse!
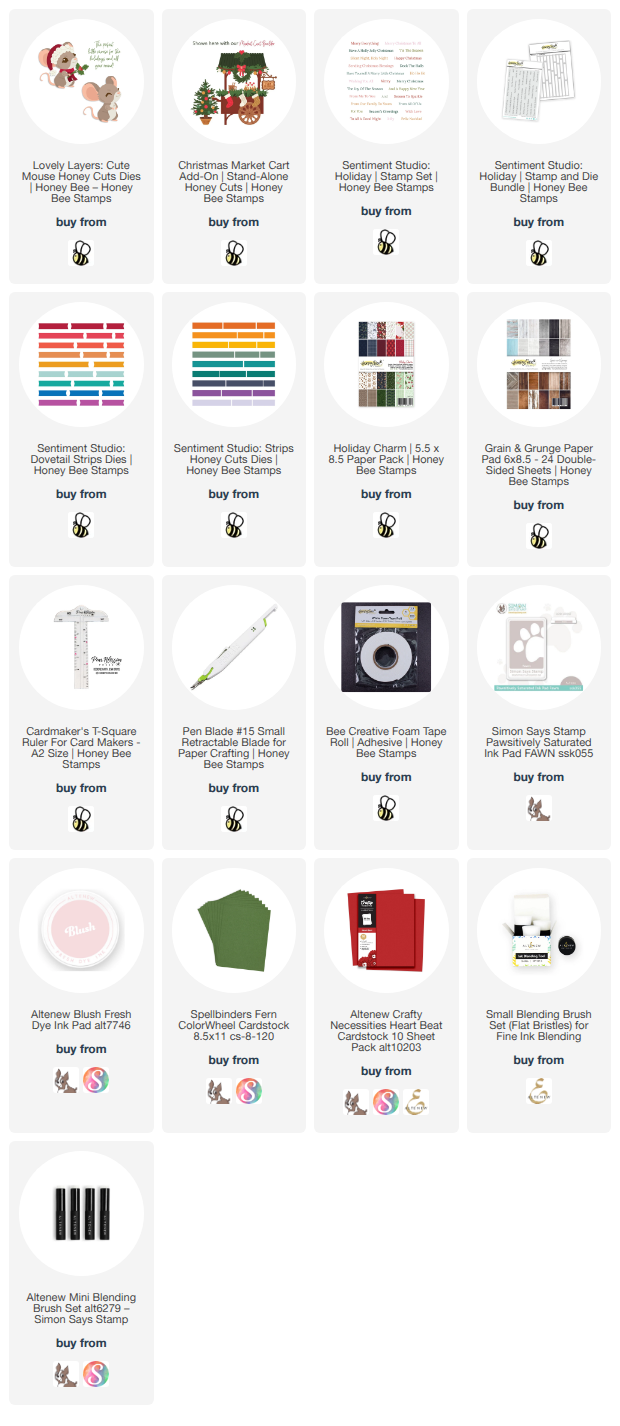
- From the Lovely Layers: Mouse set, die cut white cardstock with all of the dies for the mouse.
- Use ink blending brushes to color the layers with the ink colors you've chosen. (The inks I used are in the list below.)
- I used a gray-brown ink for the main body layers and a blush color for all of the skin layers.
- Color the die cut pieces of the eye with a black Copic marker.
- Die cut the layers for the mouse's hat and berry branch from white, green, and red cardstocks.
- Use Bee Creative glue to adhere the Mouse layers together. Be sure to refer to the Layering Guide for placement of the smaller layers.

Next I created the background with the mouse hole!
- Choose a patterned paper from the Holiday Charm paper pad. Trim it to 4-¼" x 5-½".
- Using a t-square ruler and a pencil, draw a horizontal line about 1-½" from the bottom edge.
- Next we will cut out the mouse hole. For a guide to draw the top part of the mouse hole, I used the eighth smallest Sweet Stacks: Circles die (retiring) to trace around the top half of the die.
- Then I used the t-square ruler again to draw straight lines on each side down to the horizontal line.
- Then, working on a self-healing mat, I cut along the lines with a craft knife, using the circle die and t-square ruleras guides.
- Color a panel of white cardstock with a blending brush and a darker ink in an area to fit behind the mouse hole.
- Glue this behind the patterned paper. and then to an A2 card base.
- Cut a 4-¼" x ½" piece of paper from the Grain and Grunge paper pad to use as a floor. Glue this at the bottom of the card front. Glue a 4-¼" x ¼" strip of white cardstock along the top edge of the floor.
The tree is from the Christmas Market Cart Add-On die set. I used glue to adhere it into the mouse hole opening. I added foam tape to the back of the Mouse to adhere it to the card.
The sentiments are from the new Sentiment Studio: Holiday stamp set. This is ONE stamp with 26 sentiments!! The Sentiment Studio: Holiday Honey Cuts die will cut them all out in one pass! I totally love having all of these sentiments pre-stamped and die cut to save for future projects!

I sure hope you've enjoyed this post and found the directions helpful! It's fun to try out an idea that I had and have it work!
Thank you so much for stopping by today! Be sure to come over to my Instagram for my reel to see more of how I made this card! Have a wonderful day!!
I so appreciate that you use my affiliate links to shop! (There's never any additional cost to you.) It helps me with the expenses of posting my creative content, thank you. Note: You must have "allow cross-site tracking" and cookies turned on in your browser in order for it to know you use my links.

What a sweet card. I love that little mouse!!
ReplyDelete