Showing posts with label slimline card. Show all posts

Sunday, May 1, 2022

Altenew Build-A-Garden: Magnificent Branch Release Blog Hop + Giveaway ($200 total prizes)

Hello, and welcome to the blog hop to celebrate Altenew's release of the absolutely gorgeous Build-A-Garden: Magnificent Branch!  You should have arrived here from the blog of Jaycee Gaspar.  If you need to start at the beginning, head on over to the Altenew Card Blog.

From Altenew:

Enjoy our Build-A-Garden project set, an exciting monthly package that is sure to get the creative juices flowing! Each month includes a stamp set along with a coordinating stencil set and/or die set PLUS a customer-favorite Mini Blending Brush! Build your collection of brushes from month to month so you will never be left looking for the perfect tool while crafting.

This set contains the following products:

- one 6" x 8" stamp set containing 10 stamps made in the USA from high-quality photopolymer

- one layering stencil set containing 4 stencils that coordinate with the stamp set

- one Mini Blending Brush for ink blending

Note: These products are NOT sold separately. 

Click here to check out all of the details of the monthly Build-A-Garden subscription!

******************************************

I thought about stamping the Build-A-Garden: Magnificent Branch image onto two A2 cards.  However, I just think it's so beautiful as one large image on a slimline card, and that's what I went with!  First I stamped it with black ink and then used the coordinating Build-A-Garden: Magnificent Branch Layering Stencils to color it with ink blending brushes and various Altenew Crisp Dye Inks.  The colors I used are Coral Bliss, Heart Beat, Vineyard Berry, Maple Yellow, Firefly, Grass Field, and Mountain Pine.  For the branch I used Gathered Twigs Distress Ink.

After I finished the stenciling, I smooshed the ink pads onto my glass mat and used a watercolor brush to pick up the colors and added more more depth and details to the leaves and flowers.  When it was dry, I trimmed the card to 8" x 3-½".

For the coordinating mat layer I inked the edges of a 8-¼" x 3-¾" piece of white cardstock with Coral Bliss Crisp Dye ink.  Just drag the ink pad along the edges for a quick and easy coordinating layer!  

I adhered the mat layer to my slimline card base with glue.  Then I stamped the sentiment, including in the stamp set, onto a strip of vellum with clear embossing ink.  I added black embossing powder and heat set it.  Next I trimmed it into a strip and adhered the edges on the back of my stamped and colored panel.  

I adhered the piece to the card and added a few clear acrylic drops for some shine.  

Thank you very much for stopping by!  Be sure to leave a comment here, before heading to the next stop,  for your chance to win an awesome prize.

The next stop is the blog of Jenny Colacicco!

Giveaway Prizes

$200 in total prizes! To celebrate this release, Altenew is giving away a $50 gift certificate to 2 lucky winners and a $20 gift certificate to 5 winners! Please leave a comment on the Altenew Card Blog and/or each designer’s blog post on the blog hop list below by 05/07/2022 for a chance to win. Altenew will draw 7 random winners from the comments left on each stop of this blog hop and announce the winners on the Altenew Winners Page on 05/09/2022.

Blog Hop Order:

Wednesday, April 21, 2021

Busy Bees Slimline Birthday Card with No-line Coloring | Honey Bee Stamps

 Happy Wednesday friends!  Spring is here where I am with lots of flowers blooming and bees buzzing!  I hope you're seeing signs of spring too!  My card today reflects the season with lots of bright flowers and colorful signs of spring!  I've used my well-loved Busy Bees stamps and paired them with the newer Hexi Slimline Cover Plate Top and Base for my cheerful card.

I've been wanting to work on my no-line coloring skills so I began by stamping the flowers, leaves, and bees from the Busy Bees stamp set onto 80# Neenah with some no-line coloring ink.  I used a plethora of Copic markers in all the rainbow colors to color my flowers.  No line coloring does take some practice!  My best tips are to take your time!  Don't do this if you are in a rush as it just causes frustration (at least for me).  Another tip is to use a fine point black marker like a Micron 005 to add in the details on the bees.  Also, take breaks!  I think the time and effort are worth it in the end and love how my flowers and bees turned out.

When I finished coloring I die cut the images with the coordinating Honey Cuts.  For the stems, I just colored a scrip piece of paper with a green Copic and then used the stem die cuts to cut them out.

Next I worked on my card base.  I used a few Background Blender brushes to ink up a strip of card stock with Mowed Lawn and Twisted Citron Distress Oxide Inks.  Then I used the hill dies from the Horizon Slimline Borders Honey Cuts to die cut two hills from the strip.  I layered them and adhered the two pieces together with Bee Creative glue.

I took an 8-½" x 7" piece of 80# Neenah and scored it at 3-½" for my card base.  Then I blended on some Tumbled Glass Distress Oxide ink with a Background Blender brush.  Next I adhered the Hexi Slimline Cover Plate Top and Base pieces that I also die cut with 80# Neenah.  Then I adhered the hills at the bottom of the card base.

I used two stamps from the Buzz stamp set and stamped them in black ink.  I trimmed them and added some thin foam strips to the back.  I arranged my bees, flowers, leaves and stems onto the card front.  It took me a few minutes to decide which ones to pop up with foam squares and which to adhere with Bee Creative glue!  Before I adhered the leaves, I decided I didn't want the white edge from die cutting them, so I just fuzzy cut them out.  Then I shaped the leaves with my fingers, adding a piece of a foam square near the center and a dot of glue at the leaf bases to adhere.  (Tip: I love these foam squares and will often use my non-stick scissors to cut them into smaller squares as I did here!)

I love to get a bit of sparkle and those extra little touches in on a card when I can.  I added sparkle to the bees' wings and the flower centers with a clear glitter pen.  This I used a bright yellow Gel Roll pen to add dots to the flower centers.

I totally love how Honey Bee's products work together, whether they are older ones or new products!  I hope you've enjoyed my bright, springtime card today!  Thank you so much for stopping by!

Sunday, November 22, 2020

Thanks For Everything! & Coloring Tips for Slimline Stamps | Rubbernecker Stamps

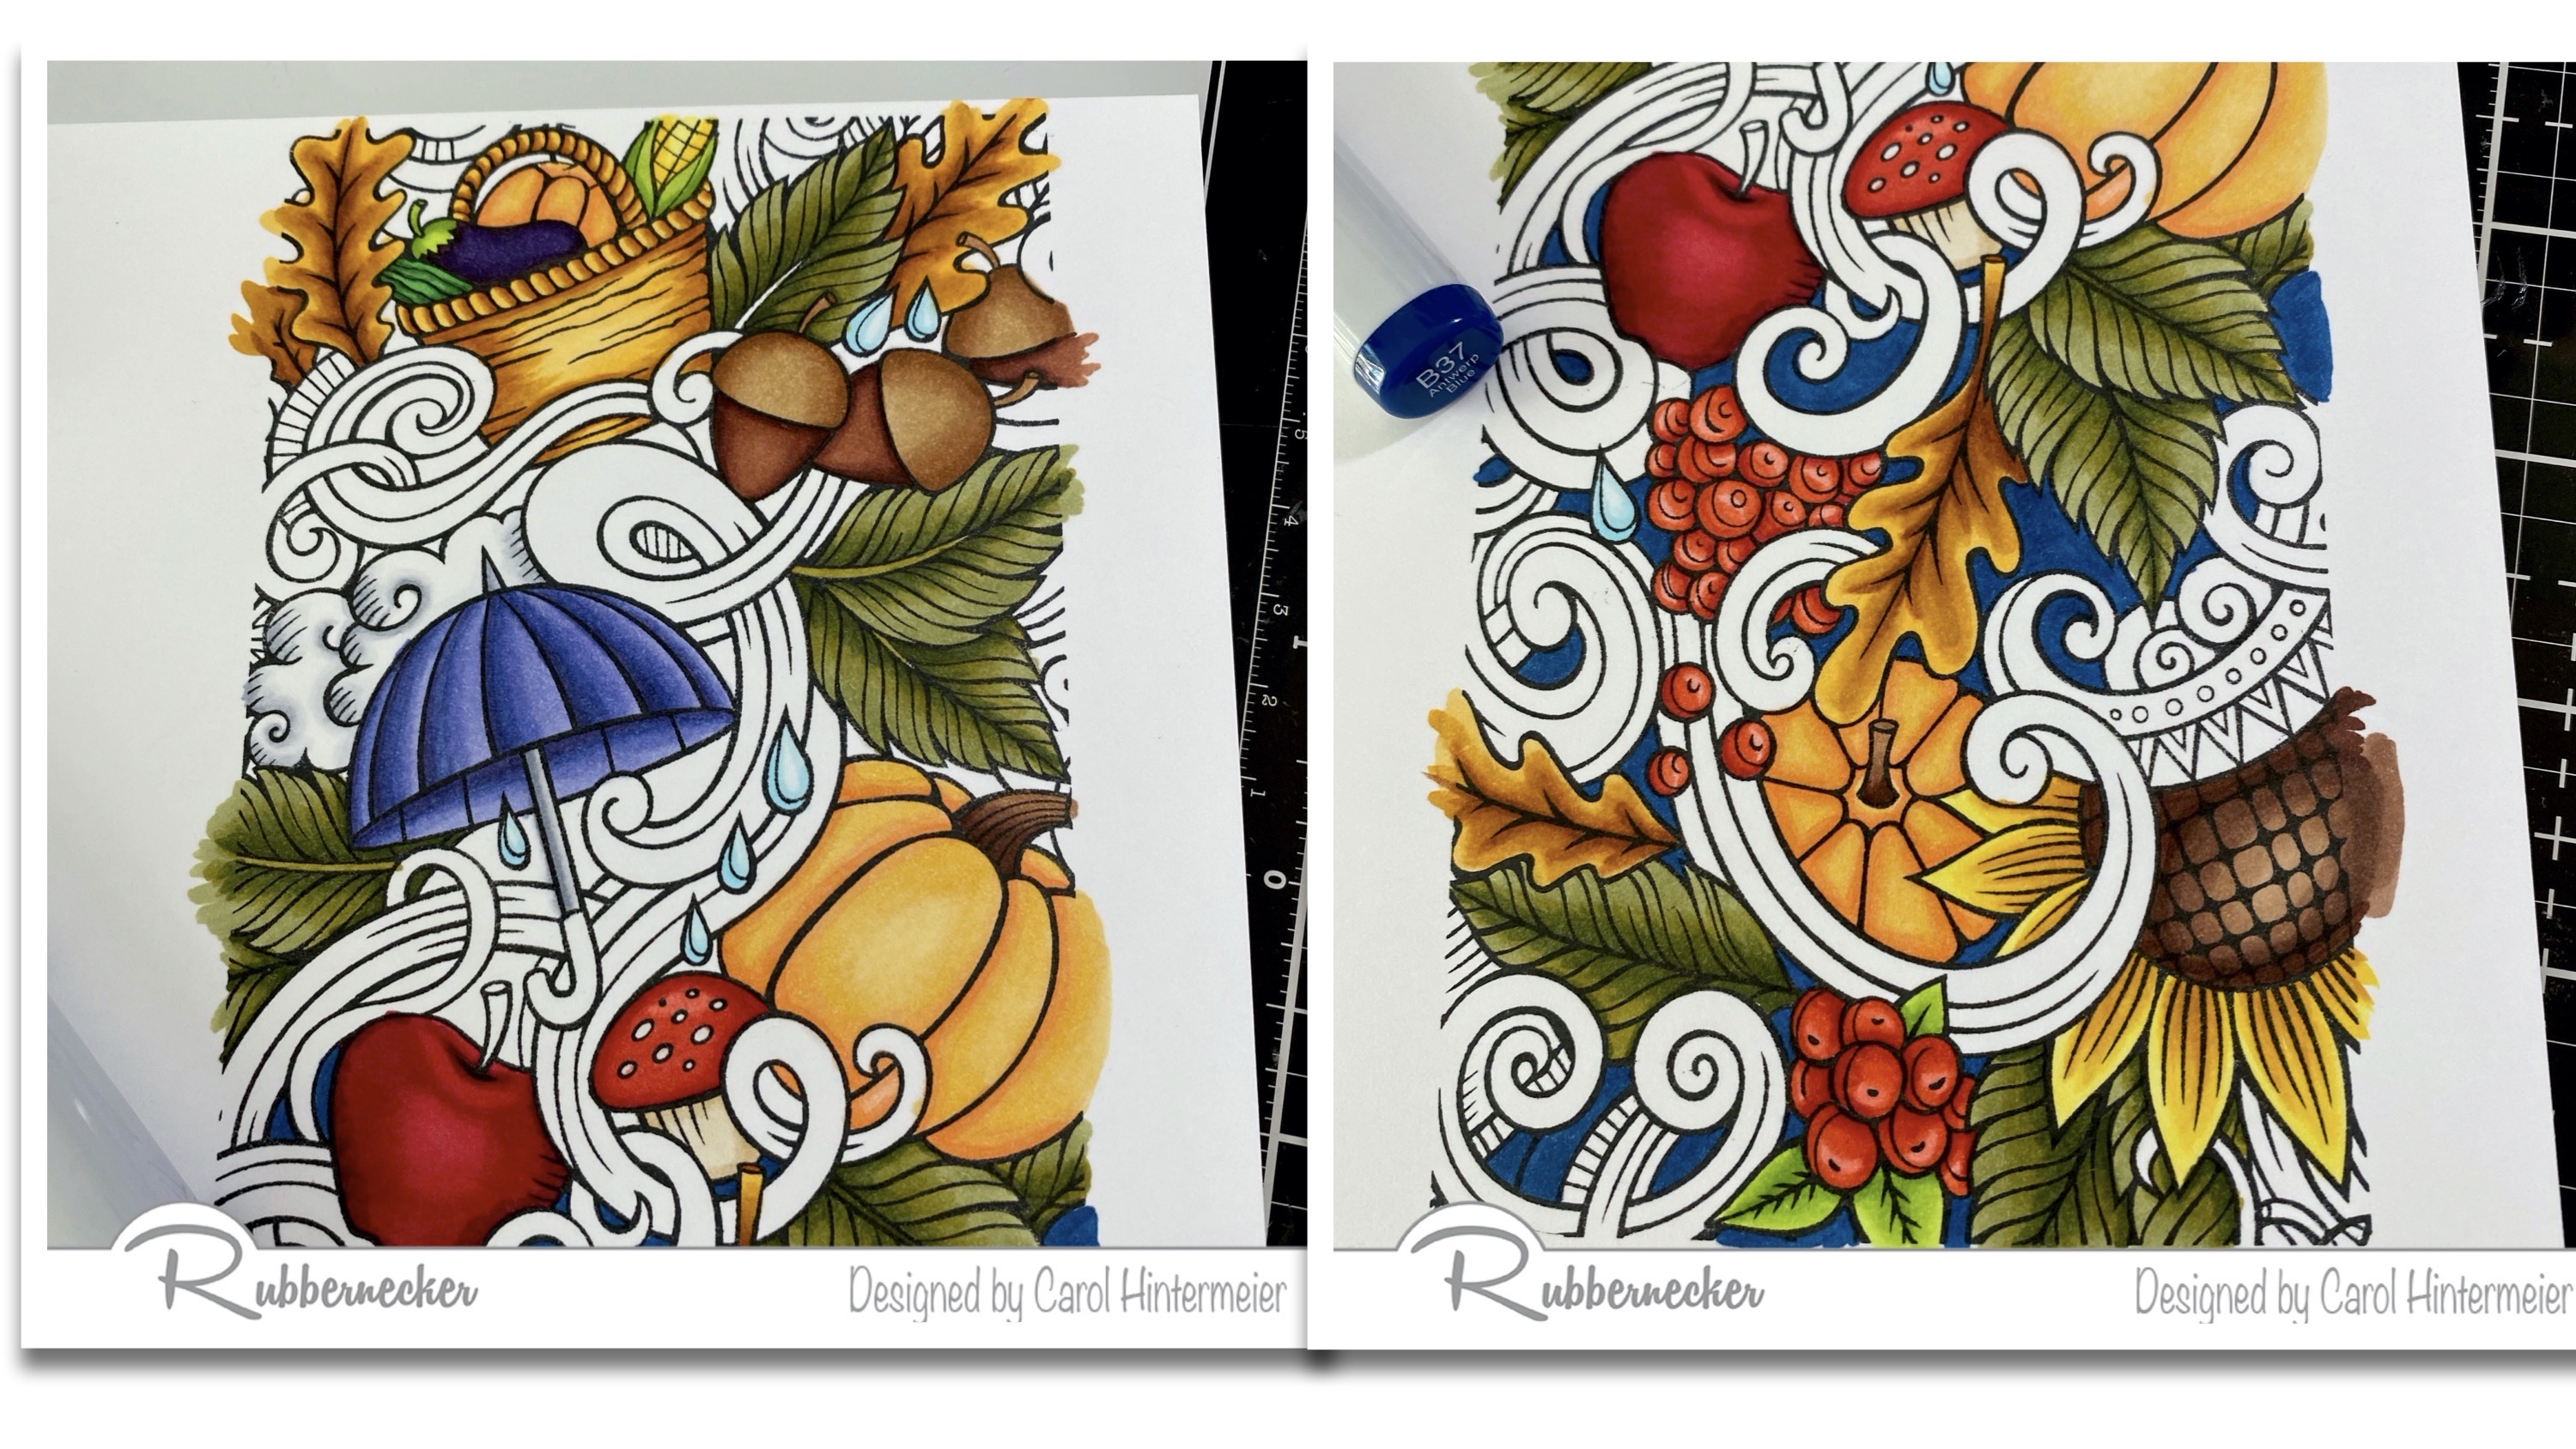
 Hello friends!  It's almost Thanksgiving and I have a card that would be perfect to give to a host or mail to anyone to say thank you!  I had so much fun coloring this beautiful Rubbernecker Stamps' Slimline Fall stamp.  This is a gorgeous slimline collage of autumn images!

Except for the time it takes to color the image, this card is very simple to make!  I'll be sharing some tips for coloring this style of image that helps me.  I hope you'll keep reading and let me know if these are helpful to you too!

Getting started:

  • Cut 80# Neenah card stock to 7" x 8-½" and score it at 3-½".  This creates a side-folding 3-½" x 8-½" card that will fit into a standard business size envelope.  No extra postage required! (In the USA.)
  • Stamp the greeting from the Best Friends, Etc. set with Versamark clear ink onto white card stock.  Sprinkle with gold embossing powder and heat set.  Trim it to about ½" x 3-¼".  Add foam tape and set aside.

Coloring tips:

  • This image can be colored with any medium you want such as colored pencils, watercolors, or alcohol markers.  I used my Copic markers to color this card and stamped it in a Copic safe ink.
  • My first tip is to choose the easily identifiable images and color those first.  I began with the pumpkins, then went to the green leaves, and then the golden brown oak leaves.  The more images you color, the clearer it all becomes!
  • I agonize a LOT over what colors to use, all the time!  I purchased a very inexpensive color wheel that helps so much!  I knew I wanted to stay with warm colors and this wheel helped keep me away from the cooler toned colors!

  • The ribbony tendrils and the background were the last things to color.  It really helped to see the tendrils when I colored in the background.  The next two photos show the before and after coloring the background.  (Note:  I used Copic B37 here.  When I was totally finished coloring, I decided I wanted it darker and went over it with a B39.)

  • My final tip is to stamp the image TWICE!  So I am showing you a NOT PRETTY image here!  Haha!  I use that second image to test out colors and color blends.  This sure helps prevent making huge mistakes on the original image!  You can see where I almost went over to the "cool" side of the color wheel on the tendrils (lower left side).  While these are my usual go-to greens, these definitely didn't fit in with my other color choices!

  • To complete my card, I trimmed my colored panel to 8-¼" x 3-¼" and adhered it to the card base.  Then I added the sentiment strip towards the bottom of the card.

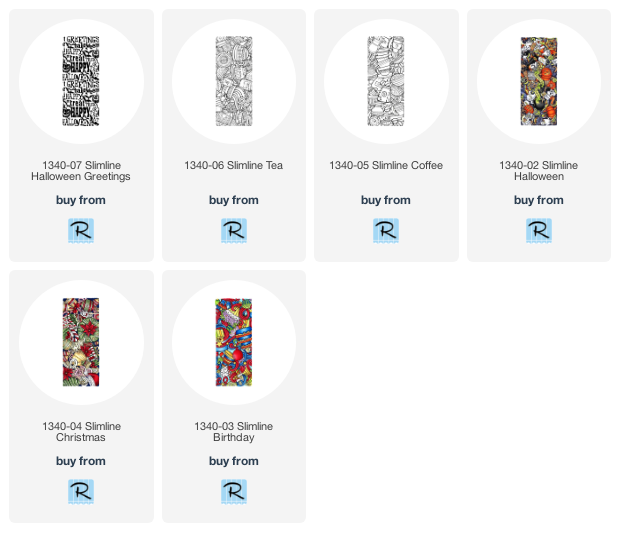
Rubbernecker has several of these beautiful collage sets that I've linked below.  I hope these tips are helpful to you and that I've inspired you to give this beautiful stamp set a try!  Have a wonderful, and crafty, week!

For this card I used:

Other beautiful slimline stamps from Rubbernecker:

Wednesday, November 18, 2020

Holly Jolly Christmas Slimline Card | Honey Bee Stamps

 Happy Wednesday!  Today I'm sharing a slimline card I made using Honey Bee Stamps Santa's Village stamps and Honey Cuts.  This card was easy to make so I'm keeping the chatter down and sharing a lot of photos for you!


For this card I've only used the Santa's Village set and the Horizon Slimline Borders Honey Cuts   Santa's Village stamp set is HUGE and you can do so much with it.  You can use a lot of images like I did, or select a few and make a smaller scene.


I made a large slimline card that will still fit in a business sized envelope.  It measures 9-¼" x 4", which was the perfect size for my scene!  I stamped all of the images in Copic safe ink and colored them with my Copic markers.  I fancied Mrs. Claus up a bit with a black Micron pen and a white gel pen, adding eyelashes and detailed to her apron and dress.  I die cut them all with the coordinating dies.


I die cut the hills from the Horizon Slimline Borders Honey Cuts.  Then I used a Background Blender Brush and inked on some Tumbled Glass Distress Oxide just on the edges.  I also used a few brushes to add a sky to my background with Faded Jeans and Chipped Sapphire Distress Oxides.  This is my FAVORITE winter sky combination!


I adhered all of the background images with Bee Creative Precision Tip Glue.  (P.S.: This is the first glue with this tip of those that I've tried and has not clogged!)   The hills at the bottom are adhered with glue for the top one and thin foam tape for the one at the bottom.


All of the images in the foreground are adhered with either thin or thick foam tape.  After I had those down, I tucked in a few more trees.  I also adhered the sentiment with foam tape near the top edge.  I love how Honey Bee has dies to cut out the sentiments!


Here is some advice if you make anything like this:  Add the Nuvo Fresh Snowfall Glitter Accents to the hills BEFORE you put them on the card!  LOL!  It worked out fine, but was a bit tedious to make sure I got it just where I wanted it.  I also added these pretty gems to the trees that are in the Holiday Cheer Gem Stickers.


I had so much fun coloring the images for this card!  Did you see my daily posts on Instagram?  I was seriously entertaining myself!  LOL!  Thank you so very much for stopping by!!

Supplies:

Sunday, September 27, 2020

Floral Layering and Inky Backgrounds | Rubbernecker Stamps

Happy Sunday friends!  Today I have a two-for-one set of cards using Rubbernecker Stamps' beautiful, new Just Because stamp set and coordinating dies.  I had so much fun making the inky background for the slimline card.  I had only planned on making this one card, but as I was cleaning up I noticed how the single flower looked so pretty with the embossed sentiment, so I made another card!

Here are the steps for my slimline card:

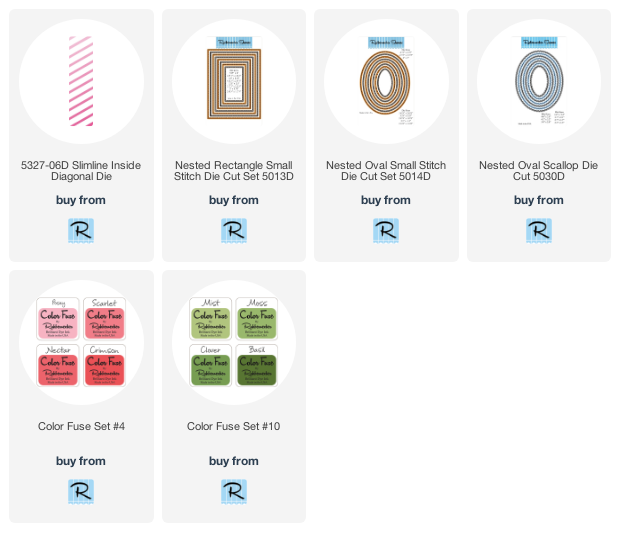
  • Die cut a piece of watercolor paper with the Slimline Inside Diagonal die.
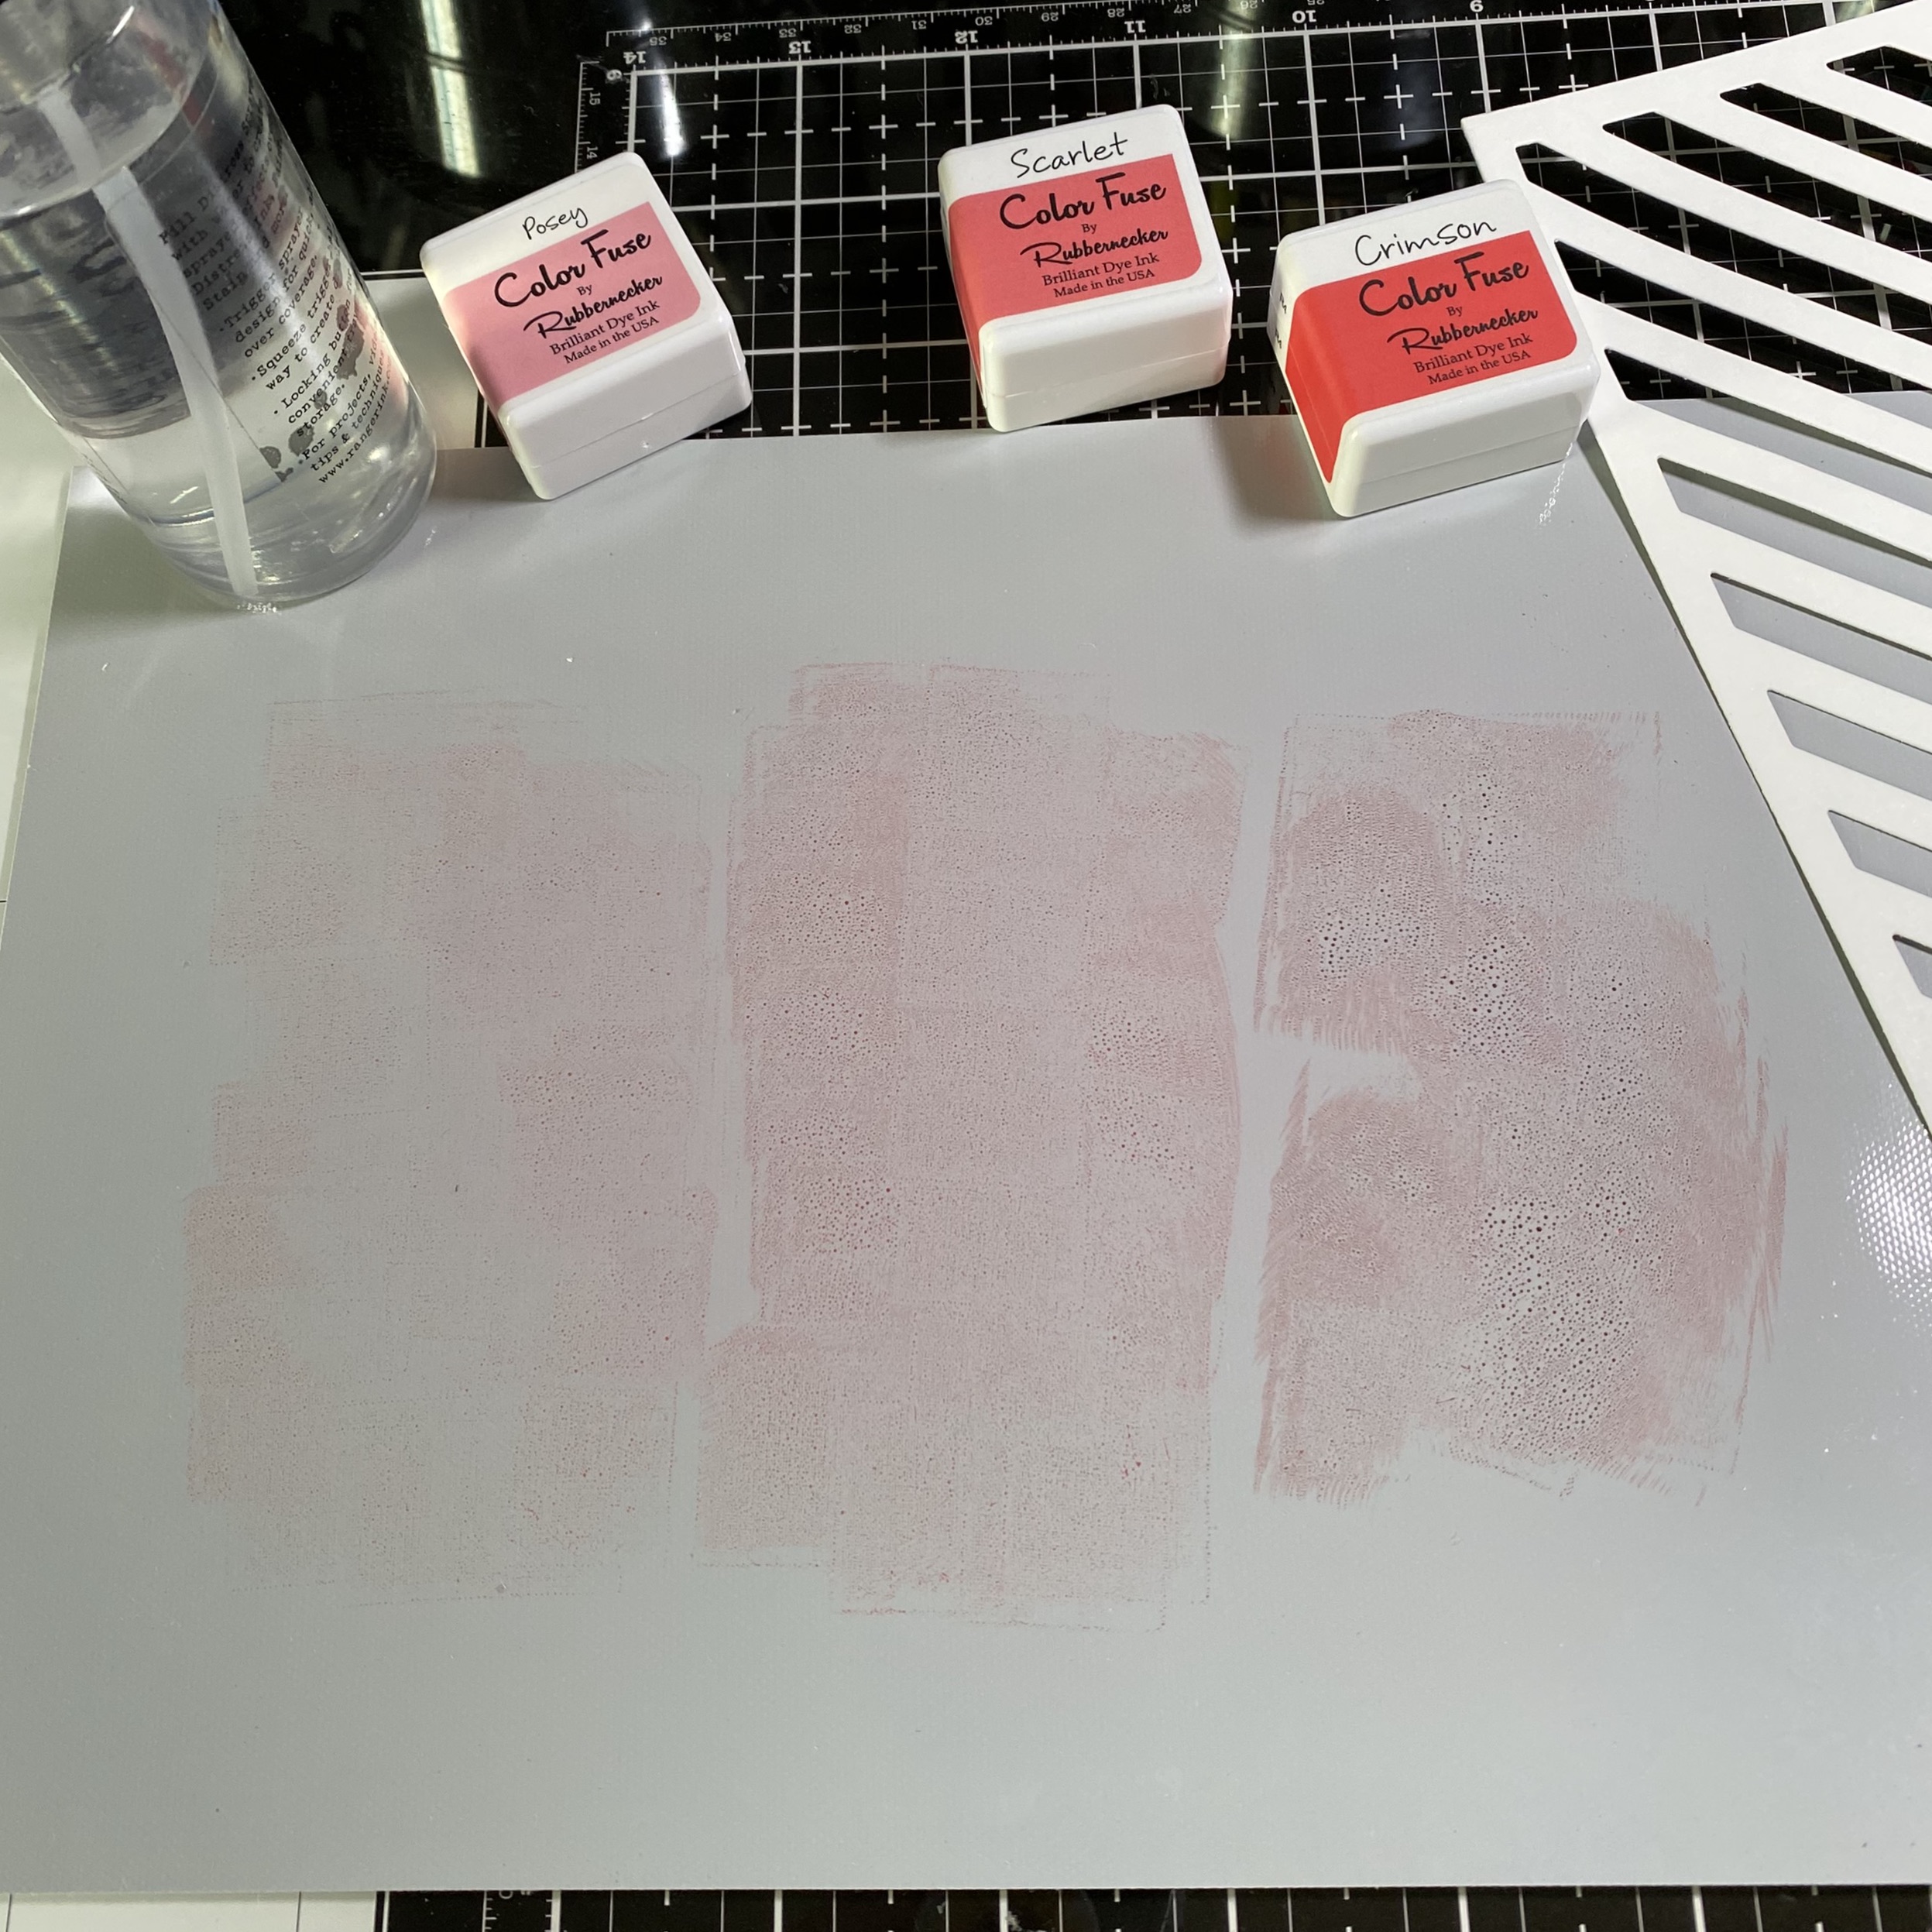
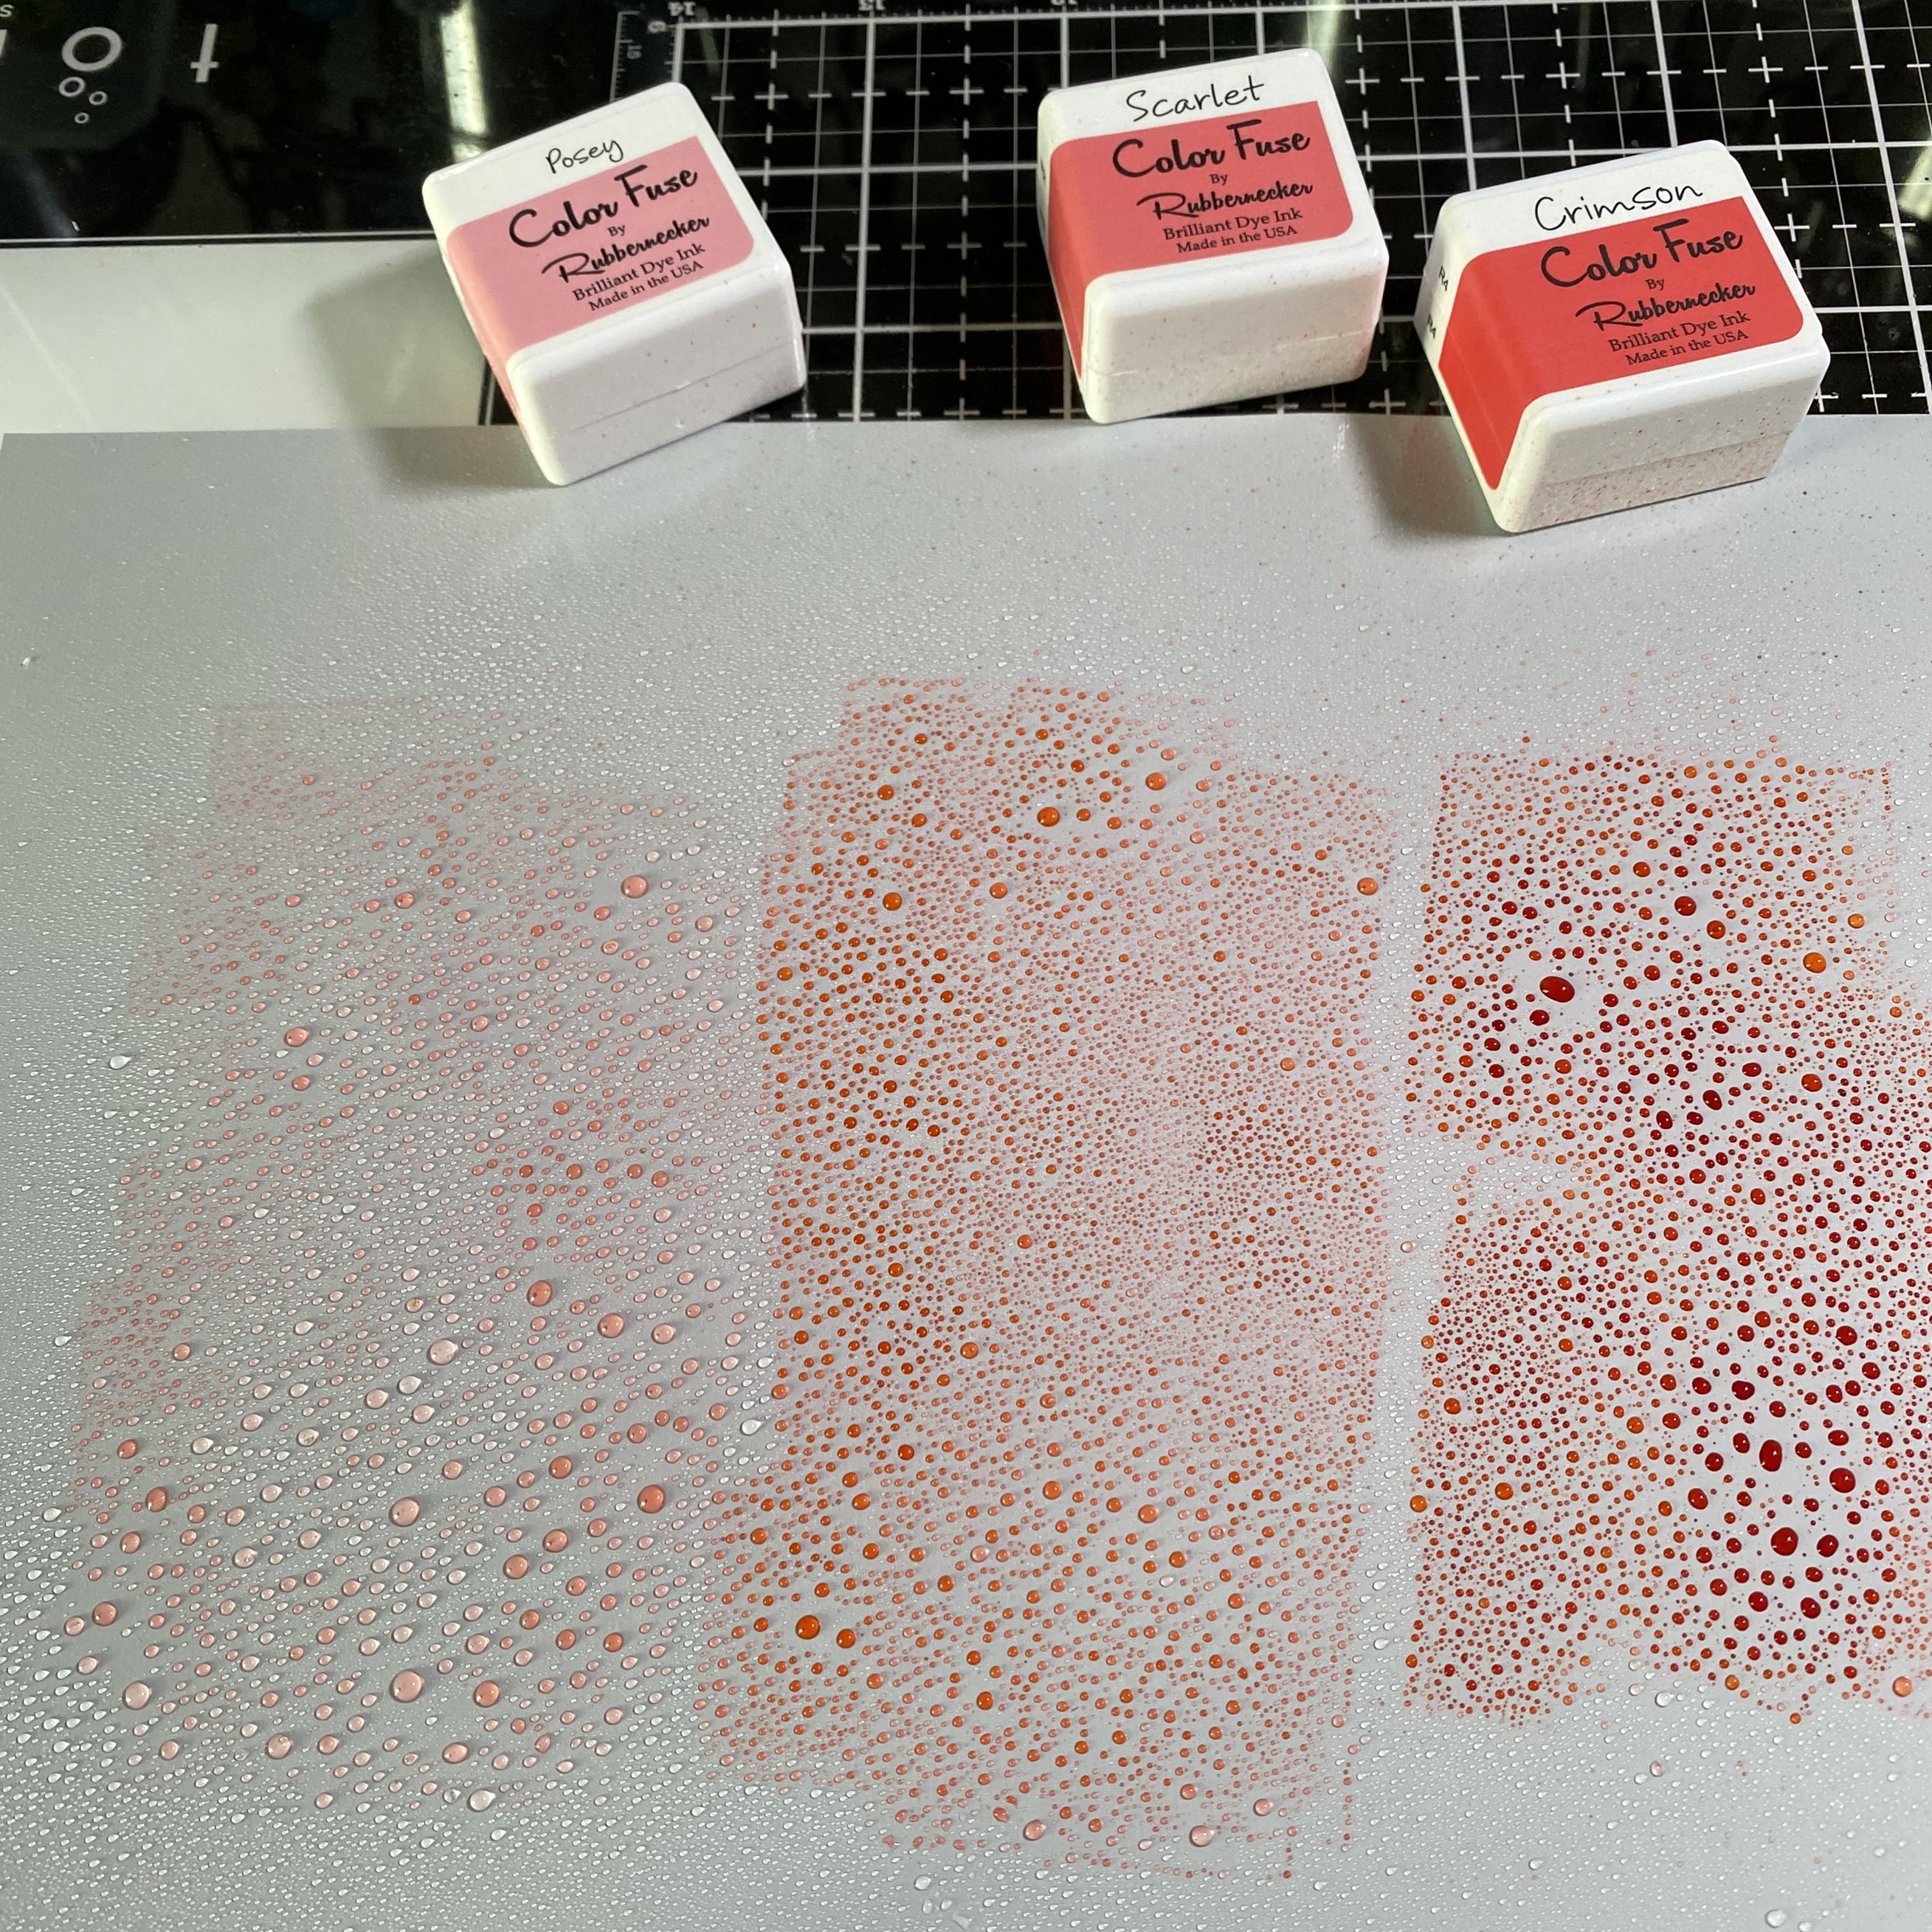
  • Now for the fun, inky part.  Ink some Posey, Nectar, and Crimson ink onto a craft mat.  (These are in Color Fuse Set #4.)
  • Spray the ink lightly with water.  The more water you add, the more dilute your colors will be.  As you can see from these photos, I sprayed just enough water for the inks to bead up.

 
  • Take the die cut Inside Diagonal piece and dip it into the inks.  I repeated this until I had the look I wanted.  Be sure to use your heat tool to dry between each time you put it into the ink so you can get the textured looking layers.  Set it aside to dry thoroughly.
  • Next I stamped the flower layers in the Just Because set.  Again, I used Posey, Nectar, and Crimson.  I stamped four flowers.
  • Stamp the leaves and stems with Moss, Clover, and Basil from Set #10.
  • Die cut the flowers and stems with the Coordinating Die set.
  • Next I stamped two sentiments from the set with Versamark ink onto black card stock.  (Be sure to use an anti-static bag before stamping so you don't have white embossing powder stuck everywhere!)  I added white embossing powder and heat set it.
  • I trimmed "Thinking of You" into a strip, added a white layer, and foam tape to the back.
  • Die cut one Nested Oval Scallop die from black card stock.
  • Die cut one Nested Oval Small Stitch die from white card stock.  Center and adhere this to the black scalloped oval.

Assemble the card:
  • Adhere the diagonal stripe water color piece to a slimline card base (3-½" x 8-½").
  • Adhere the oval layers.
  • Arrange the flowers to your liking and add foam tape to the back of them.  I crossed the stems near the bottom and added some black and white twine tied into a bow.
  • Adhere the flowers to the ovals.
  • Attach the sentiment to the card.  I added some black gem stickers for a touch of bling.


My bonus card was super quick and easy since I had the flower and sentiment already done!

  • Die cut some 80# Neenah with the largest Nested Rectangle Small Stitch die.
  • Ink the edges of this with Crimson ink using an ink blending brush.
  • Attached it to an A2 top-folding card base.
  • Die cut 80# Neenah with the next-to-largest Nested Rectangle die.
  • Add spatters in various colors.  I smooshed a bit of Nectar ink onto my craft mat, added a bit of water with a paint brush and tapped the color from the brush onto the card.
  • The other colors are diluted black acrylic paint and Gansi Tambi Starry Colors Champagne Gold.
  • When the spatters are dry, add foam tape to the back and attach it to the card base.
  • Add foam tape to the back of the sentiment panel and the top of the flower.  Attach these to the card.
  • I added Champagne Gold dots to the black layer.

I hope I've inspired you have some inky fun with these beautiful flowers!  Thank you so much for stopping by and have a wonderful, crafty week!


Sunday, September 13, 2020

Celebrate Autumn: Layering Stamps with Embossing | Rubbernecker Stamps

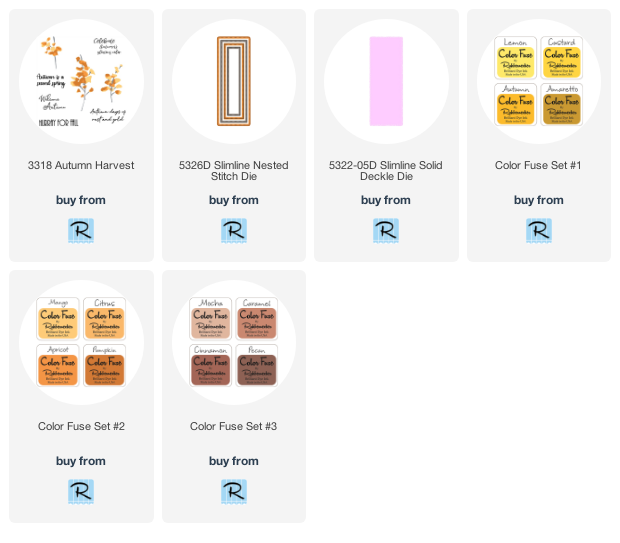
Hello friends!  Today I've added a twist to using layering stamps by embossing the final layer!  I've used Rubbernecker Stamps' beautiful Autumn Harvest stamp set for my slimline card today!

Here are the steps for my autumn card:

  • I began by centering one of the Slimline Nested Stitch dies (the second largest) in the middle of the Slimline Deckle Die.  Use tape to keep them together.
  • Trace a pencil line around the inside of the rectangle.  (see photo) Be sure to keep them together as we will use them later for die cutting.


  • I roughly planned where the branches would go, using the pencil line as my guide, so I would know where to stamp my sentiment.  See photo above.
  • Next I stamped the sentiment with Versamark ink and added copper embossing powder, then heat set it.  I repeated this step to get a more dimensional look.
  • Stamp the base layers of the stamps in Mocha ink from the Color Fuse Set #3.  I placed the branches randomly, here and there, using the sentiment and pencil line as my guide.

  • Position the second layer of the branches. For this layer I used a variety of inks.  I used Mango, Citrus, and Apricot on the different branches.  The included layering guide makes this very easy!
  • For the final layer, instead of stamping it with inks, I used embossing powder.
  • Make sure all of the inked layers are dry!  Use your anti-static bag, then stamp the third layer with Versamark ink.  I used embossing powders I had in my stash.  One was WOW copper and the other BEE Sweet, a golden yellow shade (and on sale now).  Heat set the powders with your heat tool.
  • Now use the two taped together dies and line the pencil line up with the inside of the rectangle die.  Run it through your die cutting machine.  Be sure to erase your pencil line!

  • I added foam tape to the back of the rectangle piece.
  • I centered it onto a coordinating card base and adhered it.  The card base is from The Paper Cut's Festive Variety Scored Slimline Cards pack.
  • I added liquid glue to the deckled frame and adhered it around the rectangle.
  • To finish it up I added some coordinating sequins from my stash.  I never can have too much bling! Haha!

I loved adding the embossed layer to this card, and I hope I've inspired you to give it a try.  Have a wonderful and crafty week!

Sunday, July 26, 2020

Butterfly Kisses Slimline Card | Rubbernecker Stamps

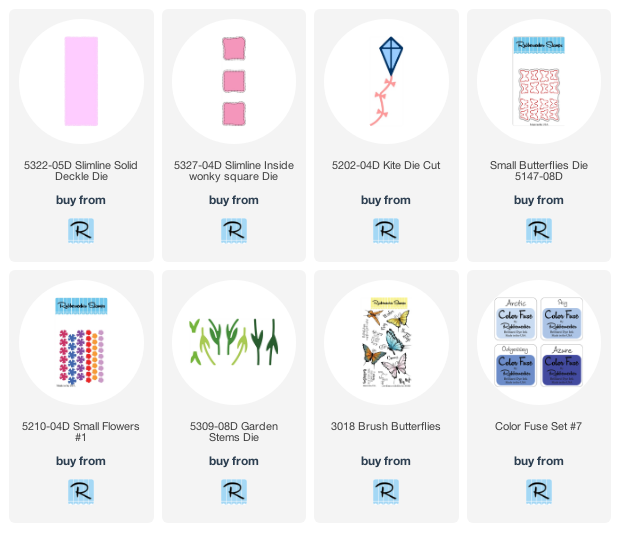
Hello friends!  I have another fun slimline card using another new slimline die from Rubbernecker Stamps!  They have released several new "accessory" dies to go with the slimline layers called Slimline Inside Dies.  My card today uses the Slimline Solid Deckle die and the just released Wonky Square Slimline Inside die.  I built my sweet scene for this card using the Kite Die and Small Flowers #1 die.  


First I created the card base.  Here are my steps:
  • Create a slimline card base by scoring a 8-½" x 7" card lengthwise at 3-½".
  • Center the Wonky Square Slimline Insert in the center of the Slimline Deckle Die.  I taped these together on the non-cutting side with blue painters tape.
  • Die cut four of these from white card stock and adhere all layers together with liquid glue.
  • Put temporary adhesive on the back of three of the wonky squares that remain from the die cutting.
  • Center the layered frame on the card front and stick each wonky square in its corresponding opening.  Set the layered from aside.
  • Ink a cloud background using Color Fuse Set #7, a blending brush, and a cloud stencil.  Note:  You are inking over those wonky squares that are temporarily adhered from the previous step.  I stenciled my clouds in an ombré look starting with the darkest ink at the top. (Don't pay attention to the order of the ink pads in the photo below!  LOL!)
  • Remove the wonky squares and adhere the layered frame to the card base when you are finished with the cloud stenciling.
  • Glue the wonky squares into the openings.


Card elements:
  • I die cut the Kite Die, Small Butterflies Die, Garden Stems Die, and the Small Flowers #1 die from white card stock.  If you prefer, you can just die cut these from different colors of card stock.  I prefer to color them with Copic markers rather than endlessly searching through my colored card stock for just the right colors.  (Maybe I should take that clue and organize my card stock better?  Haha!)
  • Die cut the kite three more times to have enough extra kite bows to make two layers each.  Also, take one kite string and adhere it to the end of another.  When everything is colored, snip six of the bows from the extra strings.  Add a dot of glue just to the center of the bottom bow and layer another bow on top.
  • When the glue is dry on the bows, bend up the sides to add dimension.
  • A tip for easy coloring of the small die cuts.  After you die cut them, put some temporary tape on the back of the die cut negative, and put your die cuts back in place.  This makes it really easy to color them without have to try to hold onto them while coloring!

  • After I had everything colored, I used a stylus to add some shape to the flowers and attached them to the stems.
  • Trim the Garden Stems as you like to create a cluster of flowers in the bottom wonky square.
  • Adhere some of the flowers with liquid glue and a few with foam tape.
  • Add a foam square to the back of the kite and adhere in the top square.
  • Add a few drops of liquid glue to the kite string to adhere to the middle square.
  • Add glue only to the center of the butterflies and arrange on the card front.
  • Stamp the sentiment from Brush Butterflies in black ink and trim into a rectangle shape.
  • Color a scrap of card stock with a dark blue Copic marker and trim to fit as a layer behind the sentiment.
  • Adhere the sentiment with liquid glue.

To finish up, I added some white dots to the kite with a gel pen and some gem stickers to the kite string.  Because I love my sparkle, I added some to the butterflies with a clear sparkle pen.


I love these new slimline dies and inserts!  Which ones are your favorites?  I have a hard time choosing! LOL!  Stay well, and crafty, my friends!


Wednesday, July 15, 2020

Welcome Little One Slimline Card | Honey Bee Stamps

Today I have a sweet slimline baby card using Honey Bee Stamps new Slimline Sentiments Eyelet die.  I have a quick tip on how to extend the die cuts for the hills and grass, which are not as long as the slimline cards are.  I'll give you a few more details about my card along the way!


The Slimline Sentiments Eyelet die cuts out the center portion and the scalloped edge separately.  I love this because it makes it easy to use the cloud stencil from the Outdoor Scene Builder set on the center portion without inking the scallop frame.  This is the first time I've used the new Speckled Egg Distress Oxide ink and I think I really like it!

It's so easy to extend these border dies to fit the slimline sized card.  I used Honey Bee's Grass Border and Hill Border dies.  As you can see from the photo below, I began with 8-½" long card stock and die cut the borders once.  I repositioned the dies and once I felt the cutting edge slip into the first cut, I taped them in place and ran it through my machine again.  Then you can trim the length to fit your card!  Easy, peasy!


All of my cute critters are colored with Copic markers and die cut with their coordinating dies.  The critters are from two sets:  Woodland Babies and Way To Goat.  The flowers are from Way To Goat too.


I popped up several of the elements, including the sentiment.  I love how there are coordinating dies for these sentiments!  I added a few gems from the Perfect Petals Crystal Gem Stickers set.  FYI, the finished card is 8-½" x 3-½".  Perfect fit for a standard business envelope!


I hope you've found this little tip for extending your dies helpful!  Thank you so much for stopping by!


Honey Bee Stamp supplies:

Other supplies: