Thursday, August 31, 2023

Altenew September 2023 Stamps, Dies, Stencil and More Release | Blog Hop + Giveaway ($300 in Total Prizes!)

Hello, and welcome to the Altenew September 2023 release blog hop!  I’m so thrilled to be joining in this hop filled with inspiration celebrating so many beautiful products on this release!

You should have arrived here from Michelle Burnier's amazing blog.  Your next stop is the awesome blog of Emily Midgett.  If you would like to start at the beginning, head over to Altenew’s blog.  I also have the complete hop list at the end.

____________________________________________________________

My first card features the beautiful Bold Bouquet Outline stamp, die set, and Simple Coloring Stencil set.


I colored the image using the Simple Coloring Stencil set and several Crisp Dye Inks.  I used these inks: Rouge, Crimson, Deep Iris, Midnight Violet, Firefly, Grass Field, Shadow Creek.

Black and metallic gold splatters were added before matting it with black cardstock and adhering it to an A2 card base.


My second card features the absolutely gorgeous Bold Bouquet 3D Embossing Folder!

The ombre teal background was inked first from Mountain Mist and Lagoon Crisp Dye inks and Concord and 9th's Tidepool ink.

I embossed the ombre panel with the Bold Bouquet 3D Embossing folder.  Then I used each of the Bold Bouquet Simple Coloring Stencils to add metallic gold pigment ink using an ink blending brush.  I love how the gold touches really make the embossed image pop!

The hot foiled sentiment is from the Essential Sentiments hot foil plate with gold hot foil.  I like that this includes several sentiments on one plate and that the coordinating Essential Sentiment die cuts them out all at once.


Giveaway Prizes

$300 in total prizes! To celebrate this release, Altenew is giving away a $100 gift certificate to 1 lucky winner and a $40 gift certificate to 5 winners! Please leave a comment on the Altenew Card Blog and/or each designer’s blog post on the blog hop list below by 09/06/2023 for a chance to win. Altenew will draw 6 random winners from the comments left on each stop of this blog hop and announce the winners on the Altenew Winners Page on 09/08/2023.

*The winners of the $100 gift certificate will be chosen from comments left on the Altenew blog.

Thank you for stopping by!  If you would like to see more of my creations, please subscribe to my blog or find me on Instagram at: @c.ann.h

Complete hop list:

You are invited to the Inlinkz link party!

Click here to enter

Wednesday, August 30, 2023

Hello My Friend Featuring The New Bountiful Banner Stamps, Stencils, Dies

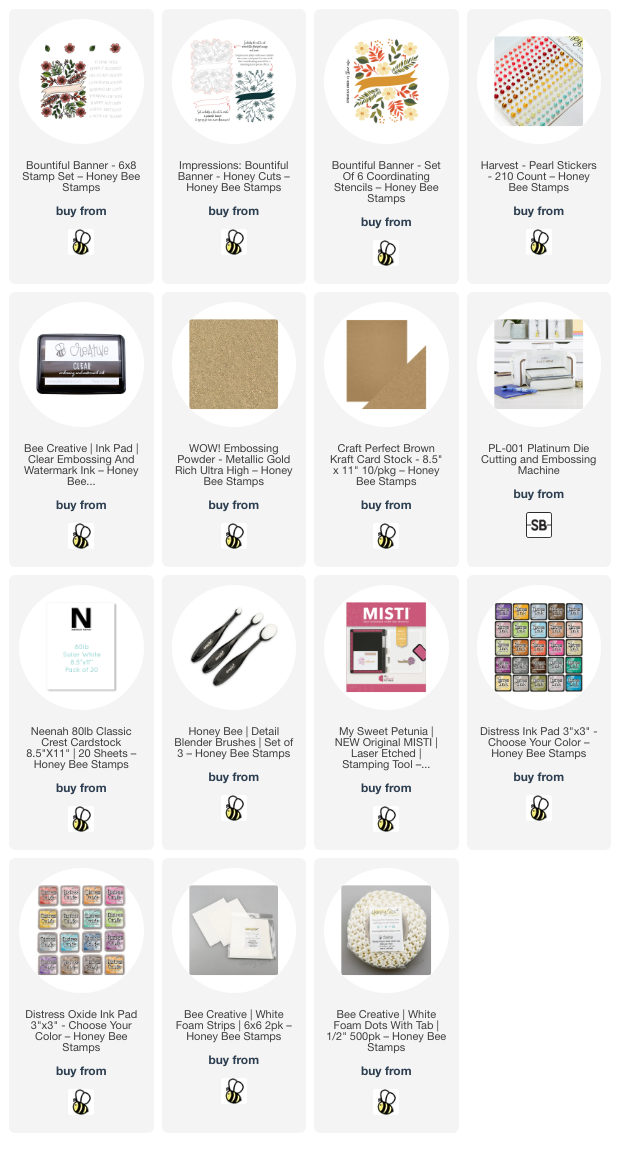
Hello my friends! Have you been enjoying all of the inspiration being shared for the awesome Honey Bee Stamps Heartfelt Harvest release? I have more inspiration for you today with this card featuring the Bountiful Banner stamps and coordinating stencils.

Before I get to the details of my card, I want to let you know about the fun Instagram Hop we are having today featuring lots of wonderful cards from the Team! You can go to my Instagram page where I will have the complete hop list. Be sure to comment and tag your friends on every stop because there will be  two winners of a $50 gift card to be drawn from all those leaving comments!

First I used the Bountiful Banner stencil set to color the image with Distress Inks. I used these colors: Dried Marigold, Ripe Persimmon, Scattered Straw, Seedless Preserves, Peeled Paint, and Shabby Shutters.

Now, I like to stamp with the outline stamps after I finished coloring with the stencils. The reason for this is so I don't have to worry about the ink smearing while coloring. I just placed the image into my MISTI and placed the Bountiful Banner outline stamp over the colored image. Once I have the stamp lined up, I pick it up with the MISTI door. I use Gathered Twigs Distress Oxide to stamp the outline.

Tip: You can place a piece of acetate over the stenciled image to "test" your alignment. Just stamp onto the acetate and you can see if you need to make any adjustment.

I cut the Bountiful Banner image out with the die from the Impressions: Bountiful Banner. (There is a more detailed die in the Bountiful Banner Honey Cuts to use too!) Then I lined the die cut up with the Impressions: Bountiful Banner impress plate, secured it with removable tape, and ran it through my die cutting machine with the usual die cutting sandwich.

The impression from the Impressions: Bountiful Banner shows up in a few places in the photo and in real life, it's SO pretty! I added thin foam strips to the back and adhered it to an A2 kraft card base.

I stamped a sentiment from the Bountiful Banner stamp set with clear embossing ink and heat embossed it with metallic brass embossing powder. I used the banner die included in the Impressions: Bountiful Banner set to die cut it. I added some foam dots to pop it up on the card.

I just had to add some of the pretty Harvest pearl stickers for a touch of bling!

Thank you so much for stopping by today!  I hope to see you over on the Instagram hop too!

I so appreciate your using my affiliate links to shop (never any additional cost to you)!

Tuesday, August 29, 2023

Autumn Card With Lots of New Honey Bee Stamps Lovely Layers

I have another card featuring several of the beautiful new Lovely Layers sets from Honey Bee Stamps' Heartfelt Harvest release!  How many gorgeous Lovely Layers do I have here?  Check it out!

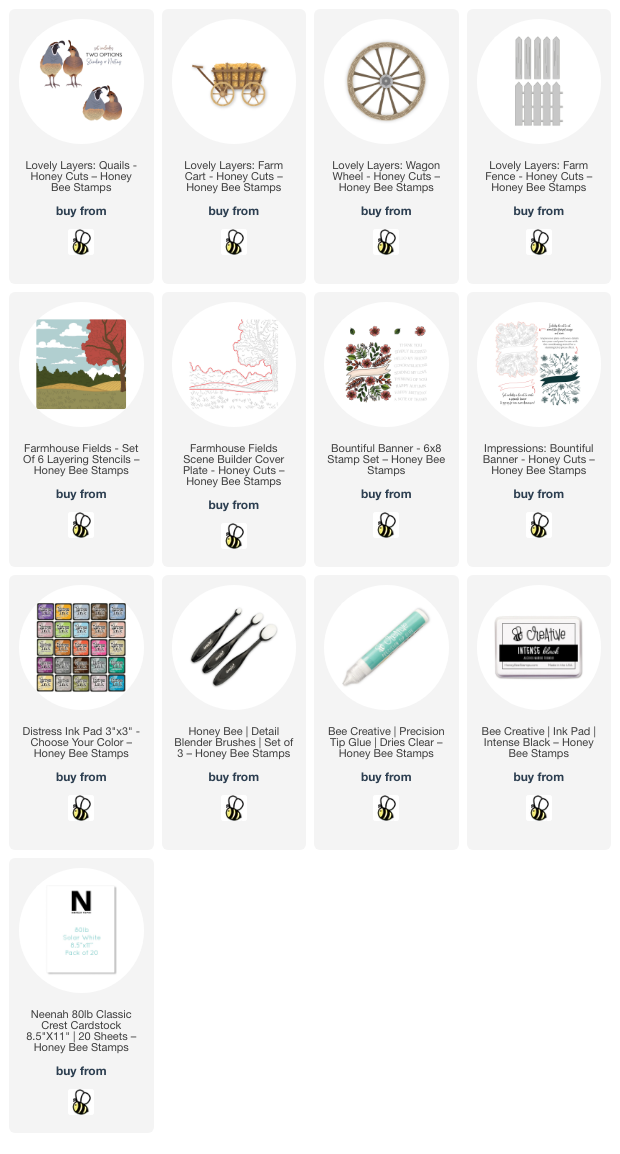
How sweet are these quail??!!!  I used all of my favorite colors of autumn Distress inks to ink blend and color all of the elements on this card.

I've given you a peak of the gorgeous Farmhouse Fields Scene Builder die I colored using the coordinating stencils.

The too cute fence is the new Lovely Layers: Farm Fence lightly shaded with Lost Shadow Distress ink.

Next is the also new Lovely Layers: Wagon Wheel.  A few brown Distress inks colors it up nicely.  I like the brown/gray color of Frayed Burlap that shows towards the center of the wheel.

The Lovely Layers: Quail are perched atop the hay bale that's in the Lovely Layers: Farm Cart dies.  Oh my gosh, this one's adorable!

I added a popped up sentiment I stamped from the Bountiful Banner stamps.  I cut it out with the banner die in the Impressions: Bountiful Banner die set.  (Check that set out!  It is a plate that impresses the details of the Bountiful Banner set!)

Stay tuned for my usual Wednesday Honey Bee blog post and details of the most awesome Instagram Hop!  Thank you so much for stopping by!

I so appreciate your using my affiliate links to shop (never any additional cost to you)!

Monday, August 28, 2023

Kind People -- An Extra Sweet Card!

 I'm back today with another inspirational card for Honey Bee Stamps' Heartfelt Harvest release!  I've made a sweet card, that looks nothing like an autumn card, to send to a very special friend that features the new Lovely Layers: Fall Treats die set.

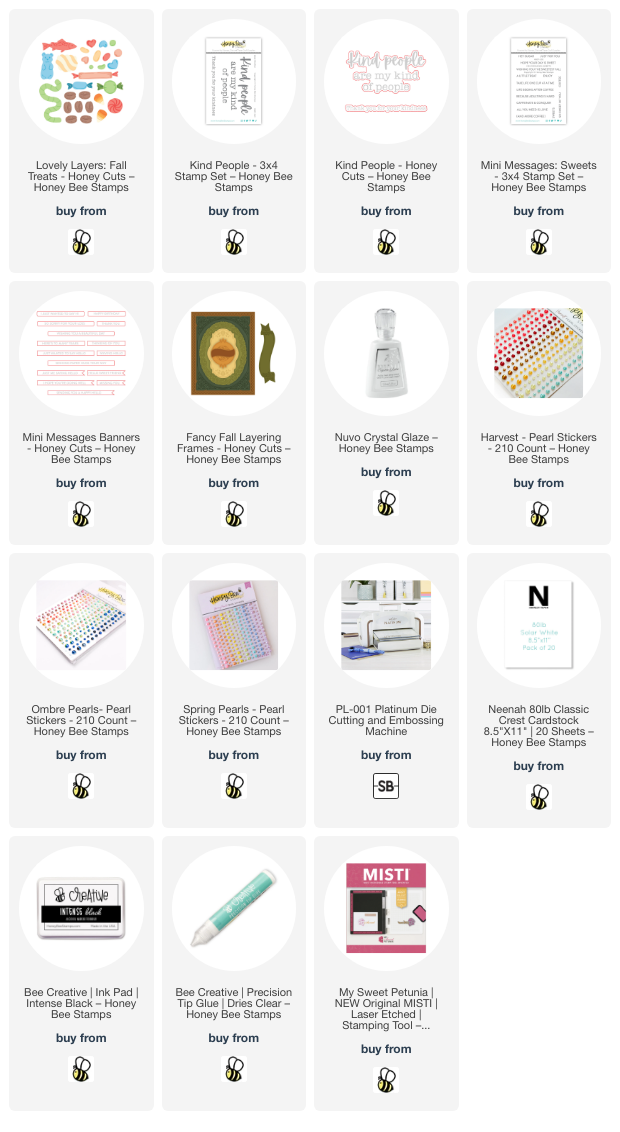
First I die cut almost all (yes, there are even more dies in this set!) of the Lovely Layers: Fall Treats from different colors of cardstock scraps, except the gummy worm.  I die cut it from white cardstock and used Copic markers to color it.  To make some of these cute candies look sugary, I squirted some glue onto my craft mat and diluted it with a drop or two of water.  Next I used a damp paintbrush to brush it onto the pieces and sprinkled on chunky crystal glitter.

I love how sugary and sparkly these look!  To get the somewhat glossy look on the other pieces, I diluted some Crystal Glaze with a tiny bit of water and brushed it onto them.

I adhered them to a white cardstock panel that was die cut with the largest of the Fancy Fall Layering Frames.

This awesome sentiment is the new Kind People stamps and coordinating die.  The little sub sentiment is from the new Mini Messages: Sweets Stamps and die cut the one of the Mini  sets.

I added lots of bling from a few different pearl stickers sets.  I used pearls from these sets:  Harvest, Spring, and Ombré.

I really had fun making these Fall Treats all sparkly and shiny for an "anytime" card!  Thanks so much for stopping by!

Thank you so much for using my affiliate links to shop (never any additional cost to you)!

Sunday, August 27, 2023

Give Thanks Card With The New Heartfelt Harvest Release!

Happy shiny new week, crafty friends!  Today I'm sharing my first card using new products from Honey Bee Stamps gorgeous new release called Heartfelt Harvest!  We will be sharing "inspiration" ideas for this release today through Tuesday.  Then on Wednesday, we are having an Instagram hop with prizes!

As you may imagine, I've been super busy, and still have lots to prepare for, so this will be a brief blog post.  If you have any questions, please use the "contact me" form in the left column.

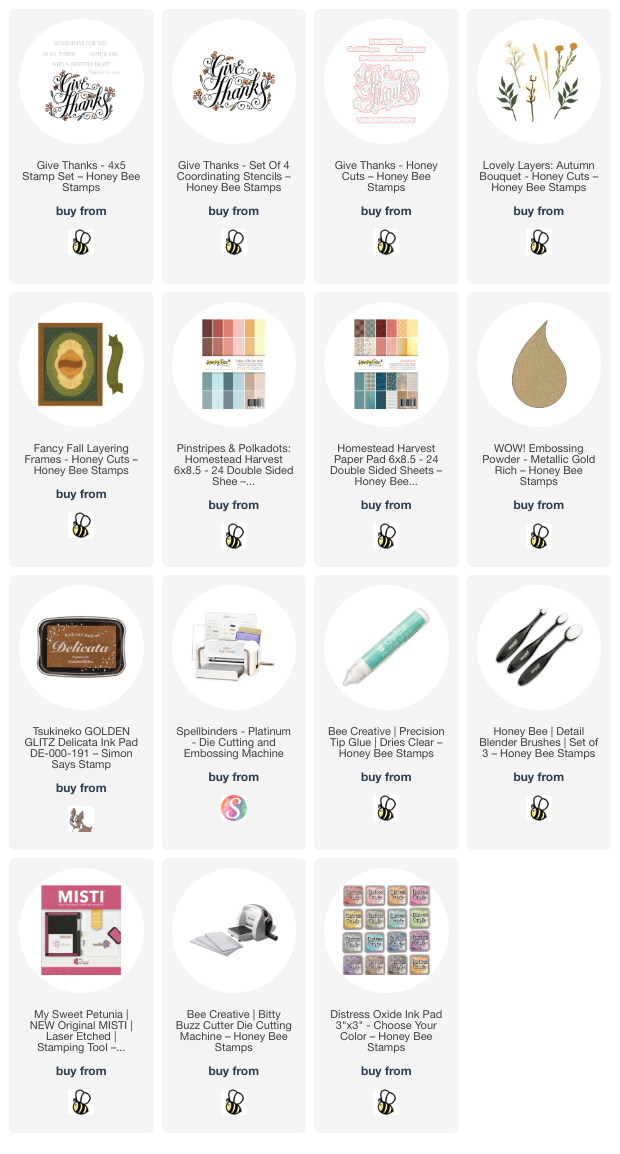
This card features the absolutely gorgeous Give Thanks stamp, stencils, and coordinating die.

I love the font of this sentiment!  I let is shine by heat embossing it in gold.  A few pretty accents from the new Lovely Layers: Autumn Bouquet adds that bit of special!  These were die cut from metallic gold paper and patterned paper from the Pinstripes and Polka Dots: Harvest paper pad.

The gorgeous layers with paper from the Heartfelt Harvest paper pad (let me just say, Honey Bee has the most gorgeous papers!) are die cut with the Fancy Fall Layering Frames dies.  I added a bit more shine by swiping a metallic gold ink pad around the edges of the layers.  This really helps the detail of the dies stand out. 

Thank you so very much for stopping by.  Be sure to check out the entire Heartfelt Harvest release HERE.  Have a beautiful Sunday!

Thank you so much for using my affiliate links to shop (never any additional cost to you)!

Tuesday, August 22, 2023

Pink Poinsettia Christmas Card

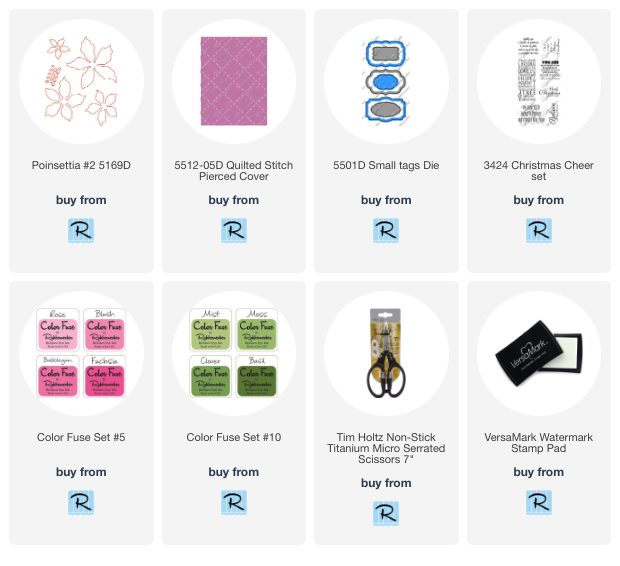
Today I'm sharing my Christmas card featuring Rubbernecker Stamps' gorgeous Poinsettia #2 die set.  I went with pink, silver and all of the splatters and sparkles today!

I created the poinsettias by die cutting watercolor paper with the Poinsettia #2 die (this is a one-piece die) three times.  I used scraps to die cut three more of the largest poinsettia layer.

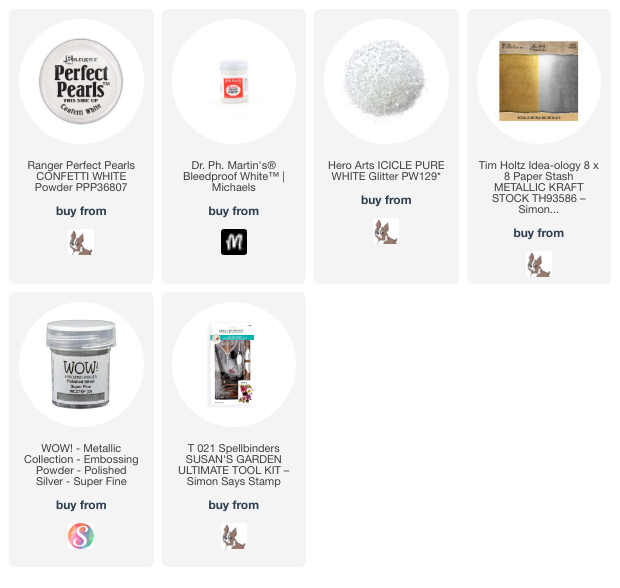
Then I used ink blending brushes to color the petals with pink Color Fuse inks and green for the three largest layers.  The inks I used are linked below.

Before using my flower shaping tools to shape the petals, I added drops of white paint and Confetti White Perfect Pearls.  After the droplets dried I shaped the flowers with a few different sized styluses.


I used glue to adhere the poinsettia layers together by placing a drop or two of glue into the center of each layer.  While those dried, I die cut the poinsettia centers from mat silver cardstock and adhered three to the center of each poinsettia.

For even more sparkle, I used glue with a fine tip and added glue near the tips of each petal. I worked on just several at a time, sprinkling on chunky glitter, then adding glue to several more, glittering, and continuing until all petals had glitter.

I created a card base by layering silver metallic cardstock on an A2 card.  I die cut 80# Neenah with the Quilted Stitch Cover die and trimmed it to 4" x 5-¼" and glued it to the card.

Next I stamped the sentiment from the Christmas Cheer set with Versamark ink and sprinkled on silver embossing powder.  After I heat set the embossing powder, I die cut the sentiment with a Small Tags die.  I added foam tape on the back to pop it up.

This may look like a super complicated card to make with these dimension poinsettias, but trust me, it's not!  I love creating these gorgeous shaped flowers for a card.  I hope you are inspired by my card, and as always, so appreciate you stopping by!

Thank you for choosing to use my affiliate links (never any additional cost to you)!

Saturday, August 19, 2023

Set of Three Easy-to-make Autumn Cards featuring the BetterPress Letterpress System

Hello, friends!  Today I'm sharing three cards I made with a couple of products in Spellbinders BetterPress Fall/Halloween Collection. These easy cards feature the gorgeous Autumn Floral Corner press plate and the Notched Corner Frames dies.

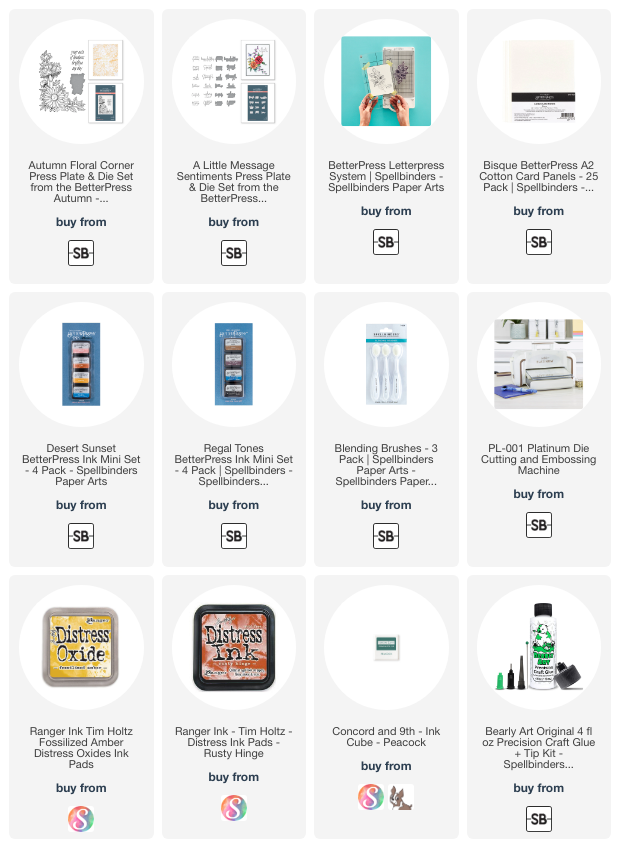
I created all three cards using Spellbinders' BetterPress Letterpress System.  I used three of the inks in the Desert Sunset BetterPress mini ink pad set and the Autumn Floral Corner press plate.  I followed the directions for the BetterPress and pressed the image onto Bisque A2 cotton card panels.  This first card is pressed with Tuscan ink.

The sentiment from this card is included with the Autumn Floral Corner set and pressed with black ink from the Regal Tones mini ink pad set.

Next I trimmed each panel to 4" x 5-¼".  Then I used the fourth largest Notched Corner Frames die and die cut the center of each panel.  Before I glued on the outer portion of the panel, I inked up the front edges of an A2 card base with Fossilized Amber Distress Oxide ink, which matches perfectly!

I tied a piece of gingham ribbon around the center panel and added foam tape to the back to pop it up.

The next two cards are created in the same way as the first, just different ink colors.

This time I pressed the Autumn Floral Corner with Clay ink.  I found another very good coordinating ink-Rusty Hinge Distress ink-for the card base.  This sentiment is from the A Little Message Sentiments press plates and dies set.

Last but not least, is the final card pressed with Coastal Ink.  I searched through my entire stash of ink pads to find a coordinating ink for the card base and this is the closest I could come!

Even though the Peacock ink is a bit bright, I do think that Concord & 9th's Peacock ink coordinates very nicely!  Again, the sentiment is from the A Little Message Sentiments set.

I hope you've been inspired by these easy and beautiful cards today!  I truly do love the BetterPress system and the crisp images it creates!  Thanks so very much for stopping by!

Thank you for shopping with my affiliate links (never any additional cost to you)!

Friday, August 18, 2023

Grateful for Your Friendship with the New Autumn Envelope of Wonder

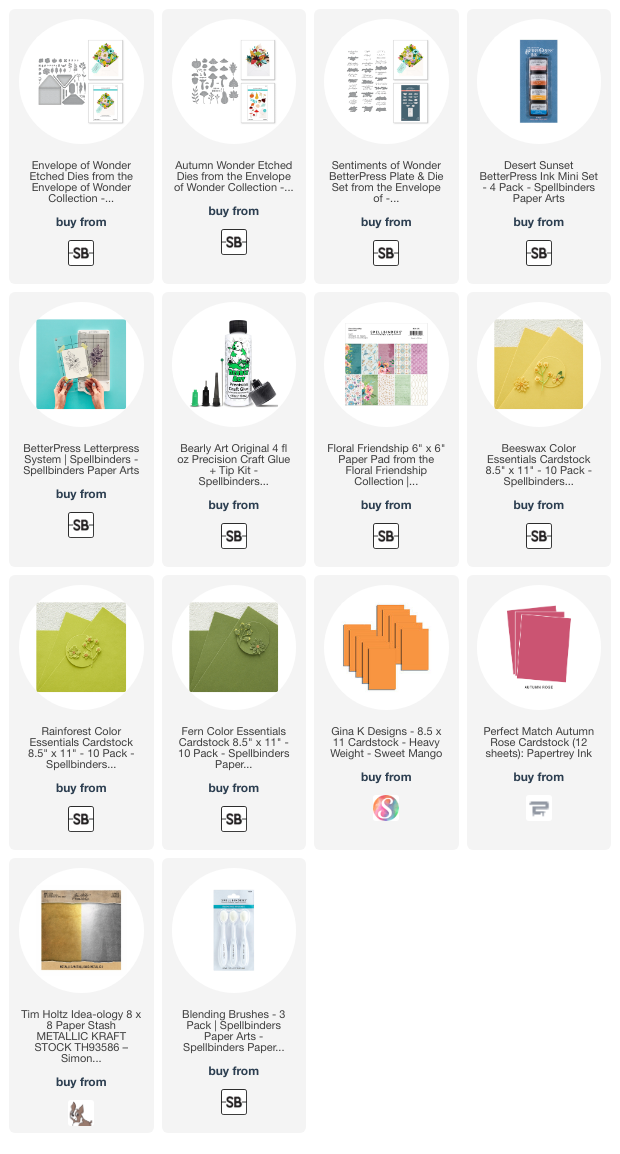
Happy Friday crafty friends!  Have you seen Spellbinders' new die set called Envelope of Wonder?  It is SO beautiful with lots of different flower dies to fill the envelope!  For my card today I've used the add-on Autumn Wonder die set along with the Sentiments of Wonder BetterPress set.

I die cut the envelope die from the Envelope of Wonder set from patterned paper in the Floral Friendship paper pad.  I die cut an extra "liner" piece from gold and white paper along with the metallic gold trim.  This will coordinate with all of the Autumn Wonder die cut pieces that I added touches of gold to.

Next I die cut all of the pieces of the Autumn Wonder set from various colored cardstock scraps and some mat gold cardstock.  I've linked all of the current cardstocks in the list below.  I used ink blending brushes to add Distress Inks to the pieces for shading.  I used these colors:  Rustic Wilderness, Rusty Hinge, Fossilized Amber, Fired Brick, and Gathered Twigs.

On some of the pieces I used a gold sparkle pen to add touches of gold.  For the gold on the leaves I just brushed my embossing ink pad along the edges of each leaf.  After I sprinkled on gold embossing powder, I used a dry paintbrush to dab away some of the powder and then heat set the pieces.

The fun part of making this card was playing around with various arrangements for the florals!  Some pieces are adhered with a few dots of glue, and others have a foam dot or two for extra dimension.

I created the sentiment from the Sentiments of Wonder by inking it up with Clay ink and then following the directions for the BetterPress Letterpress System.  I cut it out with the tag die found in the Envelope of Wonder set.  I added a piece of twine to the tag before popping it up with foam tape.

As you can see from the above photo, this will easily fit into an A7 envelope for mailing!

This was really fun to make and these elements would also be beautiful as the focal point of a standard card.  Thanks so much for stopping by today.  I hope you have a wonderful, and crafty weekend!

Thank you for using my affiliate links (never any additional cost to you)!

Wednesday, August 16, 2023

Sending You Sunshine

Hello crafty friends! Today I'm back to the beach with my card featuring Honey Bee Stamps' fun Beach Scene A7 Cover Plate die, but not an A7 card! Keep reading for how I made this into an A2 card!

First I die cut the Beach Scene A7 Cover Plate die from 80# Neenah. Then I used some inks from my stash and a few Distress Inks to color the layers with ink blending brushes. The sand layers are Antique Linen and Gathered Twigs Distress ink. The water layers are three shades of teal inks (linked below). Then the sky is more Distress Inks in the color of Squeezed Lemonade, Scattered Straw, Tumbled Glass and Prize Ribbon.

Next I die cut more 80# Neenah with the fourth largest Sweet Stacks: Rectangles die. Then I used glue to adhere the Beach Scene layers to the rectangle. I slightly offset the center of the scene so that the sunrise would appear more on the right side. After all of the layers were glued on, I used my scissors to trim off all of the excess on each side.

I adhered the Beach scene to an A2 card base. Next I die cut colored cardstock with the hibiscus and plumeria blossoms and leaves dies from the Tropical Bouquet Honey Cuts. I adhered the pieces to the card with glue, except for the hibiscus, which is popped up with a foam dot.

I can't believe I didn't even add any shading to the flowers! LOL! But I just thought that they were very pretty as they are! I treated a piece of white cardstock with my antistatic tool. Then I stamped the sentiment from the Wish You Were Herestamp set in black pigment ink. I sprinkled on black embossing powder and used my heat tool to set it. I cut it out with the coordinating die.

I added foam tape to the back of the sentiment for dimension to match the flowers. I really wanted to add a bit of bling, but decided that this card didn't need it at all! What do you think?

As much as I loved making my autumn wreath card (last week's blog post) it's really hard to get into the autumn feel with it still so hot where I am! This beach scene was just what I needed, and I hope you've enjoyed the process. Thanks so very much for stopping by today!

Thank you for shopping with my affiliate links (never any additional cost to you)!

Tuesday, August 15, 2023

Cute Snowman Shaker Card

Hello crafty friends!  Today I'm sharing this fun shaker card featuring a couple of newer Rubbernecker Stamps' products along with some older and still fun products.  And, one more holiday card is done!

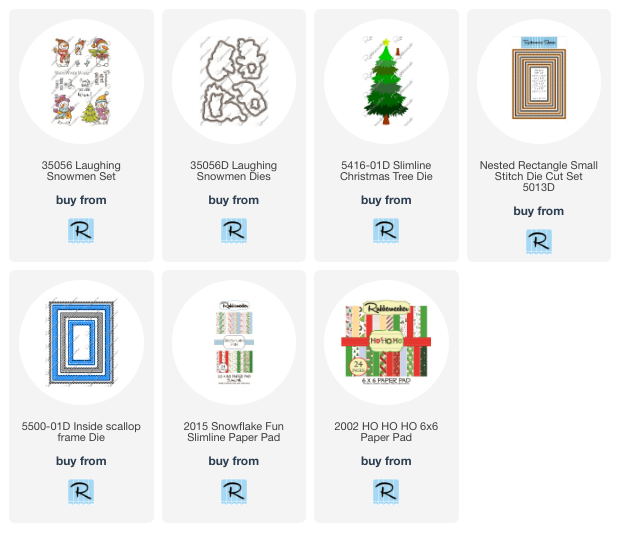
First I stamped the adorable little snowman from the Laughing Snowmen set in a very light gray ink so I could achieve a no-line coloring look.  I colored him with my Copic markers and used the coordinating die to cut it out.

This photo shows the marker colors I used:

Next I die cut a rectangle opening in paper from the Ho Ho Ho paper pad with a Nested Rectangle Small Stitch die.  I trimmed this to 4" x 5-¼".  I glued a piece of acetate to the back of the patterned paper then die cut three Inside Scallop Frames to layer up with glue and then adhere around the front of the opening.

For the shaker background I die cut four layers of the Slimline Christmas Tree and adhered it off-center onto a piece of blue snowflake paper from the Snowflake Fun Slimline paper pad.  I added white dots for snow to the tree with a white gel pen.

I added foam tape to the back of the piece with the acetate.  I sprinkled in translucent Distress Mica Flakes, removed the foam tape and then adhered the piece with the tree to close the opening.

After I adhered the shaker to an A2 card base with a red paper layer (also in the Ho Ho Ho paper pad), I glued the snowman to the front of the window and adhered the sentiment.  The sentiment is one of several in the Laughing Snowmen set.

Thank you for stopping by today!  I hope you have a wonderful day!

Thank you so much for using my affiliate links to shop (never any additional cost to you)!