Showing posts with label letterpress. Show all posts

Friday, February 14, 2025

Vivid Blooms Floral Card with Letterpress Background

Today I'm sharing details about this card I made featuring Spellbinders gorgeous February BetterPress Of The Month Club Kit!   This beautiful press plate, Luxe Damask, made an awesome background for the die cuts from the Vivid Blooms die set!

The February BetterPress press plate actually presses two rows of the Luxe Damask pattern.  There is a preprinted "registration template" with guide lines for placement of the press plate to get a perfect pattern for a full card front.

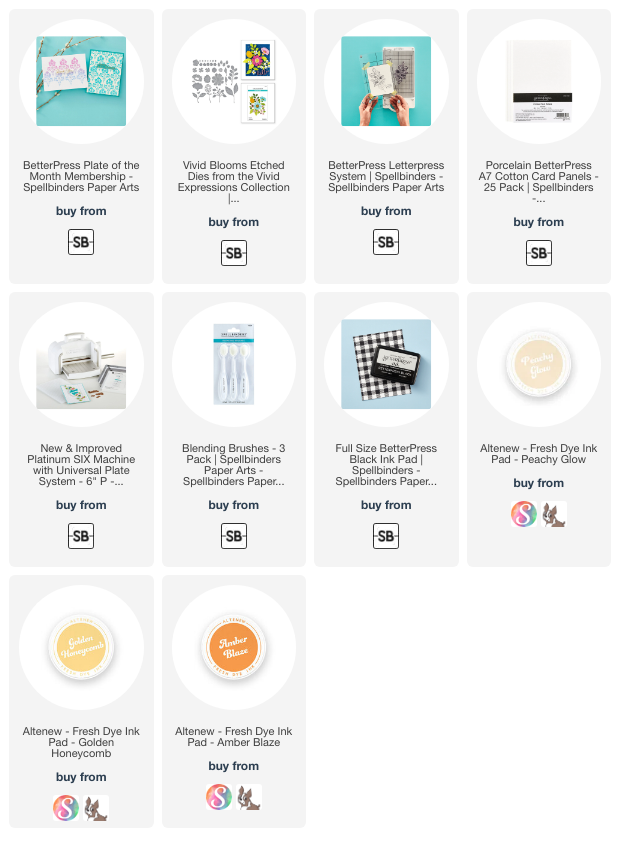
I used three shades of yellow ink for the Luxe Damask press plate and the flowers from the Vivid Blooms die set.  The inks are linked in the list below.  After you tape the registration template to your magnetic insert on the BetterPress Letterpress System's chase, you line up the press plate according to the template.  Ink up the press plate and run the chase through your die cutting machine.  I use a Platinum 6.

Then I moved the Luxe Damask press plate to the next set of lines on the template and repeated the above steps until I had the entire piece of Porcelain cotton card covered with the pattern.

I used several of the dies from the Vivid Blooms die set and cut them from white, light green, and dark green cardstocks.

I used blending brushes to add yellow inks to the flowers and a black Copic marker for the flower centers.

The sentiment is one of three sentiment press plates (and coordinating dies) included with the February BetterPress of the month.  I pressed it with black ink onto Porcelain cotton card.  I used foam tape to pop it up on the card.

 I wish you could see the beautiful impressed, textured background this Luxe Damask press plate creates!  You can check out all of the Spellbinders Club Kits and the information for subscribing by clicking HERE.

Thanks so much for stopping by!  Have a wonderful, crafty weekend!

Thank you for using my affiliate links to shop (never any additional cost to you)!

Monday, March 4, 2024

Three Easy Cards with the Every Occasion Floral Alphabet Collection

Happy Monday friends!  Today I'm sharing three cards featuring the so beautiful Every Occasion Floral Alphabet Collection by Spellbinders.  These are designed to be used with their BetterPress Letterpress System.

Next up are the details for these three beautiful cards!

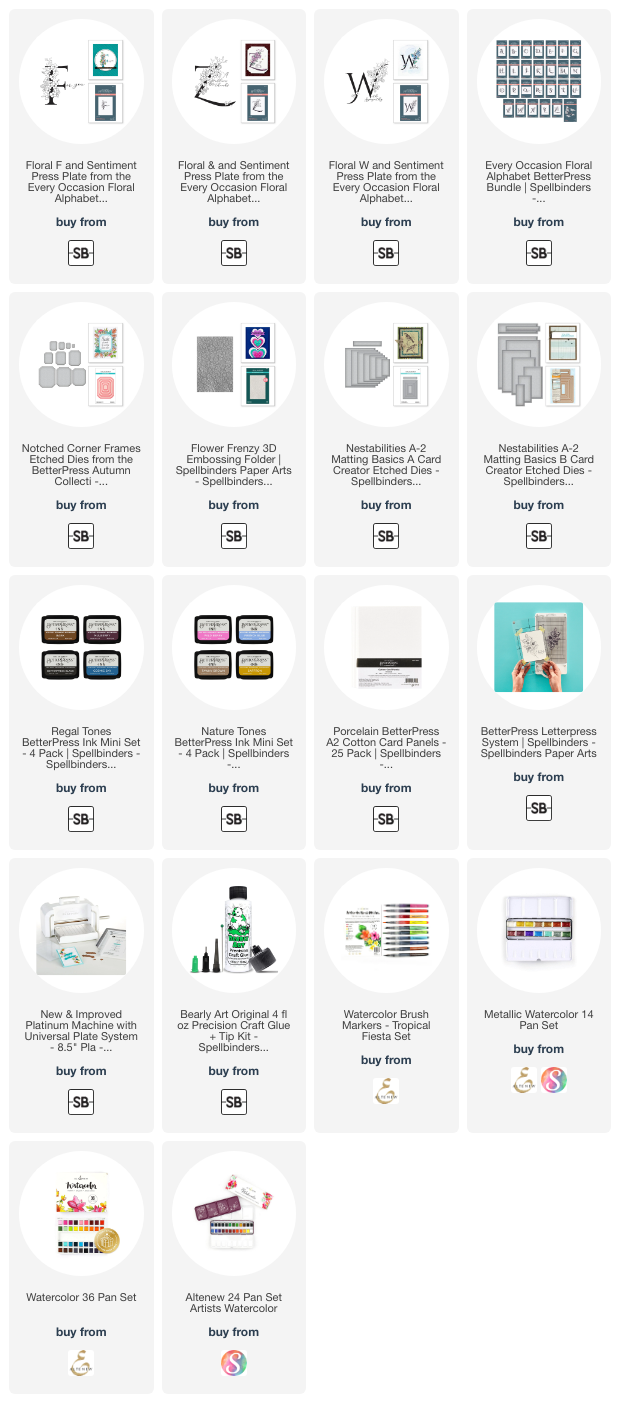
For my first card I used the Floral F and Sentiment Press Plate set.  I arranged the press plates, inked them up with BetterPress black ink and passed it through my Platinum die cutting machine to press the image onto a piece of  Porcelain Cotton Card.

For each card I used a variety of coloring mediums that are linked below.  I painted the flowers with a teal metallic watercolor.  Then I die cut the image with a Notched Corner Frame die.  I die cut teal cardstock with another Notched Corner die then embossed it with the Flower Frenzy 3D embossing folder.

For a little extra, I added a bit of splatters with the teal metallic watercolor.

This next card is perfect to have on hand or to make very quickly when needed.  I pressed the Floral W and Sentiment Press Plate with Cosmic Sky ink.  I did some simple coloring of the flowers with yellow and green Prismacolor pencils.

I used the A2 Matting Basics B die to cut out the image.  The blue layer is die cut with an A2 Matting Basics A die.  I adhered the layers together with glue and then to an A2 card base.

I could send this next card to each of you that stop by to take a look at my blog: A zillion thanks! 💖

This final card is the Z Floral and Sentiment Press Plate inked up with Wild Berry BetterPress ink.  As you can see in the photo, the sentiment is pressed with BetterPress Black ink.

After some simple watercoloring of the flowers, I added Ripe Pumpkin Nuvo Crystal drops.  LOL, yes I still have these and store them upside down to prevent any problems of clogging up.

I should have waited to add the Nuvo drops so that I could use those Matting Basic dies to cut the layers.  Since I did not, I just used my trimmer to cut down the black and pink cardstock for layers.  

I still continue to be amazed at being able to create three cards so quickly with the BetterPress Letterpress system.  I love the crisp impressions too.

Thank you so much for stopping by today!  I hope you have a wonderful week!

Thank you for using my affiliate links to shop (never any additional cost to you)!

Saturday, September 16, 2023

Poinsettia Corner BetterPress Christmas Card

Hello!  I'm back today to share this card featuring a new BetterPress Letterpress plate by Spellbinders called Poinsettia Corner Press Plate & Die Set.  I love how this turned out, and it was so easy that this might be the card design I mass produce for Christmas cards to send to family and close friends!


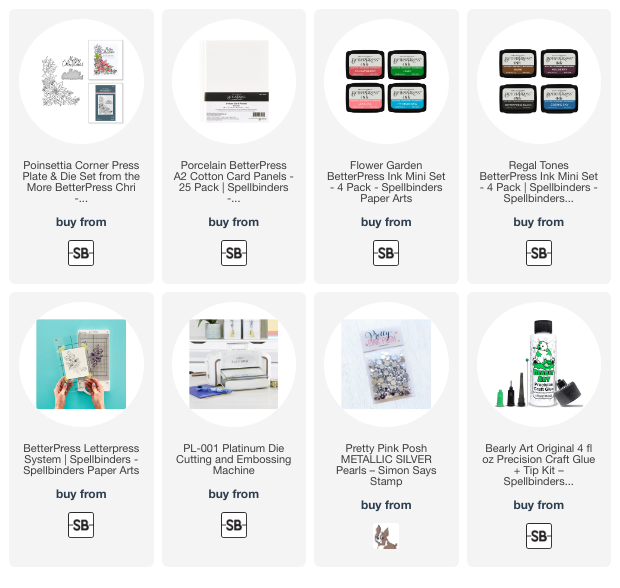
Following the directions for the BetterPress Letterpress System, I inked the Poinsettia Corner Press Plate with Hydrangea BetterPress ink.  I pressed the image onto a piece of Porcelain cotton card.  I inked the press plate again, but this time rotated the Platen before I ran it through my Platinum die cutting machine.

I trimmed the image to 3-¾" x 5" and adhered it to an A2 piece of brushed silver cardstock.

Next I inked up the sentiment included in the Poinsettia Corner set with black BetterPress ink and pressed it onto a scrap piece of Porcelain cotton card.  I cut it out with the included coordinating die.

I die cut an oval from more brushed silver cardstock and added foam tape to the back to adhere it.  Then I added some thin foam tape to the back of the sentiment for just a bit more dimension.

A few silver metallic pearls adds just a bit more shine to my card.

And that's it!  For such minimal effort, I really feel this is a gorgeous card!  Thank you so very much for stopping by today!  Have a wonderful and crafty day!

Thank you so much for using my affiliate links to shop (never any additional cost to you)!

Friday, September 8, 2023

A Little Message To Say...

I hope you aren't tired of my cards with the BetterPress!  I have one more today where I've used the Evergreen Branches press plates by Spellbinders.  I found another ink that works fabulously with these press plates too!

I was super excited to find another ink that works beautifully with the press plates.  Spellbinders has several BetterPress ink colors now, but not just the shade of green I was wanting.  I did a lot of testing with Distress Oxides and several other green inks in my stash.  The one that worked perfectly was Simon Says Stamps' Pawsitively Saturated ink in the color of Pine.  It gives just as perfect of an impression as Spellbinders' BetterPress inks, which I do love!

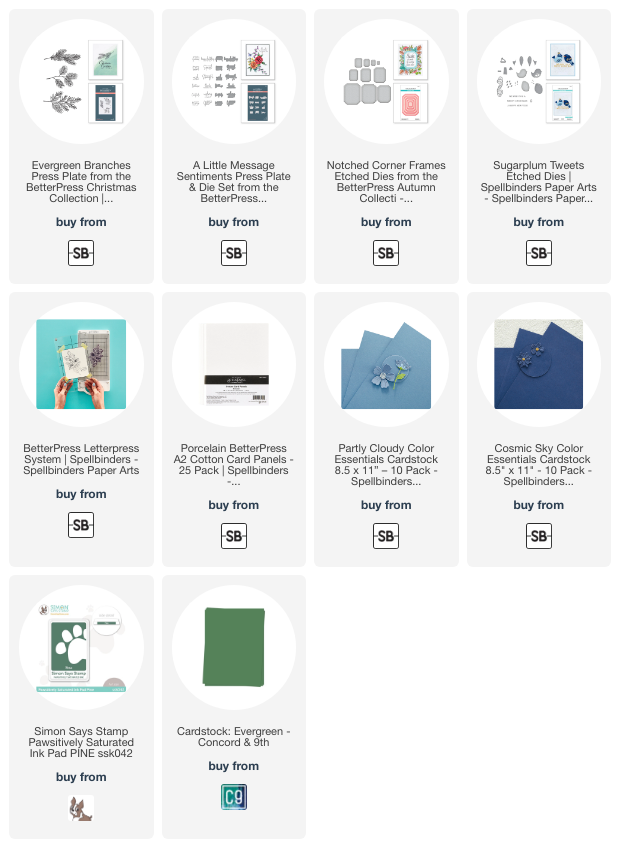
As you can see, I pressed the three Evergreen Branches set onto Porcelain cotton card with the Pine ink for the background with the BetterPress Letterpress System.  I repeated these steps until I had the background filled with pine branches.  I trimmed it 4" x 5-¼", adhered it to a dark green layer, and then to my A2 card base.

I die cut a Notched Corner Frames die with more Porcelain card and pressed one Evergreen Branch in the lower left corner.  I also pressed a sentiment in the upper right corner that is from the A Little Message Sentiments Press Plates set.

Then I die cut green cardstock with the next larger size of the Notched Corner Frames die.  The layers were glued together and adhered with foam tape onto the background layers with green cardstock. (All available cardstock is in the list below.)

The sweet bird is from the Sugarplum Tweets die set.  I die cut the layers from blue cardstocks and added details with a white gel pen.


Thanks for stopping by.  I hope you have a wonderful Friday!

Thank you for using my affiliate links to shop (never any additional cost to you)!

Monday, September 4, 2023

Joy To The World!!

I'm back today to share another Christmas card I made with the Spellbinders BetterPress Letterpress System!  This image is from the Holiday Foliage Joy press plate set.


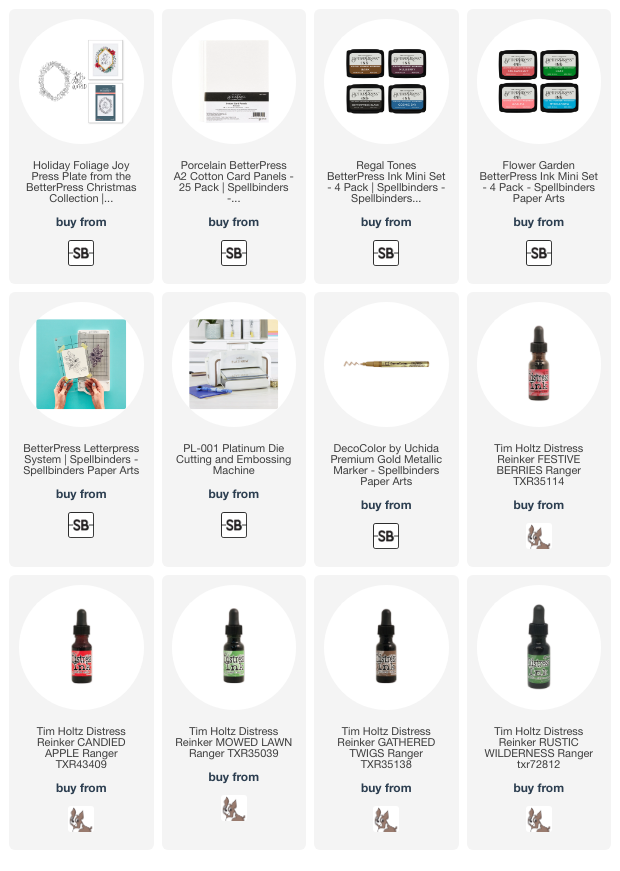
I pressed the Holiday Foliage Joy image onto Porcelain cotton card after I inked it with the black BetterPress ink.  The sentiment is included and I inked it with Strawberry ink.

As I did for my card I posted yesterday, I used drops of Distress Ink re-inkers to watercolor the image.  I used a ruler and a gold calligraphy pen to draw the outline inside the foliage.

The Distress re-inkers I used are:  Candied Apple, Festive Berries, Mowed Lawn, and Gathered Twigs.

I trimmed the panel to 4" x 5-¼" and added a red cardstock mat layer before adhering to my A2 card base.

I was tempted to add some bling, but chose to just stop!  LOL!

This was a super short post (for me at least) and that's because this card was really that easy!  Thank you for stopping by and I hope you have a nice holiday today!

Thank you so much for using my affiliate links to shop (never any additional cost to you)!

Sunday, September 3, 2023

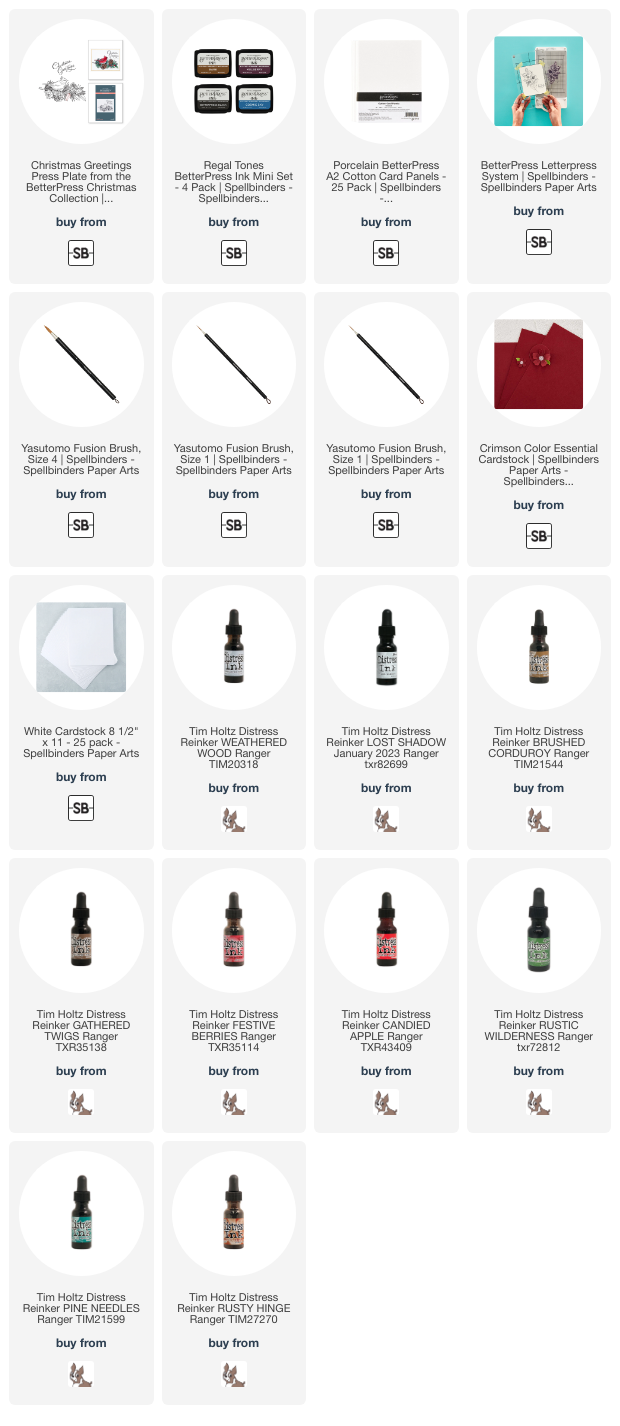
Christmas Greetings -- A BetterPress Holiday Card

Happy Sunday!  I'm always so happy when I can add to my Christmas card stash almost four months ahead of the holiday!  My card today features the so pretty BetterPress Christmas Greetings set.

I am loving this new BetterPress Letterpress system!  The pressed image is so crisp and clear--even more so than red rubber stamps!!

I used the BetterPress system to press the Christmas Greetings image and sentiment with Black ink into a Porcelain cotton card panel.

I colored the sweet image by watercoloring it with drops of diluted Distress Ink re-inkers.  The image is colored to resemble a Tufted Titmouse bird--some of the cutest birds in real life!  (The Distress Ink colors I used are linked below.)

I matted the image with a coordinating red cardstock layer before adhering to to an A2 card base.

I love birdwatching and I equally enjoyed watercoloring this sweet image!  The more I use this BetterPress system, the more and more I like it!!  Thank you so much for stopping by today!

I appreciate your using my affiliate links (never any additional cost to you)!

Saturday, August 19, 2023

Set of Three Easy-to-make Autumn Cards featuring the BetterPress Letterpress System

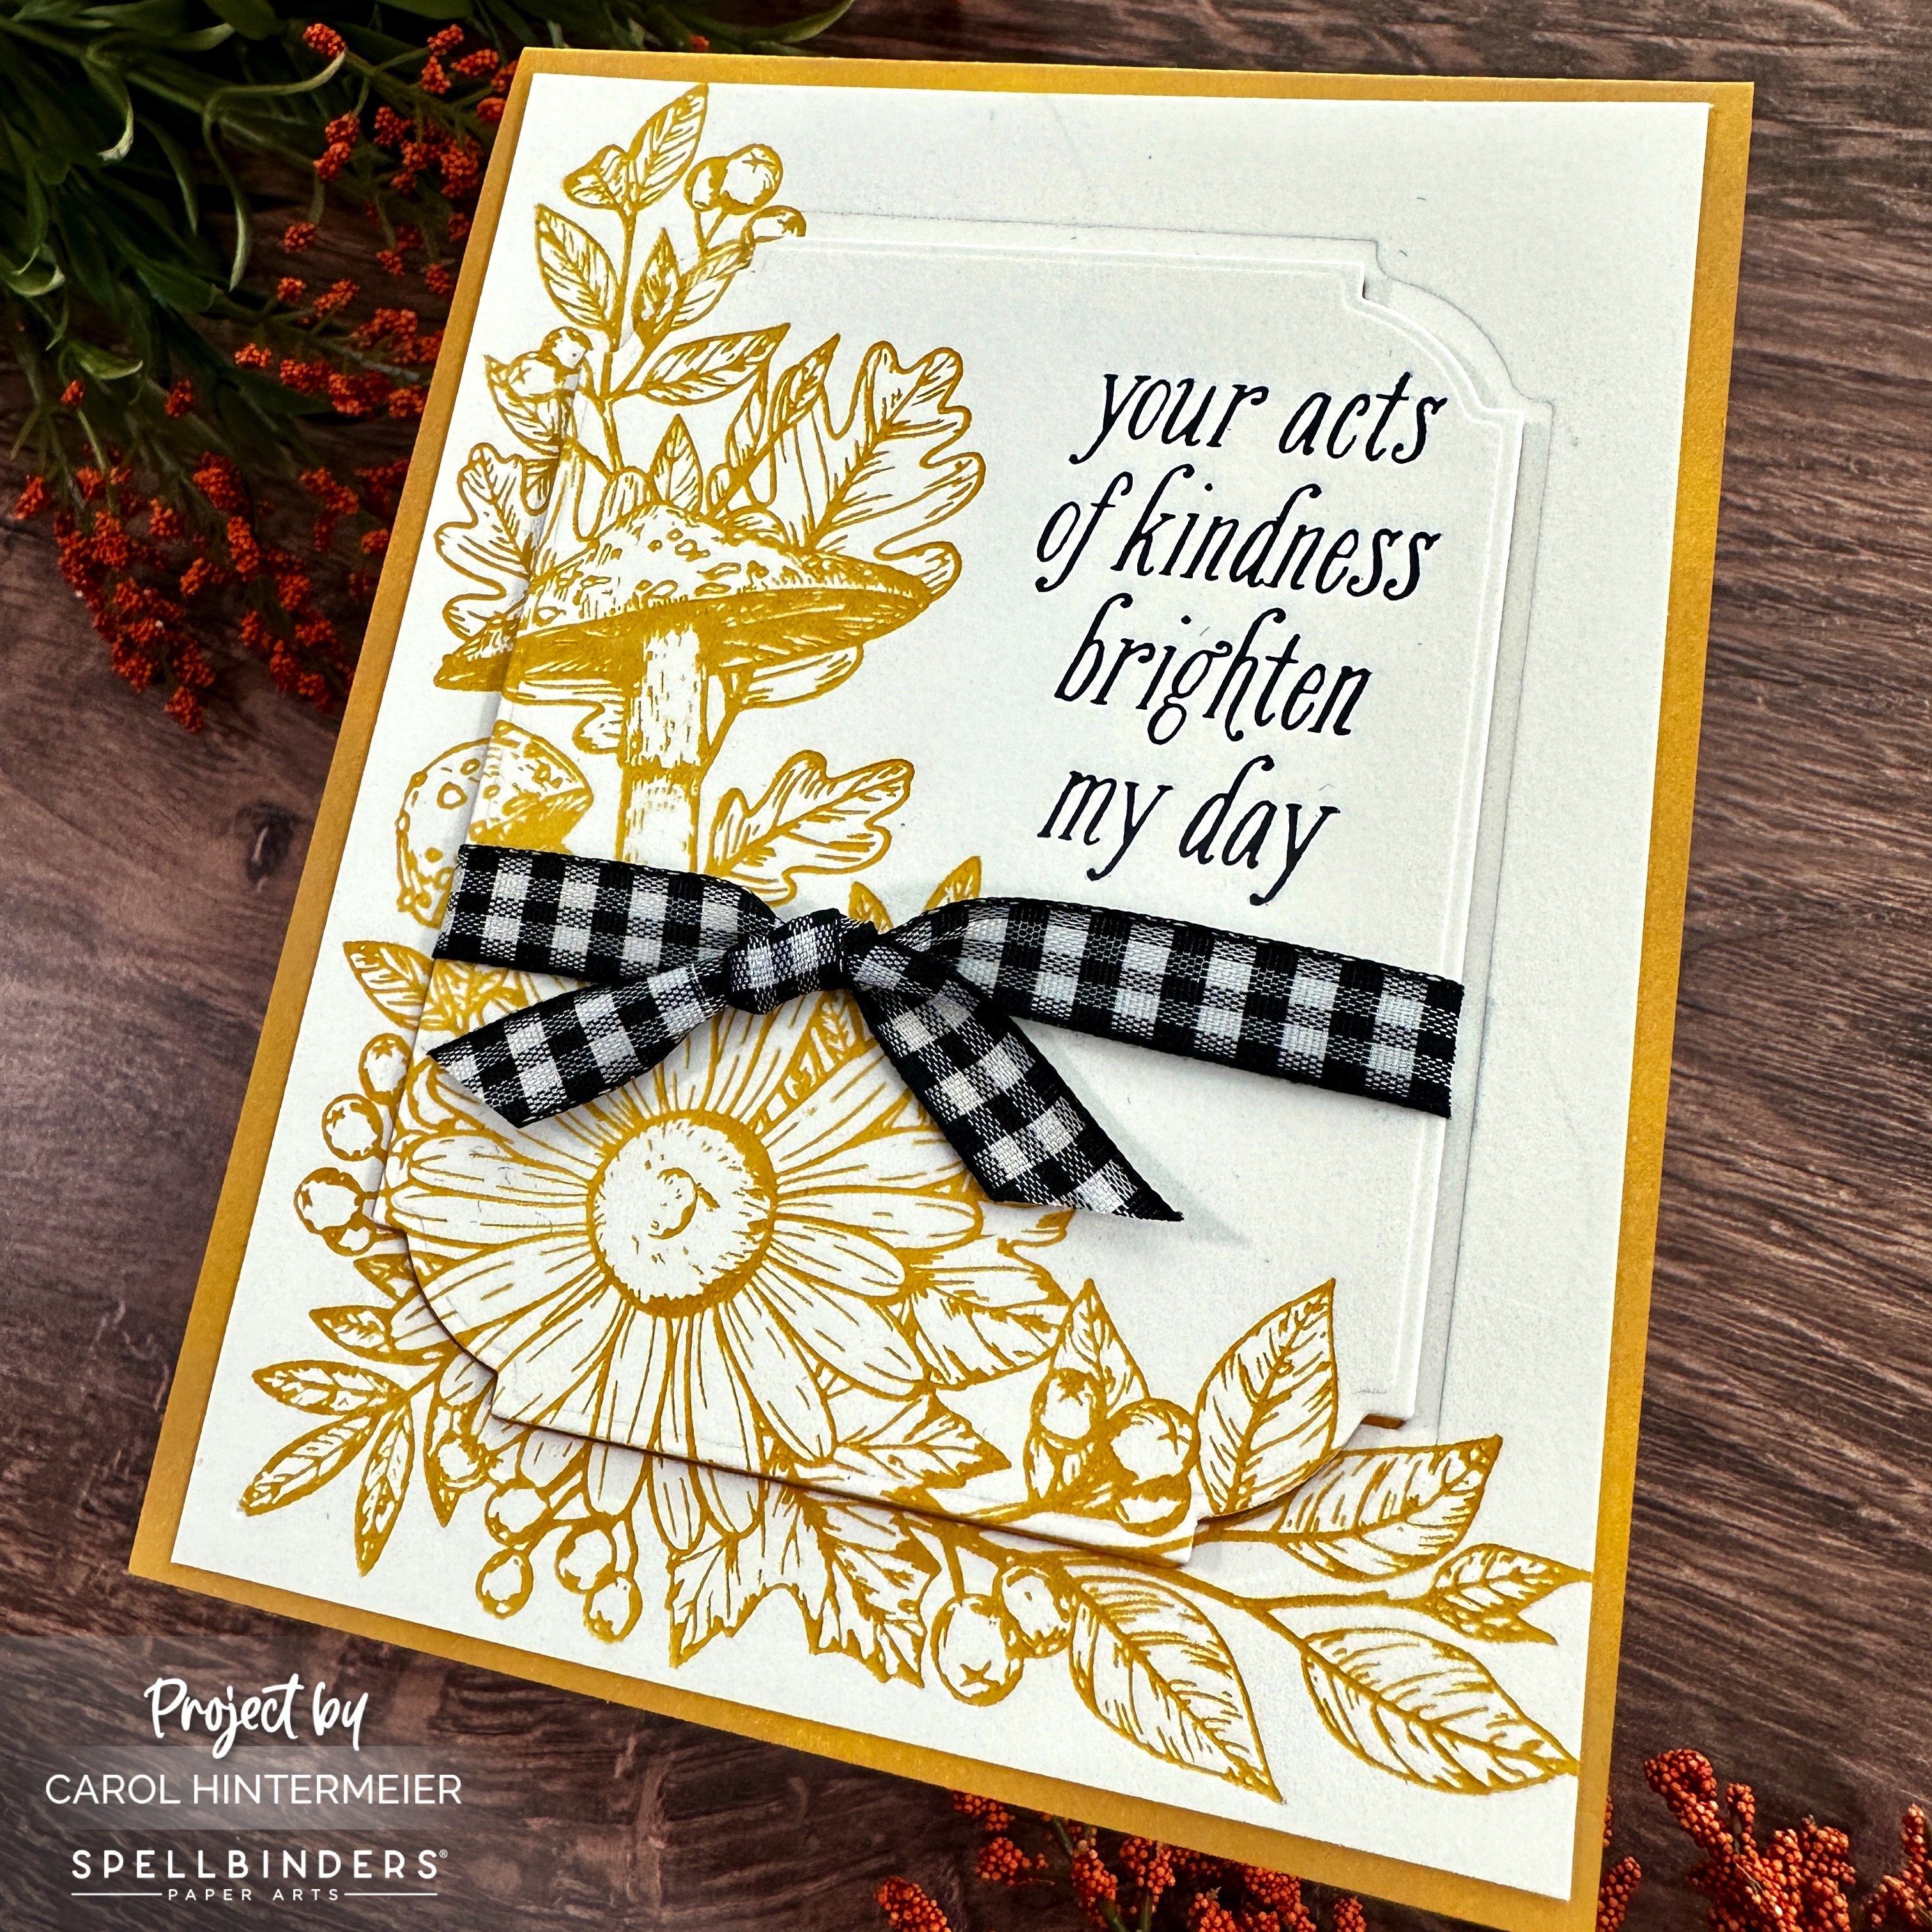
Hello, friends!  Today I'm sharing three cards I made with a couple of products in Spellbinders BetterPress Fall/Halloween Collection. These easy cards feature the gorgeous Autumn Floral Corner press plate and the Notched Corner Frames dies.

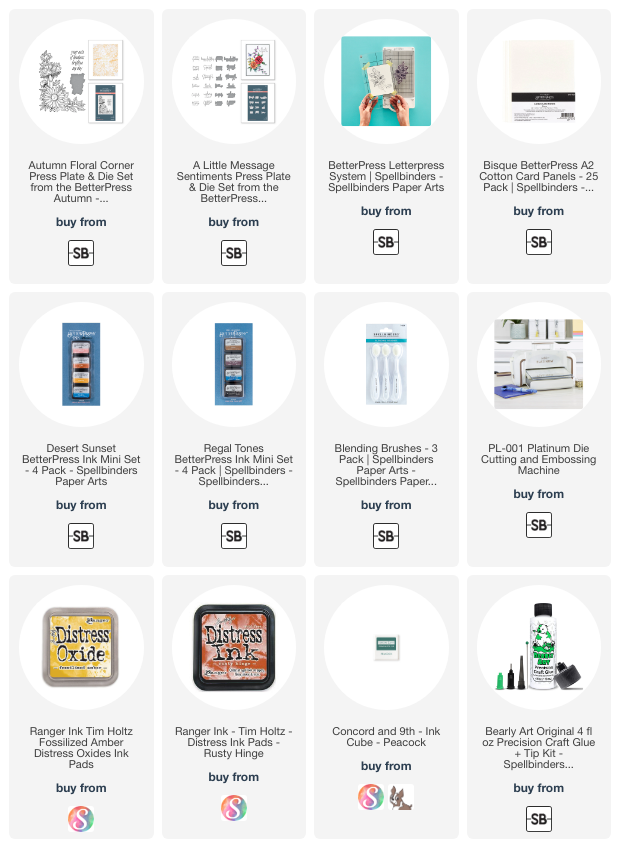
I created all three cards using Spellbinders' BetterPress Letterpress System.  I used three of the inks in the Desert Sunset BetterPress mini ink pad set and the Autumn Floral Corner press plate.  I followed the directions for the BetterPress and pressed the image onto Bisque A2 cotton card panels.  This first card is pressed with Tuscan ink.

The sentiment from this card is included with the Autumn Floral Corner set and pressed with black ink from the Regal Tones mini ink pad set.

Next I trimmed each panel to 4" x 5-¼".  Then I used the fourth largest Notched Corner Frames die and die cut the center of each panel.  Before I glued on the outer portion of the panel, I inked up the front edges of an A2 card base with Fossilized Amber Distress Oxide ink, which matches perfectly!

I tied a piece of gingham ribbon around the center panel and added foam tape to the back to pop it up.

The next two cards are created in the same way as the first, just different ink colors.

This time I pressed the Autumn Floral Corner with Clay ink.  I found another very good coordinating ink-Rusty Hinge Distress ink-for the card base.  This sentiment is from the A Little Message Sentiments press plates and dies set.

Last but not least, is the final card pressed with Coastal Ink.  I searched through my entire stash of ink pads to find a coordinating ink for the card base and this is the closest I could come!

Even though the Peacock ink is a bit bright, I do think that Concord & 9th's Peacock ink coordinates very nicely!  Again, the sentiment is from the A Little Message Sentiments set.

I hope you've been inspired by these easy and beautiful cards today!  I truly do love the BetterPress system and the crisp images it creates!  Thanks so very much for stopping by!

Thank you for shopping with my affiliate links (never any additional cost to you)!

Friday, June 23, 2023

My First Card with the new Spellbinders BetterPress!!

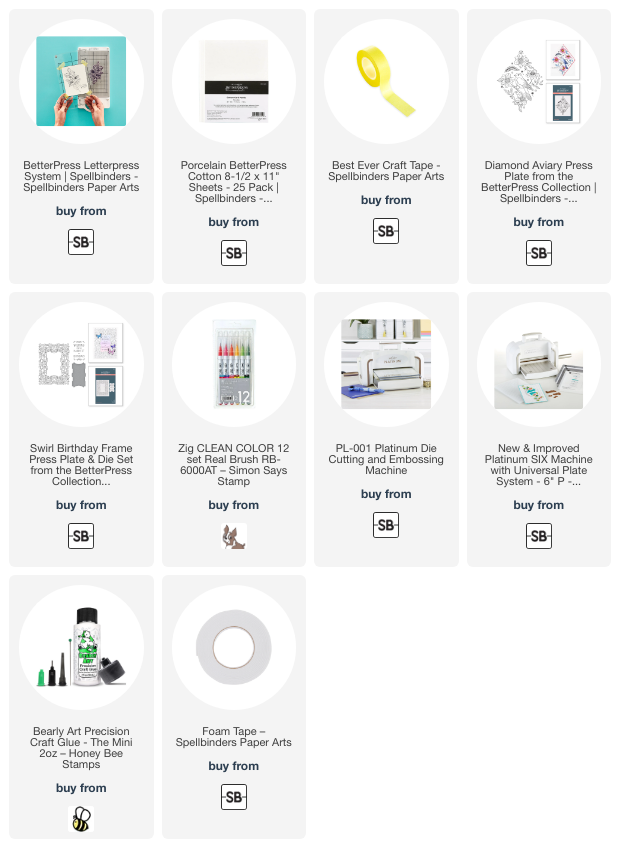
I'm sure most of you have heard about the newest product from Spellbinders, right?  It's called the BetterPress Letterpress System and gives the look of traditional letter press!!

There are several good videos showing how to use the BetterPress system on Spellbinders' YouTube channel, so I won't spend time explaining the how of it.  But I can say this, it is very easy to use!  Also, so you know, I purchased the BetterPress Starter Bundle (that was available for preorder) myself and therefore, any opinion is exactly what I think.  The now available BetterPress Letterpress System also includes a black mini ink pad, a sampler pack of Cotton Card Panels, and a roll of Best Ever Craft Tape.

First I positioned the included BetterPress Press Plates onto the Chase with Magnetic Insert.  I followed the directions for inking the Press Plate with the specialty BetterPress black ink.  I used the included Best Ever Craft Tape to adhere the BetterPress Cotton Card Panel to the Platen.

Okay, I know all of that sounds like Greek, right?!!  LOL!  But once you watch a video, you will see that it is not too complicated after all!

I ran the system through my Platinum die cutting machine (click HERE for a list of compatible products) and WOW!  Photos just don't do it justice!  I colored the image with a few of my Zig watercolor markers.  I also added yellow and dark gray splatters to the layer.  Then I die cut it with an Essential Arches die and a black matting layer.

Here's a super closeup of an extra sentiment where you may be able to see the beauty of the BetterPress:

I also used the largest Essential Arches die to make a folded card base for the layers.  After I tied some gingham ribbon around it, I popped it up with foam tape.

So you know, I did try coloring another image with my Copic markers.  The colors blended fairly well on the Cotton Card panel, but not as good as the Neenah I usually use.  The green markers seemed okay, however, when I started coloring the flowers with a light yellow marker, there was a bit of smearing of the black ink.  That's when I stopped that!  Watercolors worked great on the Cotton Cards as do pencils.

I hope you've enjoyed my review of the new BetterPress Letterpress System.  I can honestly say that I'm very happy I gave into my impulse to purchase this new product!  Haha!  I can't wait to create more cards with it!  Thanks so much for stopping by today--you are so appreciated!

Thank you for using my affiliate links to shop (never any additional cost to you)!