Showing posts with label BetterPress. Show all posts

Saturday, April 25, 2026

Thinking Of You Essentially Yours Sentiments Collection

Happy Saturday, crafty friends!  Today I'm sharing this card that features one of the eight sentiments in Spellbinders new Essentially Yours Sentiments Collection.

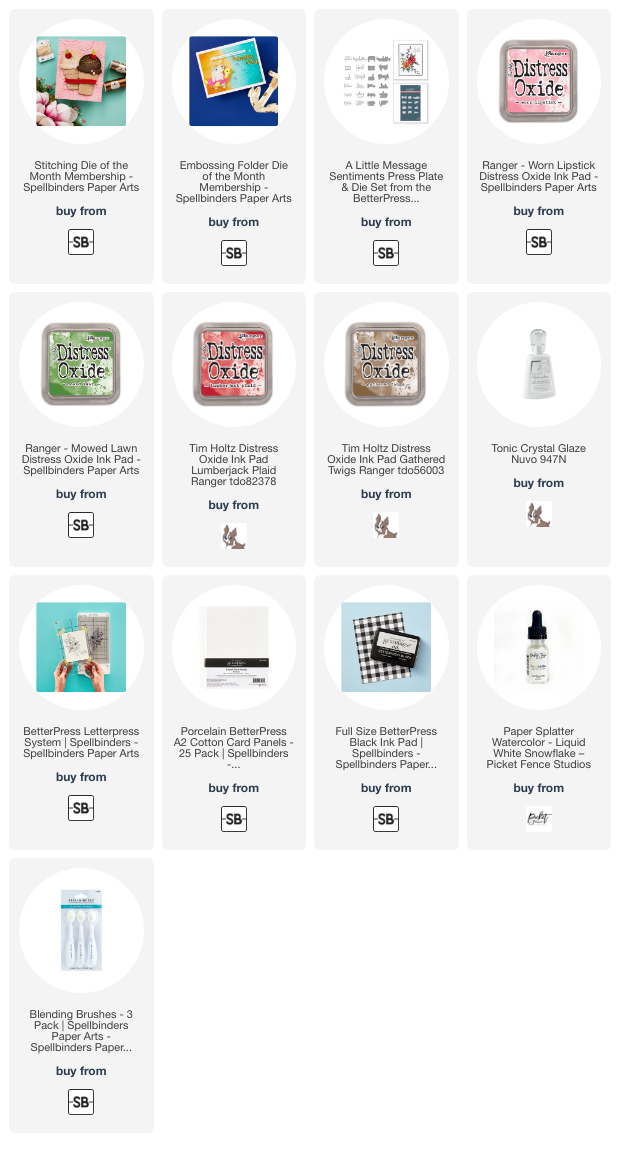
All of the Essentially Yours Sentiments die sets have two layers with one being a shadow layer.  I inked some scrap paper with Picked Raspberry Distress ink and cut the shadow layer of the Thinking Of You sentiment.  I die cut three of the top layer from white cardstock and glued those all together.

The Magical Fuchsias Collection by Alex Syberia makes a beautiful complimentary focal point for this sentiment.

I embossed the white panel with the Magical Fuchsia 3D embossing folder twice onto the edges of both sides of the cardstock.

The main image is made by pressing the Magical Fuchsia Press + Foil plate with BetterPress black ink onto white cardstock with my BetterPress Letterpress System.

I used the Magical Fuchsia stencils to ink on pink and green inks using blending brushes.  The inks I used are in the list below.  I love that there is a coordinating die in the Magical Fuchsia Press plate set!

I trimmed the embossed panel to 5-¼" x 4" and glued it to a coordinating pink panel and then to my A2 card base.  I added some foam tape to the stenciled fuchsia to adhere it to the card.

Be sure to check out all of the Essentially Yours Sentiments collection!  This is a great basic set to have on hand for all of your card making!

Thank you for stopping by today!  I hope you have a wonderful and crafty weekend!

Thanks so very much for using my affiliate links to shop (never any additional cost to you)!
Monday, March 23, 2026

Born To Shine Year After Year

Happy Monday, crafty friends!  Today I'm sharing a card I made featuring Spellbinders beautiful Windmills and Tulips Press + Foil Plate and Stencil Bundle by Yana Smakula.  I love how Spellbinders is now making plates that can be pressed and/or foiled!  You get to choose!

I am a huge fan of layering stencils and so enjoy the process of adding ink layer by layer!  Every time I pull off a stencil seeing the new layer of ink just makes me smile!

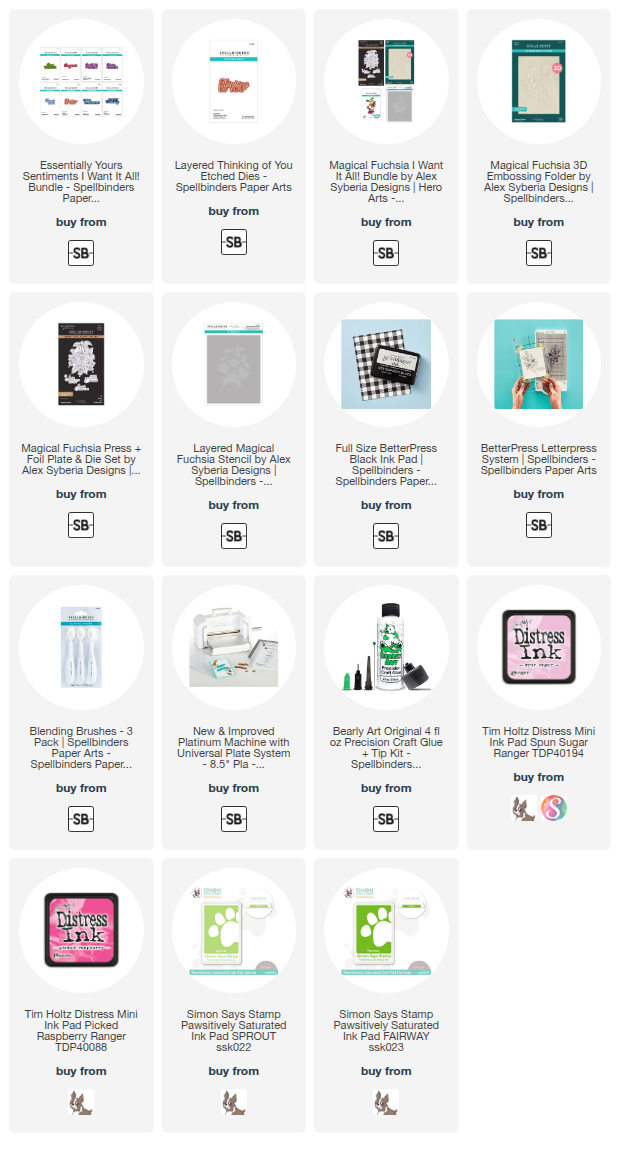
This time, I chose to foil the Windmills and Tulips press plate.  I used 80# Neenah and Black Glimmer Foil with my Glimmer Hot Foil Machine to achieve the super crisp and slightly shiny outline of the images.

Next I used blending brushes to add various inks through each layer of the six layers of the Layered Windmills and Tulips stencil set.  All of the ink colors I used are in the list below.  I used sets of coordinating inks to achieve shading with the darker inks.

I used a brown Copic marker to make the doors and windows on the windmills a bit darker.  I think adding these small details make cards that more special!

I added a sentiment that is from the La Dolce Vita Sentiments that is a sweet birthday sentiment.  This is a Press Plate that will press/foil nine sentiments in one pass.  There is a die included that cuts out each sentiment in one pass!  I love having multiple sentiments already created and ready to use!

A trip to see a field of tulips with windmills in real life is certainly a bucket-list item!  I hope I have time to use this Windmills and Tulips set again--I'm thinking maybe pink tulips!!

Thanks so much for stopping by today.  I hope you have a wonderful week ahead!

Thank you for using my affiliate links to shop (never any additional cost to you)!

Friday, January 23, 2026

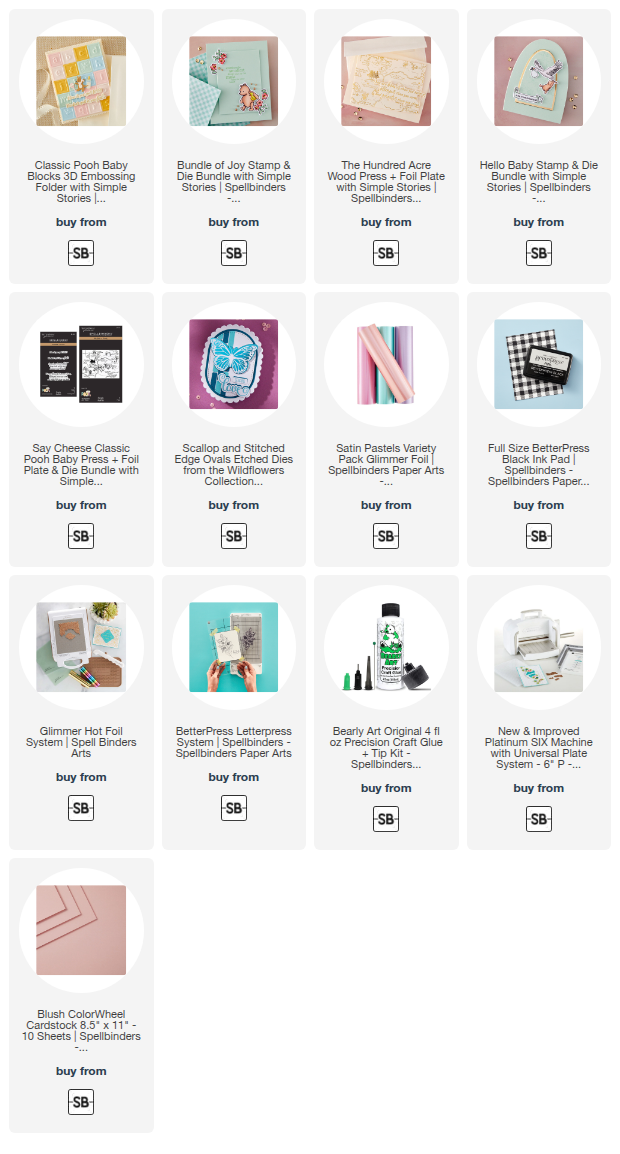
Two Sweet Baby Cards Feat. Simple Stories Classic Pooh Baby Collection

Hello friends!  Today I am sharing two cards I made with the new Classic Pooh Baby Collection by Spellbinders with Simple Stories.

These two cards will be perfect for my stash to have on hand for a sweet baby celebration!

This first card features two of the new Classic Pooh Baby Collections sets!

The white background cardstock was embossed with the Classic Pooh Baby Blocks 3D embossing folder.  I used scraps of pink, yellow, and blue cardstocks and embossed each scrap separately with the Baby Blocks embossing folder.  I used my scissors to trim around each block.

The little Pooh stamped image and the sentiment are from the Bundle Of Joy Stamp & Die bundle.  I used a few Copic markers to color the image and then cut it out with the coordinating die.

I created another layer for the card with dies from the Scallop and Stitched Edge Ovals.  I love the sweet little bow die that's also included!  The sentiment is from the Bundle of Joy stamp set and is stamped with black pigment ink.

My next card uses the new Sweet Sentiments and the Hundred Acre Wood Press & Foil Plates and the Hello Baby stamps and dies.

I foiled the Hundred Acre Wood Press & Foil plate with pastel pink foil using my Glimmer machine.  I trimmed it to 4" x 5-¼" and glued it to an A2 card base.

The stamped and colored image from the Hello Baby stamps and dies is adhered to the card with foam tape.

There are four wonderful sentiments in the Sweet Sentiments Press & Foil set.  There is one die to press all of the sentiments at once.  I pressed it in black ink with the BetterPress Letterpress System and cut them all out with the single coordinating die.

I really love the tone-on-tone of cardstock and foiling of this card!

There are several other sweet sets in the Classic Pooh Baby Collection that you can check out by clicking HERE.

Thank you so much for stopping by!  Have a wonderful, and crafty weekend!!

Thank you for using my affiliate links to shop (never any additional cost to you)!

Sunday, December 21, 2025

Two Unique Heart Cards With A Bit Of Snark!

Hello friends!  Can you believe it's time to transition from making holiday cards?  I can't, but these two cards featuring three of the Spellbinders' Club Kits makes that change easy and so fun!  I really enjoy showing you how versatile and easy these kits coordinate together and also with non-club kit sets.

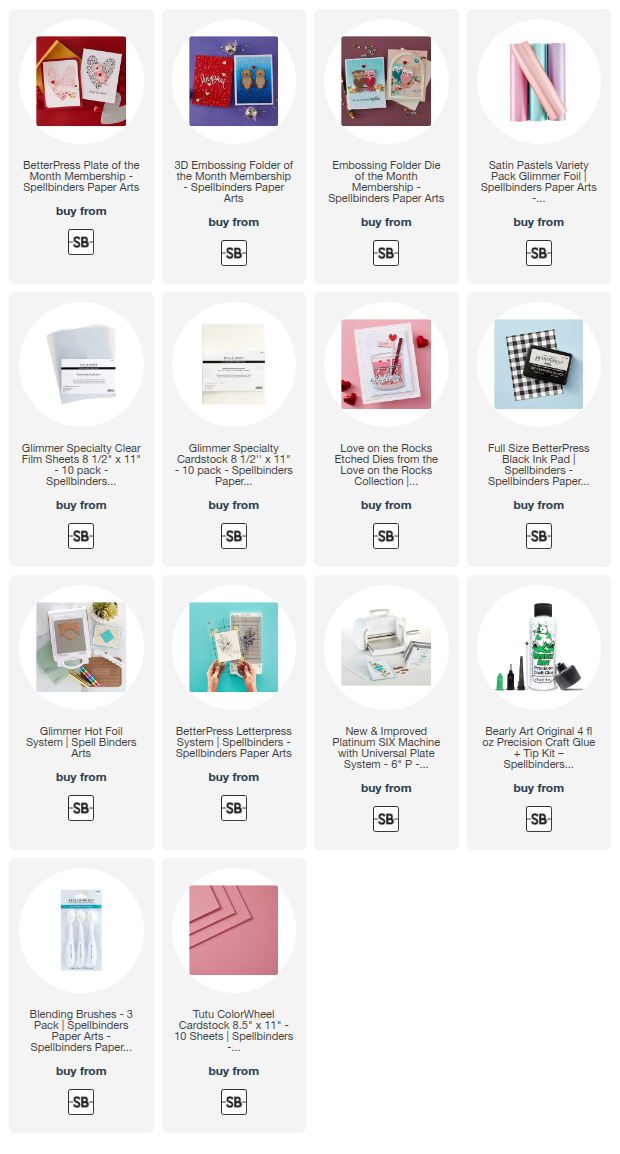
For both cards I've used December Club Kits for the 3D Embossing Folder, the Embossing Folder, and the Better Press kits.  This first card even has a clear acetate front!

For this card I used the December Betterpress, I'd Pick You, along with the Embossing Folder Of The Month, Sweet Stems.

First I embossed white cardstock with the Sweet Stems embossing folder and glued it to the front of an A2 card base.

Did you know that the Betterpress plates can also be hot foiled?  They can, and I did!  I cut a piece of a Specialty Glimmer Clear Film Sheet to A2 size.  After my Glimmer Machine warmed up, I placed the December press plate onto the base to warm up.  When it was ready I added a piece of pink Satin Pastel Glimmer Foil.

After running it through my Platinum die cutting machine, I adhered the top edge of the clear foiled piece to my card base with double-sided adhesive. 

Then I noticed that the beautiful embossed layer kind of interfered with seeing the foiling on the acetate.  To fix that I used the press plate as a guide to trace the shape onto white cardstock.  I cut it out with scissors and then adhered it to the embossed layer, behind the foiled heart.

The sentiment is one of three included with the I'd Pick You set.  I chose this one because my husband will think it's pretty funny.  I'll save this card for Valentine's Day!  After I pressed the sentiment plate (it presses all three at once) with black Betterpress ink used the included die to cut them all out.

I added a few gem stickers around the sentiment for just a touch of bling.

My second card is just as pretty and still different from the first!

First I embossed pink cardstock with the Unlock My Heart 3D embossing folder for from December's Club Kit.  I used a darker coordinating ink to add shading around the edges with the blending brush.  I used glue to adhere it to an A2 card base.

Next I used more of the pink Glimmer Foil with my Glimmer System to press the image onto Spellbinders Specialty Glimmer cardstock.  If you ever want the most perfectly foiled image, use this cardstock!!  Again, I used scissors to trim around the heart.  I adhered it to the card with some foam adhesive.

I thought the little pick with hearts (from the Love On The Rocks die set) was absolutely perfect to go with the "I'd pick you again" sentiment. What do you think?

There is still plenty of time for you to check out the Club Kits and find one you would like to join!  The terms are very flexible and you can cancel at any time.  Check it out here.

Thank you so much for stopping by today!  I hope you have a lovely week!

Thanks so very much for using my affiliate links to shop (never any additional cost to you)!

Sunday, September 7, 2025

This Is Me Sending Thanks

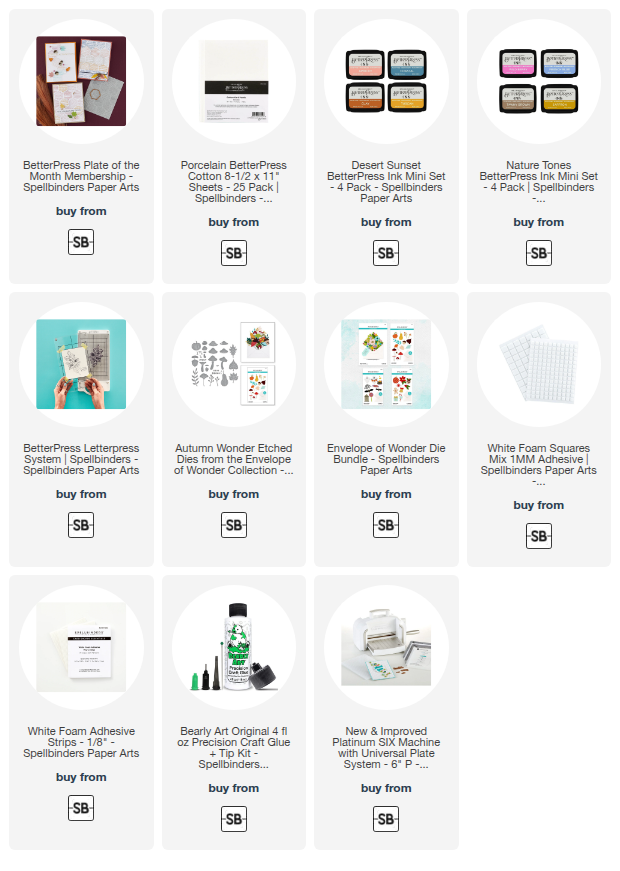
Hello, friends!  The window for joining Spellbinders Club Kits is open now through the 27th of September.  Today I'm the first of three cards I've made with Spellbinders Club Kits.  I've used the Betterpress Of The Month called Sketchy Hexi here.  I made a few different pressed panels and was able to use parts of them on my other two Club Kit cards, which I will be sharing in upcoming blog posts!

I used a piece of Porcelain cotton cardstock to ink up the Sketchy Hexi press plate with Tuscan, Clay, (from the Desert Sunset ink set) and Tawny Brown (Nature Tones) using the BetterPress Letterpress System.  I trimmed the panel to 4" x 5-¼" and glued it to an A2 card base.

Next I dry pressed another piece of Porcelain cardstock with the Sketchy Hexi press plate.  I just ran it through the Letterpress System with no ink.  It's so pretty!  Then I used the included hexagon die to cut out three of the patterns.  I added foam tape to the back to adhere them to my card.

Going with an autumn theme, I pulled out one of my favorite dies sets -- the Autumn Wonder die set.  I used a few die cuts that I had saved from a previous project.  That's why I always save any leftovers!  I used glue a foam squares to adhere them to the card.

The sentiment is one of two included with the Sketchy Hexi Press Plate.  I trimmed it into a strip and adhered it with foam strips.

I do love making autumn themed cards!  There's something about the warm autumn colors that I love.  Thanks so much for stopping by.  Be sure to click this link to check out all of the Club Kit details and options!

Thanks so much for using my affiliate links to shop (never any additional cost to you)!

Friday, August 15, 2025

Even Little Fish Make Big Waves

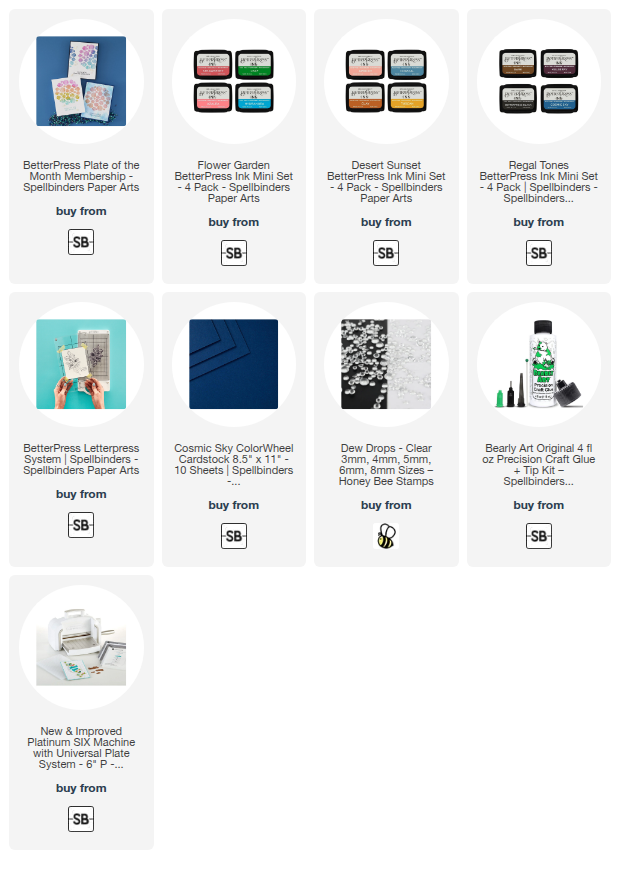
Today I'm sharing this adorable card that features Spellbinders August Betterpress of the Month called Fish Parade.  This month's Betterpress Club Kit also includes three sentiments with dies to use.

This was super easy to make!  You will need Spellbinders Betterpress Letter Press System to create this card.  If you have a hot foil machine, these can usually be foiled (I have not tried this press plate with foiling).  After setting up the cardstock (110# Neenah), the press plate and sentiment in the Betterpress, I inked up the Fish Parade press plate with three colors of ink.

I used these Betterpress inks: Cosmic Sky, Hydrangea, and Coastal.  After I ran it through my die cutting machine to press the ink onto the cardstock, I trimmed the circle of fish into a 3-¾" square.   I added foam tape to the back and adhered it to a layer of Cosmic Sky cardstock.

I used the die included in the Fish Parade set to cut out the sentiment.  Confession:  I messed up on the first pressing of the plate, but I'm glad I saved it!  I used my scissors to cut out a few of the fish to add around the sentiment!  Happy I could use some of it!

I added some clear Dew Drop embellishments above some of the fish for a bit of "extra"!

Have you ever checked out Spellbinders Club Kits?  I would really recommend them.  There are lots of options and you can check them out on this FAQ page.

Thanks so much for stopping by!

Thank you for using my affiliate links to shop (never any additional cost to you)! 
Tuesday, June 11, 2024

You Melt My Heart - Spellbinders June Stitching & Embossing Clubs

Today I'm sharing my card featuring the Spellbinders Stitching Die and Embossing Folder June clubs!  This month's Stitching Die is an easy and quick stitching session too!

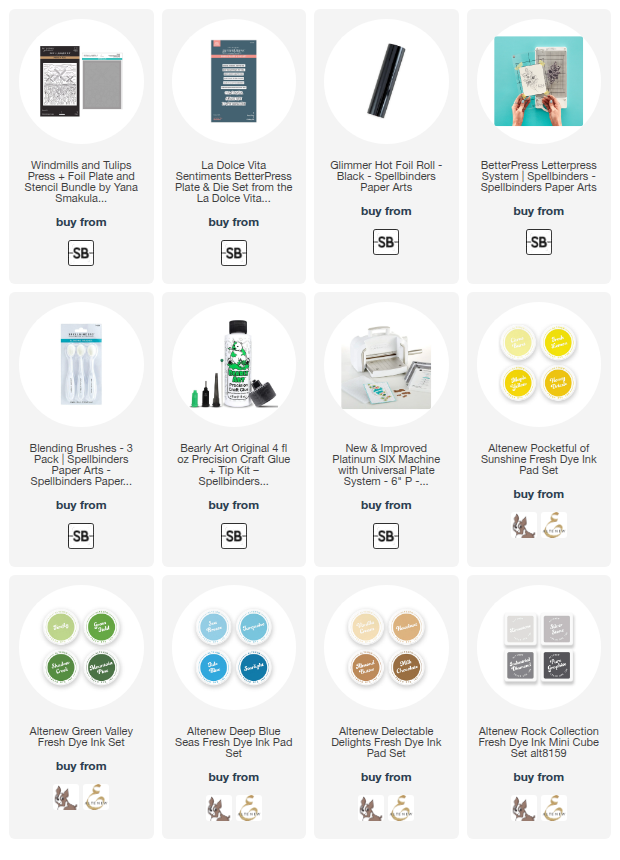
First I inked a piece of 80# Neenah with Worn Lipstick Distress Oxide with an ink blending brush.  Then I added water splatters and after several seconds, used a clean paper towel to blot the excess.  Next I added white watercolor splatters with a paint brush.  I set the piece aside to dry.

The June Stitching Die of the Month called "Stitched Ice Cream", contains all of the dies to make this sweet ice cream cone, plus two sentiment dies and the cherry!  The cardstock and thread I used are all from my stash.  The pink floss is DMC 957.  The off white is leftover from and old embroidery project and is more like a heavier DMC Pearl thread.

I inked up scraps of white cardstock with Lumberjack Plaid, Mowed Lawn, and Gathered Twigs Distress Oxide inks.  I die cut the cherry pieces and assembled it with glue.  To make it really stand out, I added Crystal Glaze to the cherry.

When the ink blended panel was dry, I used the June Embossing Folder (called Summertime Waves) to emboss it and then adhered it to an A2 card base with glue.

The sentiment I used is from the A Little Message Sentiments Press Plate & Die Set.  I used BetterPress black ink to press it into Porcelain Cotton cardstock with my BetterPress Letterpress system.  I cut it out with the included coordinating die.

Why didn't I use one of the sentiments in the Stitching Die set?  Ummm....lame brain, I guess! LOL!  I just totally spaced, but I do like the sentiment I used!

That's it for my sweet and yummy card!  If you'd like to check out all of Spellbinders clubs, click HERE to see all of the options!  Thank you so much for stopping by!

Thank you for using my affiliate links to shop (never any additional cost to you)!

Friday, June 23, 2023

My First Card with the new Spellbinders BetterPress!!
I'm sure most of you have heard about the newest product from Spellbinders, right?  It's called the BetterPress Letterpress System and gives the look of traditional letter press!!

There are several good videos showing how to use the BetterPress system on Spellbinders' YouTube channel, so I won't spend time explaining the how of it.  But I can say this, it is very easy to use!  Also, so you know, I purchased the BetterPress Starter Bundle (that was available for preorder) myself and therefore, any opinion is exactly what I think.  The now available BetterPress Letterpress System also includes a black mini ink pad, a sampler pack of Cotton Card Panels, and a roll of Best Ever Craft Tape.

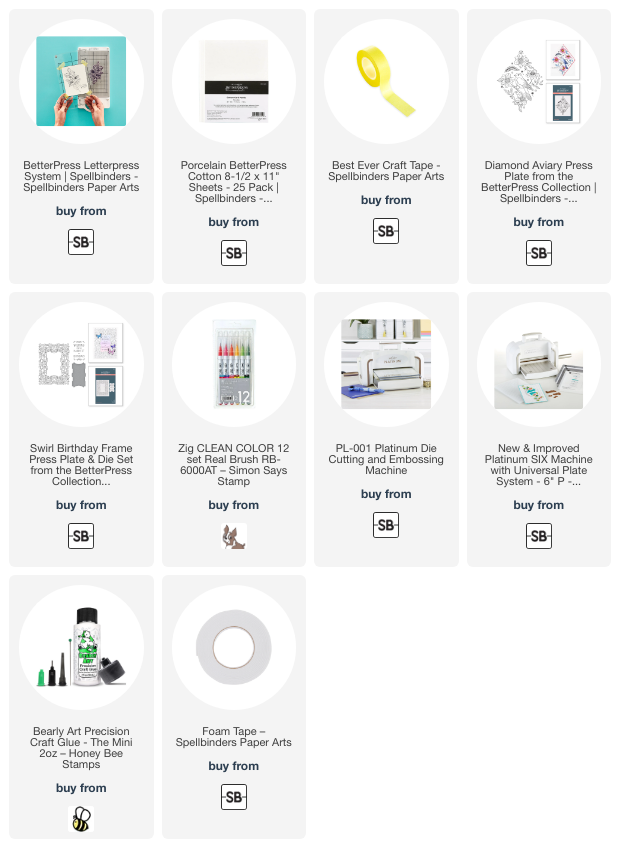
First I positioned the included BetterPress Press Plates onto the Chase with Magnetic Insert.  I followed the directions for inking the Press Plate with the specialty BetterPress black ink.  I used the included Best Ever Craft Tape to adhere the BetterPress Cotton Card Panel to the Platen.

Okay, I know all of that sounds like Greek, right?!!  LOL!  But once you watch a video, you will see that it is not too complicated after all!

I ran the system through my Platinum die cutting machine (click HERE for a list of compatible products) and WOW!  Photos just don't do it justice!  I colored the image with a few of my Zig watercolor markers.  I also added yellow and dark gray splatters to the layer.  Then I die cut it with an Essential Arches die and a black matting layer.

Here's a super closeup of an extra sentiment where you may be able to see the beauty of the BetterPress:

I also used the largest Essential Arches die to make a folded card base for the layers.  After I tied some gingham ribbon around it, I popped it up with foam tape.

So you know, I did try coloring another image with my Copic markers.  The colors blended fairly well on the Cotton Card panel, but not as good as the Neenah I usually use.  The green markers seemed okay, however, when I started coloring the flowers with a light yellow marker, there was a bit of smearing of the black ink.  That's when I stopped that!  Watercolors worked great on the Cotton Cards as do pencils.

I hope you've enjoyed my review of the new BetterPress Letterpress System.  I can honestly say that I'm very happy I gave into my impulse to purchase this new product!  Haha!  I can't wait to create more cards with it!  Thanks so much for stopping by today--you are so appreciated!

Thank you for using my affiliate links to shop (never any additional cost to you)!