Wednesday, September 28, 2022

Thinking of You Floral Card with Hot Foiled Sentiment

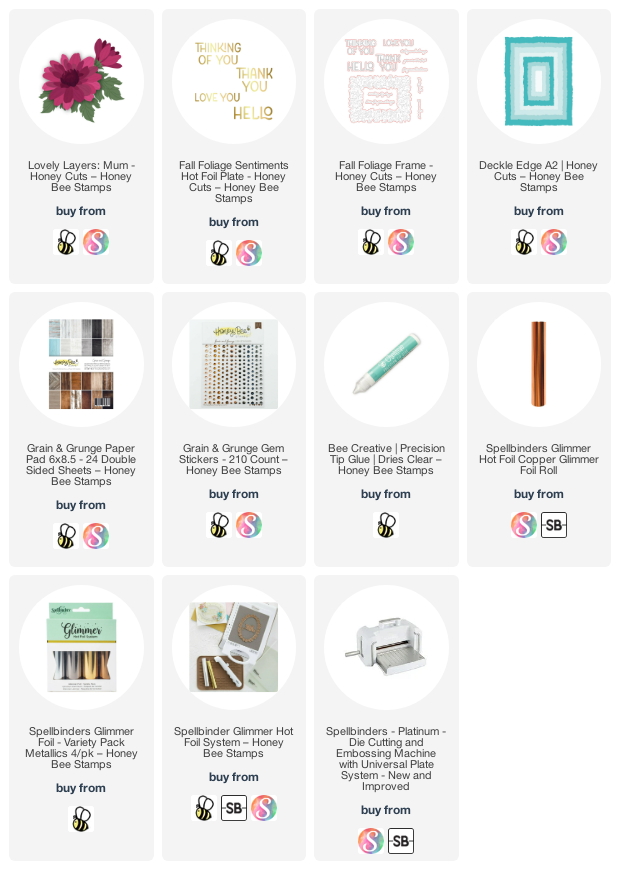
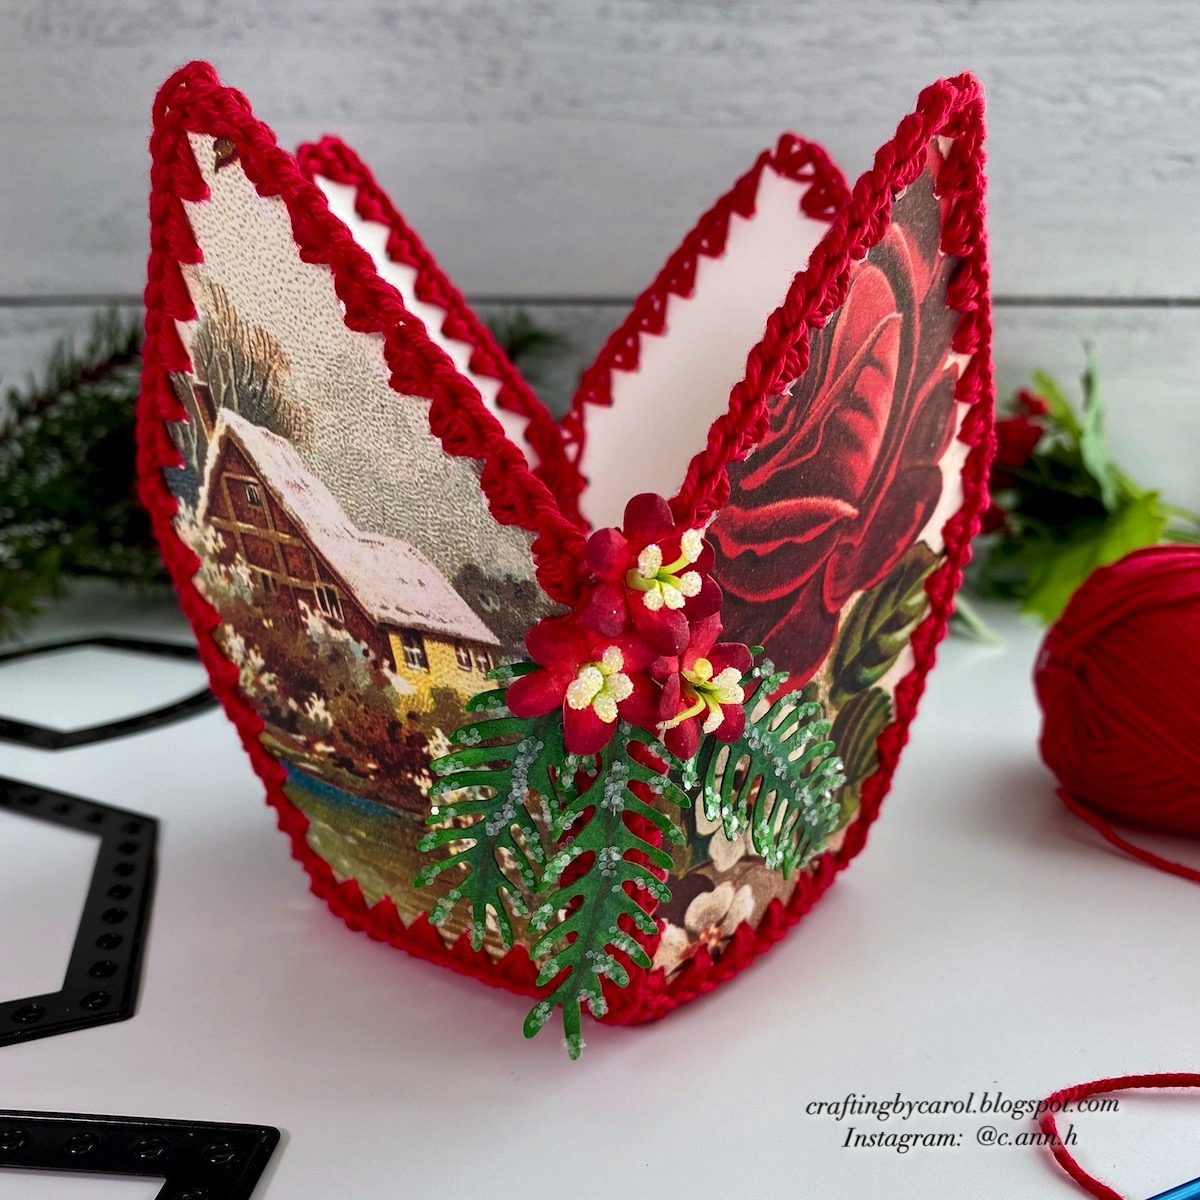
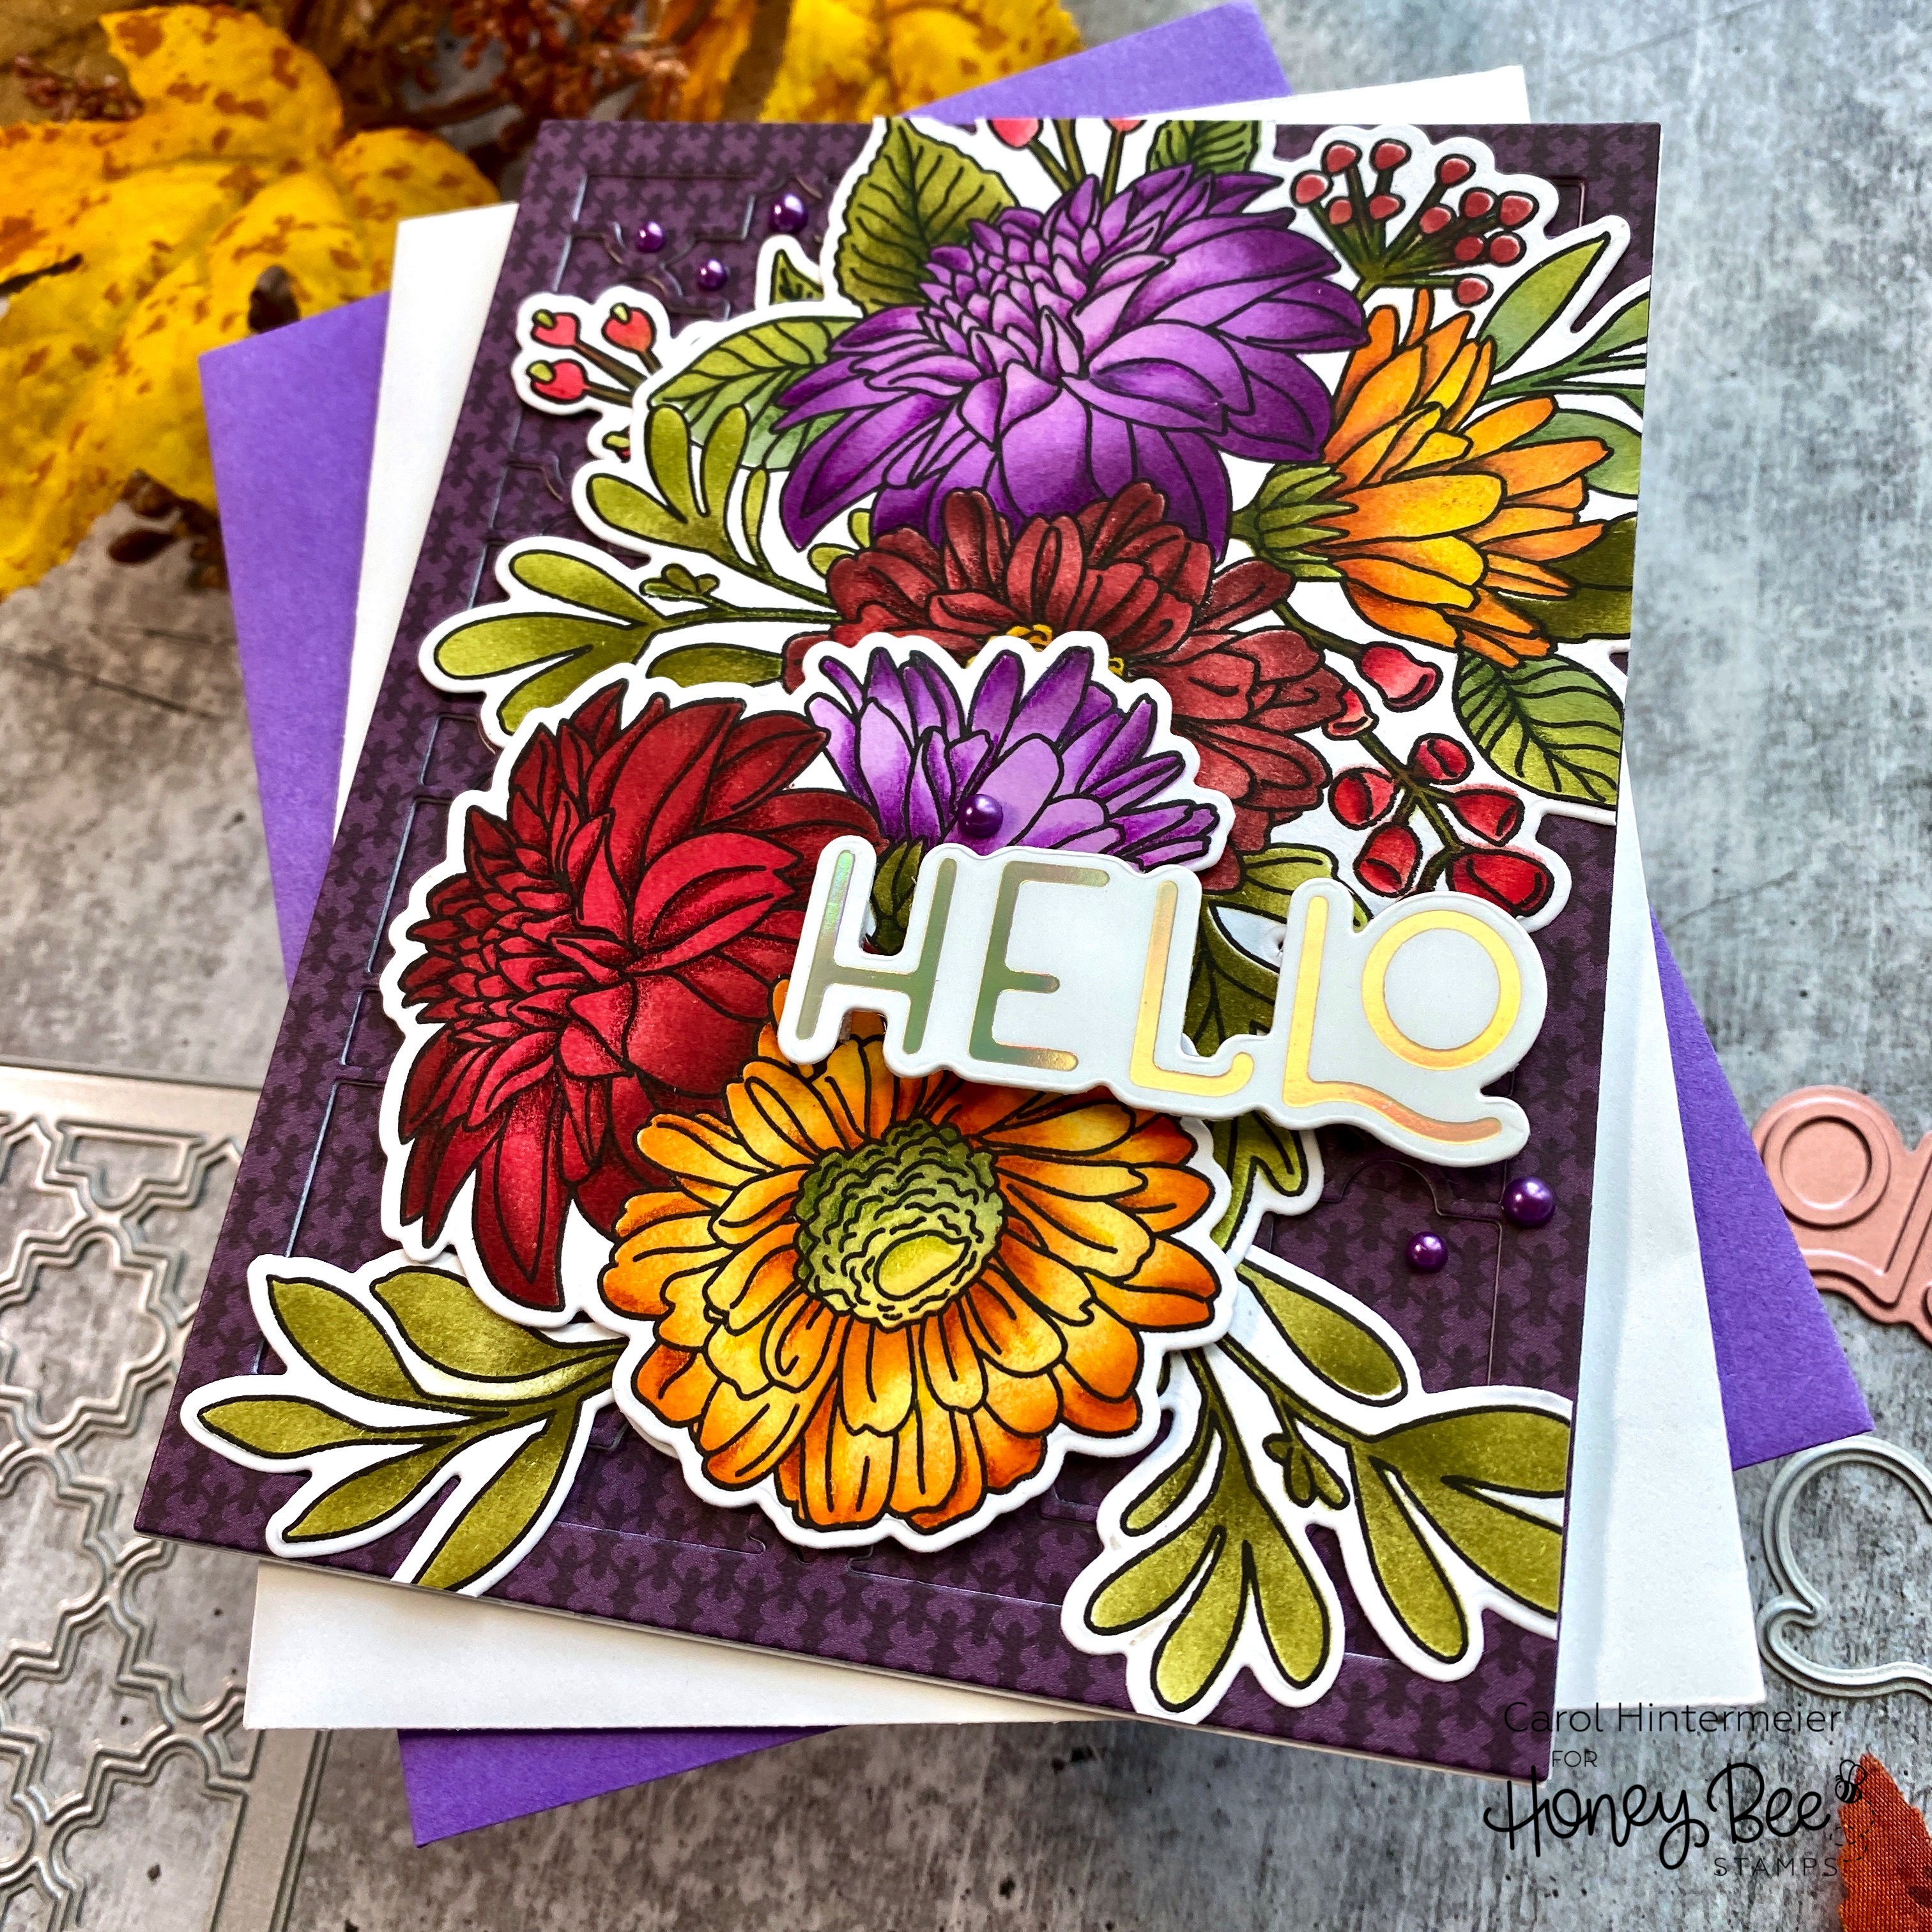
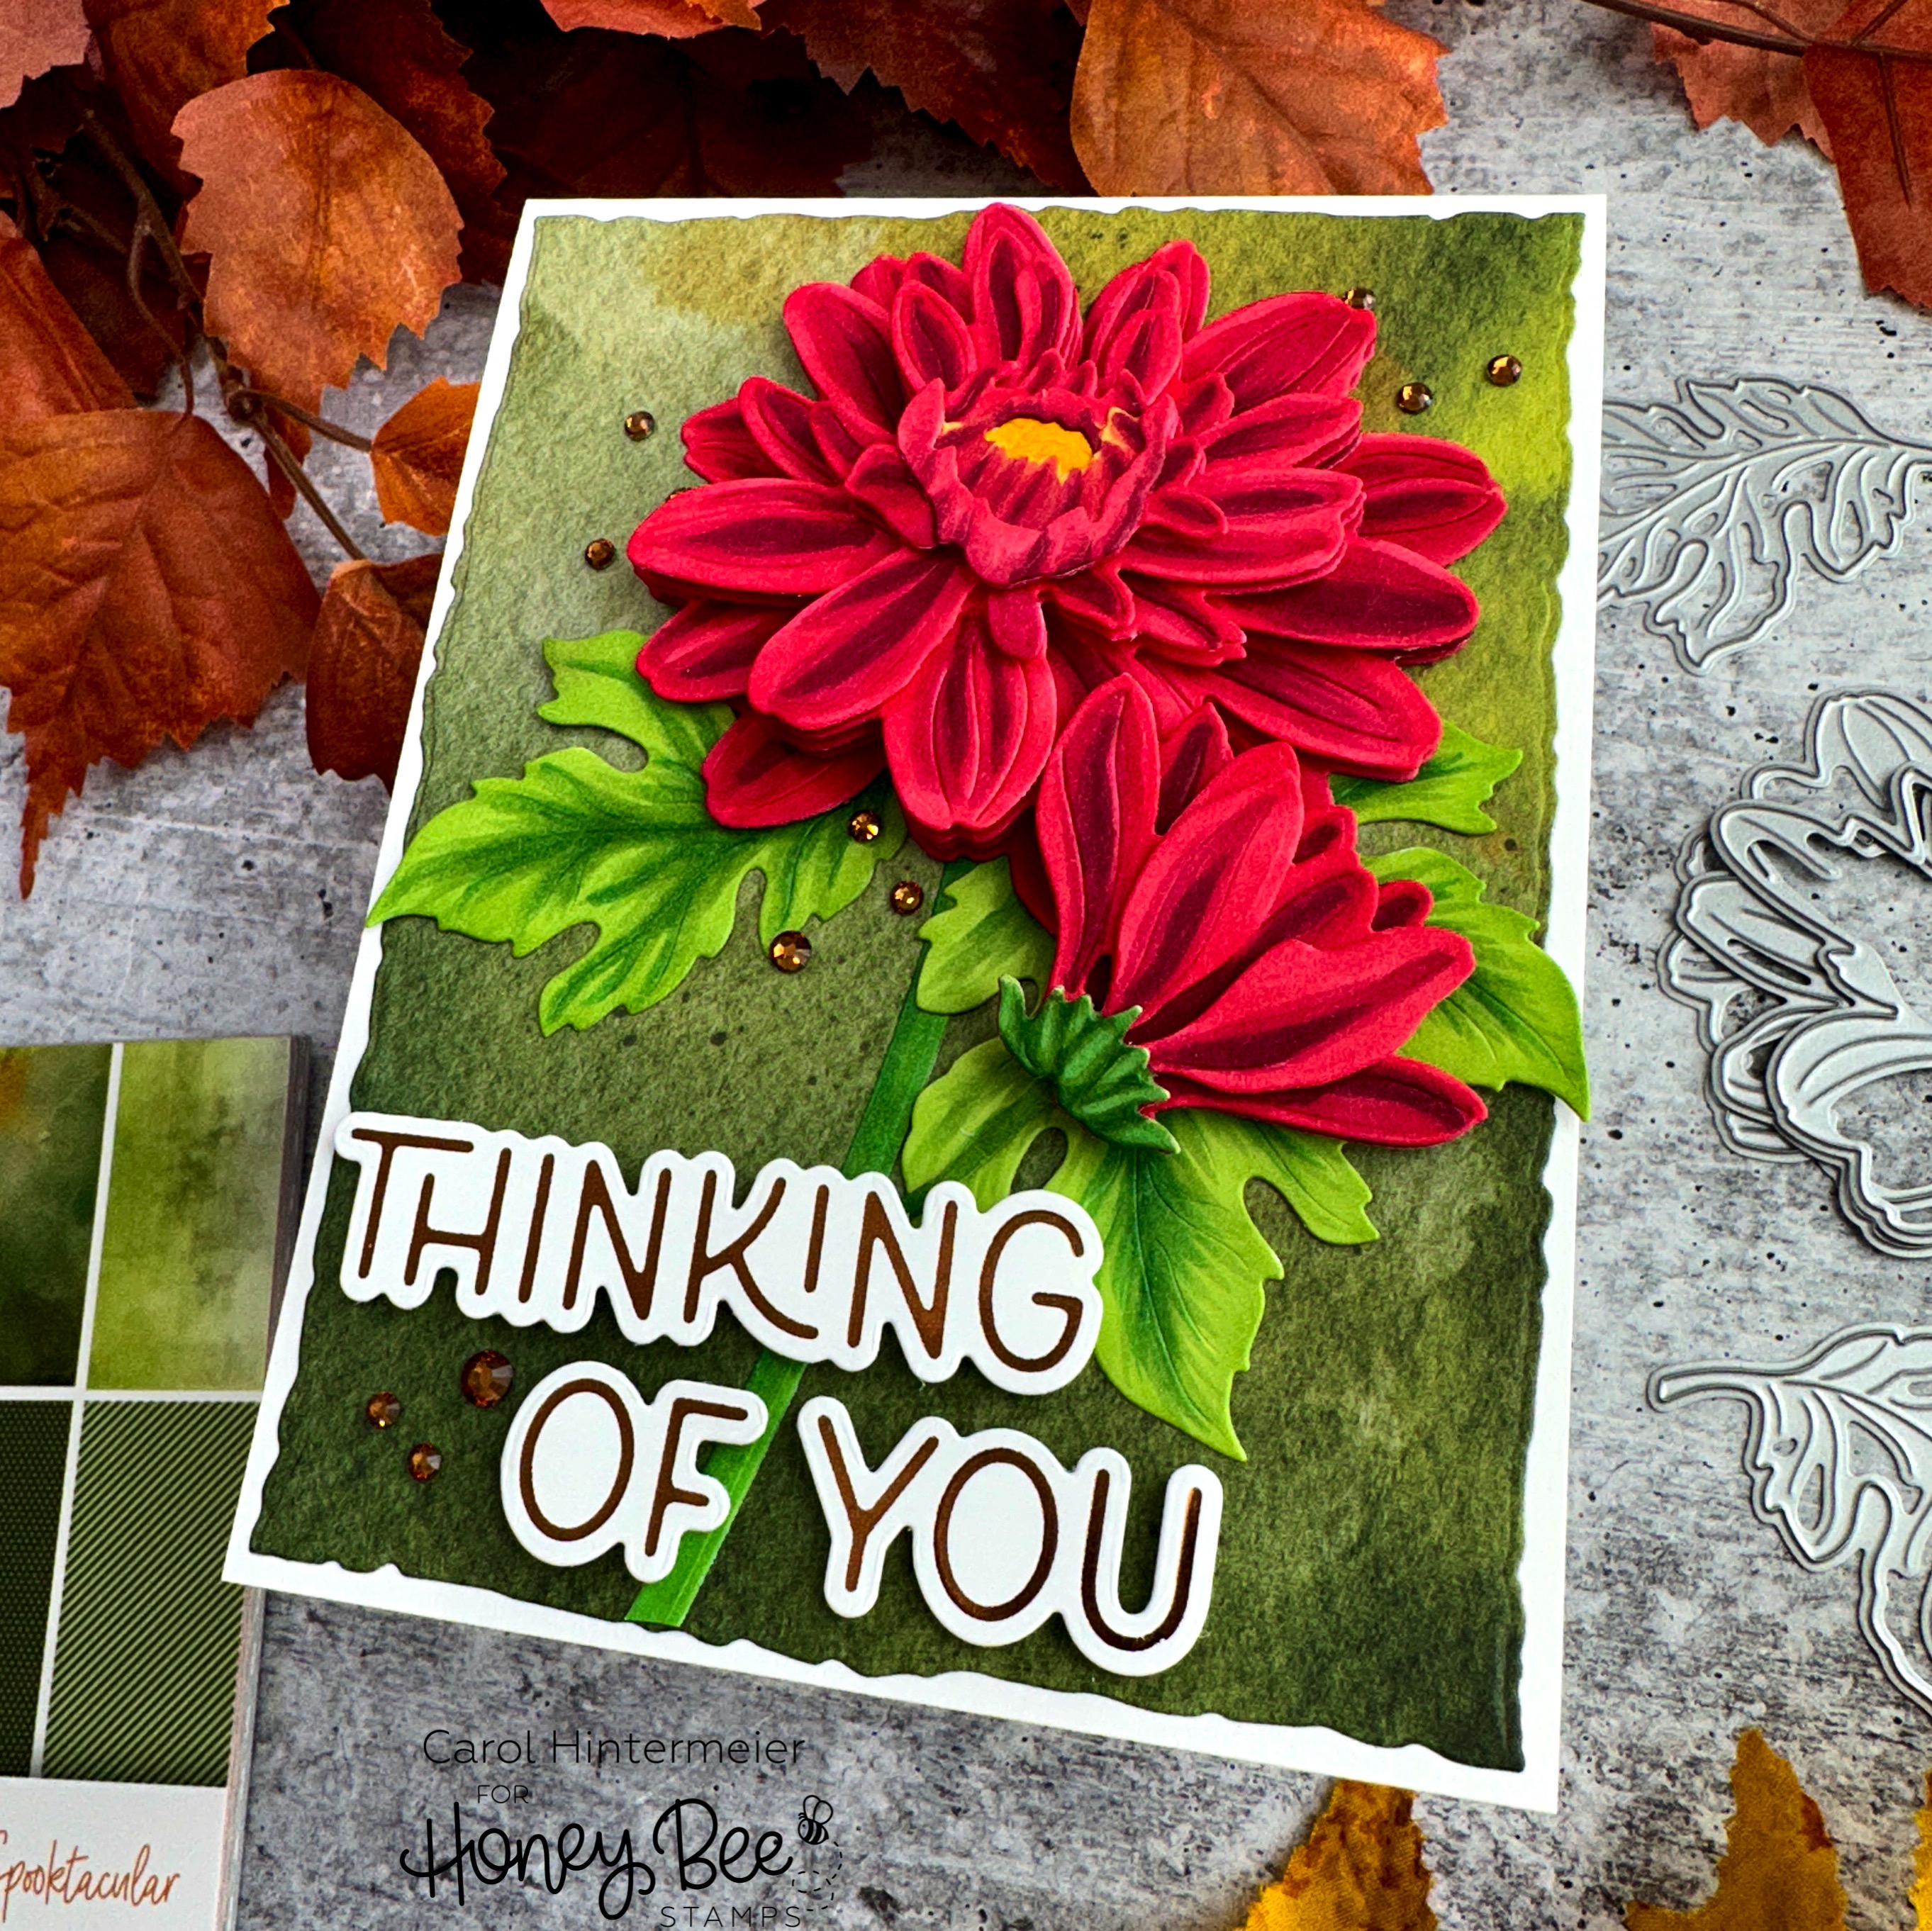
 Today I'm sharing a card featuring Lovely Layers: Mum which is one of the newest in the Lovely Layers line! I also used some new patterned paper for the gorgeous background and added a hot foiled sentiment for some shine!

I die cut all of the pieces of the Lovely Layers: Mum from 80# Neenah cardstock. I used my Copic markers to color the layers. Tip: You only need to color the portion of each layer that is not covered up by the layer above it! The Copic markers I used are: R39, R37, R35, Y19, G07, YG17, and YG25.

While the Lovely Layers are gorgeous glued together, I love the look of extra dimension, and cannot resist adding foam tape between most of the flower layers! I will either hand deliver this card or mail it in a padded envelope.

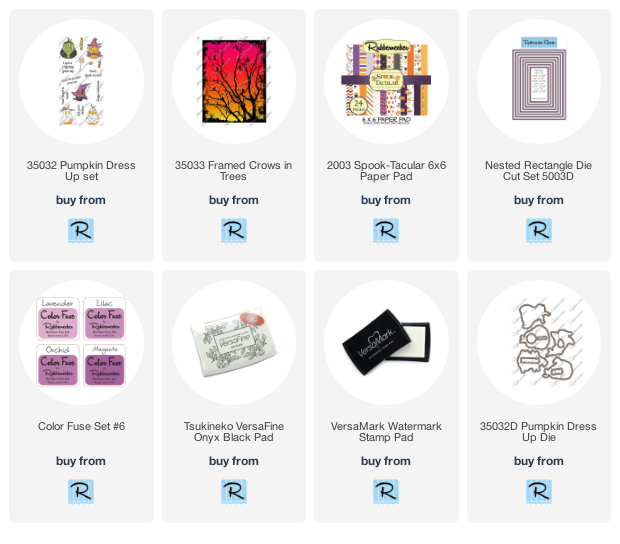
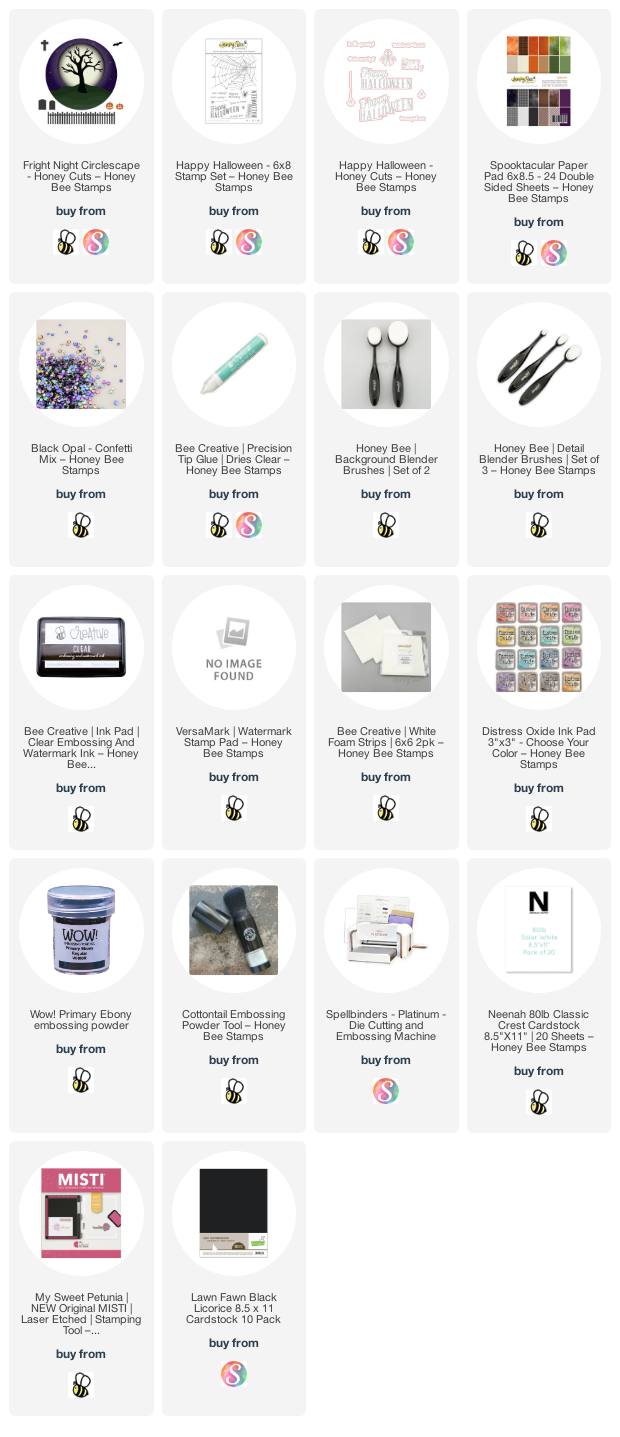
Next I die cut some paper from the new Spooktacular paper pad with the largest Deckle Edge A2 Honey Cut. I adhered that to an A2 card base. (There are plenty of non-Halloween papers in this beautiful paper pad!) Then I used Bee Creative glue to adhere the flowers and leaves to my card.

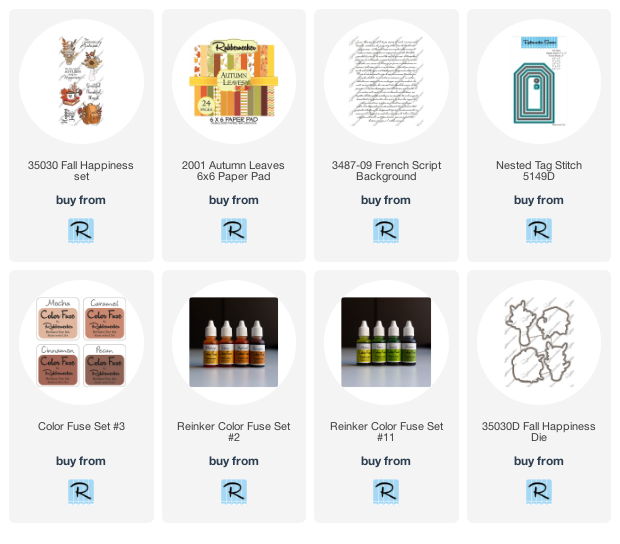
The sentiment is from the Fall Foliage Sentiments Hot Foil Plate set. I used my Glimmer machine with the sentiment, copper foil, and Glimmer Specialty cardstock. I used the coordinating Honey Cuts that are in the Fall Foliage Frame Honey Cuts to die cut it out. Of course, I added foam tape to pop up the sentiment too!!

To finish off this beauty, I added some copper colored gems that are in the Grain and Grunge gem sticker set.

I love how this card turned out, and hope you do too!  Thank you so much for stopping by today!  You are always so appreciated!

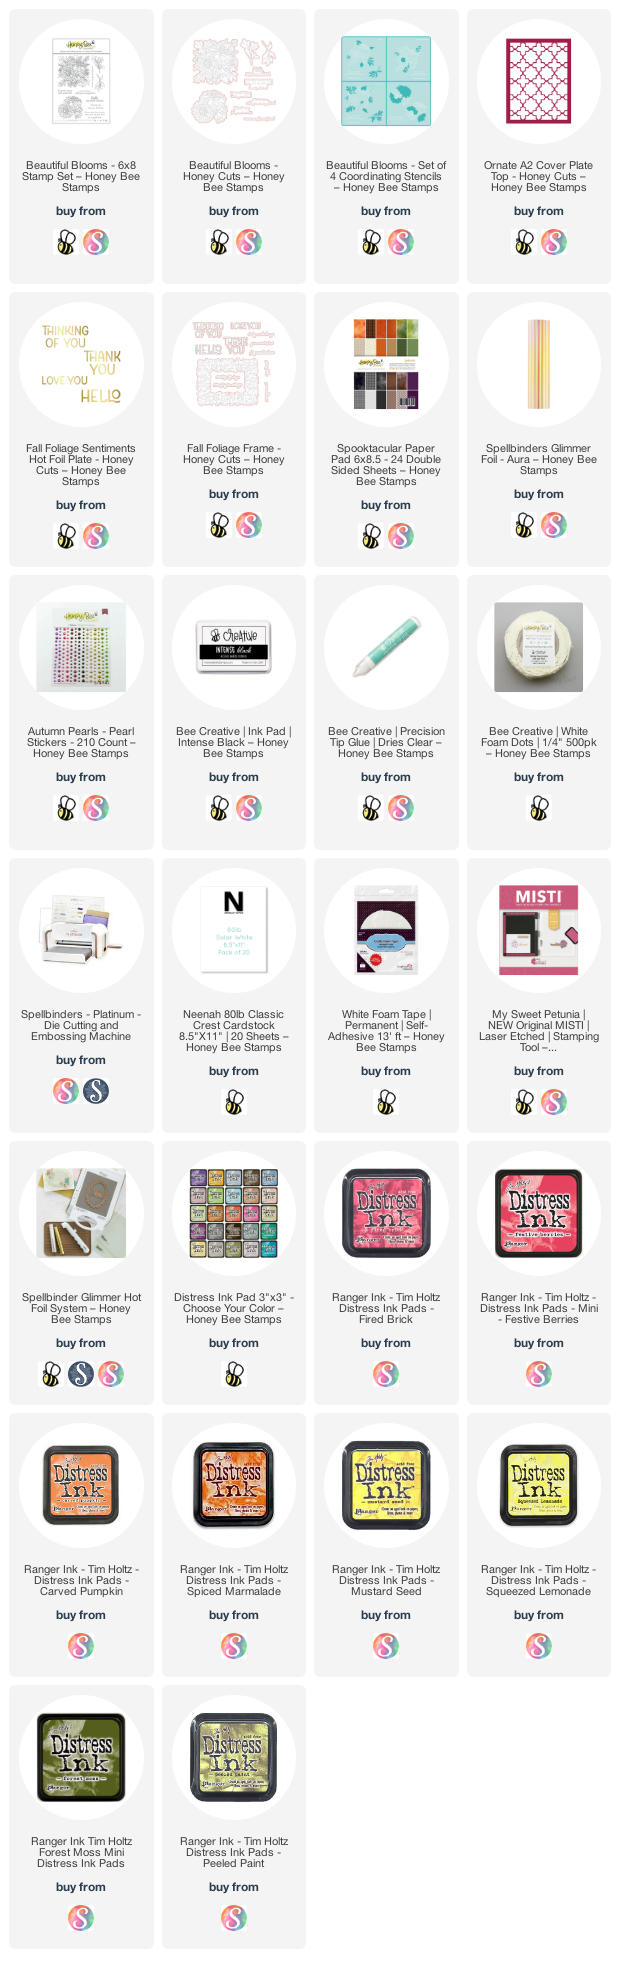
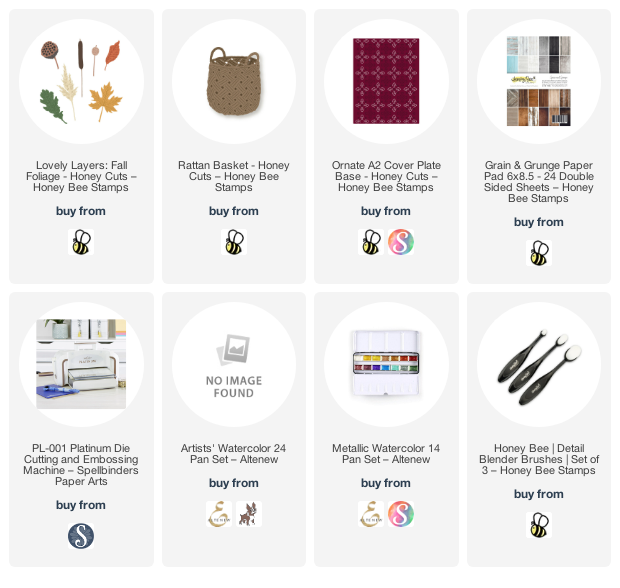
Thank you if you choose to use my affiliate links to check out these products I used.  (never any additional cost to you!)

Tuesday, September 27, 2022

Cute, Not Spooky, Pumpkin Halloween Card

Today I'm sharing a cute, and not too spooky, Halloween card using Rubbernecker Stamps' adorable new Pumpkin Dress Up stamp set.  And I love this new Framed Crows In Trees background stamp too!  I'm using another of their new paper pads, this one called Spooktacular!

First I chose some patterned paper from the new Spooktacular paper pad and trimmed it to A2 size.  I adhered it to my card base and adhered orange paper from the pad that I die cut with a Nested Rectangle die over the top.

Next I used some purple paper from the Spooktacular paper pad and trimmed it to 3-¾" x 5".  I inked up the edges of it with inks from the Color Fuse set #6 set.

Then I stamped the Framed Crows In Trees background stamp onto the inked purple paper.  I used my anti-static pouch before stamping with Versamark ink.  I sprinkled on black glitter embossing powder and heat set it.  Note:  These papers have a smooth coating and to keep it from warping I kept my heat tool moving quickly around.  Then I blended on some Black Soot distress ink just around the edges for further impact.  I adhered the piece to the card.

I stamped the cute little image from the Pumpkin Dress Up set in Copic safe black ink and colored it with my markers.  I fussy cut the image out a popped it up with foam tape on the card front.  I stamped the sentiment from the set with Versamark onto a scrap of the orange paper, heat set it and added a purple layer.

This was such a fun and cute card to make!  Thanks so much for stopping by!!


Thank you for using my affiliate links (never any additional cost to you).

Sunday, September 25, 2022

Nordic Ornament Christmas Cards

 Today I have two cards to share using Spellbinders' beautiful new Nordic Ornaments die set.  This set has two different ornament shapes and several extra dies to go along with the ornaments!

To die cut the different color inlays, you have to die cut the ornament twice, which gives you extra pieces for another card!

I created the background for this card by stamping the Pretty Pine Background stamp and heat embossing it with White Puff Twinkle embossing powder.  I trimmed it 3-¾" x 5-½" and adhered it to a medium teal card.

Then I die cut the ornament base from a lighter teal cardstock.  Next I used the medium teal cardstock to die cut the ornament detail die.  I cut it again from the light teal.  I used Press N Seal to secure all of the extra pieces!

I die cut the Nordic Ornament detail die once again from sparkle cardstock.  Then I used liquid glue to adhere the layers and inset pieces as shown in the photo.

I die cut the ornament top from silver mirror cardstock and glued it on.  I added a bow with some silver thread.  Then I popped it up onto the card with foam tape.

These sentiment is from the Holiday Quotes set and white embossed.  I hand cut it out and added foam tape to the back.

For this next card I used all of the extra pieces from the previous card!!  The only dies I had to cut again are the ornament base and another topper.

The first thing I die was add Glossy Accents to the reserved inlay pieces.  I set those aside to dry.  Then I created the base base by inking the edges of dark teal cardstock with Peacock Feathers and Black Soot Distress inks.

Next I used my Glimmer machine to hot foil the sentiment at the bottom of the inked panel.  This hot foil plate is one of three in the Gifts of Christmas Sentiments.

I put the foiled panel into the Tufted 3D embossing folder, making sure to leave the bottom edge hanging out to partially emboss it.  I ran it through my Platinum die cutting machine, and WOW!  I just love this embossing folder!

After I glued the pieces of the ornament together, I added foam tape to the back to pop it up on the card.  To finish I tied a little bow for the ornament and added a few gem stickers for a bit of sparkle.

Thanks so much for stopping by!  I hope you have a wonderful, and crafty, day!

Thank you if you use my affiliate links (never any additional cost to you).

Thursday, September 22, 2022

NEW Graciellie Designs Digital Stamps - Times Change

 Hello friends!  Today I'm sharing a card featuring the brand new release by Graciellie Designs!  This digital stamp set is called Vintage Pears and it has this beautiful pear branch long with several sentiments.  

When I'm working with digital images, I like to plan ahead and print them at least a day before I'm going to color them.  This gives the ink from my ink jet printer plenty of time to set up and dry.

I love working with digital images!  After I download the images, I open up Word, and add them into a new document.  Then I resize as I want and I usually go ahead and print all the sentiments at the same time.  I printed this onto Copic X-Press It Blending card and then colored it with my Copic markers.

When I finished my coloring, I die cut the image with a deckle edge rectangle die.  I used a small rectangle die from the same die set to cut out the sentiment.  Then I carefully splatter some yellow gold metallic paint on and around the image.

Then I used a paint brush to paint all of the edges with the gold metallic watercolor.   I adhered the panel to some coordinating cardstock and popped the sentiment up with foam tape.

That's it!!  Such a fun card to make that requires minimal supplies!  Thanks so much for stopping by, and I hope you'll check go out Gracie's new release!

Wednesday, September 21, 2022

Happy BOOday! with Fright Night Circlescape Shaker Card

Hello crafty friends!  Today I'm sharing a fun shaker card for Halloween featuring Honey Bee Stamps new Fright Night Circlescape die set.  This is such a fun die set that I can easily see using different colors and featured as a winter scene!  Hmm, I need to add that to my idea list!

First I'll share the steps for creating the shaker/card base:

  • First, I chose paper from the Spooktacular 6" x 8-½" paper pad and trimmed it to A2 size.
  • Then I used an ink blender brush to add some Black Soot Distress ink around the edges of the paper.
  • Next I placed it into an A2 Shaker Creator shaker pocket, removed the adhesive liners from the sides and bottom flaps, and folded them over onto the back of the paper.
  • I poured in some of the so very pretty Black Opal Confetti Mix and sealed the top flap.
  • I used Bee Creative glue to adhere the shaker to a top folding A2 card base.

Next I created the details for the front of the card:
  • First I die cut the largest Circlescape Shaker Frames from black cardstock. I saved the frame and the circle from this die cut as we will be using both.
  • Also from black cardstock, I die cut the fence, bat (x 3), and the tree from the Fright Night Circlescape Honey Cuts. (I used a scrap of black cardstock that just fit the tree for that part.)
  • I die cut the entire Fright Night Circlescape die from 80# Neenah.
  • I used ink blender brushes and Distress Oxides for all of the coloring of the die cut pieces.
    • Moon: Antique Linen, Scattered Straw
    • Sky: Villanous Potion, Wilted Violet, and a touch of Antique Linen
    • Grassy hills: Rustic Wilderness, Mowed Lawn
    • Tree: Black Soot (this will go under the black die cut tree)
    • Cross/headstones: Weathered Wood
  • I die cut the pumpkins from a scrap of orange card stock.
  • For the yellow behind the pumpkins, I inked a scrap of cardstock with Scattered Straw Distress Oxide. One at a time, I glued the pumpkins to it, and then cut them off of the yellow piece just under the edge of the pumpkins on top. Goodness, I hope that makes sense! LOL!

Let's finish this fun card!
  • I adhered the colored pieces of the Fright Night Circlescape to the reserved black die cut circle with Bee Creative glue.
  • Adhere the black die cut tree onto the image.
  • The cool thing about the fence is that the die cut is bendable since the pickets are only joined by the top fence rail! I shaped the fence and glued that in place along with the other small images.
  • Next I adhered the Circlescape frame to the front of the card with glue. Then I glued the main image inside the frame.
  • I used black embossing powder and clear embossing ink to stamp and emboss the sentiment and spider from the Happy Halloween stamp set. After I used the coordinating dies, I used a bit of foam tape strips to adhere them to the card.

This was such a fun card to make with all of these fun elements!  I hope you've enjoyed my process.  Thank you, always, for taking a minute to stop by!  I hope you have a wonderful, crafty day!

Thank you for using my links to check out the products I used!  (affiliate link--never any cost to you!)

Thursday, September 15, 2022

Spellbinders' Vintage Square Bowl / Flea Market Finds Collection

Hi crafty friends!  I have....NOT a card!  LOL!  I do have this fabulous vintage papers, stitched bowl using the new Vintage Square Base and Sides Bowl die set!  Did you know that people used to take their Christmas cards they received and turn them into beautiful creations like this?  I did not!  After a web search, I found many wonderful examples.  

Spellbinders has made this a lot easier by creating dies for this type project.  I made this using a couple of the new products in Spellbinders Flea Market Finds Collection just released.  It's a beautiful collection that includes several other themed products that aren't Christmas.  I crocheted the pieces together, but be sure to check out the photos on Spellbinders website to see others that were stitched together.

First I added sheets of double sided adhesive to some #120 white cardstock.  Then I die cut it using the dies in the Vintage Handcrafted Square Base and Sides Bowl die set.  Next I used the dies to selectively die cut various papers in the Home for the Holidays paper pack.  I chose two floral sections and two winter scenes for the sides and used some leftover paper for the bottom square piece.

Then I peeled off the adhesive backing and adhered the patterned paper pieces to the white die cut pieces.

Now comes the fun part!  I did need to dust off my crocheting skills for this--haha!  I did a bit of practicing before I began stitching the pieces together.  I used some cotton thread I picked up from Michael's craft store a few days before.  The brand is Patons Grace 100% mercerized cotton in the color Cardinal.  I used a size "C"/2 crochet hook.

First I crocheted all around each individual piece by crocheting two single crochets in each die cut hole.  At the top point of the sides, I stitched three single crochet stitches.  

Then I used a whip stitch to begin piecing the sides to the bottom.  I continued by using the whip stitch to join the sides together.

Then I used Spellbinders' Jasmine die set and the Pine Cone and Evergreen Bough die set to add a bit of embellishment to one corner of my box.  I die cut the pieces from 80# Neenah.  After I colored the pieces with Copic markers, I used my flower shaping tools to shape each piece.  I used liquid glue to adhere the pieces to the bowl.

This bowl is just adorable to add treats, as I did in this next photo, for a special gift.

I can totally see using this beautiful Vintage Bowl die set with non-vintage papers for Christmas!  Also, wouldn't it be fabulous to use for Valentine's Day, a birthday, or with a spring-time theme?!  So many possibilities!  

I sure hope you've enjoyed my project today and that you'll be inspired to give this a try!


Wednesday, September 14, 2022

Teatime Florals Card for Your Bestea!!

Today I'm sharing a card that's perfect for your very good friend that features the beautiful Honey Bee Stamps new Teatime Florals stamps and Honey Cuts. This was fun to color and overall a pretty easy card to make! Read on for the details!

First I created the card base. I die cut some 80# Neenah three time with the Layering Vintage Labels Honey Cut die. I also die cut a piece of wood grain paper from the Grain and Grunge paper pad. I glued all of the layers together with Bee Creative glue. Then I adhered the layers to a top folding A2 white card base.

Next I stamped the images from the Teatime Florals with Intense Black ink. There are coordinating dies for the teapot and cup but I wanted to see if the dies in the stand-alone die set called Teapot and Cup would work. These particular dies have edges that deboss the square sections which is why I used them.

To be sure I got these Teapot and Cup dies lined up with the stamped image I die cut them on some scrap cardstock. Using the negative piece I lined it up over the stamped image and taped it into place. Then I placed the actual die into the opening and also taped it down with removable tape. I ran those through my Bitty Buzz Cutter and then used a black marker to go around the outside edges of the images.

Next I used my Copic markers to color the teapot, cup and florals. Here are the colors I used: blues: B18, B16, B04, B05, B02, B01; orange flower: YR07, YR04, Y35; yellow flowers: Y19, Y15, Y02; leaves: YG67, YG61, G82, G07, YG17, YG03; shadows on white squares: C03, C01, C00. I used the coordinating die to cut out the floral image.

I added gold trim around the teapot set with a gold Gelly Roll pen. Then I added foam tape to the back of the images and adhered them to the card. The sentiment is from the Teatime Florals set, stamped in Intense Black ink and then die cut with the coordinating die. I used some thin foam tape strips to pop it up.

I just love this set! There are other sentiments in the Teatime Florals set to use for other occasions to suit your need. Thank you so much for stopping by today! I hope you have a fabulous, crafty day! 

Thank you, if you choose to use my affiliate links (never any additional cost to you).

Tuesday, September 13, 2022

New Fall Happiness Stamps and Paper Pads from Rubbernecker Stamps!

Today I'm sharing a sweet autumn card featuring Rubbernecker Stamps' fabulous new Fall Happiness stamp set.  AND, they now have some gorgeous new paper pads!  My card also features some older techniques with paper distressing and dying my own ribbons.  Read on for the details!

First I created my card base and layers by using two pieces of patterned paper from the new Autumn Leaves paper pad.  Lately I've noticed the look of torn edges is kind of making a come back and I've always loved that look!  I used my old Tim Holtz Distress paper distresser tool on the edges of the top piece of paper.  Then I tore the green paper on a diagonal and inked up all the torn/distressed edges with Pecan ink from the Color Fuse set #3.

Then I used the French Script background stamp to add the detail to the other piece by stamping it with Cinnamon ink.  Then I adhered the layers to my A2 card base.

Just a note, these new papers by Rubbernecker are printed on 80# cardstock with a very smooth finish.  The die inks stamp beautifully on it and dry very quickly too!

Next I stamped the book/coffee cut image from the new Fall Happiness stamp set in Copic safe ink onto a scrap piece of Neenah.  I colored it with my Copic markers and fussy cut it out.  I adhered it to a tag cut from the Nested Tag Stitched die set.  I also inked the edges of the tag with Cinnamon ink and stamped the sentiment from the Fall Happiness set with black ink.

Next I had some fun custom dying some ribbon with the Rubbernecker Color Fuse re-inkers.  Here are a few photos to show my process:

I used a disposable glove to keep my fingers stain free.

I dried the ribbons with my heat tool while using my craft pick to hold them in place.  The finished result are some beautiful, coordinating ribbon!


After I tied the ribbons onto the tag, I wrapped a piece of jute twine around them.  Then I popped the tag up onto my card base with foam tape.

I hope it's feeling like fall where you are and that you've enjoyed my card process today!  Thanks so very much for stopping by!

Thank you for choosing to use my affiliate links (never any additional cost to you).

Wednesday, September 7, 2022

Beautiful Blooms Autumn Card With Hot Foiled Sentiment

Today I'm sharing a card I made using the Beautiful Blooms stamps,  coordinating dies, and stencils that are in the Honey Bee Stamps Spooktacular Release that just became available. I used Distress Inks to color the flower images and a few colored pencils to create depth and shadows on the flowers. As much as I enjoy coloring this type of image with my Copic markers, using the stencils to get the base colors down first is a big time saver!!

First I created the A2 card base and layers by die cutting the top layer of the Ornate A2 Cover Plate die three times. Once from patterned paper in the new 6 x 8-½" Spooktacular paper pad, and twice from 80# Neenah.  (NOTE: Be sure to save the negative pieces of the purple paper die cut. I pressed a piece of Press N Seal over it to keep all of the pieces in place.)

Next I adhered all three die cut layers together with Bee Creative glue. Then I glued this piece to my card base. I added dots of glue in the open spaces of the Ornate A2 Cover Plate and added the reserved purple pieces into the opening.

For the florals, I stamped the images from the Beautiful Blooms set with Intense Black ink. It's very important to make sure the ink is dry before you begin the stenciling! I used sponge daubers to add the ink through the stencil layers. There are four stencils in the Beautiful Bloom stencil set and are very easy to line up! I inked on the darker colors of Distress Ink where there would be more shadows. Here is a photo of the Distress Inks I used for your reference:

I did use two lighter color purple inks from my stash since I don't have Milled Lavender Distress Ink (that's on my wish list now). When I finished inking through the stencils, I felt that I wanted the flowers to have a bit more dimension. I accomplished that by choosing a few coordinating colored pencils to add shadows in certain areas. The trick here is to always use a light hand when coloring with the pencils. It doesn't take a lot to achieve the effect!  I cut the images out with the coordinating dies.


After I adhered the images to my card with glue and foam tape I trimmed the bits hanging off the card with my scissors. Then I used a sentiment form the Fall Foliage Sentiments hot foil plates and foiled it with Aura Glimmer Foil. I followed the directions for my Glimmer Machine to foil it onto Glimmer Specialty Cardstock. The coordinating dies for these hot foil plates are in the Fall Foliage Frame die set. I used the coordinating die cut out the sentiment. A few foam dots popped it up on the card.

I finished up by adding a bit of pretty bling from the new Autumn Pearl stickers set. I hope I've inspired you with my card today!  If you're on Instagram check out the REEL I made showing some of the card making process!  Thanks so much for stopping by. Have a wonderful, crafty day!

Thank you so much if you use my affiliate links (never any additional cost to you).

Tuesday, September 6, 2022

Life Is Better With You Autumn Card and A Fun Instagram Hop

Today I'm sharing my card that's part of Honey Bee Stamps Instagram hop to celebrate the Spooktacular Release!  I'm keeping my card details brief so you can join us over on the hop to see lots of amazing inspiration from the Honey Bee team.

These are the Honey Bee products I used for my gorgeous autumn card:

  • Lovely Layers: Fall Foliage
  • Ornate A2 Cover Plate - Base
  • Rattan Basket die set
  • Grain and Grunge 6 x 8-½" paper pad
I find some so very relaxing and enjoyable about dropping various watercolors onto a piece of watercolor paper!  That's what I did first.  I used colors from a watercolor set and a metallic set (linked below) to fill the paper with gorgeous color.  I let them air dry, then die cut the Lovey Layers: Fall Foliage dies from the pieces.

I die cut the Rattan Basket from Neenah Desert Storm cardstock and colored it with Walnut Stain and Vintage Photo Distress ink.

I ran the top of my card base through my die cutting machine with the Ornate A2 Cover Plate Base.  Then I added a strip of paper from the Grain and Grunge paper pad.  I inked all the edges very lightly with Walnut Stain Distress Ink.

I heat embossed the sentiment from the Beautiful Bloom stamp set in copper embossing powder.  Then I used the coordinating die to cut it out.

If you have any questions about my process, please use the "Contact me here" on the left side of my blog.  I'm always very happy to share my details!  Thank you so much for stopping by today.  Be sure to join us over on the Instagram hop!

Thank you for using my affiliate links (never any additional cost to you).