Wednesday, June 30, 2021

Picked Just For You! | Honey Bee Stamps

 Hello my crafty friends!  This week, over at Honey Bee Stamps, we are all about the red, white and blue! For my card today, I've used the adorable Market Cart Honey Cuts and colored it up to fit the theme!  I had lots of fun creating this card--read on for the details!

Here are the steps I took to create the Market Cart (all other products I used are linked at the end of this post):

  • Die cut the Market Cart pieces from 80# Neenah Solar White card stock.
  • Use the Market Cart stencil to color the awnings and flower pots' greenery.  I used Background Blender brushes and these Distress Oxides:  Festive Berries, Blueprint Sketch, Mowed Lawn and Rustic Wilderness.
  • Then I colored the remaining parts with various Copic markers.

  • Next I used Bee Creative glue to assemble the Market Cart.  Tip:  On the top awning, just add glue along the top edge--then you can fold along the score lines created when it was die cut for extra dimension!
  • I added some gem stickers to the awnings.  I'm low on red and blue gems, so I was happy to find them in the Harvest Festival Gem stickers (red) and the Log Cabin Gem stickers (blue).  The white are from...the White Gem sticker set!  Haha!
  • I added foam tape to the back of the cart and set it aside to create my card base.

  • For the card base, I used some patterned paper from the Spring Lullaby paper pad.  Trim it to 4" x 5-¼".
  • Very lightly, ink the edges of the cloud patterned paper with Stormy Sky Distress Oxide ink.  Adhere it to an A2 top-folding card base.
  • I used a small scrap piece of green patterned paper I had from the Over The Rainbow paper pad and die cut it with the Grass Border Honey Cut.
  • Trim the grass die cut to 4" and adhere it at the bottom.  Next, adhere the Market Cart to the card.
  • Stamp the sentiment from the My Favorite Flower stamp set in Bee Creative Intense Black Ink and die cut it with the coordinating Honey Cut.  Add pieces of thin foam strips to the back and adhere it to the cart.

I love how this turned out for our red, white and blue themed week!  I know for sure I'll be decorating the cart for all the seasons and lots of holidays!  Thank you so much for stopping by!  If you are in the U.S., I hope you have a safe, and fun filled 4th of July!

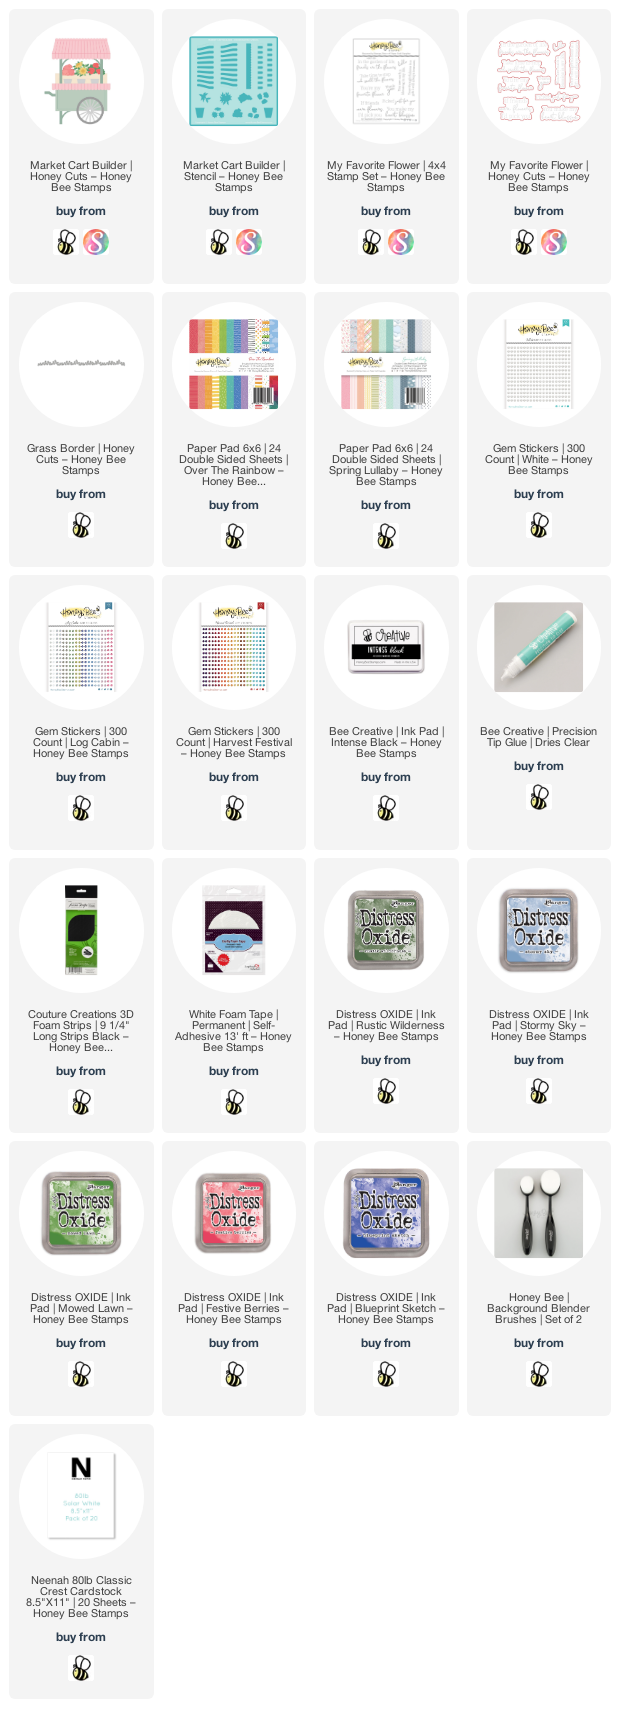
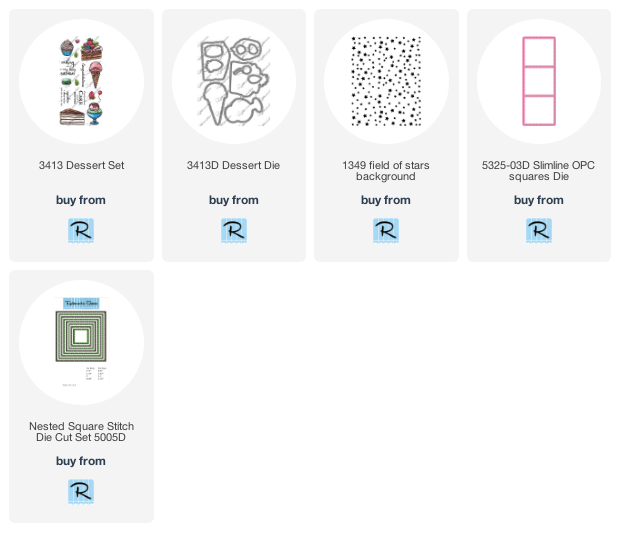
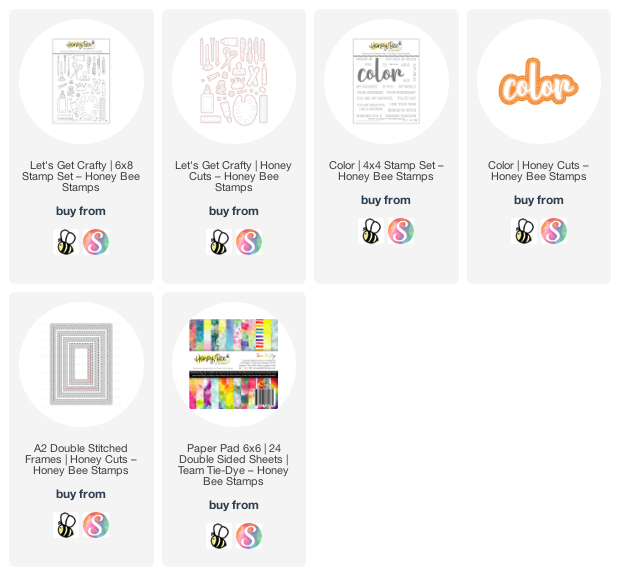
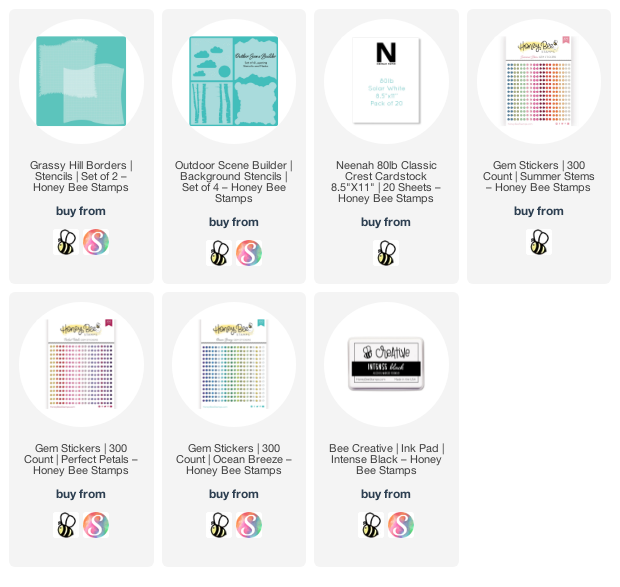
Click the images for more details on the products I used:

Tuesday, June 29, 2021

Slimline Birthday Card with Rubbernecker Stamps New Dessert Set

 Happy Tuesday my friends!  Today my card features the new Rubbernecker Stamps Dessert Set.  I've created a subtle and sparkly background to up the celebratory factor of this card.  Keep ready for the details.

Directions for the card base:

  • Create a 3-½" x 8-½" white card base by scoring a 7" x 8-½" piece of card stock at 3-½".
  • Cut another panel of white card stock to 3-½" x 8-½".
  • Using a MISTI stamp the Field of Stars background stamp onto it with Versamark clear embossing ink.
  • Sprinkle on some white sparkle embossing powder and heat set.
  • Since the stamp isn't tall enough to cover the entire slimline piece, turn the card around in the MISTI and cover the embossed stars with a scrap piece of paper.  (see photo)
  • Ink the stamp up again with Versamark and stamp it onto the exposed portion of the panel.  Sprinkle on the white sparkle embossing powder and heat set.
  • Adhere the embossed panel to the folded card base.
  • Die cut the Slimline OPC Squares die four times from white card stock.  Adhere the layers together with liquid glue and then glue the piece to the card.


 Create the card elements:

  • Stamp the images from the Dessert Set in Copic safe ink.  Color with with various Copic markers.
  • Use the coordinating Dessert Set dies to cut the images out.  Add foam tape to the back of the cake and dish of ice cream and adhere them to the card.
  • Stamp the sentiment (one of several in the Dessert Set) in black ink and die cut with the Nested Square Stitch Die.  Die cut one more from black card stock.
  • Offset the black square behind the white square sentiment and adhere with glue.
  • Add foam tape to the back of the sentiment and adhere to the card.
  • Glue the extra strawberries to the card as shown.

I wish the sparkle of the Field of Stars background showed up like it does in real life!  I always so appreciate you stopping by.  Thank you!

Links to Rubbernecker products:

Wednesday, June 23, 2021

Wishing You A Color Filled Day! | Honey Bee Stamps

 Happy Wednesday crafty friends!  Today I'm using more new stamps and dies from Honey Bee Stamps' awesome Summer Stems release.  The main focus is the fun Let's Get Crafty stamp set and coordinating dies.

First I stamped the paint palette and paintbrush from the Let's Get Crafty stamp set with Bee Creative Intense Black ink.  I really love this Copic-safe ink! (All supplies are linked below.)  I used some brown Copics (E57, E23, E34) to color the palette and just plucked rainbow colored Copic markers for the paints and the brush.  I used the coordinating Honey Cuts to cut them out.  Then I added some Glossy Accents to the paint spots and set it aside to dry.

Next I used a piece of the awesome Team Tie-Dye paper pad (created by all of us on the Honey Bee design team!) and die cut it with the largest A2 Double Stitched Frames die.  I adhered it to a black card stock layer and added it to a top-folding A2 card base.  Then I popped up the paint palette with foam tape and glued the paint brush to it.

Next I used the Color Honey Cut to die cut the top layer of Color from some glossy black card stock.  I die cut the middle layer from white card stock and adhered the two together with Bee Creative Glue.  I stamped the rest of the sentiment from the Color stamp set in Intense Black ink, added foam tape to each piece and popped it up on the card front.

Thank you for stopping by!  Have a wonderful, colorful week! 

Product used for this card:

Tuesday, June 22, 2021

Altenew Paint-A-Flower: Clematis Josephine Release Blog Hop + Giveaway


Hello crafty friends!  I'm so glad you've stopped by my blog for the next stop in the blog hop celebrating Altenew's beautiful Paint-A-Flower: Clematis Josephine!  You should have arrived from the blog of the super talented Tenia Nelson.  If you need to start at the beginning, head on over to the Altenew Card Blog.

This beautiful outline stamp is available now for you to order and color any way you like!  Click the photo to go to Altenew's shop!

This beautiful set is available in two special bundles.  Click either image for more details.


*********************************

I decided to color the Clematis Josephine with my alcohol markers, but I can't wait to watercolor this beautiful image!

This was a super quick card to make!  I began by stamping the Clematis Josephine in Copic safe ink.  Then I used some Copic markers to color the images.  I used a rectangle die to trim the panel down to 3-5/8" x 4-7/8".

If you are interested in the markers I used, here you go: pink flowers: RV04, RV02, RV10, RV00, G24, YG63, YG61; yellow rose: Y15, Y13, Y11, Y00; leaves: G28, YG17, YG25, YG03; shadow: BG01, BG000, BG0000.

I chose a sentiment from the set and stamped it in black ink.  Next I matted it on top of a black layer, added foam tape to the back, and adhered it to a top-folding A2 card base.

Thank you for stopping by!  Be sure to leave a comment for your chance to win and enjoy the beautiful inspiration at the next stop!

Your next stop is the blog of super talented Emily Midgett!

Giveaway Prizes:

$200 in total prizes! To celebrate this release, Altenew is giving away a $50 gift certificate to 2 lucky winners and a $20 gift certificate to 5 winners! Please leave a comment on the Altenew Card Blog and/or each designer’s blog post on the blog hop list below by 06/27/2021 for a chance to win. 
Altenew will draw 7 random winners from the comments left on each stop of this blog hop and announce the winners on the Altenew Winners Page on 06/29/2021.

Blog Hop Order:

Friday, June 18, 2021

Honey Bee Stamps Instagram Hop Card Featuring the BEE Young: Blooms

 Thank you friends for stopping over to check out my card!  I've using the adorable BEE Young: Blooms stamp and die set.  This special set is free with a qualifying purchase in the Honey Bee store.  This is part of the gorgeous Summer Stems release by Honey Bee Stamps!

I think this BEE Young: Blooms set is just totally adorable and had to make a card with her while she is still available with that qualifying purchase!

I began by stamping her in Intense Black ink (all product links are below) onto 80# Neenah, and then once more onto masking paper.  I fussy cut the mask and placed it onto the stamped image.  I also stamped several of the larger flowers.

Then I used the cloud stencil from the Outdoor Scene Builder stencil set to ink in some clouds with Tumbled Glass Distress Oxide ink.  I used the grass stencil found in the Grassy Hill Borders stencil set to add grass with Mowed Lawn Oxide ink.  Next I used the largest A2 Double Stitched Frames die to cut the panel out.

I colored her and the flowers with a rainbow selection of Copic markers and used BG01 to dot in some water droplets from the watering can.  I stamped the sentiment from the set in Intense Black ink and die cut it with the coordinating die.  I popped up the sentiment and the flowers with foam tape.  For a bit of bling, I added some pretty gem stickers to the flower centers.

I so appreciate you stopping by for a look today!  I hope you will join us over on the Instagram hop for lots more inspiration from this wonderful Summer Stems release!

Thursday, June 17, 2021

Altenew Summer Adventure Stand-Alone Dies Collection Release Blog Hop + Giveaway

 Hello crafty friends!  I'm so happy to be part of the Altenew Summer Adventure blog hop!  This release is full of awesome stand-alone dies that you are sure to love! 

You should have arrived here from the blog of Patricia Roebuck.  If you need to start at the beginning, head over to the Altenew Card Blog.

As you can see here, these stand-alone dies are beautiful and can be used for many different projects and occasions!  Click the image to go to the Altenew shop to check them out.


Here are THREE ways to get a FREEBIE to kickstart your creativity! Free gift will be added to cart automatically. 

  • Get a FREE brand new Summer Adventure Release Inspiration Guide (worth $5.99) with every order of high-value Summer Adventure release bundles. Shop HERE! *Exclusions apply.

  • Get a FREE brand new Summer Adventure Release Mini Inspiration Guide with every order from 06/17/2021 through 06/19/2021. Shop HERE!

*********************************************

Now, onto my cards!  My first card uses the beautiful Abstract Seascape Slim Cover Die.  I love the ocean and I already have someone in mind to receive this card!

I began with a piece of 80# Neenah and inked it up with a few blue Distress Oxide inks.  I used the die as a guide for where to ink the various shades.  For the ocean I used Blueprint Sketch, Salty Ocean, and Mermaid Lagoon.  I ran it through my die cutting machine to die cut the waves.  Then I used another white card panel and inked up the sky and sun.  I used Spiced Marmalade, Mustard Seed, and Squeezed Lemonade Distress Oxides.  Next I die cut the yellow panel.

Then I die cut the Abstract Seascape Slim Cover Die three more times from white card stock.  I just used the frame portion and adhered the layers together.  I glued the frame to a 3" x 7" card base and adhered the inked pieces inside it.

Next I used a sentiment from the Magical Memories stamp set and stamped it in black ink.  I trimmed it down and adhered it to the card.  I also used some of the seagull silhouette stamps from this set and stamped them at the top.  Such a quick, fun, and easy card to make!

My second card features two of the new dies:  Peeking Leaves Cover Die and All About You Word Die Set.

I used a brayer inked up with Walnut Stain Distress Ink and rolled it over the raised side of the Deck Planks 3D embossing folder.  Then I placed a piece of Neenah Desert Storm card stock in it and ran it through my die cutting machine.  I love how the ink emphasizes the wood grain!

Next I inked up white card stock in an ombré pattern with the inks from the Green Valley ink cube set.  Then I placed the Peeking Leaves Cover Die on top of the inked piece and die cut it out.  I die cut the Peeking Leaves twice more from white card stock.  Then I adhered all three layers together.  When the layers were dry, I adhered them to the Deck Plank panel and trimmed it around the edges.  I adhered the layers to a top-folding A2 card base.

I used two of the sentiments in the All About You Word Die Set  three times, from white card stock.  Next I adhered all the layers together and added them to the shadow that I die cut from vellum.


My final card features the Rippling Rings Border Die, and let me tell you, I really had fun creating this card!

I die cut a rainbow of Rippling Rings Border Dies  from the Gradient Cardstock Sets of Cherry Blossom, Sea Shore, and New Purple.  I filled in the yellow and green with card stock from my stash.

Next I adhered a piece of Altenew's Double-Sided Adhesive Sheet to white card stock.  I peeled off the backer and adhered all of the die cut Rippling Rings.  Then I dumped lots of beautiful micro-fine glitter over it all.  I used my fingers to gently burnish the glitter into the adhesive.  I made sure to have a piece of a dusting cloth on hand for easy clean up!  I wish the photos showed the beautiful soft sparkle!

I added a sentiment from the All About You Word Die Set.   I die cut the top layer three times from Lagoon card stock and adhered them together.  I added it to the shadow that I die cut from vellum.

I hope you've enjoyed my projects and have found some inspiration!  Thank you for stopping by!

Your next stop on the hop is the blog of Zinia Redo.

Giveaway Prizes

$300 in total prizes! To celebrate this release, Altenew is giving away a $50 gift certificate to 2 lucky winners and a $25 gift certificate to 8 winners! Please leave a comment on the Altenew Card Blog and/or each designer’s blog post on the blog hop list below by 06/23/2021 for a chance to win. 

Altenew will draw 10 random winners from the comments left on each stop of this blog hop and announce the winners on the Altenew Winners Page on 06/25/2021.


Blog Hop order:

Altenew Blog

Jennifer McGuire

Vicky Papaioannou

Norine Borys

Jenny Colacicco

Erum Tasneem

Seeka

Nicole Watt

Simon Hurley

Therese Calvird

Amanda Baldwin

Tania Ahmed

Verity Biddlecombe

Emily Midgett

Bridget Casey

Virginia Lu

Victoria Calvin

Tenia Nelson

Colleen Balija

Nathalie DeSousa

LauraJane

Maryam Perez

Karen Brown

Michelle Short

Agnieszka Małyszek

Patricia Roebuck

Carol Hintermeier <<< that's me!

Zinia Redo

Sandhya Iyer

Terri Koszler

Kelly Griglione

Mindy Eggen

Natasha Davies

Joylita Dsouza

Anna Mahtani

Keren Baker

Laura Bassen

Sande Woodson

Raquel Bowman

Wednesday, June 16, 2021

Framed Anemones Shaker Card | Honey Bee Stamps

 Hello crafty friends!  Did you catch the full reveal of the Honey Bee Stamps newest release called Summer Stems?  If not, be sure to check it out in the Honey Bee shop!  It is full of so many awesome stamps and dies, with several different styles, and will have something for everyone!  Today I've used the absolutely gorgeous stamp set called Framed Anemones.  This beautiful set was illustrated by our super talented design teammate, Emily Midgett!

Did you notice that this shaker card is frameless?!!  This new product is an A2 Shaker Pocket by Tonic Studios, and guess what?  This was the idea by another amazingly talented design team member, Ilda Dias!  I'm so honored to be on this awesome team!  (Note: I'm so sorry but this is currently out of stock.  If you click the notify me button, you will receive an email as soon as it's available.)  Now, onto my card.

First I stamped this gorgeous image on 80# Neenah Solar White card stock with Honey Bee's Intense Black Copic safe ink.  I really like this ink!!  Then I colored it with these Copic markers.

Flowers: N5, BG49, BG13, BG11, BG10
Leaves:  G28, G07, YG09, YG06
Background:  BG18
Frame:  W9, W7

When I was finished coloring, I added dots to the flower centers with a white gel pen.


Now it's time to make the shaker part of the card.  First I trimmed the panel down to 4-¼" x 5-½".  I did find that when I placed it into the shaker pocket, I needed to trim it just the tiniest bit for it to lay flat.  When you have your card face down inside the pocket, remove the adhesive backing from the sides and bottom, then fold the flaps to adhere.  Then I sprinkled in some of Honey Bee's Bokeh Lights confetti mix and sealed the top.  Easy-peasy!!

There are several sentiments included in the set and I chose one, stamped it in Intense Black ink, then cut it out with the coordinating die.  I adhered it to the card with Bee Creative glue.


I love how this turned out, and I hope you do too!  Thank you so much for stopping by!


Tuesday, June 15, 2021

New Under The Set #2 Set and Stenciling | Rubbernecker Stamps

 Hello crafty friends!  Today I'm sharing two cards I made from one stencil panel I made with Rubbernecker Stamps' new release of the Wavy Stencil and the Under The Sea #2 stamp set and coordinating dies.

For my first card I used the adorable sea creatures from the new Under the Sea #2 set with the new    stencil.  I also challenged myself to get some no-line coloring practice in too!  Here are the steps for my card.

Create the background:

  • Prep the stencil by spraying the back of it with Pixie Spray.  This is a temporary adhesive that will hold the stencil in place and prevent any movement of the delicate lines.
  • Place the stencil onto a 6" x 6" piece of white card stock.  Blend all four ink colors from Color Fuse Set #9 in an ombré pattern using ink blending brushes.  Do not remove the stencil.
  • Use a pallet knife to spread Glitz Glitter Gel over the entire project.  Remove the stencil and wash it and your tools immediately.
  • Set the panel aside to dry.
  • When it is dry, use the largest Nested Rectangle Die to cut the panel.  (NOTE: place the die up to either the right or left edge of the stenciled panel to have a strip left over for another card.)
  • Adhere the die cut piece to a top-folding A2 card base.
  • These photos show my process:  1) my supplies; 2) after ink blending; 3) after adding glitter texture paste; and 4) so you can see the beautiful sparkle!


The card elements:

  • Stamp the images with Copic safe, no-line coloring ink.
  • Use Copic markers to color the fish.  Use a black Micron .005 pen to add in the details such as the eyes, mouths, and dots on the fish.
  • Next die cut with the coordinating dies.
  • Stamp one of the included sentiments from the Under The Sea #2 stamp set with black ink.  Then trim it into a rectangle.
  • Add foam tape to the fish, sentiment, and two pieces of the plants.  Add to the card front, using liquid glue to adhere the remaining plants.


I love the sparkle of the embossing paste and how it makes the ink colors even more beautiful!!  Now for my quick bonus card!

Card base:
  • Dry emboss a white A2 sized card panel with the Wavy Stencil by using the embossing sandwich recommended for your die cutting machine.  Adhere it to a top-folding card base.
  • The leftover strip from the previous card measured at about 1-3/8".  I trimmed the length to 5-¼".  Layer it onto a 1-5/8" x 5-½" piece of teal card stock and adhere it to the card front.

The card details:

  • Stamp the fish and worm in Copic safe black ink and color with a few Copic markers.  Die cut with the coordinating dies.
  • Stamp the sentiment in black ink, trim to a slim rectangle shape and layer it onto a teal card stock strip.  Add foam tape to the back.
  • Add foam tape to the back of the fish and add it to the card.
  • Plan where to place the sentiment and the worm, then use a ruler and black marker to draw a line, as shown.
  • Adhere the sentiment and add the worm with liquid glue.

I love the subtle dimension you get from dry embossing with the stencil!  Thank you so much for stopping by!  Have a wonderful week.


Click the icon for more details of the Rubbernecker products I used.

Wednesday, June 9, 2021

Four Easy Cards Featuring Bitty Buzzwords with Stenciled Backgrounds | Honey Bee Stamps

Happy Wednesday friends!  Today I'm sharing four cards I made (in one day!) using the awesome Honey Bee Stamps Bitty Buzzwords stamp set and coordinating dies.  I used four different stenciled backgrounds to go with each one!


 These cards really were very easy to create!  I do want to say that the two cards on the left side in the photo above were made with backgrounds I created a while back.  I love to sit down with my background stencils and play with all the inks, texture pastes and foils!

To keep this post from becoming super lengthy, I'll list the products used beneath each card (aside from the Bitty Buzzwords) and mention any special tips or notes, as needed.  Each of the main sentiments are popped up with foam tape.  I used the Sentiment Banners dies to die cut the secondary sentiments after I stamped them with the new Bee Creative Intense Black ink.  Also, I spray the back of all stencils with Pixie Spray!  So helpful for holding the stencils down.  All of the products will be listed, with links, at the end of my post!

This features the gorgeous Garden Lattice stencils.  This is a set of two, however, I just used one layer.  I added some Aquamarine Nuvo Embellishment Mousse through the stencil.  When it was dry, I die cut it with an A2 Deckle Edge die.

I love the subtle shine of the Embellishment Mousse!

The next card uses the Honey Dipper Background stencil.  I used Background Blender brushes to blend these Distress Oxides: Faded Jeans, Broken China, and Mowed Lawn.  I left the stencil in place and spread some Ranger Transparent Matte Texture Paste through it.  When dry I die cut it with an A2 Scallop die.

The matte texture paste adds a lovely muted shine!

This background features the Layering Balloons stencil set.  First I placed the top layer onto some 80# Neenah Solar White and spread Deco Foil Transfer Gel through it.  When it was dry, I used some pink sparkly foil from my stash, placed it over the piece, and ran it through my Minc Mini foiling machine.  Then I used the other layer and added Picked Raspberry Distress Oxide with a Blender Brush.

I love the shimmer and shine of this festive card!

This next card is a background I made quite some time ago with the Garden Lattice stencil set.  First I inked up a white card stock panel with Peacock Feathers Distress Oxide.  Then I added the bottom Garden Lattice stencil, and added more Peacock Feathers for a tone-on-tone look.  Then I placed the top stencil on it and smoothed on some Turquoise Sea Glitz Glitter Gel.  The panel is die cut with an A2 Double Stitched Frames die.

I really hope you've enjoyed these cards and feel inspired to get your stencils out and have fun!  The Bitty Buzzwords are at the top of my most favorite sentiment sets!!  Thank you so much for stopping by!