Showing posts with label Grass Border die. Show all posts

Wednesday, March 25, 2026

Masculine Easter Basket Card

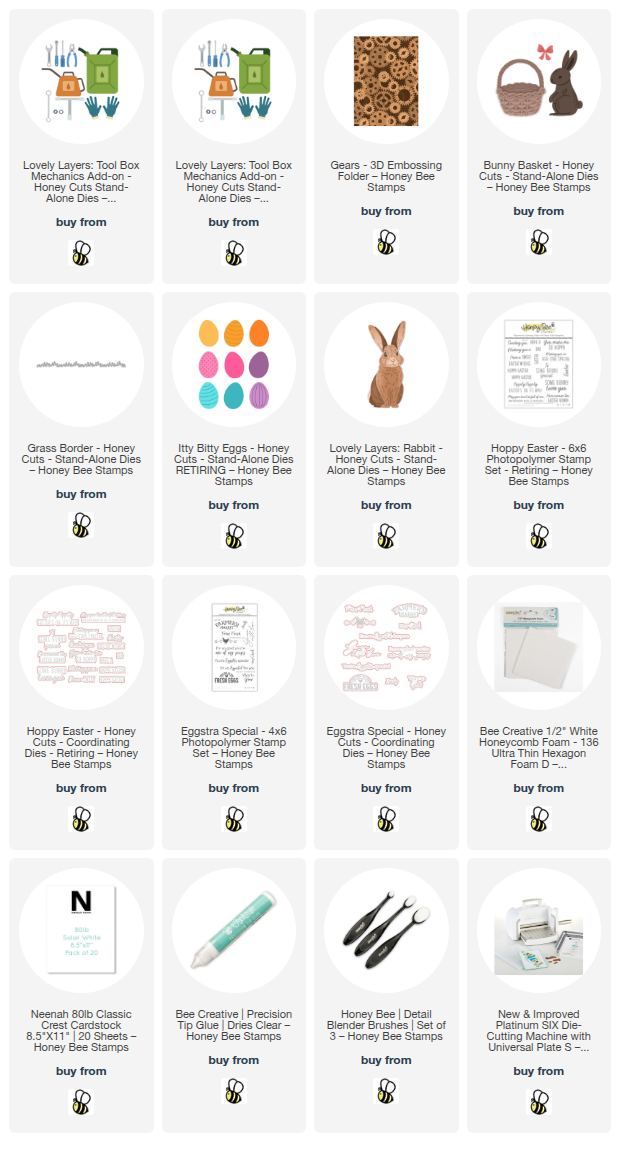
Hello crafty friends!  Have you noticed that I sometimes enjoy finding unexpected ways to use crafty products?  Haha!  Well today, that's what I've done!  How about using some of the tools from the Honey Bee Stamps new Mechanic Tool Box Add-On to make an Easter Basket for the guys?  This was fun to make combining new products with some older favorites!

Here is a list of the featured products I've used:

To begin, I inked blue ink onto 80# Neenah with a blending brush.  Then I put it into the Gears 3D embossing folder to add some fun and manly texture.  I glued this to an A2 card base.

Next I die cut the basket from the Bunny Basket set from blue cardstock.  I added a bit of dimension with a shade darker coordinating ink.

The next step was to cut two pieces of white cardstock with the Grass Border die.  I used a few green Copic markers to color the grass.  Then I hand trimmed one piece into two pieces of grass to layer into the basket.  When I glued these to the basket layers, I made sure to just add glue at the sides so I can tuck the basket goodies into the grass.  The second grass piece is glued to the bottom front of the card.

I die cut white cardstock with the egg dies in the Itty Bitty Eggs (retiring).  I did some quick coloring of each egg with my Copic markers.  Then I used a white gel pen to add details to a few of the eggs.

I die cut the tools in the Mechanic Tool Box Add-On from white and matte silver cardstocks.  I colored the tool handles with two red shades and then glued the layers together.

One more element I wanted to go with the basket is a rabbit!  I die cut white cardstock with the dies from the Lovely Layers: Rabbit set.  I used a couple shades of brown inks and blending brushes to color the layers.  I used a pink Copic marker for the ears and cheeks.  I used my favorite Bee Creative glue to adhere the layers.

I used two different sets for the sentiments and stamped both with black pigment ink.  The top sentiment is from the retiring Hoppy Easter stamp set and coordinating dies.  The other is from the Eggstra Special stamp set and cut out with the coordinating die.

After I assembled the Bunny Basket, I used the NEW ½" White Hexagon Ultra Thin Foam Dots to assemble it and the Rabbit. 

I hope you've enjoyed seeing my version of a masculine Easter basket card!  Before I go, I just want to remind you that the retiring sets are gone once they're gone.  I was really surprised to see SO MANY new items (and some of my favorites) in the retiring category!  Be sure to check it out HERE!

Thank you so much for stopping by.  I hope your day is awesome!

Thank you very much for using my affiliate links to shop (never any additional cost to you)!
Wednesday, March 20, 2024

Die Cut Spring Flowers Card

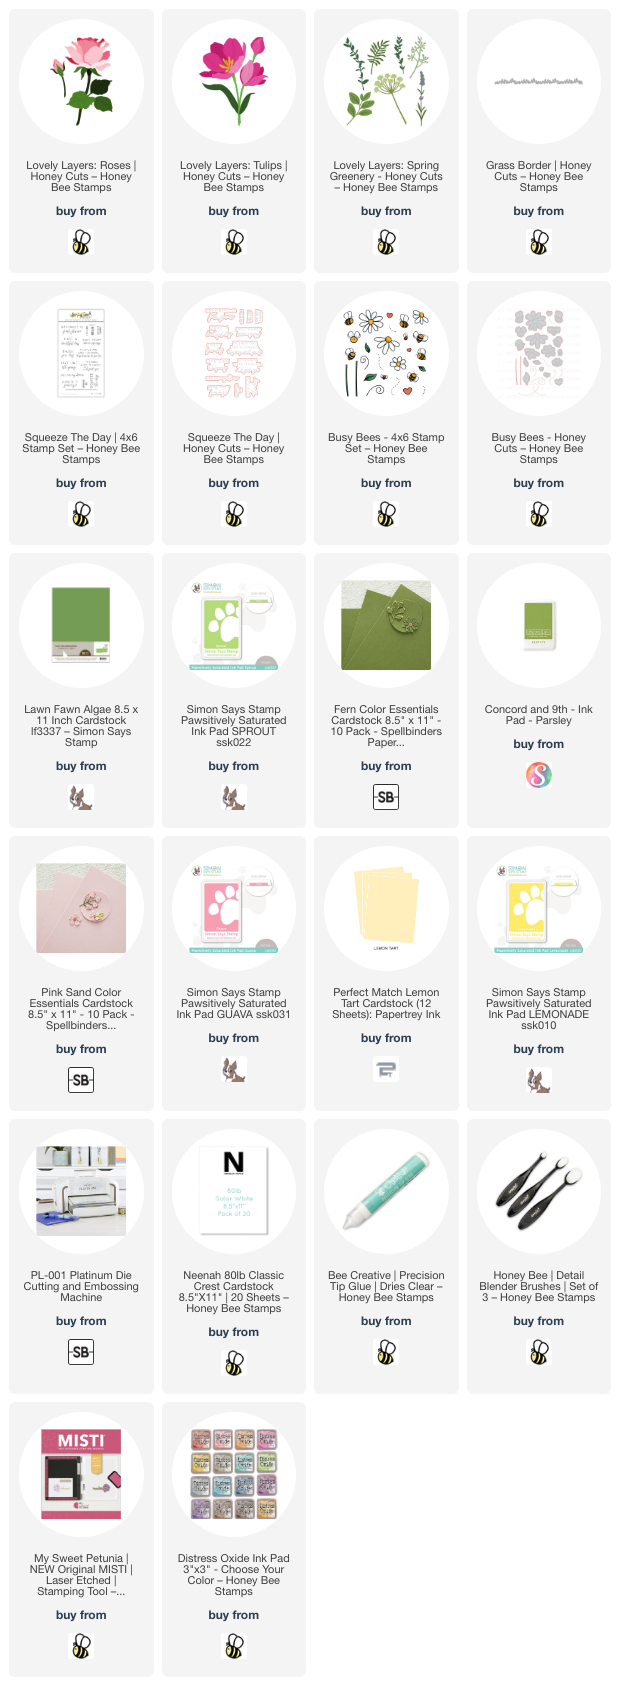
Happy spring crafty friends! I love springtime and we have beautiful tulips in bloom and bright green leaves showing now!  I was inspired to use some of my favorite floral Honey Bee Stamps Lovely Layers sets and make a springtime card! My card features three Lovely Layers sets:  Lovely Layers: Tulips, Lovely Layers: Roses, and Lovely Layers: Spring Greenery.

My tip for today is to die cut your flowers and greenery from colored cardstock, then use a few inks to add a bit of shading. This saves so much time! I used yellow, pink, and three shades of green cardstock to cut out the layers of the Roses, Tulips, Spring Greenery, and Grass Border. (Note: I only used the closed tulip and tulip bud and one die from the Spring Greenery for this card.)

Then I used blending brushes to blend on coordinating pink, yellow, and green inks to the layers. This detail adds so much depth and dimension! Then I used glue to adhere the layers together. Don't forget that the Lovely Layers sets have downloadable Layering Guides to help you layer the flowers.

Before I adhered the flowers to my card base, I added Tumbled Glass Distress Oxide ink to the card with a blending brush. I added the ink from the center out, but not all the way to the edges. Then I added water drops and used a paper towel to dry it.

I played around with various arrangements of the flowers and greenery. When I was happy, I used a piece of Press N Seal to pick up the arrangement and flip it over. I added glue to the back of the elements, then picked up the arrangement and adhered it to the card. I added a foam dot to the back of the tulip and rose buds. Then I used scissors to trim off the Spring Greenery that was hanging over the edges. I used foam dots to adhere the Grass Border at the bottom of the card.

Next I diluted a few drops of Bee Shimmery liquid shimmer watercolor with water. I used a paint brush to add splatters to the flowers and background.

The sentiment from the Squeeze The Day stamp set is stamped in black pigment ink and cut out with the coordinating die.

I just had to add some adorable little bees from one of my very early Honey Bee sets I bought:  Busy Bees stamp set. These were previously colored and cut out with coordinating dies. (I saved a bunch of these finished bees to have on hand to use when needed.)

I sure hope you are seeing signs of spring where you are! If not, I hope my card reminds you that it's not far away! I always appreciate your visit to see my cards! Thank you, and have a wonderful, crafty day!

Thank you so much for using my affiliate links to shop (never any additional cost to you)!

Wednesday, March 6, 2024

What A Blessing You Are To Me!

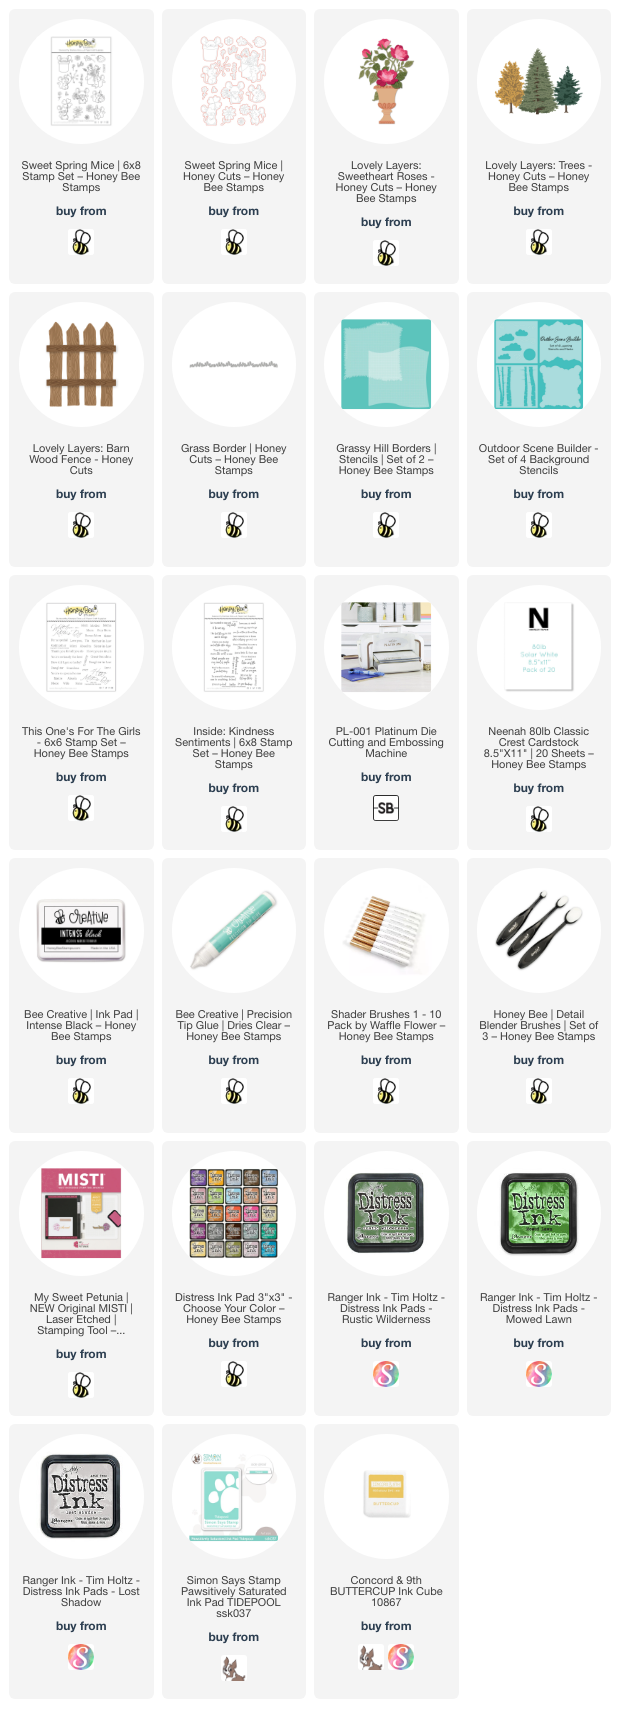
 Hello friends!  Since the official start of spring is so close, I've created this card with that in mind and have included a tiny touch of St. Patrick's Day!  I used new and older favorites from Honey Bee Stamps including the Lovely Layers: Sweetheart Roses and the Sweet Spring Mice stamps and dies.

First I stamped the sweet mouse from the Sweet Spring Mice set with Copic safe ink.  After I colored it with my Copic markers, I cut it out with the coordinating die. These are the markers I used: G19, G09, YG09, YG07, R30, R00, R000, C7, C5, C3, and C1. I used a Cream Prismacolor pencil to add the details to the clover.

I die cut the Lovely Layers: Barn Wood Fence dies from white cardstock and used an ink blending brush to add some Lost Shadow Distress ink for shading. I used glue to adhere the fence pieces together. Then I die cut white cardstock with the Grass Border die blended on Mowed Lawn and Rustic Wilderness Distress inks.

Next I created a hill and cloud background by inking up a 4-¼" x 5-½" white card panel using the Grassy Hill Borders stencils and the clouds stencil from the Outdoor Scene Builder Stencils. I used Mowed Lawn, Rustic Wilderness, and Tumbled Glass Distress inks.

I glued the stenciled panel to an A2 card base. Before I added any more elements to the card front, I stamped a sentiment from the Inside: Kindness Sentiments stamp set on the inside of the card. I think this sentiment goes perfectly with the one I will add to the card front!

Next I glued the fence and the grass border to the front of the card.

The final element is the Lovely Layers: Sweetheart Roses die set. I really do think this is one of my very favorites in the Lovely Layers line! I colored the die cuts using ink blending brushes and yellow and green inks. Then I adhered all of the layers together with glue.

Next I die cut the container in the Sweetheart Roses. Before I inked on some teal ink, I trimmed the container to make it into a more standard type of flower pot! It's a gorgeous die as is, but it's just a bit more formal than I wanted for this scene. After I glued the trim pieces onto the flower pot I glued the Sweetheart Roses to the pot. Then I added foam tape dots to the back of the flowers, the pot and the mouse to pop them up on the card.

The sentiment on the front is from the This One's For The Girls stamp set. I stamped it in black ink, trimmed it into a strip, and popped it up with foam strips.

I think you can tell by now how much I love the Sweetheart Roses die set! Haha! But this is just another example of how new Honey Bee products work so well with previously release sets!!! I hope you've found some inspiration for your card making today. Thank you so much for stopping by!

Wednesday, June 30, 2021

Picked Just For You! | Honey Bee Stamps

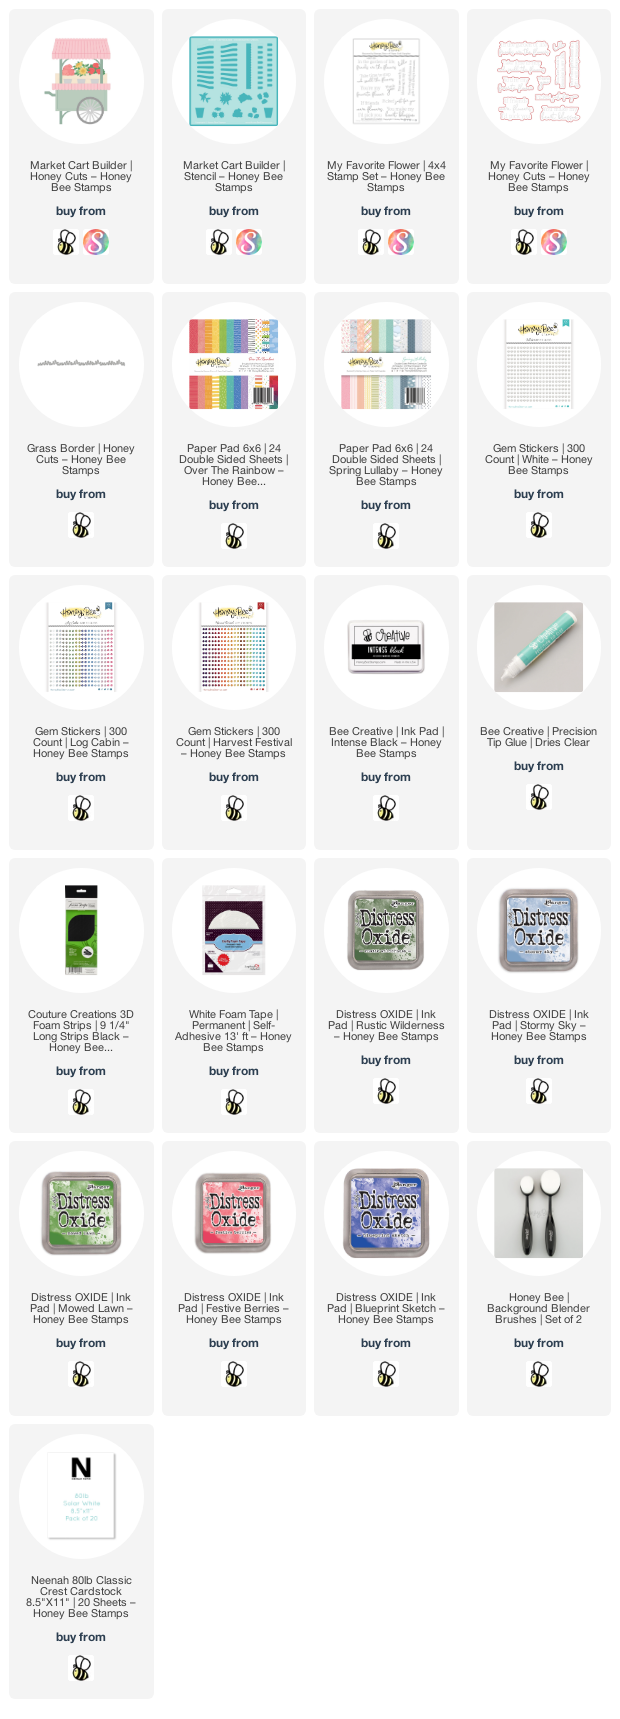
 Hello my crafty friends!  This week, over at Honey Bee Stamps, we are all about the red, white and blue! For my card today, I've used the adorable Market Cart Honey Cuts and colored it up to fit the theme!  I had lots of fun creating this card--read on for the details!

Here are the steps I took to create the Market Cart (all other products I used are linked at the end of this post):

  • Die cut the Market Cart pieces from 80# Neenah Solar White card stock.
  • Use the Market Cart stencil to color the awnings and flower pots' greenery.  I used Background Blender brushes and these Distress Oxides:  Festive Berries, Blueprint Sketch, Mowed Lawn and Rustic Wilderness.
  • Then I colored the remaining parts with various Copic markers.

  • Next I used Bee Creative glue to assemble the Market Cart.  Tip:  On the top awning, just add glue along the top edge--then you can fold along the score lines created when it was die cut for extra dimension!
  • I added some gem stickers to the awnings.  I'm low on red and blue gems, so I was happy to find them in the Harvest Festival Gem stickers (red) and the Log Cabin Gem stickers (blue).  The white are from...the White Gem sticker set!  Haha!
  • I added foam tape to the back of the cart and set it aside to create my card base.

  • For the card base, I used some patterned paper from the Spring Lullaby paper pad.  Trim it to 4" x 5-¼".
  • Very lightly, ink the edges of the cloud patterned paper with Stormy Sky Distress Oxide ink.  Adhere it to an A2 top-folding card base.
  • I used a small scrap piece of green patterned paper I had from the Over The Rainbow paper pad and die cut it with the Grass Border Honey Cut.
  • Trim the grass die cut to 4" and adhere it at the bottom.  Next, adhere the Market Cart to the card.
  • Stamp the sentiment from the My Favorite Flower stamp set in Bee Creative Intense Black Ink and die cut it with the coordinating Honey Cut.  Add pieces of thin foam strips to the back and adhere it to the cart.

I love how this turned out for our red, white and blue themed week!  I know for sure I'll be decorating the cart for all the seasons and lots of holidays!  Thank you so much for stopping by!  If you are in the U.S., I hope you have a safe, and fun filled 4th of July!

Click the images for more details on the products I used:

Thursday, September 3, 2020

Thank You Berry Much! | Honey Bee Stamps

Happy Thursday my friends!  It's still so hot, and humid, here in Texas and I'm not yet in the mood for making a fall themed card!  So, I've used Honey Bee Stamps new Freshly Picked stamps and Honey Cuts  along with a favorite of mine that's been out a while, Bushel and A Peck!  

Other than coloring the basket, this card was super quick to put together!  I started with an A2 card base and added a piece of 4" x 5-¼" piece of gingham paper from the Back to Basics paper pad.  I topped that with 80# Neenah that I cut to 3-¾" x 5".  The Bee Creative Precision Tip glue is perfect for this!

I used the basket from the Bushel and A Peck set and stamped it in Copic safe ink.  I wanted a smaller basket, so I fussy the basket and also cut off the top portion.  I colored the bottom of the basket with these Copic colors: E59, E57, E55, E23, and E53.  I added foam tape to the back.  Next I die cut the grass in two shades of green with the Grass Border Honey Cuts.   I adhered one piece to the white layer with glue, and added foam tape along the bottom edge of the top grass piece.

  I used the outline stamp for the strawberry in the Freshly Picked set and stamped it in Versafine Onyx Black ink.  Next I used the solid strawberry stamps and stamped them out in Concord & 9th's Poppy and Parsley ink--this is a quick and easy way to get your stamped images colored!  I die cut them with the coordinating dies.  I arranged them in the basket, adding foam tape to all but one.  Once I had all the pieces ready, I added them to the card.

I stamped the sentiment from the Pearfect Sentiments set with Versamark onto black card stock.  I added white embossing powder and heat set it and die cut it with the coordinating Honey Cut.  I popped it up with some foam squares.  While I had the sentiment set out, I stamped another sentiment inside the card and used an extra strawberry and strip of gingham paper to finish it off.  For a bit of bling on the card front, I added white gel pen accents to the strawberries, Glossy Accents to the basket, and a few of the oh, so cute strawberries from the Strawberry Daiquiri sequin mix.

Thank you so much for stopping by!  I'm not quite done with summer yet, but stay tuned, because soon you will be seeing a lot of autumn cards using some awesome new products!

Supplies: