Showing posts with label die cut card. Show all posts

Wednesday, October 8, 2025

Thank You For Making My Heart So Full

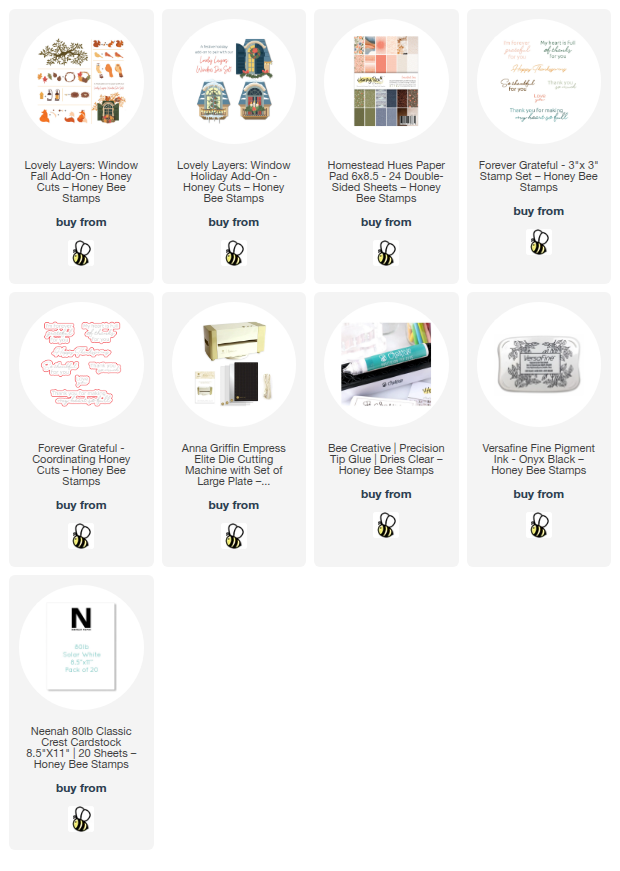
Happy Wednesday crafty friends!  Today I've used Honey Bee Stamps beautiful Lovely Layers: Window Fall Add-On and the Forever Grateful sentiments for my autumn card.  These are part of the awesome Hello Harvest release!

I love how the new Lovely Layers: Window Fall Add-On also coordinates with the Lovely Layers: Window AND the Lovely Layers: Holiday Add-On!  I've used bits from the older two sets to complete my window scene.

Do you ever struggle creating die cut cards and what colors to use?  What totally works for me is to think about a color palette.  That was a no-brainer for this autumn card. Once you have a color palette in mind just look through your colored cardstocks and choose the colors that you like.

I proceeded to die cut the pieces of colored cardstock with the dies in the window, the Fall Add-On, and the Holiday Add-On.  (I have to say that purchasing the Anna Griffin Empress Elite die cutting machine was a TOTAL game-changer for die cut lots of dies!  The magnetic mat means no more taping down the dies and the machine is electric.  I know it is pricey, but well worth the cost.)

The only piece I cut from white cardstock was the large leafy branch that's in the new Lovely Layers: Window Fall Add-On set.  I used my Copic markers to quickly color the branch.  (This branch is so pretty and is large!  It could easily be cut into 2-3 pieces, if needed.)

I used glue and referred to the Layering Guides to adhere the layers of each piece.  I tied a piece of twine into a bow and glue it to the wreath.

This is a 5" x 7" card and I cut a piece of pretty patterned paper from the Homestead Hues paper pad to fit the card base.  I wanted to use the entire branch (I love it!) so I tucked it and angled it around the left side of the window and used glue to adhere it in place.

Next I added foam tape to the back of the window and cut a few very narrow strips of the foam to go behind some of the branches.

The sentiment is from the new Forever Grateful stamp set.  After I stamped it in black ink I cut it out with the coordinating die.  A couple of foam strips adheres it to the card.

I do love making autumn themed cards!  Do you?  Be sure to check out the Fall Add-On set, if you haven't yet.  It's awesome!

Thank you so much for stopping by!  I hope your day a great one!

Thank you so much for using my affiliate links to shop (never any additional cost to you)!
Wednesday, June 18, 2025

You're The Best, Sweet Friend!

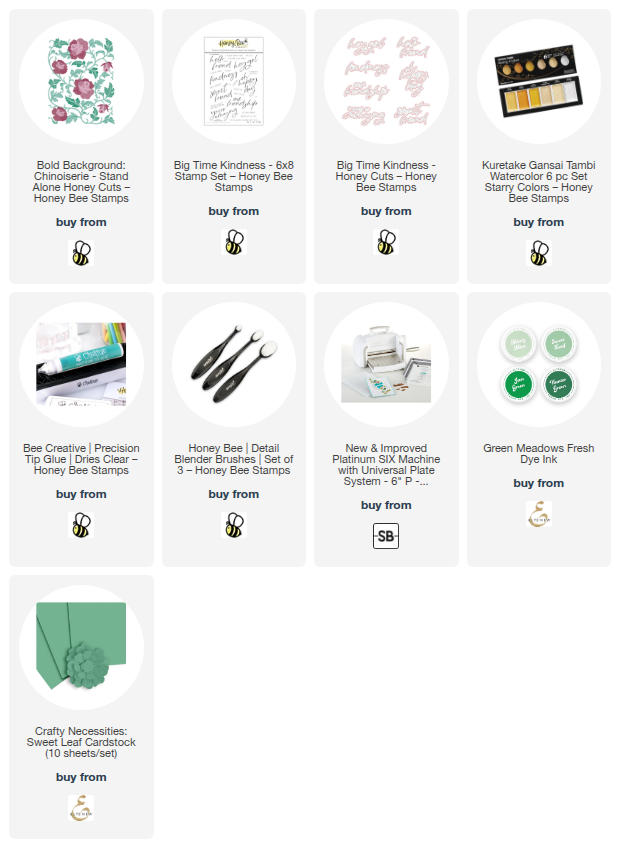
Happy Wednesday crafty friends!  Today I'm sharing my card that requires just two dies sets and one stamp set!  I've used Honey Bee Stamps' new Bold Background: Chinoiserie with the older Big Time Kindness stamp set and Honey Cuts.

To make the coloring easier, I started by die cutting green and light coral colored cardstocks with the Bold Background: Chinoiserie dies.  Then I used a blending brush to add a coordinating green ink color to the layers for shading.  I used a couple of Copic markers to shade the flowers.  Don't forget to die cut the flowers two times each!

Next I referred to the Layering Guide while I used glue to adhere the layers.  Then I glued the piece to an A2 white cardstock card base.

For more detail and interest I added some pretty metallic Champagne Gold paint splatters and set it aside to dry.

I pulled out the Big Time Kindness stamp set, one of my favorite sentiment sets!  I stamped the sentiments with clear embossing ink and then added Princess Gold embossing powder.  I used my heat tool to set the powder.  I cut out the large sentiment with the coordinating Big Time Kindness die and used my paper trimmer for the other.

I added foam tape strips to the sentiments to adhere each one to the card.

I love this card with its sweet flowers and metallic sentiment!  Perfect for many occasions  to send to a friend!  Thanks so much for stopping by!  Stay crafty!

Thank you very much for using my affiliate links to shop (never any additional cost to you)!

Friday, May 10, 2024

Thinking of You!

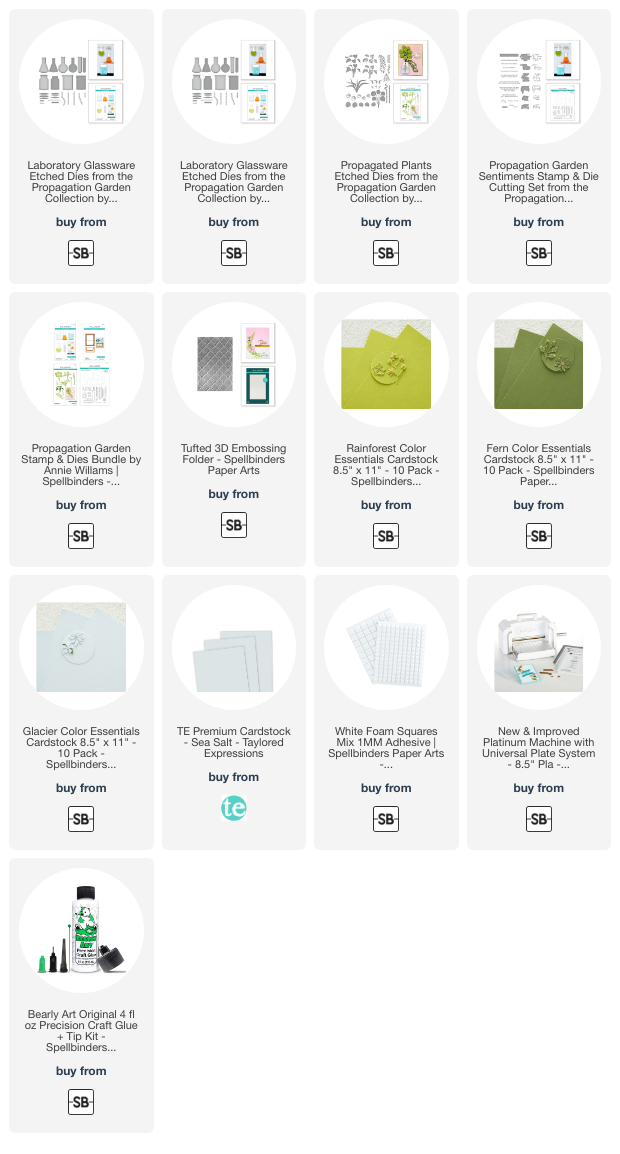
Happy Friday!  Today I'm sharing my card I made with a few products from Spellbinders' beautiful Propagation Garden Collection by Annie Williams.  I love all of the products in this collection and the Propagation Garden Sentiments give you just the right thing to say for many occasions!

I embossed light gray cardstock with the Tufted 3D embossing folder.  I added this to an A2 card base with glue.

Next I cut a strip of woodgrain cardstock and inked it up with brown ink to make a shelf for the rooting plant to sit on.

I die cut colored cardstock with the chosen layers from the Propagated Plants dies and the Laboratory Glassware dies.  I have the cardstock colors in the list below.  These were all very easy to assemble and adhere with glue.  I added a couple pieces of foam tape on the back to adhere the arrangement to the card.

As I mentioned, the Propagation Garden Sentiments stamp set is filled with various sentiments.  You can choose from birthday, encouragement, friendship, and general sentiments!  After I stamped my sentiment in black ink, I cut it out with the coordinating die and popped it up on the card with foam tape.

I added a few green enamel dots from my stash for a touch of bling.

This card was really that easy!  The only thing I struggled with was what color of cardstock to use!  However, that is nothing new for me.  LOL!

If you are a mom, happy Mother's Day to you and I hope you have a most wonderful day.  I look forward to seeing our two daughters and sharing the day with them.  I will also be missing my mother.  While it's been almost 12 years now that she's been gone, I miss her greatly, but treasure the time and memories we had with her!

Thank you for shopping with my affiliate links (never any additional cost to you)!

Wednesday, March 20, 2024

Die Cut Spring Flowers Card

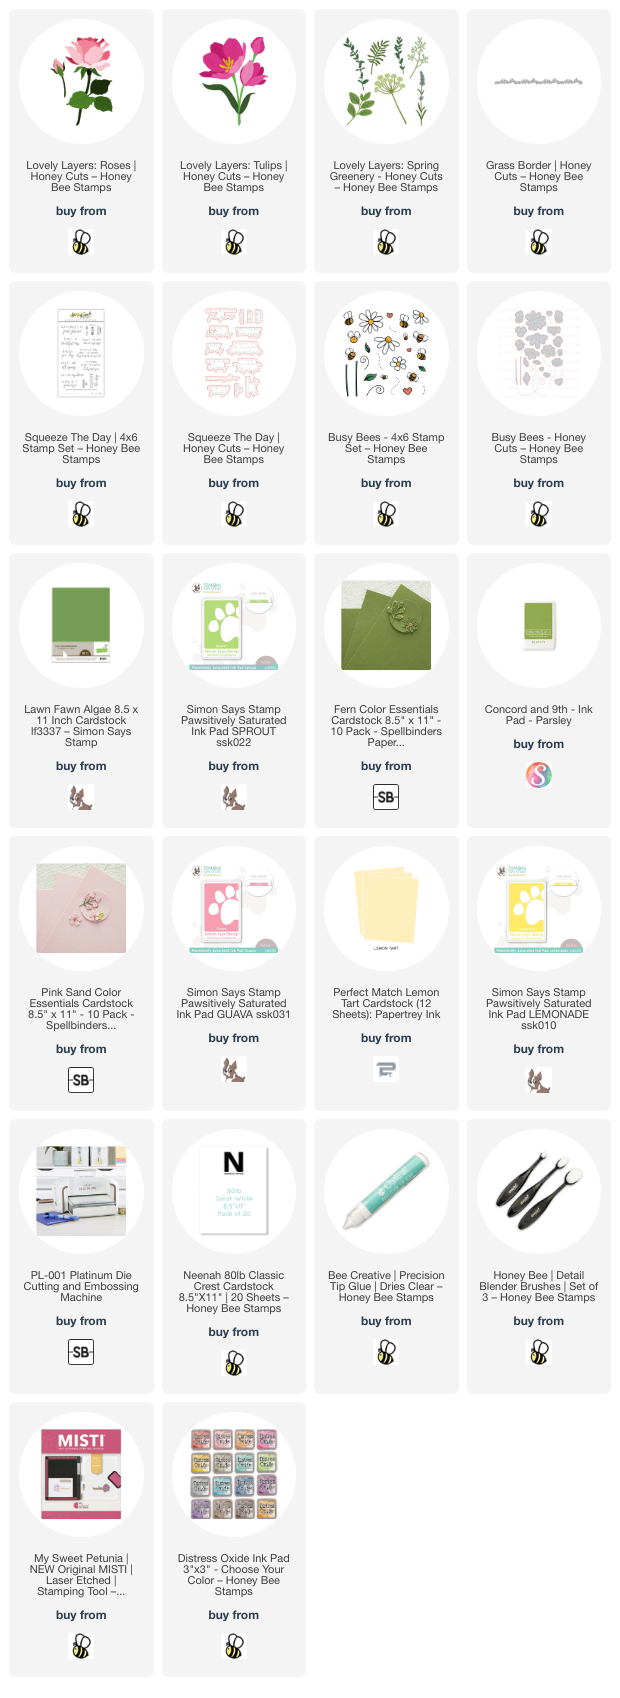
Happy spring crafty friends! I love springtime and we have beautiful tulips in bloom and bright green leaves showing now!  I was inspired to use some of my favorite floral Honey Bee Stamps Lovely Layers sets and make a springtime card! My card features three Lovely Layers sets:  Lovely Layers: Tulips, Lovely Layers: Roses, and Lovely Layers: Spring Greenery.

My tip for today is to die cut your flowers and greenery from colored cardstock, then use a few inks to add a bit of shading. This saves so much time! I used yellow, pink, and three shades of green cardstock to cut out the layers of the Roses, Tulips, Spring Greenery, and Grass Border. (Note: I only used the closed tulip and tulip bud and one die from the Spring Greenery for this card.)

Then I used blending brushes to blend on coordinating pink, yellow, and green inks to the layers. This detail adds so much depth and dimension! Then I used glue to adhere the layers together. Don't forget that the Lovely Layers sets have downloadable Layering Guides to help you layer the flowers.

Before I adhered the flowers to my card base, I added Tumbled Glass Distress Oxide ink to the card with a blending brush. I added the ink from the center out, but not all the way to the edges. Then I added water drops and used a paper towel to dry it.

I played around with various arrangements of the flowers and greenery. When I was happy, I used a piece of Press N Seal to pick up the arrangement and flip it over. I added glue to the back of the elements, then picked up the arrangement and adhered it to the card. I added a foam dot to the back of the tulip and rose buds. Then I used scissors to trim off the Spring Greenery that was hanging over the edges. I used foam dots to adhere the Grass Border at the bottom of the card.

Next I diluted a few drops of Bee Shimmery liquid shimmer watercolor with water. I used a paint brush to add splatters to the flowers and background.

The sentiment from the Squeeze The Day stamp set is stamped in black pigment ink and cut out with the coordinating die.

I just had to add some adorable little bees from one of my very early Honey Bee sets I bought:  Busy Bees stamp set. These were previously colored and cut out with coordinating dies. (I saved a bunch of these finished bees to have on hand to use when needed.)

I sure hope you are seeing signs of spring where you are! If not, I hope my card reminds you that it's not far away! I always appreciate your visit to see my cards! Thank you, and have a wonderful, crafty day!

Thank you so much for using my affiliate links to shop (never any additional cost to you)!