Showing posts with label friendship card. Show all posts

Wednesday, June 18, 2025

You're The Best, Sweet Friend!

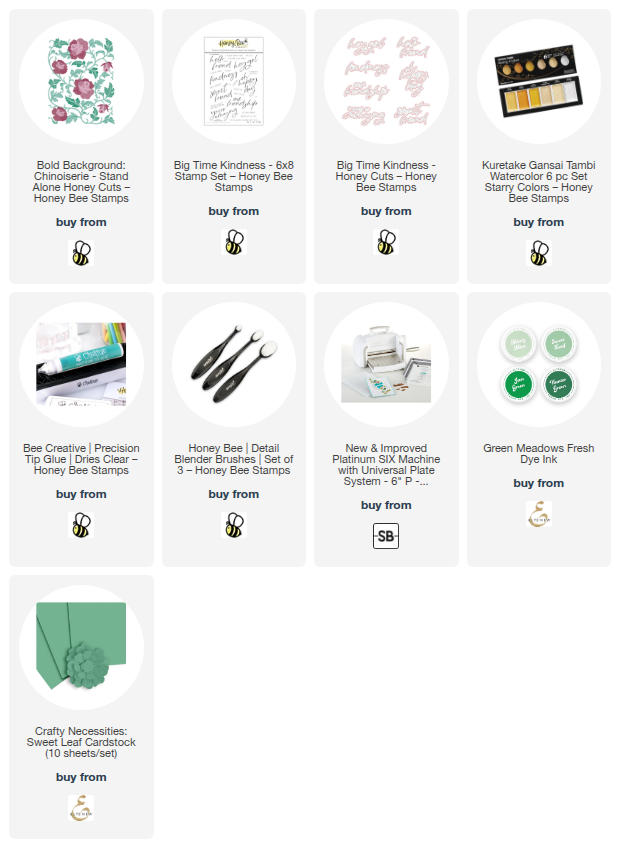
Happy Wednesday crafty friends!  Today I'm sharing my card that requires just two dies sets and one stamp set!  I've used Honey Bee Stamps' new Bold Background: Chinoiserie with the older Big Time Kindness stamp set and Honey Cuts.

To make the coloring easier, I started by die cutting green and light coral colored cardstocks with the Bold Background: Chinoiserie dies.  Then I used a blending brush to add a coordinating green ink color to the layers for shading.  I used a couple of Copic markers to shade the flowers.  Don't forget to die cut the flowers two times each!

Next I referred to the Layering Guide while I used glue to adhere the layers.  Then I glued the piece to an A2 white cardstock card base.

For more detail and interest I added some pretty metallic Champagne Gold paint splatters and set it aside to dry.

I pulled out the Big Time Kindness stamp set, one of my favorite sentiment sets!  I stamped the sentiments with clear embossing ink and then added Princess Gold embossing powder.  I used my heat tool to set the powder.  I cut out the large sentiment with the coordinating Big Time Kindness die and used my paper trimmer for the other.

I added foam tape strips to the sentiments to adhere each one to the card.

I love this card with its sweet flowers and metallic sentiment!  Perfect for many occasions  to send to a friend!  Thanks so much for stopping by!  Stay crafty!

Thank you very much for using my affiliate links to shop (never any additional cost to you)!
Thursday, June 15, 2023

The Most Adorable House Mouse Collection!

Have y'all seen the new House Mouse Collection that's over at Spellbinders?  Oh my gosh, I just think these sweet mice are the most adorable ever!!  And, they have names that are listed on the product packaging!  My card today features the Spring Rain stamp set.  Check out the line art in these.  It is so very detailed and since they are red rubber, you get the most crisp stamped image!

I stamped the sweet Spring Rain image onto 80# Neenah with Copic safe ink.  Then I used my Copic markers to color the images.  When I finished coloring with my Copics, I used a few Prismacolor pencils to add more detailing to the fur.

I used a black gel pen to darken the eyes and noses.  Since the pencils muted some of the stamped lines a bit, I used a Micron 005 black pen to add those back in.  A white gel pen added details to the eyes and cheeks.

Next I cut the image out with the largest A2 Matting Basics B die.  Since this is a rainy scene, I used an ink blending brush to carefully darken the edges with Lost Shadow Distress Ink.  I was very careful to not overdo this step!

I added a dark grey layer that I die cut with the largest A2 Matting Basics A die.  These were adhered to an A2 card base.

To finish, I stamped the sentiment from the Spring Rain set in black ink.  Then I used the rectangle strip in the A2 Matting Basics B set to die cut the sentiment.  I added a bit of thin foam tape to the back for dimension.

It doesn't show at all in the photos, but I did add some clear Nuvo drops to each of the raindrops after I sparkled them up with a clear glitter pen!

I've linked all of the House Mouse sets in my list below.  See if you don't agree that they are the most adorable ever!  Thanks so much for stopping by!

I so appreciate you using my affiliate links to shop (never at any additional cost to you)!

Tuesday, April 13, 2021

Dog Loving Friendship Card | Rubbernecker Stamps

Today I'm sharing an adorable friendship card for those dog-loving friends you may have!  I've used Rubbernecker Stamps Dogs Front and Back stamp set and the coordinating dies.  This is a cool set as it stamps the front of the dogs and has another stamp that's a mirror image and stamps the back!  I pulled out my neglected Prismacolor Pencils and some Gamsol to color up these cuties!

First I began by coloring the row of dogs.

  • I stamped the Dogs Front and Back in black hybrid ink onto Neenah 80# Solar White card stock.
  • I used my Prismacolor pencils to color the dogs.  As I added each layer of pencil color I used a blending stump with Gamsol to blend out the colors.
  • Working with Gamsol and pencils is quite easy.  I played down the shadow color first, dipped the tip of the blending stump into Gamsol, then blended out the color.
  • The principal of coloring and shading is the same as any other coloring medium you might use.  If you are new to using pencils with Gamsol, do a search in YouTube and find one that suits your style to learn.
  • A tip for coloring the fronts and backs of the dogs is to color a dog's front, then find the back of him and color it right away.  I almost messed up one dog but was able to save it!
  • When I finished my coloring, I die cut the images with the coordinating dies.

Next I created the card base.  I wanted the rest of the card to be fairly simple so that the focus would stay on the dogs and the work I did coloring them!

  • First I took a side-folding A2 card base and trimmed part of the card front off.  I first cut along the score line from the top down to about 2-¾".  Then I trimmed along the horizontal line.  See the photo for a visual.  Click on the photo for a larger image.
  • Next I die cut two 1" strips of white card stock with one of the Slimline Grass Border dies.  Line them up together and trim to 5-¼".  Then I colored them with some green Copic markers.  NOTE:  Color one grass piece on the front and the other on the back so you will have mirror images!
  • Then I cut two 1-¼" strips of green striped paper and adhered them to the flap of the card front, one on the front, and the other on the back.
  • Now adhere the grass pieces on the front and back of the flap, lining up the grass blades of the die cut. Add strips of black card stock where the striped paper and bottom edge of the grass pieces meet.
  • Adhere the Dogs Front and Back pieces.  I used liquid glue for all of my attaching.
  • Next open up the card and ink on some clouds with a cloud stencil, a blending brush and Arctic ink (from Color Fuse Set #7).
  • Stamp the sentiments from the Kittie Says Friends set in black ink.

These little pups are just as cute from behind!


I like the element of the extra sentiment when the card is opened up.


Would you like this card displayed on your desk?  I think it turned out really adorable!


I really do appreciate you stopping by today!  Have a fabulous, and crafty, rest of the week!

Rubbernecker supplies:

Sunday, November 22, 2020

Thanks For Everything! & Coloring Tips for Slimline Stamps | Rubbernecker Stamps

 Hello friends!  It's almost Thanksgiving and I have a card that would be perfect to give to a host or mail to anyone to say thank you!  I had so much fun coloring this beautiful Rubbernecker Stamps' Slimline Fall stamp.  This is a gorgeous slimline collage of autumn images!

Except for the time it takes to color the image, this card is very simple to make!  I'll be sharing some tips for coloring this style of image that helps me.  I hope you'll keep reading and let me know if these are helpful to you too!

Getting started:

  • Cut 80# Neenah card stock to 7" x 8-½" and score it at 3-½".  This creates a side-folding 3-½" x 8-½" card that will fit into a standard business size envelope.  No extra postage required! (In the USA.)
  • Stamp the greeting from the Best Friends, Etc. set with Versamark clear ink onto white card stock.  Sprinkle with gold embossing powder and heat set.  Trim it to about ½" x 3-¼".  Add foam tape and set aside.

Coloring tips:

  • This image can be colored with any medium you want such as colored pencils, watercolors, or alcohol markers.  I used my Copic markers to color this card and stamped it in a Copic safe ink.
  • My first tip is to choose the easily identifiable images and color those first.  I began with the pumpkins, then went to the green leaves, and then the golden brown oak leaves.  The more images you color, the clearer it all becomes!
  • I agonize a LOT over what colors to use, all the time!  I purchased a very inexpensive color wheel that helps so much!  I knew I wanted to stay with warm colors and this wheel helped keep me away from the cooler toned colors!

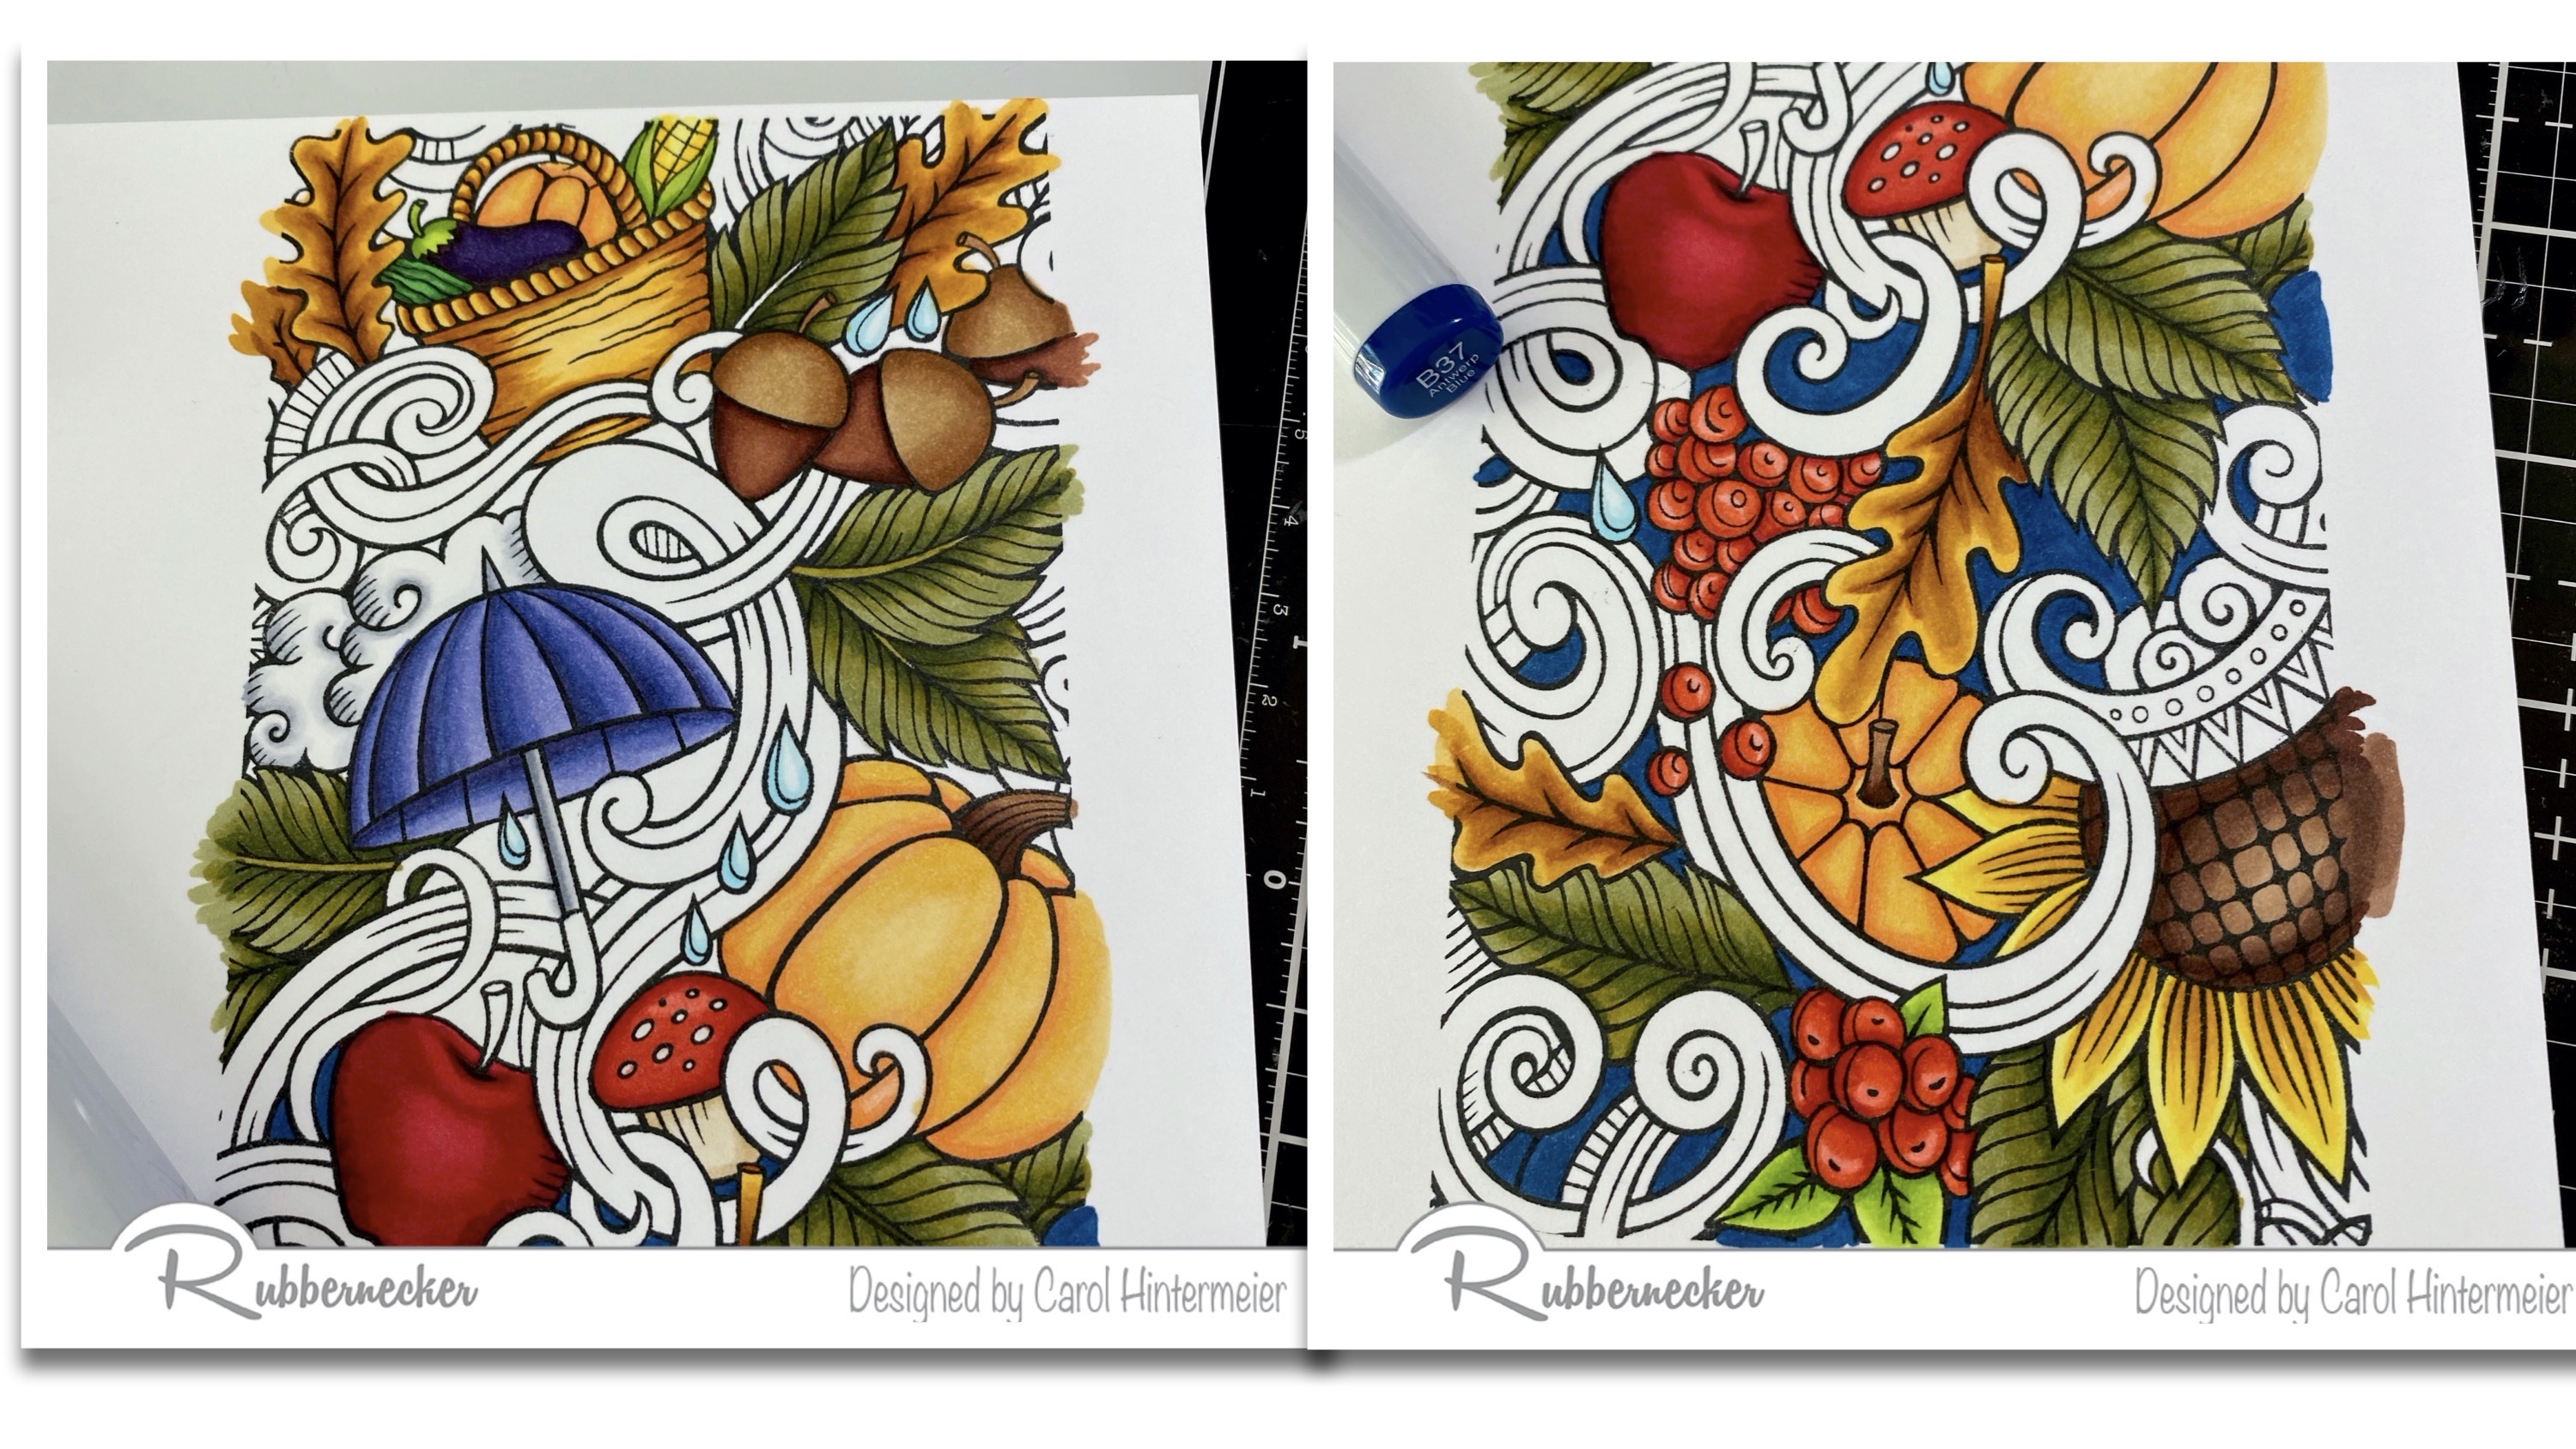
  • The ribbony tendrils and the background were the last things to color.  It really helped to see the tendrils when I colored in the background.  The next two photos show the before and after coloring the background.  (Note:  I used Copic B37 here.  When I was totally finished coloring, I decided I wanted it darker and went over it with a B39.)

  • My final tip is to stamp the image TWICE!  So I am showing you a NOT PRETTY image here!  Haha!  I use that second image to test out colors and color blends.  This sure helps prevent making huge mistakes on the original image!  You can see where I almost went over to the "cool" side of the color wheel on the tendrils (lower left side).  While these are my usual go-to greens, these definitely didn't fit in with my other color choices!

  • To complete my card, I trimmed my colored panel to 8-¼" x 3-¼" and adhered it to the card base.  Then I added the sentiment strip towards the bottom of the card.

Rubbernecker has several of these beautiful collage sets that I've linked below.  I hope these tips are helpful to you and that I've inspired you to give this beautiful stamp set a try!  Have a wonderful, and crafty, week!

For this card I used:

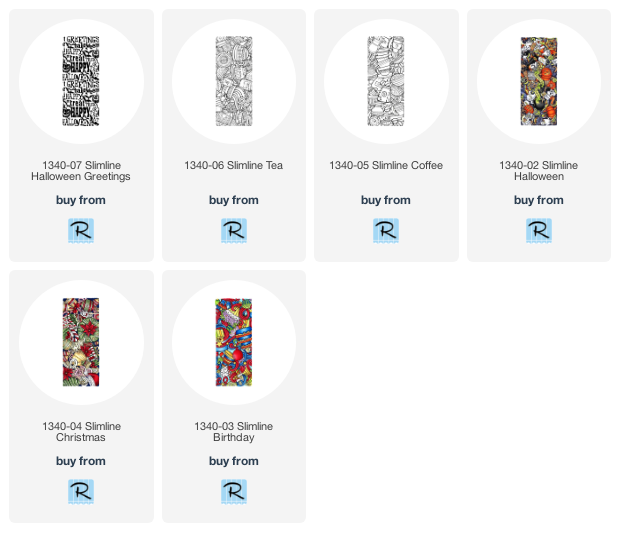
Other beautiful slimline stamps from Rubbernecker:

Friday, October 30, 2020

Spellbinders FSJ "Sweet As Honey"

 Happy Friday, my friends!  I am so happy to have been invited to help celebrate the launch of Spellbinders/FSJ's Buzzworthy Collection.  I have the Sweet as Honey stamp set and the Sweet Honeycomb stencil and created two cards sweet cards!

I had lots of fun creating this first card with some stamping and masking.  This is a one-layer card and I seriously do not remember ever making one of these ever!  Haha!!

I began with an A2 top folding card base and stamped the main floral image from the Sweet as Honey stamp set.   All of my stamping is done with Copic safe ink.  I also stamped it onto some masking paper and fussy cut it out.  I added the masking paper onto the stamped image and stamped two more leaves.  I also created masks for these leaves.  With my masks in place I used the Sweet Honeycomb stencil and inked it with some Tumbled Glass Oxide.  I took care have the stenciling darker around the flower and have the ink fade out.

Next I colored the images with my Copic markers.  Then I stamped the sentiment, bee and bee trail with black ink.  I had thought to color the bee, but then I decided I liked it a lot without coloring.  I love how this turned out and maybe I will now make more one-layer cards!  :)

-----------------------------------------------

For this next card I used some other stamps in the Sweet as Honey stamp set.   I would recommend using a MISTI or other stamping tool to create the border.


I stamped the solid honeycomb by using my MISTI.  I lined the stamp up along the bottom edge and then shifted it over each time.  It only took three stampings to create this border.  Then I trimmed it to 1" x 3-¾" and layered it over yellow card stock that measured 1-¼" x 3-¾".

Next I cut a yellow layer using the largest Spellbinders A2 Matting Basics A Card Creator die.  I cut white card stock with the largest of the A2 Matting Basics B Card Creator die and adhered the two layers together.  I glued these to a top folding A2 card base.  Using my honeycomb strip as a guide, I stamped the two flowers.  On a scrap piece of white card stock I stamped the three bees.  I colored them with my Copic markers and fussy cut the bees.  Once I decided on my arrangement, I stamped the sentiment and adhered the bees with foam tape.

Many thanks to Spellbinders for inviting me to create with this awesome stamp set.  I love it and will be definitely using it more!  Thank you, my friends for stopping by today!  Have a wonderful, and crafty, weekend!

Thursday, October 1, 2020

Hello Sweet Friend Slimline Card | Honey Bee Stamps

 Happy October 1 my friends!  It's finally feeling like fall here in Texas and I was inspired to use the beautiful Darling Dahlias set and Honey Cuts to create my fall feeling card!  Did you know that this set, and many others, was designed for Honey Bee by the oh so talented Emily Midgett?  She's our teammate and such an amazing artist!


I began by creating my slimline card base and layer.  I die cut the Slimline Sentiments: Blanket from 80# Neenah card stock.  Now here is where I had so much fun!  I love "getting inky" and used the Background Blender Brushes and the NEW Hexagon Palm Blender Brush to ink up the die cut.  This was my first time to try out this blending brush and I love it!  The flat style of the brush bristles makes it very easy to use and hold.  If you wipe it off onto a towel between colors, you can use it for many different colors.  I used these Distress Oxide Inks:  Rusty Hinge, Dried Marigold and Scattered Straw.

Next I added some fun spatters to the background.  I diluted some white gouache and some black acrylic paint with water and used a #6 paint brush to splatter on the dots.  I always need some sparkle so I added dots of Yellow Gold metallic paint from the Gansai Tambi Starry Colors set.

I stamped the Darling Dahlias flowers and leaves with Copic safe ink and colored them with my Copic markers.  I used these Copic markers:  YR12, YR21, Y32, YR000, G29, YG67, and YG25.  I added more shadows in the nooks and crannies with a Mineral Orange Prismacolor pencil.

Let's talk about the sentiment!  I die cut the Hello (in the Darling Dahlias Honey Cuts) four times from black card stock.  I die cut the shadow from the piece of card stock where I had tested my Distress Oxide colors.  I adhered all the Hello die cuts together and then adhered it to the shadow.  I did NOT like it!  LOL!  So I doe cut a white Hello and adhered it on top.  I think the black layers look great and now I like it much more.  Next I stamped "To my sweet friend" and die cut it with the coordinating Honey Cut.  I fussy cut the "to my" from the stamped sentiment and adhered it to the card layer with the Precision Tip Glue.  Because I wanted more bling, I added some matching gems from the Hot Tropics Gem Stickers pack.

I love how this turned out and can't wait to send it to a sweet friend!  I sure hope I've inspired you to try out this beautiful stamp set!  Thanks so much for stopping by!


Supplies:

Monday, May 11, 2020

Cruisin' By | Art Impressions

Happy Monday friends!  Today I have a card featuring the fun Art Impressions' Enjoy The Ride set.  This stamp reminds me of the warm spring and summer days and enjoying the outdoors.  This is wonderful for sending to someone "just because"!


This card was really quick and easy to make!  I die cut the tag from Neenah Solar White 80# card stock with the tag from the Tag Stitched Dies set.  Next I stamped the bicycle onto it with Copic safe ink and colored it with my markers.  The colors I used are listed below.  When I finished the coloring, I stamped the sentiment (it's one of seven included in the set) in Versafine Onyx Black ink.  

I created my card base with a top-folding A2 card base.  I adhered a floral patterned paper that I trimmed to 4" x 5-¼".


I hand cut a patterned paper layer to go behind the tag.  I did that by using a pencil to trace around the actual die on the patterned paper.  I trimmed the straight edges with my paper trimmer and fussy cut the rounded corners.  I adhered this to my colored image.  I added foam tape to the back of the tag.  Before adhering the tag to the card base, I tied on some ribbon from my stash.


I love how this turned out and I hope I've given you some inspiration for your cards today!  Have a wonderful, safe, and crafty week!


Copic markers:
B0000, B000, B00, B41, B24, B32, B37, B45,
C00, C1, C3, N4, N6, N8, R05, R08, R21,
Y02, Y18, YG01, YG03, YG17, YR27, YR31

Supplies:


Sunday, May 10, 2020

One Sweet Stamp, Three Ways | Rubbernecker Stamps

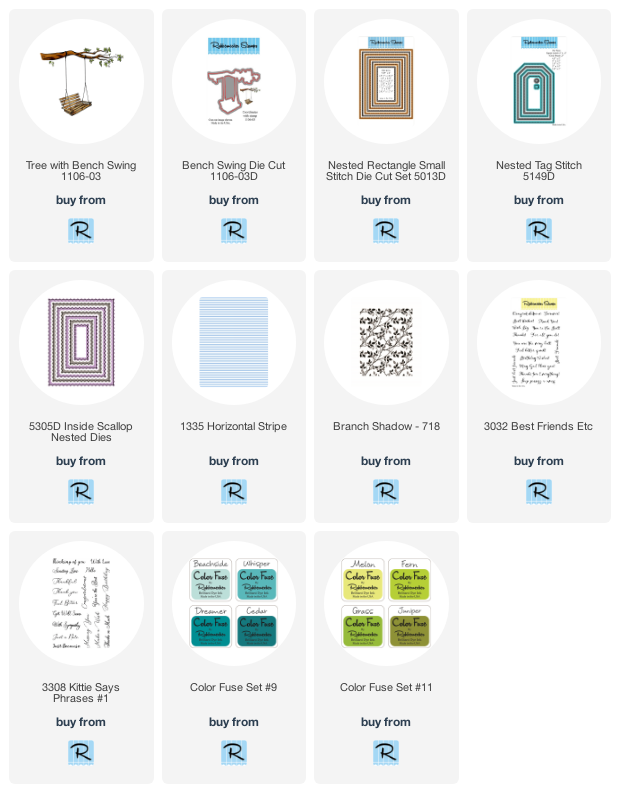
Hello Rubbernecker friends!  Today I'm using just one sweet stamp with its coordinating die, to make three sweet cards!  I've used the Tree with Bench Swing stamp to create one clean and simple card, plus two more that are a bit more involved.  It didn't take me very long at all to put these together!


All three cards are top-folding A2 card bases made with Neenah Solar White 80# card stock.  For each card, the swing image is colored with Copic markers.  Also, I've added some clear acrylic hearts to each card for a touch of bling!  This first card is my CAS card, which let me tell you, is WAY out of my comfort zone!  Haha!


Card directions:
  • Die cut white card stock with the largest Nested Inside Scallop die.
  • Blend Beachside ink, from Color Fuse Set #9, in the center with an ink blending brush.
  • Add some thin foam tape to the back and attach it to the card base.
  • Add foam squares to the back of the colored and die cut swing and adhere it to the card front.
  • Stamp the sentiment from the Kittie Says Phrases #1 with Versamark clear embossing ink onto black card stock.  (Don't forget to use your anti-static bag first!)
  • Sprinkle with white embossing powder and heat set.
  • Trim the sentiment and adhere it to the card with foam squares.


For this next card I created an ombre striped background to go behind the tag.


Card directions:
  • Ink up the Horizontal Stripes background stamp with each color from Color Fuse Set #9 in an ombre pattern.  I used a clean paper towel as I went along to dab the edges of each ink color to eliminate any harsh lines.
  • I used a MISTI stamp positioner and stamped it a couple of times until I was happy with my stamping.
  • Die cut the striped panel with the largest Nested Rectangle Small Stitched die and adhere it to the card base.
  • Die cut one tag from the Nested Tag Stitched dies.  Ink up the center with Beachside ink from Color Fuse Set #9.
  • I died some white ribbon to coordinate and tied it onto the tag. (see photo below)  To die the ribbon, I smooshed some ink onto my glass mat and spritzed the ribbon and ink with a bit of water.  Swirl the ribbon around to absorb the ink and set aside to dry.
  • Adhere the swing to the tag.
  • Stamp the sentiment Kittie Says Phrases #1 in black ink.
  • Adhere the tag to the card front with foam tape.

Die your own ribbon!

My final card is just a bit more detailed, but definitely easy to make!


Card directions:

  • Ink up the Branch Shadow background stamp with Fern ink from Color Fuse Set #11 and stamp onto a 4-¼" x 5-½" white card stock.  Trim to 4" x 5-¼".
  • Using the coordinating swing die, position it on the card front and run through your die cutting machine. (Photo #1 below.)
  • Die cut the swing in the stamped Branch Shadow piece.  I did this by placing it inside the card base and taping them together with temporary tape.  (See Photo #2.)  Place the die on the previous die cut opening on the card front.  Make sure your card base is not folded before you run it through your die cutting machine.
  • This step very easy when using a stamp positioner such as the MISTI.  Stamp the swing on the inside of the card by closing up your card base.  Center the stamp in the die cut opening, then pick up the stamp with the positioner door.  
  • I did a test by placing some scrap paper in and stamping onto it first to make sure I had the stamp centered.
  • Remove the scrap paper and stamp the swing onto the inside of the card.
  • Color the swing and stamp the sentiment in black ink.  This sentiment is from the Best Friends set.
  • Adhere the Branch Shadow piece to the card front making sure to line up the die cut openings.
  • Stamp the sentiment from Best Friends in black ink.
   

I love how you get a peak at this adorable swing and then see the full scene when you open the card!


Oh, I forgot to add that I used a black .05 Micron pen to draw around the die cut opening.  I think it brings more definition and attention to it this way.


Thank you so much for stopping by!  I hope you've found some inspiration here for using this sweet stamp!  Have a wonderful and crafty week!


Rubbernecker products used:

Sunday, March 8, 2020

NEW Rubbernecker Color Fuse Inks and Layering Stamps

Hello friends!  Today I have a card using the beautiful NEW Color Fuse Inks by Rubbernecker Stamps!   There are four sets out with more coming soon.  These inks are perfect for inking up the fabulous new layering stamp sets!

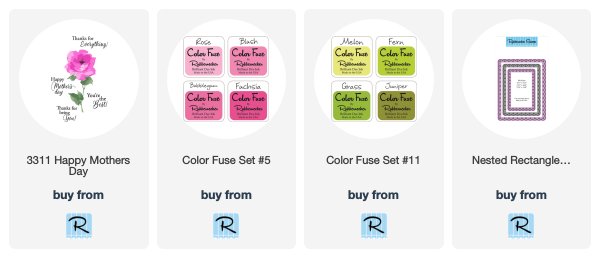
For my card today I've used the gorgeous new Happy Mother's Day set.  I love that there are other sentiments included to use any other time of the year!  Also, if you are new to using solid layering stamps, keep reading as I've included a list of tips that I find helpful.


Steps to make the card:
  1. Following the included layering guide, stamp the bottom layer in the lightest ink color.  I used the pink set and began with Rose.  I did stamp each layer twice as I love a vibrant color!
  2. Stamp the second layer with Bubblegum and the third with Fuchsia.
  3. Stamp the flower center with Melon from the green set.
  4. Stamp the stem with leaves in Melon, then Fern, and the last layer with Grass.
  5. Die cut the panel with the largest die in the Nested Rectangle Scallop w/Holes die set.
  6. Stamp the sentiment in black ink.
My tips for using solid layering stamps:
  1. "Season" the stamp. (Not with salt and pepper--LOL!)  I have tried several ways, but what seems to work the best for me is to use an eraser all over the stamp.  Use a dry microfiber cloth to wipe off the eraser debris.
  2. Next stamp Versamark Clear ink onto the stamp.  Use your dry microfiber cloth to very lightly wipe some of it off.  See the photos below for a before and after "seasoning".
  3. I use a MISTI to do my stamping, especially layering stamps.  It's handy to use a stamp positioner so you can do a second stamping if needed.
  4. Ink up the stamp.  Tap the ink pad lightly to the stamp.  If you mash the ink pad down too hard, it will leave lines in the ink from the edges of the ink pad.
  5. I always do a trial run of my stamping on scratch paper.
  6. Stamp the layer a second time, if needed.
  7. LET EACH LAYER DRY (or use your heat tool) before stamping the next layer!  If you stamp the second layer before the first is dry, the edges of the second layer will kind of feather out.  
   

Did you notice the perfectly matched pink layer?  Well, these inks blend LIKE BUTTER!!  I used an ink blending brush with the Bubblegum ink and inked up the edges of an A2 sized white card stock piece.  Adhere the card panel to the pink card and add to a top-folding A2 card base.


I added a few clear pink acrylic hearts for a bit of embellishment.


I absolutely LOVE the watercolored look of this floral stamp!  It's so easy to line up and create a beautiful image!  I hope my tips help you when you give these beautiful new stamps and inks a try!  Thanks so much for stopping by today!  Have a wonderful, crafty week!