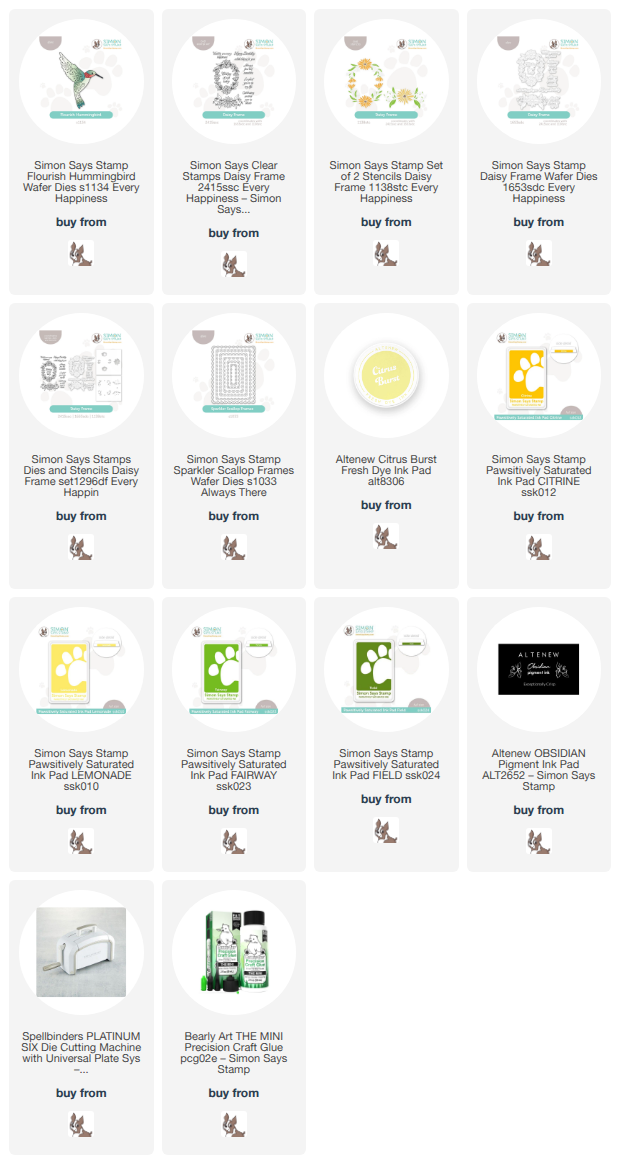
Friday, August 22, 2025

Together Is A Good Place To Be

Hello friends!  I'm sharing this card I made with two of Spellbinders Club Kits.  I've used August's 3D Embossing Folder (Underwater Waltz) and the Betterpress Press Plate (Fish Parade).

For the background, first I put white cardstock in the Underwater Waltz 3D embossing folder and ran it through my Platinum die cutting machine.  I turned the embossed panel to the back (with the de-bossed side up).  Then I inked direct to paper with three shades of teal ink (listed below).  This left the de-bossed areas white!  So fun!  I glued the panel to a piece of coordinating colored cardstock and then to an A2 card base.

I decided to try foiling the Fish Parade press plate instead of using it with my BetterPress letterpress.  I turned on my Glimmer Hot Foil System to heat up.  When it was ready I placed the press plate face up onto the Glimmer platform.  I added a piece of Silver Holographic Speckle glimmer foil on top of the plate.  Then I put a piece of Glimmer Specialty Clear Film Sheets over both.  This is a heat resistant acetate that foils beautifully!

After I added the spacer shims and ran it through my Platinum, I removed the foil and used my scissors to trim around the image.

I added foam tape to the back of the foiled acetate, hiding the pieces of foam behind some of the fishes.

The sentiment is from the Fish Parade set and pressed with my LetterPress in a teal ink.  After I cut it out with the coordinating die, I added foam tape to adhere it to the card.

The iridescent sparkle is so pretty!  I hope you've been inspired by my card today.  Have a fabulous and crafty weekend!!

Thank you for using my affiliate links to shop (never any additional cost to you)!

Wednesday, August 20, 2025

Antique Sewing Table Friend Card

Hello crafty friends!  Today I'm sharing my card that features Honey Bee Stamps awesome Lovely Layers: Antique Sewing Table.  I plan on using this for a birthday card to give to someone that is an amazing seamstress!  Fun fact:  I actually have a very old Singer sewing machine (that works!) that was gifted to me by my sweet mother-in-law.

REALLY wanted to try to replicate the look of the Singer sewing machine I have with the machine die in the Lovely Layers: Antique Sewing Table.  After trying a couple ideas that failed, I decided to try tapping gold ink onto the raised portion of the sewing machine die.  I used Metallic Gold ink and took the corner of a paper towel to wipe away as much of the excess ink that I could.

I carefully placed the die cut side down onto black cardstock and ran it through my die cutting machine.  I have to say, I am quite pleased with the way it came out!  Next I die cut all of the other pieces of the Sewing Table from white and metallic cardstocks.  I colored the white cardstock with a few Copic markers and then adhered the layers with glue.

I colored in the de-bossed areas of the sewing table with two fine line pens.  If you have a pen with a very fine point, this is quite easy. 

Next I die cut pink and green cardstocks with the Lovely Layers: Cherry Blossom dies.  I used ink blending brushes to add a bit of ink to the pieces for dimension.  I used glue to assemble the layers of the Cherry Blossom branch.

With my card elements complete, I created an A2 card with a pink layer of paper.  This paper is one that is in the "FreeBee" paper pack that you will receive with a qualifying Honey Bee Stamps purchase of $100 or more.

I die cut a piece of vellum with the second largest Double Stitched Ovals die.  Then I used glue to adhere the Antique Sewing Table and the Cherry Blossom branch to the vellum.  On the back of the vellum, I added foam tape behind the the die cut pieces so it wouldn't be visible and adhered the piece to my card.

I stamped a sentiment from the Sew Glad stamp set in black ink and then cut it out with the coordinating die.  To finish up, I added a few pearls from the Pastel Pearl Stickers.

I truly love how this turned out!  Especially the sewing machine!  Do you think you would try making one like this?  I sure hope I've inspired you to give it a try.  Thanks so much for stopping by today!

Thank you for using my affiliate links to shop (never any additional cost to you)!

Sunday, August 17, 2025

Beach Friends Forever

Today I'm sharing another beach themed card with the Beach Friends Forever stamps and dies.  These are from the new company, My Pretty Things!  I have lots of friends I could send this to as we wait for our next beach trip!

See the wavy background at the top of the card?  This was made after I sprayed through the Making Waves Stencils for THIS card.  Before I picked up the stencil I pressed a clean piece of white cardstock onto the stencil to pick up the over spray!  Next I carefully tore one each of the panel.  Then I inked on some Peacock Feathers Distress Oxide around the edges and glued it to the card base.  I added lines of Star Dust Stickles around the white edges of the waves and set it aside to dry.

I made the sandy background by ink blending some tan colored ink onto a piece of white cardstock.  (I hand trimmed the top of the piece.)  The inks are in the list below.  Then I added splatters of the darkest tan ink and let dry before adhering it to the card.

All of the images are from the Beach Friends Forever stamp set.  I stamped them in a Copic safe ink and used my markers to color each image.  After I cut out the images with the coordinating dies, I adhered each one with either glue or foam tape.

I stamped two of the sentiments included in the stamp set with black pigment ink.  I love that there are dies included in the Beach Friends Forever die set to cut these out!

I sure hope you have gone over to the My Pretty Things website to check out these adorable and so fun summer themed products!  Thank you, always, for stopping by!

Affiliate links (never any additional cost to you)!

Saturday, August 16, 2025

"Waving" Hello! Ocean Scene Card

I'm back today to share my card using more of the adorable products from the new company called My Pretty Things!  This card totally makes me wish I was waving hello from the beach!  Oh, well, I'll just have to dream!  Haha!

I do enjoy ink blending and really enjoyed the inking up of these waves I die cut from white cardstock with the Layered Waves Dies!  I used ink blending brushes and Distress Oxide Ink in the colors of Salty Ocean, Peacock Feathers, and Mermaid Lagoon.

I overlapped the colors for a smooth blend checking each layer as I went along to make sure it showed some contrasts of colors from one wave to another.  When I was finished, I added water splatters all over and let it air dry.  Then I mixed up a little bit of Confetti White Perfect Pearls and splattered that all over the waves.

While the waves were drying, I chose two adorable images from the Waving Hello stamp set and stamped them in Copic safe black ink.

I decided that I wanted to use the little flower in the Waving Hello set to decorate the surf board.  To do that, I stamped the image onto masking paper.  Since I didn't want the stamp beyond the lines of the surf board, I cut the surf board from the masking paper following the inner stamped line.  This masked everything except the top of the surf board allowing me to stamp the flower just onto the board.

After I colored the images with my Copic markers I cut them out with the coordinating dies.

Before I added the Layered Waves to my card base, I inked on some Squeezed Lemonade and Tumbled Glass Distress Oxide for a sky and sunshine.  I used glue and also foam tape to adhere the waves and images.

The sentiment is also ion the Waving Hello set and cut out with the coordinating die.

Have you checked out the products over at My Pretty Things?  I hope you will--let's support these small businesses!  Thank you so much for stopping by!!

(Affiliate links--never any additional cost to you!)

Friday, August 15, 2025

Even Little Fish Make Big Waves

Today I'm sharing this adorable card that features Spellbinders August Betterpress of the Month called Fish Parade.  This month's Betterpress Club Kit also includes three sentiments with dies to use.

This was super easy to make!  You will need Spellbinders Betterpress Letter Press System to create this card.  If you have a hot foil machine, these can usually be foiled (I have not tried this press plate with foiling).  After setting up the cardstock (110# Neenah), the press plate and sentiment in the Betterpress, I inked up the Fish Parade press plate with three colors of ink.

I used these Betterpress inks: Cosmic Sky, Hydrangea, and Coastal.  After I ran it through my die cutting machine to press the ink onto the cardstock, I trimmed the circle of fish into a 3-¾" square.   I added foam tape to the back and adhered it to a layer of Cosmic Sky cardstock.

I used the die included in the Fish Parade set to cut out the sentiment.  Confession:  I messed up on the first pressing of the plate, but I'm glad I saved it!  I used my scissors to cut out a few of the fish to add around the sentiment!  Happy I could use some of it!

I added some clear Dew Drop embellishments above some of the fish for a bit of "extra"!

Have you ever checked out Spellbinders Club Kits?  I would really recommend them.  There are lots of options and you can check them out on this FAQ page.

Thanks so much for stopping by!

Thank you for using my affiliate links to shop (never any additional cost to you)! 

Wednesday, August 13, 2025

Let's Make A Die Cut Card For Our Crafty Friends

Hello crafty friends!  Today I have a fun card to share with you!  It's filled with lots of the crafty goodies that we all love!  I've used Honey Bee Stamps new Lovely Layers: Paper Crafting Supplies along with the previously released Lovely Layers: Pegboard and Desk Honey Cuts.

First I created my card base and background.  I die cut some pretty patterned paper from the Simply Spring paper padwith the largest Sweet Stacks: Rectangles die and glued it to the A2 card base.  Next I added a small strip of paper from the Grain and Grunge paper pad to the bottom of the card front.

For the white paneled portion of the wall, I scored a piece of 4-¼" x 2-½" piece of white cardstock at ½" intervals using my score board.  I also added three score lines 1/8" apart and trimmed the piece to 4-¼" x 3/8".  I glued these to the card.

Next I die cut the desired pieces of the Lovely Layers: Paper Crafting Supplies from white, teal, yellow, pink, and mat silver cardstocks.  Using the awesome Layering Guide, I used glue to adhere the layers together.

Then I die cut the Lovely Layers: Pegboard and Desk from white and teal cardstocks.  I colored the pegboard with Copic marker colors E42, E41, and E40.  I added black enamel stickers from the Essentials Enamel Stickers.  I adhered both the pegboard and desk to the card with foam tape.

The knitting basket and yarn is from the Lovely Layers: Arts & Crafts Supplies dies and die cut with white and colored cardstocks.  I colored the basket with Copic markers and added it to my card with foam tape.

Next I used glue and foam adhesive to add all of the fun elements to the pegboard and desk.  So it didn't appear as if the items on the pegboard are just floating, I used a 1/8" hole punch and punched a few silver circles to use to "hold" the die cutter and paint palette.  I added a little shelf for the bins of stamps and dies.

The sentiment is from the Don't Worry, Be Crafty stamp set.  After I stamped it in black pigment ink, I cut it out with the coordinating die.

How fun is this?!!  I love how I will be able to use it for various occasions to send to a crafty friend.  There are lots of other adorable crafty items in these sets, so be sure to check them all out here!

Thank you for stopping by and have a wonderful and crafty day!

Thank you for using my affiliate links to shop (never any additional cost to you)!

Monday, August 11, 2025

You're A Ray Of Sunshine!

 Hello friends!  While I've been on the mend from a horrible dog attack, I've had time to play with some new products from a NEW company!  This company is called My Pretty Things by Erin Thompson!  This is part of her very first release and it's filled with fun beach/summer themed stamps, dies, and stencils.

The first thing I did is have fun making the background with the Making Waves Stencil set!  I added Peacock Feathers Distress Oxide ink through the first stencil onto a panel of A2 sized white cardstock.  I positioned the next stencil over the panel and spritzed on Shiny Bauble Distress Mica Stain.  Before I removed the stencil, I pressed another piece of white cardstock onto the stencil to pick up the mica stain that was on the stencil!  This will make a great piece for another card (coming soon)!

When the Mica Stain was dry, I spread some Iridescent Glitter gel through the third stencil.  I set the piece aside to dry.

Next I die cut the Sweet Sunshine Layered Dies twice from two different shades of yellow cardstock.  I used a mini blending brush to add shading with two inks.

I glued the bottom two layers together, slightly offsetting the layers.  Then I glued the two pieces of the next layer, again offset.  I added foam tape to the back to adhere it to the bottom layer of the sun.  After I added the smiley face die to the inner circle, I glued on a small piece of pink cardstock behind the cheeks. I popped it up with foam tape to adhere.

I trimmed the Making Waves stenciled piece to 4" x 5-¼".  Then I placed it into a shaker pocket and adhered all sides except the top.  I poured in a pretty sequin mix that coordinates with the stenciled colors and sealed the top of the shaker pocket.  I added double-sided adhesive to the back of the shaker to adhere it to an A2 card base.

The sentiment is from the Hey There Sunshine stamp set.  I used the Hey There Sunshine dies to create the layered sentiment with a shadow die.

This is the first of three cards I will be sharing where I used other products from My Pretty Things!  I hope you enjoyed this one!  Thanks so much for stopping by!

Thank you for shopping with my affiliate links (never any additional cost to you)!