Hello crafty friends, and happy release day for Honey Bee Stamps!! The new release, Merry Moments, will be available after the "release party" this evening on Honey Bee's YouTube channel.
EDIT: This awesome Merry Moments release is available now!!
I had to schedule this post last week as I am out of town and didn't get a chance to create a sneak peek card for you with the new goodies. However, I have pulled out a few of my most loved older holiday sets and made a festive card for you!

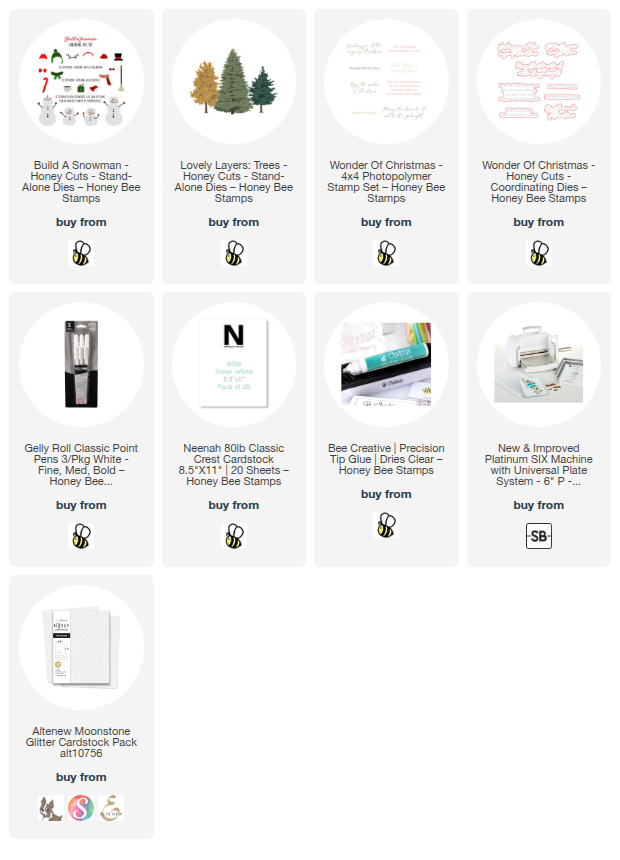
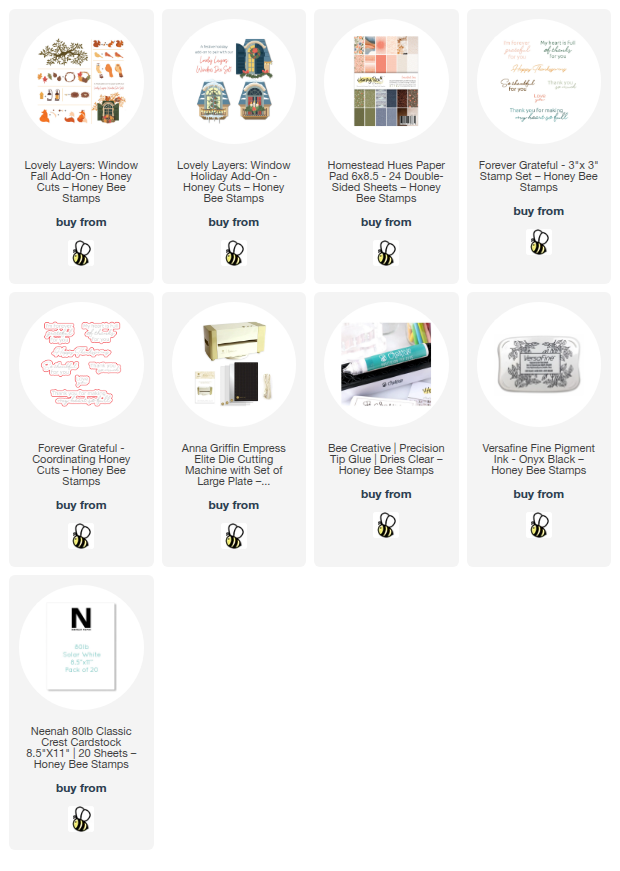
This card features the oh, so adorable Build A Snowman dies and Lovely Layers: Trees!
First I created my A2 card base and added some patterned paper from a retired paper pad (I'm sorry, I had no idea it wasn't available!).
I hand cut a white glitter cardstock hill for the base of the card front.
Then I die cut the top layer of the Lovely Layers: Trees from a pretty white glitter cardstock and layered them onto the base cut from white cardstock.
I glued two of the trees to the card and popped the other up with foam tape.

Then I die cut more white cardstock with the dies from the Build A Snowman set. This set has so many fun accessories and arms to choose from to create the exact snowman scene you want!
I colored the die cut pieces with a few Copic markers and glued the Snowman layers together. I used a fine-point black pen to add little eyes on the red birds. I used a white gel pen for the stripes on the snowman's scarf. I added foam tape to these pieces to adhered them to the card.
The sentiment is from another older and loved set called Wonder Of Christmas. I stamped the sentiment with black pigment ink and then cut it out with the coordinating die. I added foam strips to the back to adhere it to my card.

I love cardinals and just had to add several to my card. Now, be sure to click this link to check out all of the latest and fabulous items in the Honey Bee Stamps Merry Moments release!
Thanks so much for stopping by! I'll be back here next week with my first card for this awesome release!
Thank you for using my affiliate links to shop (never any additional cost to you)!