Showing posts with label ink blending. Show all posts

Thursday, October 8, 2026

Alex Syberia Designs Autumn Release: Cozy Tea Time | Blog Hop & Giveaway

Hello, friends!  I'm excited to be joining the blog hop + giveaway for Alex Syberia Designs' Cozy Tea Time release!  This hop is filled with so much inspiration from lots of talented designers.  Read to the end for the hop release and prize details.


 If you'd like to start at the beginning of the hop, please visit the Alex Syberia Designs blog hop post.

The card I'm sharing today features the beautiful new Magical Wisteria stamp set with the coordinating dies and stencils.

I started by first stamping the Magical Wisteria flower with a Copic marker safe ink.  This is a very light ink and I have found that it doesn't smear when you ink through stencils with your blending brushes.  Tip:  Use a MISTI, or other similar tool, to stamp the floral.  Then be sure to leave the stamp in the MISTI.  After the stenciling it finished, just put it back in and stamp with black ink.

I used some pretty purple and green inks to color through the stencil layers with blending brushes.  When I was finished, I stamped the Wisteria again with black ink.  Then I cut it out with the coordinating Magical Wisteria die.  I added foam tape to the back and set it aside.

I wanted just a bit of interest for the background of the Wisteria and the new Sparkles stencil was perfect!  I inked two shades of yellow ink directly onto the front of an A2 card base.  I intentionally used a lighter hand in some areas.

I stamped one of the sentiments in the Magical Wisteria stamp set in black ink.  I cut it out with the coordinating die and used foam strips to adhere it to my card.

Be sure to check out all of the amazing new crafty products from this release in the Alex Syberia Designs shop.

Here's the Giveaway Info:

Alex Syberia Designs is giving away a $15 or a £15 gift card to three lucky winners!  Leave comments along the hop stops for more chances to win!

This giveaway is open internationally.  All three winners will be selected from entrants who take part in the blog hop by 11:59 pm BST on October 18.  The winners will be announced on the "Giveaway Winners' page" of the Alex Syberia Designs blog on October 19.

Blog Hop Order:


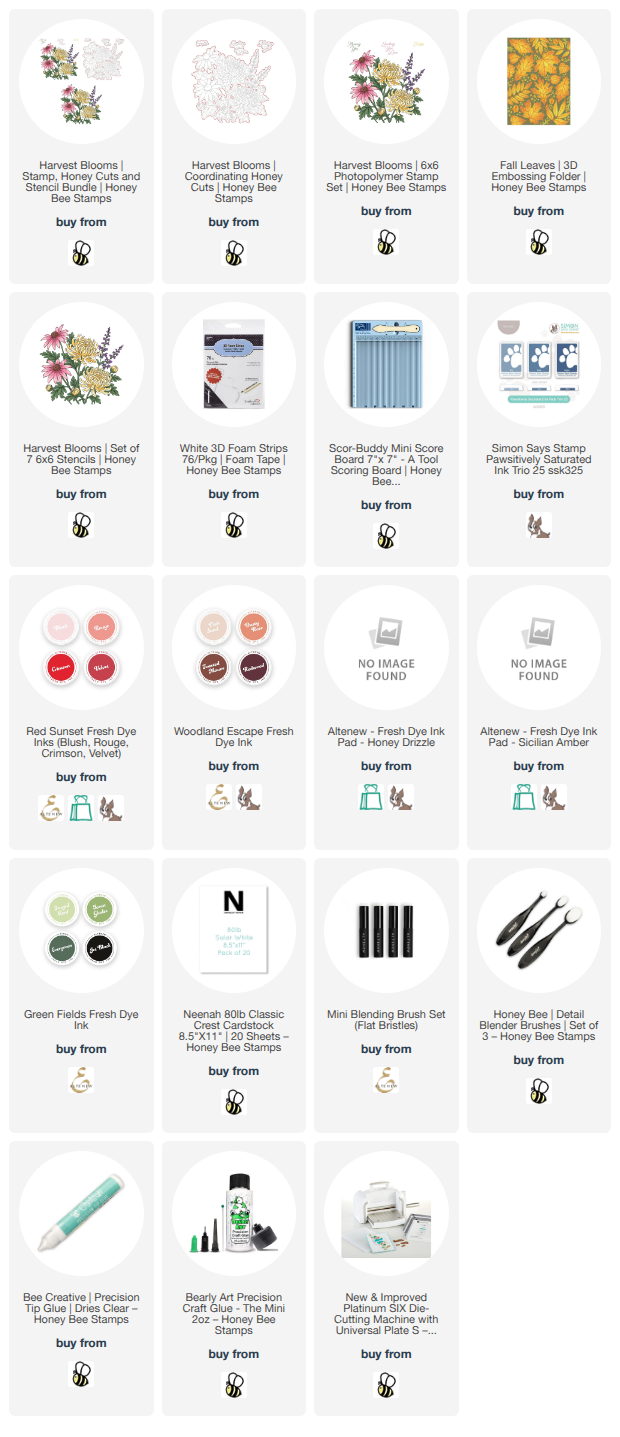
Product supplies/links:

I so appreciate that you use my affiliate links to shop! (There's never any additional cost to you.)  It helps me with the expenses of posting my creative content, thank you.  Note:  You must have "allow cross-site tracking" and cookies turned on in your browser in order for it to know you use my links.
Wednesday, September 30, 2026

Harvest Blooms Stenciled Fun Fold Card -- Honey Bee Stamps

Hello, crafty friends!  Do you ever find yourself in a bit of a crafting slump?  I have been in one and my tip for you to overcome this is try a "unique-for-you" color combination!  Then add in a fun folding card to keep the creativity flowing!

That's what I did for my card here that features Honey Bee Stamps gorgeous Harvest Blooms collection.  There are multiple ways to purchase one or more.  Here are links for you to check out:


As I usually do, I did all of my stenciling first before stamping.  I used several blending brushes and various shades of inks to color through each of the seven stencils in the Harvest Blooms stencil set.  Honestly, I don't remember that I've ever used blue inks for flowers!  I have to say that I really do like these!  (The ink colors I used are linked in the list below.)

Next I placed the colored floral panel into my MISTI.  I place the Harvest Blooms stamp over the stenciled image taking a moment to make sure it was properly aligned.  I picked up the stamp with the MISTI door, inked it up with black pigment ink, then stamped it onto the stenciled piece.

Then I cut out the stenciled florals with the  coordinating Harvest Blooms die.  I set this aside while I worked on my card base.

First, you will need to emboss two white cardstock panels, one A2 sized and another 6" x 4-¼", with the Fall Leaves 3D embossing folder.

Score the 6" embossed Fall Leaves panel ½" from the top edge.  Fold along the score line and glue the folded flap to the back of an A2 sized piece of white cardstock making the embossed panel the front of the card.

What we will do next is plan where to place a score line on the Harvest Blooms die cut floral piece.  Here is a list of the steps:

  1. I opened up the card and laid it flat with the card front facing up.
  2. Position the Harvest Blooms floral towards the bottom right of the embossed panel.
  3. Make sure none of the florals on the right overhand the right hand edge.
  4. Holding the floral in place on the card, flip it over.
  5. Use a pencil to draw a line on the back of the floral using the card edge as a guide.
  6. Use a score board to score the floral along the score line.
  7. Fold the floral and glue the flap to the back of the embossed panel.

Next glue the other Fall Leaves embossed panel to the inside of the card front.  This will cover up the folded edge of the Harvest Blooms die cut.  This is how it will look nice and finished:

Next I used some blue ink to stamp a portion of the Harvest Blooms floral on the card inside.

I stamped all three of the sentiments in the Harvest Bloom stamp set and then cut them out with the coordinating dies.

As you can see in the photos, I glued one sentiment to the inside of the card.  I also glued another sentiment onto the embossed panel under the Harvest Blooms flower.  I made sure to place it where it would not show.

The other sentiment is adhered to the floral piece with a foam adhesive strip.

I really had fun designing this card!  Of course, you surely know by now that I love coloring stencils!  The seven Harvest Blooms stencils add so much detail to the beautiful floral!  Of course, this image would be beautiful colored markers, pencils or watercolors!

I hope I've given you some inspiration to try this style of card!  Thank you for stopping by.  Have a wonderful and crafty day!

P.S.:  Be sure to stop by my Instagram and watch my reel (posted soon) to see lots of the card making process!

I so appreciate that you use my affiliate links to shop! (There's never any additional cost to you.)  It helps me with the expenses of posting my creative content, thank you.  Note:  You must have "allow cross-site tracking" and cookies turned on in your browser in order for it to know you use my links.

Sunday, August 23, 2026

Let's Eat Candy -- Big Mouth Jack-O-Lantern Interactive Halloween Card

Hello friends!  Today I am sharing this fun card I made that features Hero Arts Big Mouth Jack-O-Lantern die set!

The Big Mouth Jack-O-Lantern dies, when used with the Big Mouth Slider dies, creates such a fun and interactive slider card!  And, if you don't have these slider dies, the Big Mouth Jack-O-Lantern dies make a wonderful card without them!

Check out this next photo!

By pulling the slider tab it reveals your sentiment inside the big mouth!

I started with the Big Mouth Slider dies and cut white cardstock with the dies.  You can search YouTube and find several videos that show you how to easily assemble this.  The one I watched is by Mindy Egan, on Spellbinders channel.

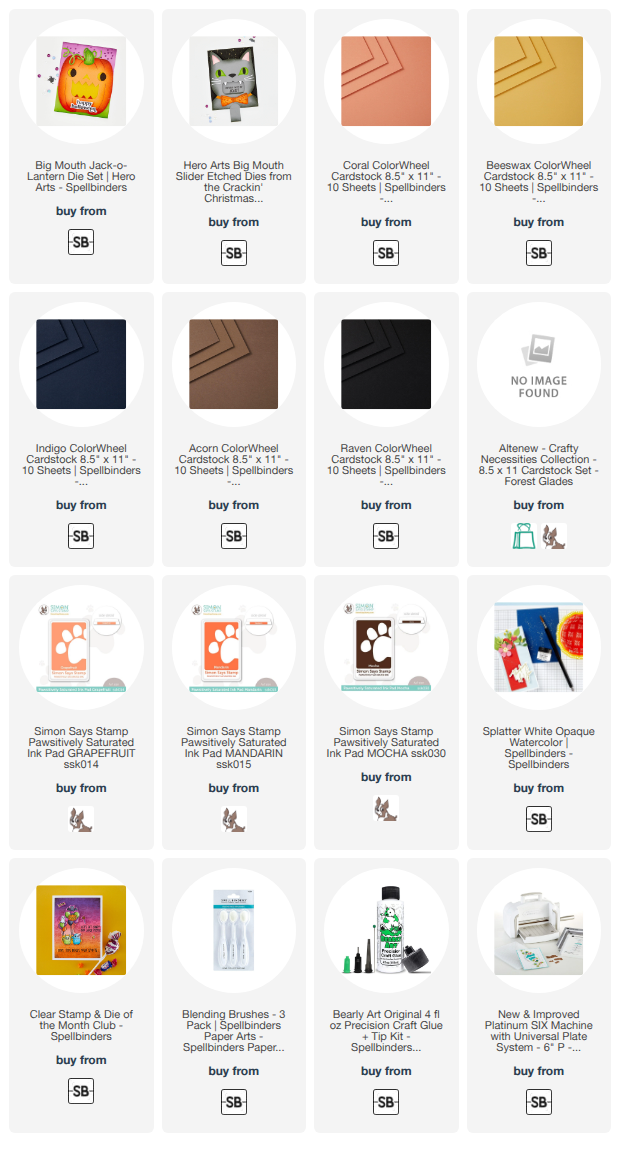
I die cut several different colors of cardstock with the Big Mouth Jack-O-Lantern dies.  Before I glued the pieces together, I added shading with coordinating ink and a blending brush.  (All of my supplies are linked in the list below.)

The sentiment is another one in the August Clear Stamp+Die Club Kit.  (Yes, I have used this one a lot--it's a keeper!)  I added the Jack-O-Lantern to some dark indigo cardstock that I inked with Black Soot Distress ink and then added white splatters.

If you like this one, be sure to check out all of the other available Big Mouth die sets!

Thank you for stopping by!  I hope your day is a good one with lots of crafting time!

 I so appreciate that you use my affiliate links to shop! (Never any additional cost to you.)  It helps me with the expenses of posting my creative content, thank you!

Wednesday, August 12, 2026

Hope Your Day Is Stacked With Joy -- Honey Bee Stamps

Hello, crafty friends!  Do you make clean and simple cards?  If you are here regularly, you most likely know that I do not!  Haha!  But I think I've succeeded today with this card that features Honey Bee Stamps awesome Lovely Layers: Sub Sandwich Honey Cuts!  Check it out!

I started out with the Lovely Layers: Sub Sandwich dies.  First I chose the items I wanted to layer in my sub sandwiches.  Next I chose various colored cardstocks for the pieces.  I die cut the meat and onion layers from white cardstock.

Once you have the dies and cardstocks planned out, it's super easy to have a die cutting session and cut out enough pieces for three sub sandwiches!  To add some dimension and depth of color to the pieces I used either inks with blending brushes or my Copic markers.

If you'd like to see some of this process, check out my Instagram later this morning to watch my reel!  I particularly like how the bread for the Subs turned out after I added shading to the pieces!

With all of the goodies shaded or colored, I used Bee Creative glue to adhere layers together and then layered them into the sandwiches.

To keep the card background simple and give a place to "ground" the three sandwiches, I ink blended a rectangle onto the A2 card front.  This was super easy!  I used my paper trimmer to cut four ½" strips of masking paper.  I placed the strips around the edges of the card base, then used a neutral blue ink and a large blending brush to color in the space.

I removed the masking paper to reveal this pretty inked rectangle!  I used glue and foam strips to adhere each Sub Sandwich into the rectangle.

The sentiments are from the Stacked With Joy stamp set.  After I stamped each sentiment with black pigment ink, I cut them out with the coordinating Stacked With Joy die.  To match the height of the Sub Sandwiches, I used a double layer of foam strips to adhere each sentiment to the card.

I really like my version of this clean and simple card with the Lovely Layers: Sub Sandwich!  I hope you like it too!  Thank you so much for stopping by today.  I hope your day is a good one!

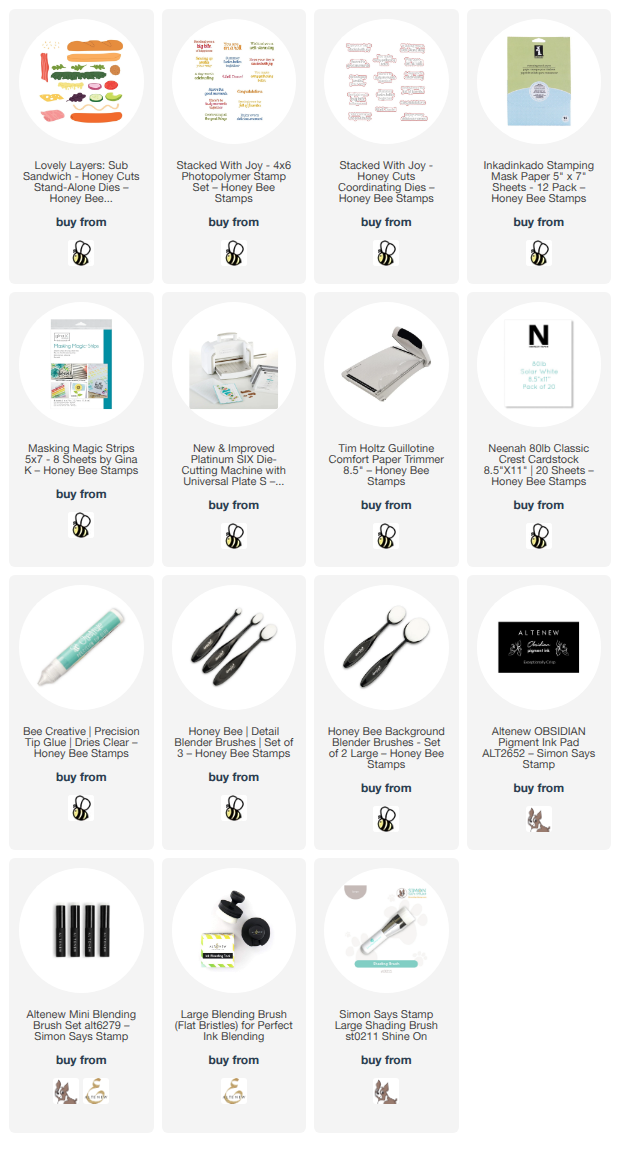
I so appreciate that you use my affiliate links to shop! (Never any additional cost to you.)  It helps me with the expenses of posting my creative content, thank you!

Thursday, June 25, 2026

Silly Seagulls Summertime Card -- Simon Says Stamp

The newest release by Simon Says Stamp, Shine On, is available now!  This release has some fun seasonal  products and lots more for your year round crafting!

My card today features the adorable Silly Seagulls die set!  Also new is the Tall Happy Cover die that I had the seagulls peaking through for a fun feel to my card.

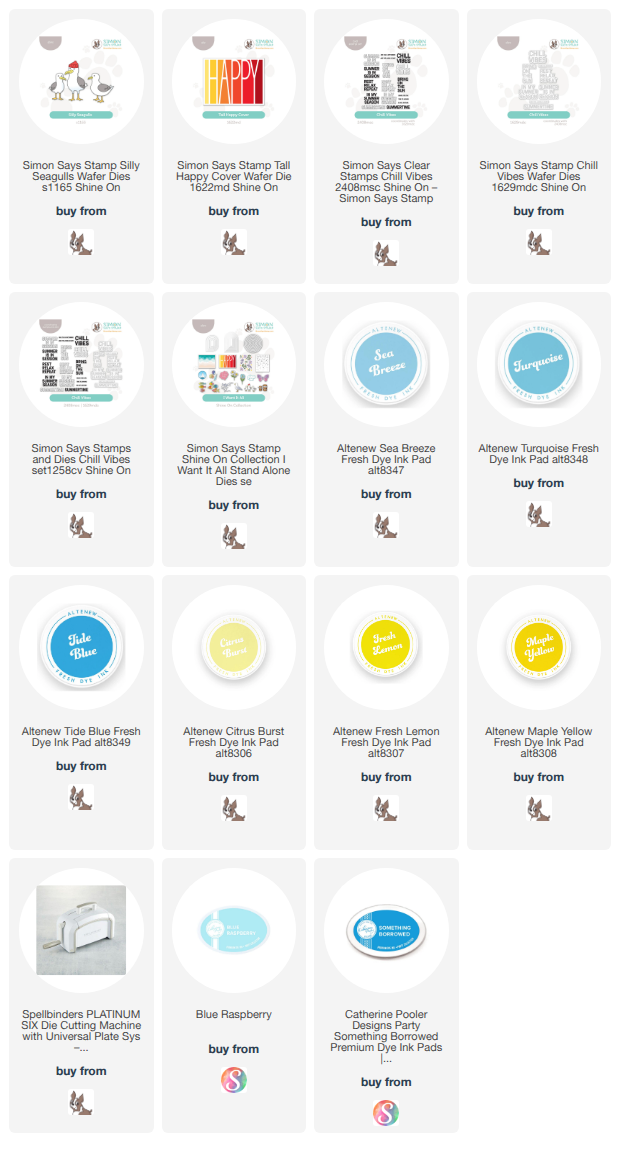
I created a quick ink-blended beach feel, sunshiny background with my blender brushes and some gorgeous inks from Simon's Pawsitively Saturated Ink line.  I have them all linked in the list below.

Next I die cut the most adorable Silly Seagulls dies from white cardstock and added a bit of color with my Copic markers.

I die cut the Tall Happy Cover die three times from white cardstock and glued the layers together.  I set a large stamp block on top of the layers while it dried.

I used two sentiments from the new Chill Vibes stamp set to add a fun sentiment inside the card.  I had also thought that a birthday sentiment would be perfect to go with the summertime vibes of the front of the card.


Next I trimmed the ink blended panel to 4" x 5-¼" and adhered it to a coordinating blue layer.  Then I glued these to my A2 card base.

Before I glued the stacked Tall Happy Cover die cut to the card, I positioned the three Silly Seagulls to be peaking out around the sentiment and added dots of glue to hold them in place.

I totally adore how my card turned out with the cute seagulls peaking around the sentiment.  Be sure to check out the totally awesome new Shine On release products and see if you find some goodies for your crafty times!

Thank you for using my affiliate links to shop (never any additional cost to you)!

Wednesday, May 20, 2026

Celebrating You...Every Single Day

Hello crafty friends!  Do you ever make a card and just totally love it?  It doesn't happen as much as I like, but today's card is one!  I've used a few of Honey Bee Stamps latest release products, including the Lovely Layers: Mini Spring Florals, the Tooled Leather 3D embossing folder (how many times have I used it now?), and a couple other wonderful sets.

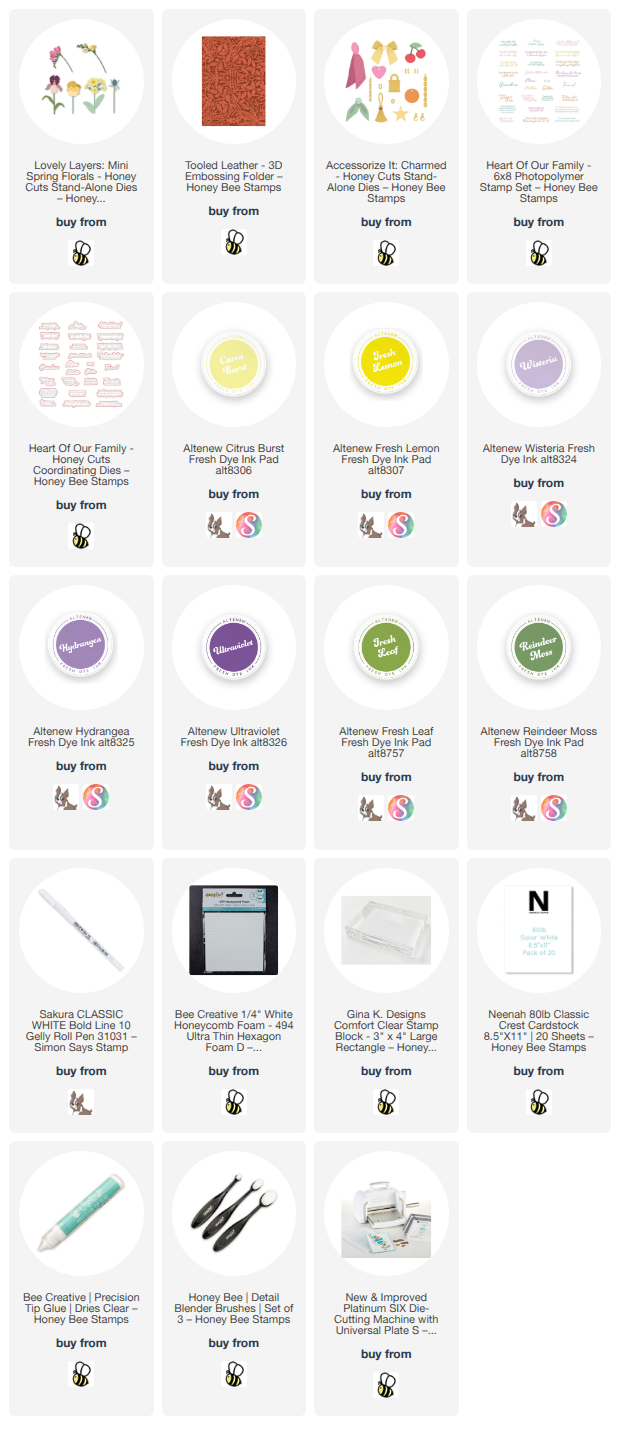
First I die cut white cardstock with the dies for the Bearded Iris and the stemmed floral that are in the Lovely Layers: Mini Spring Florals.  I used blending brushes and inks in coordinating shades of yellow, purple, and green to color the layers each Bearded Iris.  I used Bee Creative Glue to adhere the layers together.

I love adding these soft colors in one of my top color combinations!  Next I die cut more white cardstock with the dies for this cute bow that's in the Accessorize It: Charmed die set.  I used the same yellow inks to color the layers with blending brushes.  After I glued the layers together (the little knot is popped up with a foam from the new ¼" White Honeycomb Foam adhesive).  I used my white Gelly Roll 10 pen to add dots all over.

The card base is A2 sized and I embossed a white cardstock panel with, my now favorite, Tooled Leather 3D embossing folder.  I smooshed two of the mid-tone purple and yellow inks onto a large stamping block and diluted the ink with some water.  I added splatters of both colors along the embossed panel from the bottom left to the top right.  I made sure to dry one color with my heat tool before splattering the next color.

After I glued the embossed panel to my card base I began to arrange the Mini Spring Florals.  I used glue and a few foam adhesives to stick them to the card front.

The sweet sentiments are from the Heart Of Our Family stamp set, stamped in black pigment ink, cut out with the coordinating dies, and then popped up on the card with foam strips.

I love Bearded Irises and really like the soft colors of this card!  I hope you do too, and are inspired by my card!

Thank you so much for stopping by today!  I hope is a good one for you!

I always so appreciate those of you that use my affiliate links to shop (never any additional cost to you)!

Friday, December 12, 2025

Have A Brew-tiful Day!

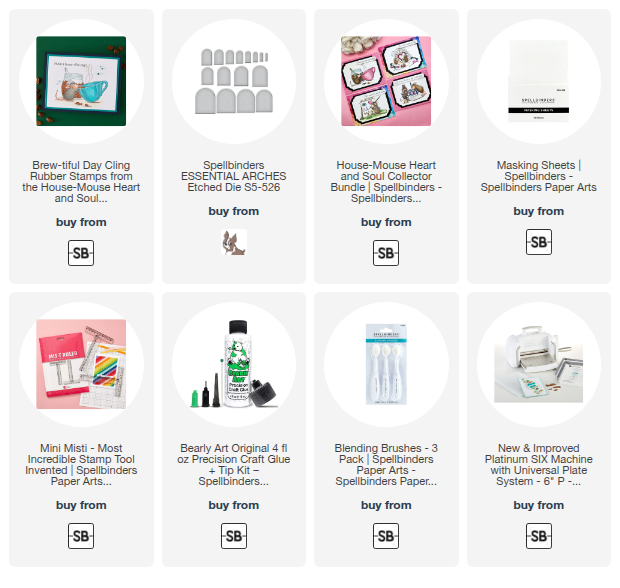
Hello!  I'm here today to share my card with one of the newest House Mouse Heart And Soul collection by Spellbinder's!  The set I've used today is called Brew-tiful Day!  This stamp features the cute little mouse, named Amanda, sipping from a big cup of coffee!!

First I die cut white cardstock with an Essential Arches die.  Then I die cut a folded card base with the same die to create my shaped card.  Just be sure to have the top cutting edge of the die above the fold of the card base.

Next I stamped the Brew-tiful Day image onto it with Copic marker safe black ink.  Before I put the stamp away, I also stamped it onto some masking paper.  I cut out the mask with my scissors.

After placing the mask over the image,  I used a t-square ruler and a pencil to draw a very light line to mark where I wanted to end the "wall" color and placed a piece of removable tape along and below the line.  Then I used an ink blending brush to add some peachy colored ink for the wall and gray ink for the surface.

I colored the image with my Copic markers.  These detailed images are so easy to color with the image's shadowing added by the artist.

Next I chose one of the three sentiments included in the Brew-tiful Day stamp set and stamped it with black pigment ink.  To finish, I glued the colored layer to my card base.

And just like that I have my uniquely shaped card all finished!  Be sure to check out the other adorable House Mouse sets in the Heart And Soul collection.

Thanks so much for stopping by today!  I hope it's an awesome day for you!

Thank you for using my affiliate links to shop (never any additional cost to you)!

Wednesday, November 19, 2025

Merry and Bright Christmas Card

Happy Wednesday, friends!!  Today I'm sharing my elegant holiday card that features Honey Bee Stamps Lovely Layers: Bow & Bough and the Snowflake Symphony stencil!  Check out all of the details below.

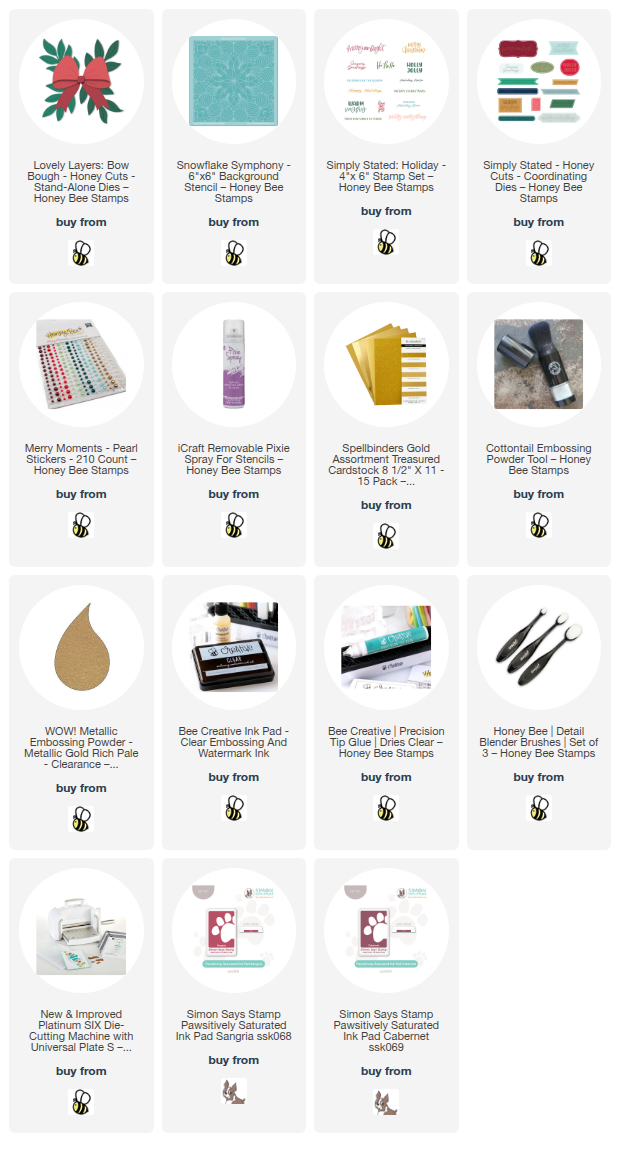
To begin, I sprayed the back of the Snowflake Symphony stencil with Pixie Spray.  This is a beautiful, but delicate stencil and the temporary adhesive will lightly adhere all of the stencil to the cardstock.   After placing the stencil over a 4-¼" x 5-½" piece of red cardstock, I used Detail Blending brushes to blend two shades of darker red inks through the stencil.

I went over the edges a second time with the darkest red ink for more depth.  I carefully removed the stencil and glued the piece to an A2 card base.

Next I used the dies in the Lovely Layers: Bow and Bough set to cut the Bough pieces from two shades of green card stocks.  I die cut the Bow layers from gold glitter and mat gold cardstocks.  I used glue to assemble the layers of the bow and added a few foam squares to the back to adhere it to the card.

I used glue to adhere the die cut Bough pieces around the bow as shown in the photo.

The sentiment is from the Simply Stated: Holiday stamp set.  As you may know, this is a single stamp that stamps all of the sentiments together.  I didn't really think that I will need that many sentiments embossed in gold on red cardstock, but it is really easy to get just one sentiment too!

I placed a small piece of red cardstock into my MISTI.  I positioned the sentiment I wanted from Simply Stated: Holiday stamp over the red cardstock.  Then I added some anti-static powder to the cardstock, inked up just the one sentiment with clear embossing ink and stamped it.  Then I added gold embossing powder to the stamped sentiment and used my heat tool to set it.

Next I used the Simply Stated die to cut out my sentiment.  It was very easy to do!  I added a few foam squares to the back of the sentiment to adhere it to my card.

I added a bit of bling to the card with a few pearls from the Merry Moments Pearl Stickers set.

I do love stencils and this Snowflake Symphony stencil is definitely one of my favorites!  I hope you've enjoyed this elegant, but also easy, card and have found some inspiration here.  Thanks so much for stopping by!

Thank you so much for using my affiliate links to shop (never any additional cost to you)!

Wednesday, July 2, 2025

Firepit and S'Mores Retirement Card With Honey Bee Stamps New Release

Hello crafty friends!!  Today I'm sharing the first card I've made with Honey Bee Stamps awesome new Sawdust and Saddles release!  This is such a fun and unique release and you should definitely check it out!!  And how about a fire pit with s'mores and a beautiful sunset sky--how wonderful that would be!

I created the background layer by first stamping two of the cactuses from the On The Range stamp set onto a 4-¼" x 5-½" white cardstock panel.  I stamped both in a green ink, then stamped them again on masking paper.  After I used my scissors to cut out the masks, I put the masks over the cacti.  (I did stamp one more of the round cactus on white cardstock and cut it out with my scissors.)  All three cactuses are colored with Copic markers.

I used my scissor to cut a strip of more masking paper into a slight hill shape.  I took the bottom mask and placed it just slightly above center on the cardstock.  Then I used blender brushes to blend on Distress Inks creating a sunset.  I used these colors:  Mustard Seed, Wild Honey, Faded Jeans, and Chipped Sapphire.  I added just a bit of Black Soot around the edges.

Before I moved on, I added white paint splatters for stars on the blue sky.

I placed the upper strip of masking tape over the inked sunset sky.  Then I blended on Antique Linen Distress Ink over the entire bottom for a sand look.  I added Gathered Twigs just around the edges.  I added splatters with a paint brush with diluted Gathered Twigs Distress Ink to give the look of small rocks.

Next I die cut all of the pieces of the Lovely Layers: Fire Pit from 80# white cardstock.  I used various Copic markers to color the pieces.  Then I used Bee Creative glue to adhere all of the layers together.  I assembled the fire pit pieces with glue and adhered them to the card with foam tape.  How fun is it that there are dies for roasting marshmallows and dies to make a s'mores?!!!

The sentiments are from the fun new Nailed It stamp set.  After I stamped them with black pigment ink, I cut them out with the coordinating dies.  I used some foam tape strips to adhere them to the card.

This is such a unique release!  I love the sentiments that are a bit "punny" too!  Check it all out over at Honey Bee's shop!

Thank you so much for stopping by today!  I hope your day is wonderful and filled with lots of crafty time!


Wednesday, April 2, 2025

A Sweet Garden Scene With Kitties!

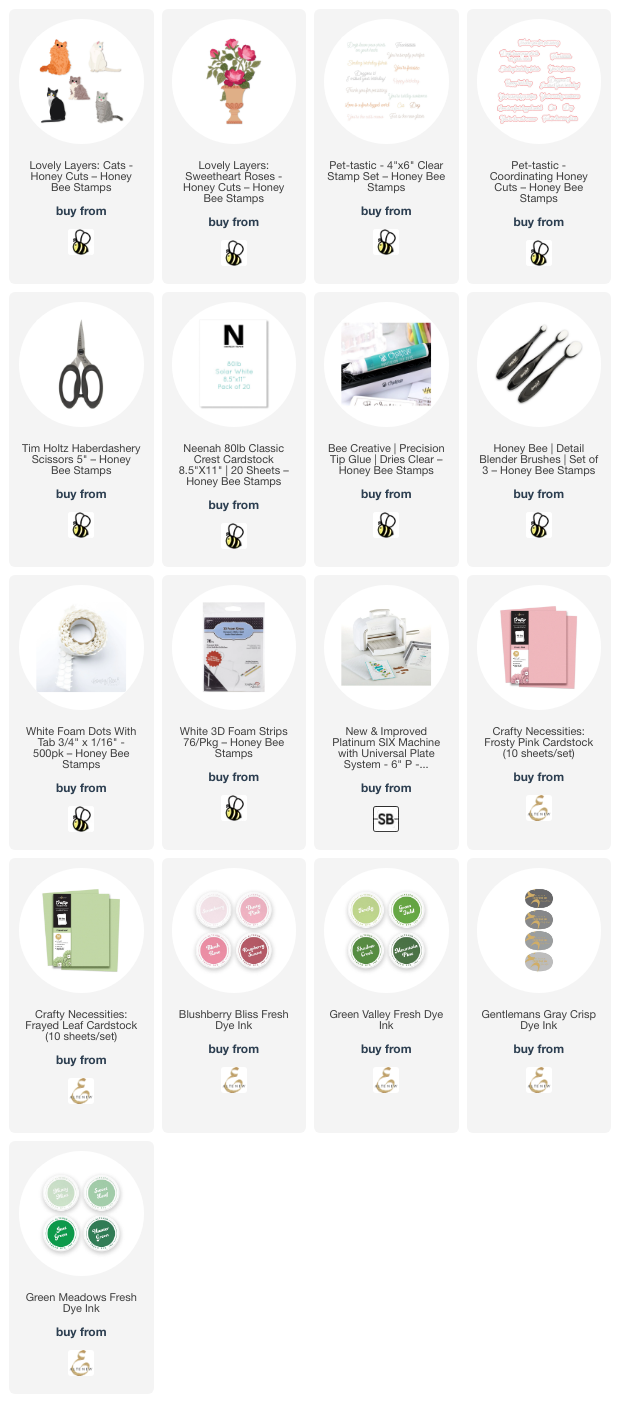
Hello crafty friends! Today I'm sharing details of how to make this sweet kitty card that features the new Honey Bee Stamps Lovely Layers: Cats along with another favorite, Lovely Layers: Sweetheart Roses. I can just visualize these sweet kitties prowling around in a beautiful springtime garden and was inspired to make this card!

To create my garden scene I chose light pink and light green cardstocks and die cut the roses, bush, and leaves from the Lovely Layers: Sweetheart Roses. I die cut the planter pot from white cardstock. Then I used blender brushes and coordinating inks to shade the flower layers, the shrub and leaves to add a bit of depth. I used glue to adhere the layers together. (Be sure to download the Layering Guide found in the product description on the website.)

To add shading to the planter, I used three gray Copic markers: C3, C1, and C00. After I glued the layers of the planter together, I added glue to the bottom of the Sweetheart Roses to adhere it to the planter.

Next I chose two of the kitties from the Lovely Layers: Cats and die cut them from white and a light gray cardstock. For the gray kitty I added shading with a blender brush and gray ink. I colored parts of the other cat with an E40 Copic marker. Again, I used glue to adhere the layers together.

Now that I had the card elements all colored and ready for the card, I was really stuck on what to do for a background!!! Does that happen to you?

After much muddling through ideas, I thought that a soft inked background would pair best with the focal images. I used a blending brush to lightly add green ink for the "grass". This was the same light green ink I used on the Sweetheart Rose bush. Then I inked on a very light blue ink for the sky. I really like how this turned out!!!

I used foam dots to pop up the Sweetheart Roses and the gray cat.  Tip: I love these foam dots and only used these! I just use my non-stick scissors to cut them into smaller pieces!

I glued on the white cat and adhered the Sweetheart Roses and the gray cat. The sentiment is from the Pet-tastic Stamp Set and stamped in black pigment ink. I cut it out with the coordinating die. To adhere it over the Sweetheart Rose bush, I added a small piece of a foam strip on the left side and glue to the rest.

I'm actually shocked that I made a card with softer colors that I like! Hahaha!! I hope you like it too! Thank you so much for stopping by! Have a wonderful and crafty day! ðŸ©·

I so appreciate you using my affiliate links (never any additional cost to you)!

Friday, October 18, 2024

Lilac Layering Dies for a Friendship Card

 Happy Friday crafty friends!  I'm sharing my card featuring Altenew's Lilac Layering Die Set and the Branched Frames Die Set.

I die cut the Lilac Layering dies and the Framed Branch dies with colored cardstocks.  The colors are in the list below.

Then I add shading to the flower petals and leaves with Lavender Fields and Deep Iris inks.  Yes, I added purple inks to the blue cardstock!  I shaded the leaves with Hunter Green ink.

I used the layering guides that are included on the packaging to assemble the pieces.  I think that the way Altenew has numbers that imprint on the stem and petals of the Lilac Layering dies is genius!!  The flower centers cover those numbers for a finished look!

I added the Lilacs and Branched Frame to a watercolored panel I made by dropping the purple ink onto dampened watercolor cardstock.  I added purple splatters to the panel before I added the wreath.

The sentiment is from the One-Go: Solid Sentiment Strips Press Plate and coordinating die.

Check out my reel over on Instagram to see some of the process.  Thanks so much for stopping by.  I hope you have a great weekend with lots of crafting time!

Thank you for using my affiliate links to shop (never any additional cost to you)!

Wednesday, August 21, 2024

An Autumn Card and A Fun Technique for Coloring Embossing Folder Images

Hello crafty friends! Autumn really is my favorite season! It's a promise of cooler weather after the extreme heat we have in August here in Texas. I used a fun technique with the Fall Leaves 3D embossing folder!

First I embossed white cardstock with the Fall Leaves embossing folder. Then I used several Distress Inks and a variety of small ink blending brushes to color the leaves on the de-bossed side. It's okay to go outside the "lines". A later step will hide all of that!

I used these Distress Inks: Fossilized Amber, Peeled Paint, Aged Mahogany, Rusty Hinge, and Gathered Twigs.

Next I repositioned the panel back into the Fall Leaves embossing folder. When I had it lined up with the colored side facing up, I used removable tape to hold it in place. Then I used a brayer and Potting Soil Archival Ink to add ink to the other side of the embossing folder. This step will add the dark brown ink to all the veins of the leaves after you run it back through your embossing folder!

This next step is where I crossed my fingers since I had never done it before! Haha! I took the Gathered Twigs Distress Oxide ink pad and, holding it flat, rubbed it all over the panel and it filled in the background and covered up the ink colors that were beyond the edges of the leaves!

Distress Oxide inks are opaque and that's why it works for this technique!

The sentiments are from the Bitty Buzzwords: Seasons Honey Cuts. They are die cut from brown and brushed gold cardstocks. I used foam tape to pop them up on the card.

A few gems from the Vintage Love Gem Stickers adds some fun sparkle!

I love how this turned out! I will definitely be using this technique again and hope I've inspired you to try it! Thank you so much for stopping by!

Thank you for shopping with my affiliate links at no extra cost to you! (your cookie settings need to be enabled for me to get credit)