Showing posts with label Tooled Leather 3D embossing folder. Show all posts

Wednesday, May 27, 2026

Gift Card Holder & Card With Loads Of Fun Textures!

Hello crafty friends!  Today I am happy to share with you this fabulous card and gift card holder I made featuring Honey Bee Stamps awesome Lovely Layers: Wallet Honey Cuts!  I love adding lots of texture to masculine cards since, obviously, I wouldn't use flowers for such a card, right?!  Haha!  Check out the details below.

Before I get into my card details, have you heard???  This evening the new Chapter & Charm CARD KIT will be available after the release party, scheduled for 7 pm CDT, on Honey Bee's YouTube channel.  Here is the caption of the description:

Turn the page to something special with our Chapter & Charm Card Kit.  Filled with beautifully coordinated book-themed stamps and dies, this charming collection is perfect for celebrating book lovers, teachers, librarians, and anyone who treasures a good story.

From cozy reading moments to heartfelt sentiments, Chapter & Charm, is designed to help you create cards and projects that are truly one for the books.


I began by constructing the wallet using the dies in the Lovely Layers: Wallet.  First I die cut the various pieces for the wallet from some medium gray cardstocks.

Next I pressed clear embossing ink onto the Tooled Leather 3D embossing folder.  Then I used a brayer to ink up the smooth side of the embossing folder with Weathered Wood Distress Oxide ink.  Then I placed the front part of the wallet die cut into the folder and ran it through my die cutting machine.  I repeated these steps for the back side of the wallet.

I wanted the Wallet to have an aged, well-worn look, so I used a blending brush and a couple different brown inks from my stash to ink the edges and a bit more into the middle portions too.

The die cuts for the inside of the Wallet were inked in the same manner, just not embossed.  I folded the scored tabs and added glue to the tabs to adhere the pieces inside the wallet.  There's a die cut included in the Lovely Layers: Wallet that is perfect to hold a gift card to fit into the open portion.

The card base is A7 size.  I used a dark brown-gray cardstock and a piece of patterned paper from the Urban Roots paper pad (a necessity I love for masculine cards) for the base layers.

I took another strip of the brown-gray cardstock, trimmed it to about 2", and tore the edge with my fingers.  Then I placed it into the Tooled Leather 3D embossing folder to emboss it.  I inked the edges with a dark brown ink and glued it to my card.

The sentiments are from the Heart Of Our Family stamp set.  I stamped them in brown ink onto gray cardstock and then cut them out with the coordinating dies.

To finish up, I added a few coordinating enamel dots on the wallet and around the sentiment.

So what do you think about all of the texture, embossing and inking?  I hope you like it as much as I do!  Thanks so much for stopping by today.  I hope your day is crafty and very good!

P.S.:  Don't forget to check out the Chapter & Charm Card Kit--the kits sold out so fast last time!

I hope you know how much I appreciate it when you use my affiliate links to shop (never any additional cost to you)!

Wednesday, May 20, 2026

Celebrating You...Every Single Day

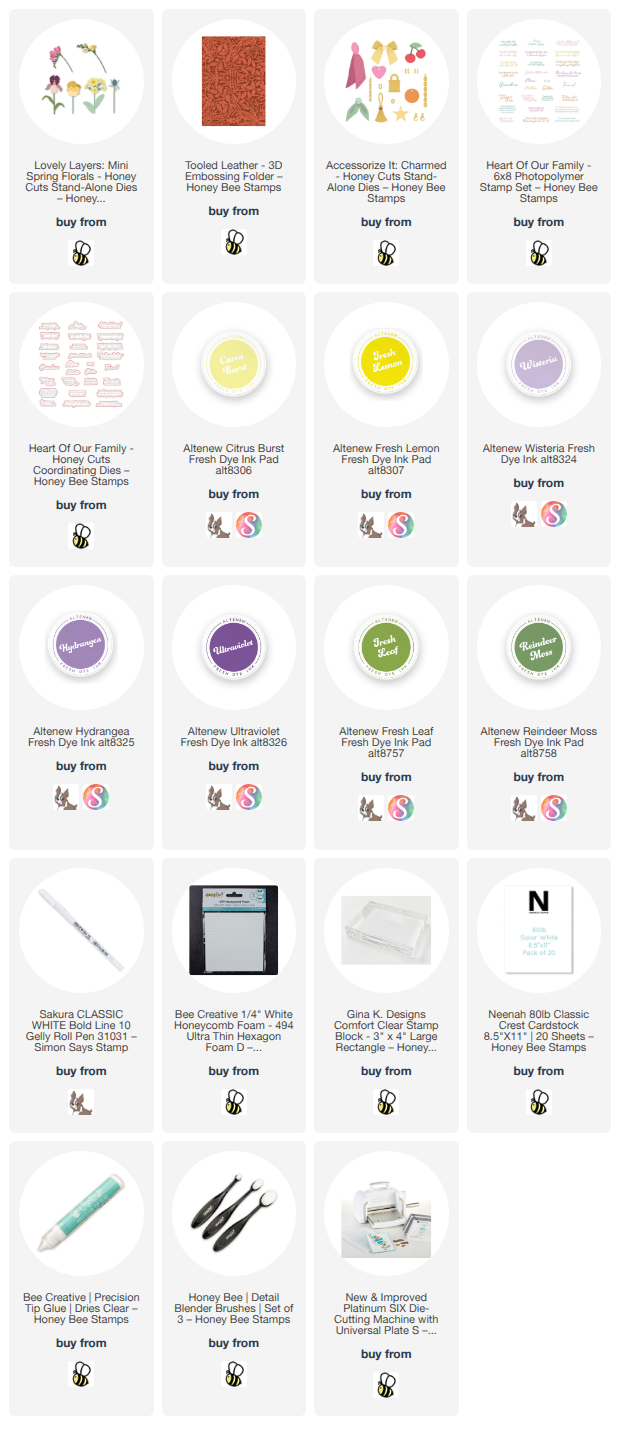
Hello crafty friends!  Do you ever make a card and just totally love it?  It doesn't happen as much as I like, but today's card is one!  I've used a few of Honey Bee Stamps latest release products, including the Lovely Layers: Mini Spring Florals, the Tooled Leather 3D embossing folder (how many times have I used it now?), and a couple other wonderful sets.

First I die cut white cardstock with the dies for the Bearded Iris and the stemmed floral that are in the Lovely Layers: Mini Spring Florals.  I used blending brushes and inks in coordinating shades of yellow, purple, and green to color the layers each Bearded Iris.  I used Bee Creative Glue to adhere the layers together.

I love adding these soft colors in one of my top color combinations!  Next I die cut more white cardstock with the dies for this cute bow that's in the Accessorize It: Charmed die set.  I used the same yellow inks to color the layers with blending brushes.  After I glued the layers together (the little knot is popped up with a foam from the new ¼" White Honeycomb Foam adhesive).  I used my white Gelly Roll 10 pen to add dots all over.

The card base is A2 sized and I embossed a white cardstock panel with, my now favorite, Tooled Leather 3D embossing folder.  I smooshed two of the mid-tone purple and yellow inks onto a large stamping block and diluted the ink with some water.  I added splatters of both colors along the embossed panel from the bottom left to the top right.  I made sure to dry one color with my heat tool before splattering the next color.

After I glued the embossed panel to my card base I began to arrange the Mini Spring Florals.  I used glue and a few foam adhesives to stick them to the card front.

The sweet sentiments are from the Heart Of Our Family stamp set, stamped in black pigment ink, cut out with the coordinating dies, and then popped up on the card with foam strips.

I love Bearded Irises and really like the soft colors of this card!  I hope you do too, and are inspired by my card!

Thank you so much for stopping by today!  I hope is a good one for you!

I always so appreciate those of you that use my affiliate links to shop (never any additional cost to you)!

Wednesday, May 6, 2026

Let's Celebrate -- How To Make A Shaker Card

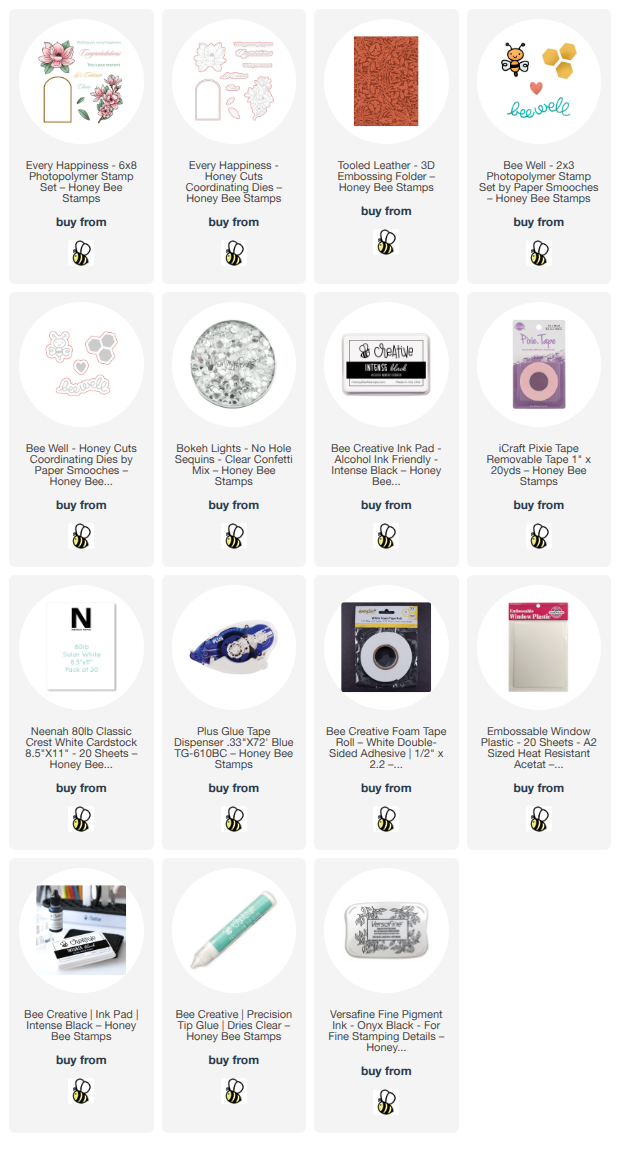
Hello crafty friends!  Today I am sharing my shaker card that features Honey Bee Stamps beautiful Every Happiness stamp and coordinating dies with a fabulous textured layer!  Check it out below.

First I stamped this beautiful floral image that is one of two in the Every Happiness stamp set.  After I stamped it in Intense black ink, I colored it with my Copic markers.  Then I cut it out with the coordinating Every Happiness die.

Next I used the two frame dies (Every Happiness Honey Cuts) to cut from white cardstock.  Just place a few bits of removable tape to hold them together for die cutting.  Then I used the smallest of these frame dies to cut an opening in an A2 white cardstock panel.

Next I ran the die cut panel through the Tooled Leather 3D embossing folder.  I glued the die cut frame around the front of the opening.

I turned over this panel and ran some glue tape along the edges of the opening to adhere a piece of acetate.  I placed foam tape around the opening and the edges.  Then I added some Bokeh Lights sequins to the window, removed the backing of the foam tape around the opening, and adhered another piece of acetate to close the opening.

I removed the backing from the rest of the foam tape to adhere the shaker panel to an A2 card base.

The sentiment is also in the Every Happiness stamp set.  After I stamped it with black pigment ink, I cut it out with the coordinating die.  It's popped up on the card with a foam tape strip.

I couldn't resist adding the sweet bee from the Bee Well stamps, cut out with the Bee Well die, for a bit of whimsy.  I glued on a few more Bokeh Lights sequins around the sentiment for a bit of sparkle.

This was an easy-to-make shaker card!  Soon I will have a reel posted on my Instagram to show more of the process for you!

Thanks so much for stopping by!  I hope your day is a good and crafty one!

You are so awesome, and I thank you very much, for using my affiliate links to shop (never any additional cost to you)!

Wednesday, April 22, 2026

The World Is Brighter Because You're In It

Hello, crafty friends!!  Today I am sharing my card that features some of the awesome products from Honey Bee Stamps new Style In Bloom release!

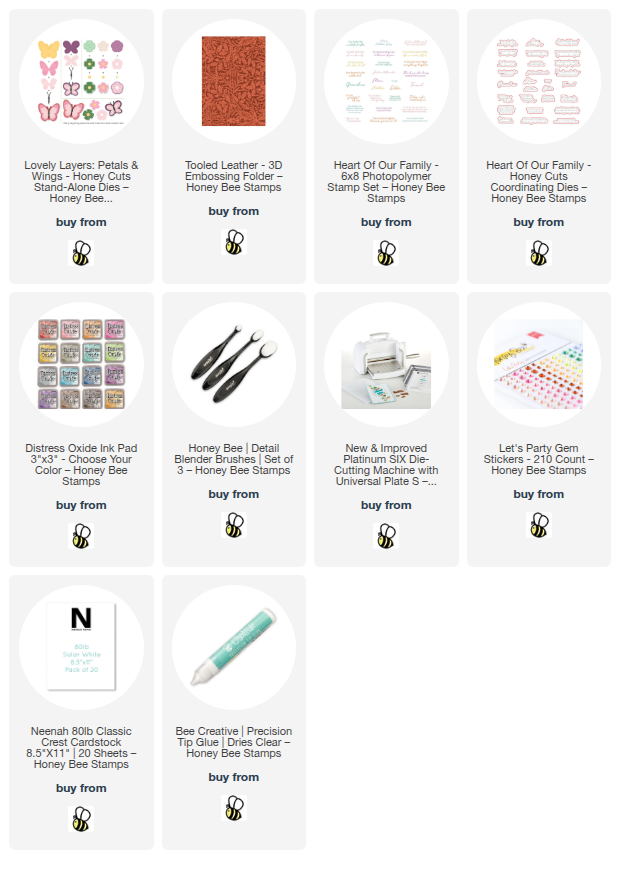
This card features a beautiful rainbow of butterflies I made with the Lovely Layers: Petals & Wings Honey Cuts on top of a background embossed with the Tooled Leather 3D embossing folder.

First I embossed white cardstock with the beautiful Tooled Leather 3D embossing folder and glued it to an A2 card base.

Then I pulled a rainbow of Distress Oxide ink pads in these colors:  Spun Sugar, Squeezed Lemonade, Mowed Lawn, Tumbled Glass, and Milled Lavender.  I used ink blending brushes to blend the inks in rainbow color order onto white cardstock.  I placed the butterfly dies, from the Lovely Layers: Petals & Wings set, onto the ink blended panel and ran it through my die cutting machine.  I die cut three large butterflies and three small butterflies from the inked cardstock.

I used glue to adhere the butterflies layers together.  I added glue just to the center of the wings so I could "fluff" them up.

The hardest part of making this card was deciding how to arrange the butterflies!!  Haha!  As much as I tried, I could not fit that third large butterfly on the card in a way I was happy with.  Hopefully I'll find a use for it on another project!  Once I finally decided on a layout, I used glue to adhere the butterflies to the card.

I stamped two sentiments from the awesome Heart Of Our Family Stamp set.  There are SO MANY wonderful sentiments in this set, not only for friends, but also moms, sisters, grandmothers, and more!  Then I cut them out with the coordinating Honey Cuts.  To adhere the sentiments to the card, I added foam strips to the back of each sentiment.

For a bit of sparkle, I added some gems from the Let's Party Gem Stickers to the butterflies antennas.

I can see using the three adorable flowers in the Petals & Wings set in this same fashion!  What do you think?

I really do appreciate you stopping by today!  Have a wonderful and crafty day!

Thank you for using my affiliate links to shop (never any additional cost to you)!