Showing posts with label stenciled cards. Show all posts

Wednesday, September 30, 2026

Harvest Blooms Stenciled Fun Fold Card -- Honey Bee Stamps

Hello, crafty friends!  Do you ever find yourself in a bit of a crafting slump?  I have been in one and my tip for you to overcome this is try a "unique-for-you" color combination!  Then add in a fun folding card to keep the creativity flowing!

That's what I did for my card here that features Honey Bee Stamps gorgeous Harvest Blooms collection.  There are multiple ways to purchase one or more.  Here are links for you to check out:


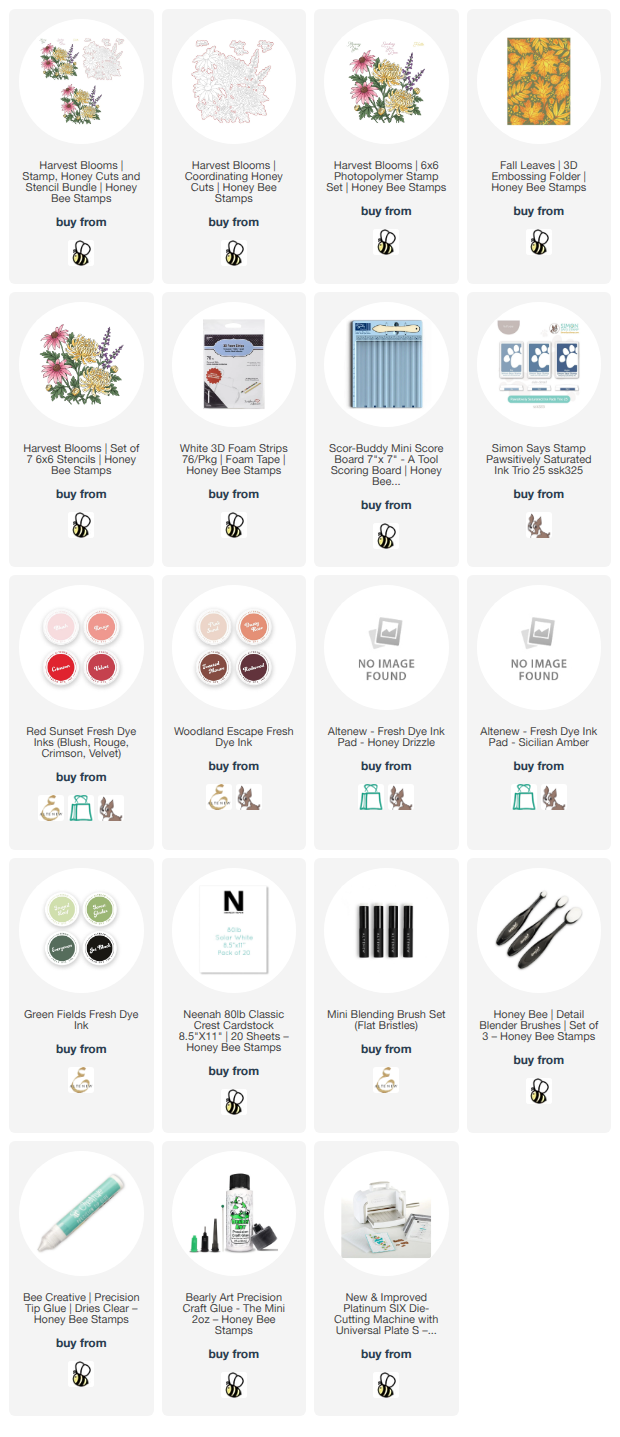
As I usually do, I did all of my stenciling first before stamping.  I used several blending brushes and various shades of inks to color through each of the seven stencils in the Harvest Blooms stencil set.  Honestly, I don't remember that I've ever used blue inks for flowers!  I have to say that I really do like these!  (The ink colors I used are linked in the list below.)

Next I placed the colored floral panel into my MISTI.  I place the Harvest Blooms stamp over the stenciled image taking a moment to make sure it was properly aligned.  I picked up the stamp with the MISTI door, inked it up with black pigment ink, then stamped it onto the stenciled piece.

Then I cut out the stenciled florals with the  coordinating Harvest Blooms die.  I set this aside while I worked on my card base.

First, you will need to emboss two white cardstock panels, one A2 sized and another 6" x 4-¼", with the Fall Leaves 3D embossing folder.

Score the 6" embossed Fall Leaves panel ½" from the top edge.  Fold along the score line and glue the folded flap to the back of an A2 sized piece of white cardstock making the embossed panel the front of the card.

What we will do next is plan where to place a score line on the Harvest Blooms die cut floral piece.  Here is a list of the steps:

  1. I opened up the card and laid it flat with the card front facing up.
  2. Position the Harvest Blooms floral towards the bottom right of the embossed panel.
  3. Make sure none of the florals on the right overhand the right hand edge.
  4. Holding the floral in place on the card, flip it over.
  5. Use a pencil to draw a line on the back of the floral using the card edge as a guide.
  6. Use a score board to score the floral along the score line.
  7. Fold the floral and glue the flap to the back of the embossed panel.

Next glue the other Fall Leaves embossed panel to the inside of the card front.  This will cover up the folded edge of the Harvest Blooms die cut.  This is how it will look nice and finished:

Next I used some blue ink to stamp a portion of the Harvest Blooms floral on the card inside.

I stamped all three of the sentiments in the Harvest Bloom stamp set and then cut them out with the coordinating dies.

As you can see in the photos, I glued one sentiment to the inside of the card.  I also glued another sentiment onto the embossed panel under the Harvest Blooms flower.  I made sure to place it where it would not show.

The other sentiment is adhered to the floral piece with a foam adhesive strip.

I really had fun designing this card!  Of course, you surely know by now that I love coloring stencils!  The seven Harvest Blooms stencils add so much detail to the beautiful floral!  Of course, this image would be beautiful colored markers, pencils or watercolors!

I hope I've given you some inspiration to try this style of card!  Thank you for stopping by.  Have a wonderful and crafty day!

P.S.:  Be sure to stop by my Instagram and watch my reel (posted soon) to see lots of the card making process!

I so appreciate that you use my affiliate links to shop! (There's never any additional cost to you.)  It helps me with the expenses of posting my creative content, thank you.  Note:  You must have "allow cross-site tracking" and cookies turned on in your browser in order for it to know you use my links.
Thursday, August 27, 2026

Summer Chill Birthday Card -- Two-stencil Technique!

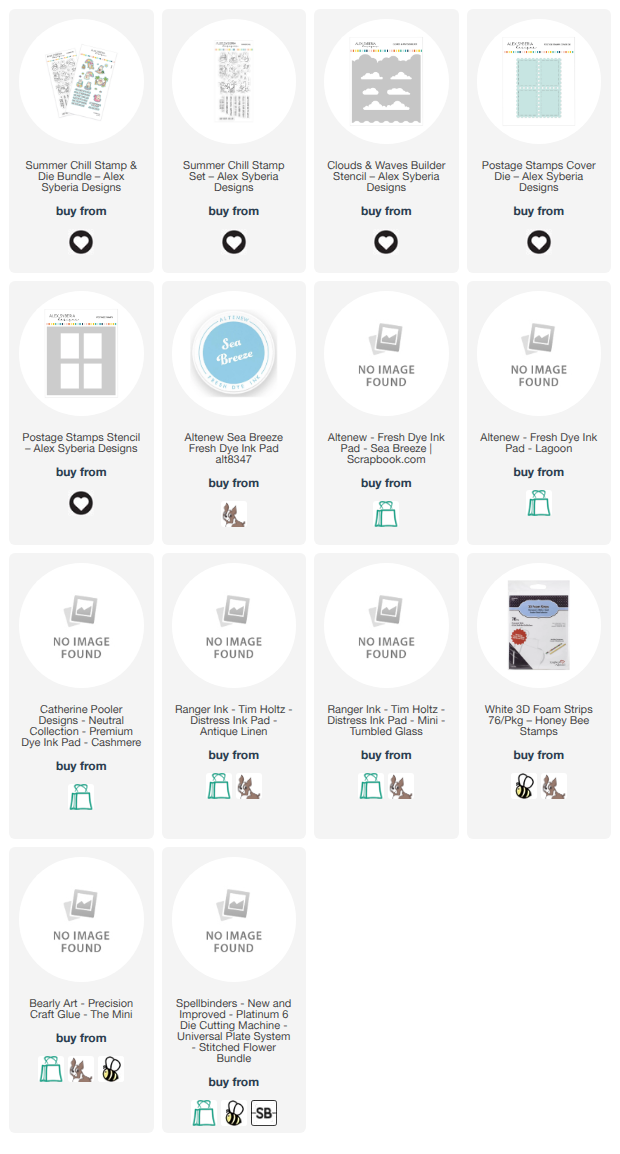
Hello, crafty friends!  Today I'm sharing a few details of this card I made that features a few of the Alex Syberia Designs August 2026 release products along with the Postage Stamp die and stencil.

First I die cut white cardstock with the Postage Stamp die.  I used two sandy-colored inks and blending brushes to add my beach to each rectangle.  Use removable tape to mask off where needed.

I placed it onto my grip mat and positioned the Postage Stamp stencil over it.  (Note: I just found that this is currently sold out.  Click the "notify me" button to be notified when it's back.  Masking tape could easily be used here.)  That's the first stencil.  I placed the second stencil, Clouds & Waves Builder, over the top rectangles with the waves portion of the stencil.

Then I used teal and blue inks with the cloud and waves edges of the Clouds & Waves Builder stencil.  I glued this panel to an A2 card base.

Next I stamped the cute images from the Summer Chill stamp set with Copic safe ink.  I colored the images with my Copic markers and then cut them out with the coordinating Summer Chill dies.

I trimmed the edges of the image with the palm tress to match the width of the stenciled rectangle.  Then I used foam adhesive to adhere it and the other images to my card.

The Summer Chill stamp set has seven sentiments to choose from.  I decided on a birthday sentiment and stamped it with black pigment ink.  I cut it out with the coordinating die and adhered it with foam strips.

Thanks so much for stopping by!  If you'd like to see some of how I made this, please watch my reel over on my Instagram!

I so appreciate that you use my affiliate links to shop! (Never any additional cost to you.)  It helps me with the expenses of posting my creative content, thank you!

Friday, April 17, 2026

The Beautiful Magical Fuchsia Collection By Alex Syberia For Spellbinders

Hi, crafty friends!  Today I am happy to share two cards with you that I made featuring Spellbinders' gorgeous Magical Fuchsia Collection by Alex Syberia!  This collection has all of my favorites:  a 3D embossing folder, layered stencils, stand-alone die set, and a press + foil plate + die set!  Everything you need to make an assortment of gorgeous cards!!

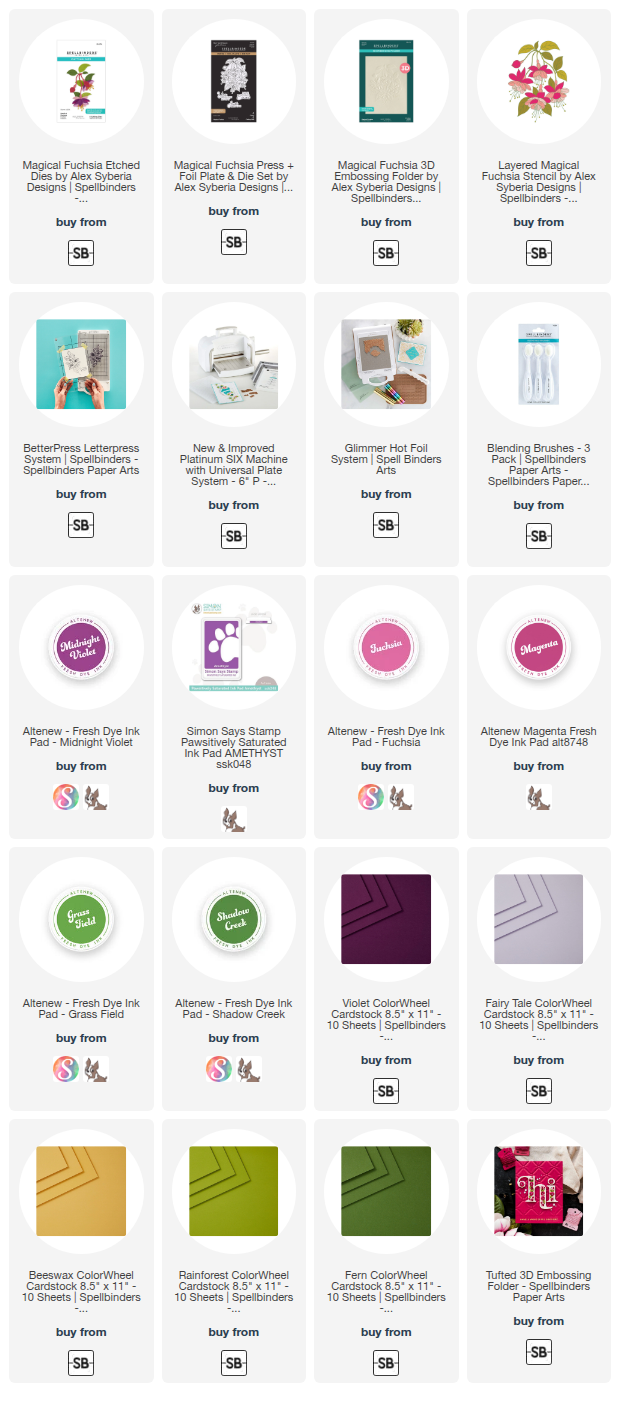
For this first card I used the Layered Magical Fuchsia stencils and the Magical Fuchsia 3D Embossing Folder.

To begin, I first cut white cardstock with the outline die in the Magical Fuchsia Press + Foil + Die set.  This die not only cuts out the BetterPress image!  The cut shape also works with the Layered Magical Fuchsia stencils and can then be placed in the Magical Fuchsia 3D embossing folder!!

So I used the stencils to add various inks with blending brushes through each layer.  Then I placed the colored piece into the 3D Embossing Folder and secured it with small pieces of removable tape.  I ran it through my Platinum 6 die cutting machine.

This Fuchsia piece is so beautiful with all of the dimension added from the embossing folder!  I wish photos showed that better.

I wanted a bold dramatic background that wasn't too busy.  So I embossed Violet cardstock with the Tufted 3D embossing folder, one of my favorites.

The sentiment is one of three included with the Magical Fuchsia Press and Foil set.  Both elements are popped up on the card front with foam adhesive.

------------------------------------------------------------------------------

This second card features the Magical Fuchsia die set along with a background pressed from the Magical Fuchsia Press and Foil plate.

I die cut various ColorWheel cardstocks (in the list below) with the dies in the Magical Fuchsia die set.  I didn't worry about making these flowers realistic, but just arranged the layers how I liked.  A bit of an abstract look, maybe?

I do love a white background to make a focal point pop!  I really love this subtle interest I added by simply using my BetterPress Letter Press system to press the Magical Fuchsia press plate twice into white cardstock.  In real life, this adds not only beautiful visual details, but also tactile interest!  (I really hope to make a card using this with foil and my Glimmer Hot Foil System!)

Be sure to check out the entire Magical Fuchsia Collection!  Each item is also available to purchase separately at the Spellbinders' website.

I am thankful for you all that stop by for a look.  I hope your Friday, and weekend, are filled with rest, relaxation, and lots of crafty time!!

Thank you so much for using my affiliate links to shop (never any additional cost to you)!