Showing posts with label 3D embossing folder. Show all posts

Friday, June 26, 2026

Sending Sunshine Just For You -- Spellbinders

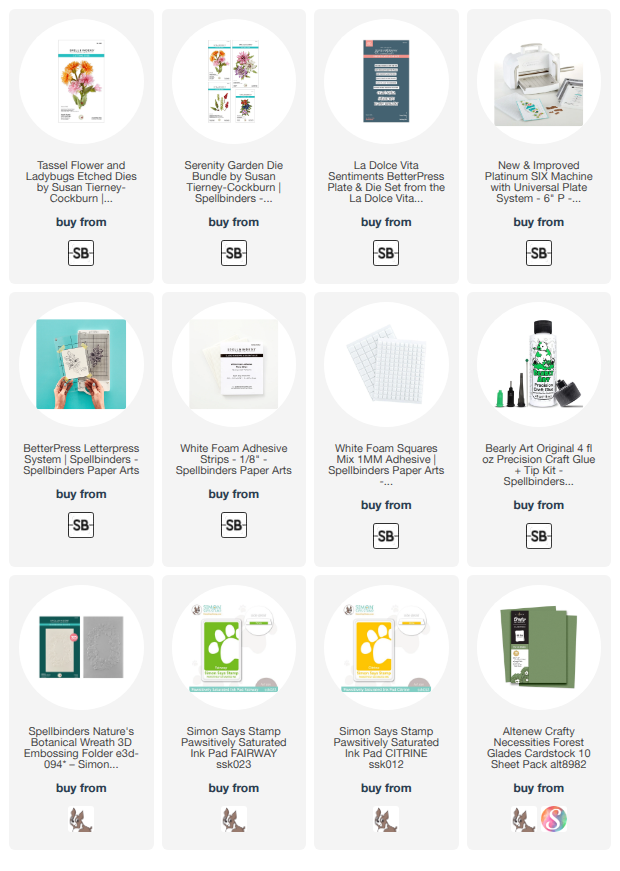
Hi, friends!  Today I'm sharing this card that features Spellbinders' beautiful Tassel Flowers and Ladybugs die set.  This is another gorgeous die set in a line designed by Susan Tierney-Cockburn for Spellbinders.

I die cut the yellow and green cardstock with the dies in the Tassel Flowers and Ladybugs die set.  Each of the larger flower layer dies has a number imprinted on it so you will know how many times to die cut that layer.

I added some shading to the die cuts with coordinating green and yellow inks.  Then I watched the instructional YouTube video for assembling this beautiful flower.  These are way easier than you might think!

I die cut the cute little ladybug in the Tassel Flower die set from white cardstock.  I colored it with a red Copic and a black pen.  Then I shaped it with a stylus.

I used my floral shaping tools to shape each layer and then glued all of the pieces together.

Next I embossed white cardstock with the Nature's Botanical Wreath 3D embossing folder (sold out at Spellbinders but available at the link provided and the one below).  I trimmed it to 3-¾" x 5", added foam tape to the back, and adhered it to an A2 card base.

To adhere the Tassel Flower to the card, I used glue and a few small foam squares (behind two of the flowers to prop them up).

The sentiment is one from the La Dolce Vita Sentiments set (currently at clearance price!). I had already pressed it from a previous crafting session and it was left over.  All I needed to do was add a foam strip to the back to adhere it to the card.

These dimensional flower dies are so gorgeous.  If you worry about mailed them, I just save these special cards for hand delivery.  Thanks so very much for stopping by!

I appreciate those of you that use my affiliate links to shop (never any additional cost to you)!
Saturday, January 17, 2026

Floral Shaped Card & 3D Embossing Card With The New Spellbinders Club Kits for January 2026

Hello friends!  For 2026, I will be sharing three of Spellbinders monthly club kits!  This year I will be making projects with their 3D Embossing Club, the Small Die Club, and the Clear Stamp/Die Club.

I really can't believe how large the "Small Die Club" set really is!  I made this fun shaped and die cut card with this set!  This set is named Sunny Stems, which fits it perfectly!

I used two shades of teal cardstock as well as green, white, and yellow cardstocks to die cut the pieces of the Sunny Stems Small Die set.  I created a shaped card base by die cutting a folded piece of the dark teal cardstock with the fold placed just below the top of the base shape die.

I used some coordinating inks to add some shading to the light teal die cut layers.  Then I glued all of the pieces together.

The sentiment is from the NEW Clear Stamp/Die Club.  This includes your stamps with coordinating dies.  This month's set is named Best Year Sentiments and has sentiments for lots of occasions.  I love the font too!

Both sentiments are from this set and after stamping with black pigment ink, I cut them out with the coordinating dies.  I die cut white cardstock four more times to layer up for more dimension.

----------------------------------------------------------------------------------------------

This next card shows off the beautiful 3D Embossing Club for January named Cottage Wall!

This beautiful Cottage Wall 3D embossing folder is 5-½" x 8-½" to be used for many types of projects.  I embossed an A2 sized piece of white cardstock and trimmed it to 4-¼ x 4-3/8".  I glued two strips of Brushed Metallic cardstock at the top and bottom of the piece.

I made the base layer for the card by placing another piece of cardstock into the Cottage Wall embossing folder but just over the "wall" portion of the folder.

I glued the panel to an A2 card base.  Then I added foam tape to the back of the other embossed piece to adhere it to the card.

I used a silver glitter pen to color the raised portions of the flower center.

I stamped the sentiment from the Best Year Sentiments with embossing ink.  I added silver embossing powder and heat set it.  After die cutting the embossed sentiments, I die cut three more layers from white cardstock and glued all of the layers together.

This will make a perfect wedding or anniversary card!  If you have not checked out the Club Kits for 2026, I encourage you to do so!  The terms are very flexible and allows you to choose the type of product(s) you like.

Thanks so much for stopping by!  I hope your weekend is fabulous with lots of crafting time!

Thank you for using my affiliate links to shop (never any additional cost to you)!

Sunday, December 21, 2025

Two Unique Heart Cards With A Bit Of Snark!

Hello friends!  Can you believe it's time to transition from making holiday cards?  I can't, but these two cards featuring three of the Spellbinders' Club Kits makes that change easy and so fun!  I really enjoy showing you how versatile and easy these kits coordinate together and also with non-club kit sets.

For both cards I've used December Club Kits for the 3D Embossing Folder, the Embossing Folder, and the Better Press kits.  This first card even has a clear acetate front!

For this card I used the December Betterpress, I'd Pick You, along with the Embossing Folder Of The Month, Sweet Stems.

First I embossed white cardstock with the Sweet Stems embossing folder and glued it to the front of an A2 card base.

Did you know that the Betterpress plates can also be hot foiled?  They can, and I did!  I cut a piece of a Specialty Glimmer Clear Film Sheet to A2 size.  After my Glimmer Machine warmed up, I placed the December press plate onto the base to warm up.  When it was ready I added a piece of pink Satin Pastel Glimmer Foil.

After running it through my Platinum die cutting machine, I adhered the top edge of the clear foiled piece to my card base with double-sided adhesive. 

Then I noticed that the beautiful embossed layer kind of interfered with seeing the foiling on the acetate.  To fix that I used the press plate as a guide to trace the shape onto white cardstock.  I cut it out with scissors and then adhered it to the embossed layer, behind the foiled heart.

The sentiment is one of three included with the I'd Pick You set.  I chose this one because my husband will think it's pretty funny.  I'll save this card for Valentine's Day!  After I pressed the sentiment plate (it presses all three at once) with black Betterpress ink used the included die to cut them all out.

I added a few gem stickers around the sentiment for just a touch of bling.

My second card is just as pretty and still different from the first!

First I embossed pink cardstock with the Unlock My Heart 3D embossing folder for from December's Club Kit.  I used a darker coordinating ink to add shading around the edges with the blending brush.  I used glue to adhere it to an A2 card base.

Next I used more of the pink Glimmer Foil with my Glimmer System to press the image onto Spellbinders Specialty Glimmer cardstock.  If you ever want the most perfectly foiled image, use this cardstock!!  Again, I used scissors to trim around the heart.  I adhered it to the card with some foam adhesive.

I thought the little pick with hearts (from the Love On The Rocks die set) was absolutely perfect to go with the "I'd pick you again" sentiment. What do you think?

There is still plenty of time for you to check out the Club Kits and find one you would like to join!  The terms are very flexible and you can cancel at any time.  Check it out here.

Thank you so much for stopping by today!  I hope you have a lovely week!

Thanks so very much for using my affiliate links to shop (never any additional cost to you)!

Saturday, July 12, 2025

One Christmas Card and Two Gift Tags Featuring Altenew's July 2025 Release

Happy Saturday, crafty friends!  I have a card and two Christmas tags to share with you today.  These are my featured projects for Altenew's July 2025 Release Instagram hop.  In true Altenew fashion, there are some awesome prizes to be awarded to commenters on the Instagram hop.  I hope you'll join me over there!

This card features the gorgeous Lush Berry Branch stencil set and 3D embossing folder.

First I embossed white cardstock with the Lush Berry Branch 3D embossing folder.  Then I added Fresh Dye Inks through each stencil with my favorite Mini Blending Brushes.  The inks I used are: Cherry Sweet, Mocha, Forest Glads, and Evergreen.

When I finished stenciling I trimmed the piece to 4" x 5-¼" and added it to a layer of Jet Black Crafty Necessities cardstock.

The sentiment is from the Wrapped With Love Press Plates.  I cut it out with the coordinating die.

I added a bit of bling with some Dazzling Diamond Stellar Sequins.

My next project is two Christmas gift tags.

I created these tags with the Berry Whisper Press Plates and dies.  There are two berry branch press plates.  I used Evergreen Fresh Dye ink to press the images onto white cardstock.  TIP:  If you find the ink beading up on the press plates, clean them off and then press some clear embossing ink onto the plates.  Then use a micro fiber cloth to gently wipe off some of the ink.  Then re-ink with the colors of your choice.

The berries remain white after being pressed, so I used a couple of red Copic markers to color each berry.


The tags are die cut from Moonstone Glitter cardstock with Terrific Tag dies.  After trimming the Berry Whisper branches into three pieces, I used glue to adhere them to the tags.

I stamped the Wrapped With Love sentiment stamps with Cherry Sweet ink.  Then I cut them out with the coordinating dies.

I added bits of ribbon and twine from my stash to each tag.

If you need holiday cards and tags, keep these in mind.  Not only are they easy to make, the stencils make the coloring quick too.

I hope you'll join me over on my Instagram for the hop.  I have the complete hop list and prize details for you there.  Have a wonderful weekend!

Thank you for choosing to use my affiliate links to shop (never any additional cost to you)!

Thursday, May 8, 2025

Altenew May 2025 Release Blog Hop + $300 In Total Prizes!

Hello friends!  Have you seen the May 2025 Release by Altenew?  If not, you are in the right place for lots of inspiration for this release!

You can check out the entire release over at the Altenew Website!  I think you will love it as much as I do!  I have all of the stops for this hop below, but if you'd like to start at the beginning, please head over to the Altenew Card Blog.

I have two cards to share with you today that feature gorgeous new Altenew products!

I really have no words for how much I LOVE this Build-A-Garden Tranquil Trail collection of stamps, stencils, and dies!  And the large arched floral arrangement is perfect to use with scrapbook pages too!  One of the several things I do other than card making, and love, is riding my bicycle!  In our neighborhood we have many trails with a connection to a trail that follows along a river.  This set reminds me of my peaceful, mindful bike rides!

The Tranquil Trail arched floral and bicycle are stamped with Obsidian pigment ink.  I used inks from the Enchanted Gardens Fresh Dye Ink and Green Valley Fresh Dye Ink and my MOST favorite Mini Ink Blending Brushes to color through each of the seven stencils included with the Tranquil Trails layering stencil set.

I just had to color the bicycle a bright yellow (that's the color of my bike!) and the Citrus Burst Fresh Dye ink was perfect.  (It's from the Pocketful of Sunshine Fresh Dye Ink collection.)

As much as I love the Build-A-Garden: Tranquil Trail, I love this amazing Stencil Art: Ditsy Flowers Wallpaper stencil set even more!  There are SEVEN stencils in this set for you to use to create endless combinations and styles for your cards.

While this card may appear to be a challenge to make, it was so easy!  The Stencil Art: Ditsy Wallpaper  stencils are so fun and easy to use for cards.

I used these Fresh Dye Ink sets and my favorite brushes (Mini Blending Brushes) to color through the stencils:  Green Valley, Sea Shore, and Warm and Cozy.  I also used some of my Crisp Dye inks: Coral Bliss, Heart Beat, and Vineyard Berry.

I thought I'd carry on the color theme by using some of the same inks with the One-Go Solid Sentiment Strips 2 Press plate set.  The Fresh Dye Inks work great with the press plates!  (I used Orange Cream, Emerald, and Coral Bliss.) I love how the sentiments pop without distracting from or hiding the beautiful background!

I hope you've found some inspiration for this awesome May 2025 Release from my cards.  Be sure to leave a comment and visit all of the other stops for your chance at a wonderful prize!

Check out the details below for the awesome prizes and hop list!


Check out all of the awesome inspiration by these designers!

You are invited to the Inlinkz link party!

Click here to enter
Thank you for using my affiliate links to shop (never any additional cost to you)!

Wednesday, May 7, 2025

Beautiful and Easy-To-Make Sympathy Card Set

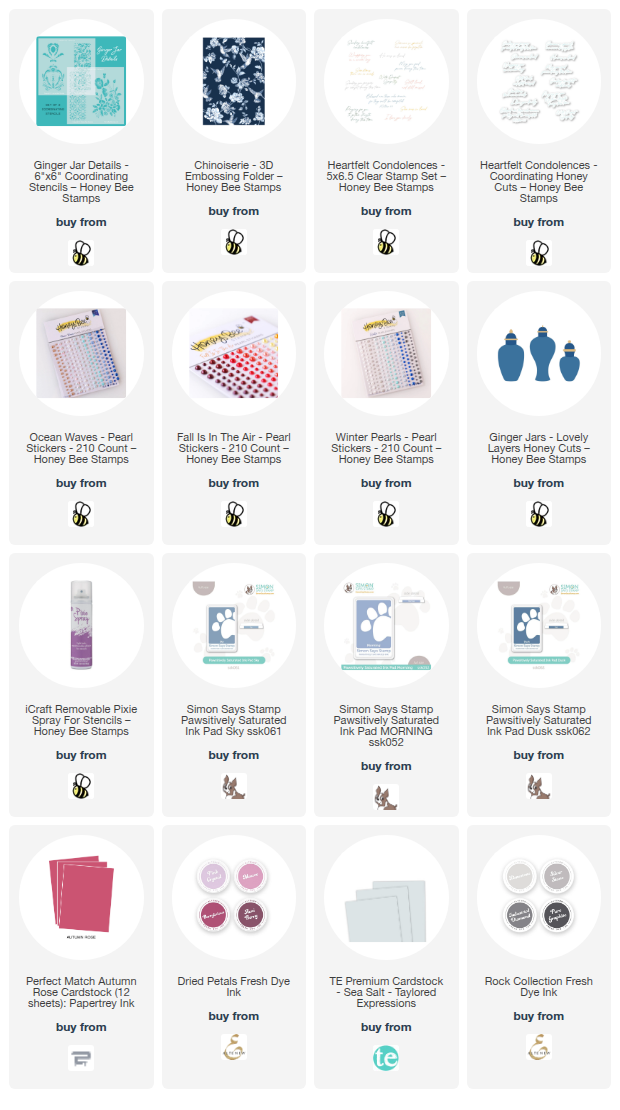
Hello my crafty friends! I'm sure by now you have had time to check out the amazing Cottage Countryside release by Honey Bee Stamps, right?  Today I am sharing the details of my sympathy card set I made with the new Ginger Jar Details stencils and the Chinoiserie 3D embossing folder.

I wanted to see if I could find another way to use the Ginger Jar Details stencils other than with the Ginger Jars. I also wanted to make sympathy cards for my stash using the beautiful sentiments in the Heartfelt Condolences stamp set. I love the font of these stamps!

These were all made exactly the same way! The only difference being the colors of the inks and cardstocks.  (I've linked all available products in the list below.)  I chose muted colors to use as I wanted the sentiments to be the focal point of the cards. After all, the words are what matter most when expressing sympathy.

I will list out the directions below, while showing you the individual photos.

  • First I cut three strips of white cardstock to 1-¾" x 5-½".  I cut three more strips measuring 2" x 5-½".
  • I used two of the stencils in the Ginger Jar Details stencil set.
  • I noticed that the floral stencil is especially delicate so I sprayed the back of the stencils with Pixie Spray to hold the tiny pieces to the paper.
  • I used Detail Blender brushes to add my blue, gray, and mauve inks in an ombre pattern on each of the 1-¾" strips.
  • Next I blended the inks around the edges of the 2" strips to create coordinating mat layers.
  • I glued each of the stenciled and mat layers together.  I embossed blue, gray, and mauve cardstocks with the gorgeous Chinoiserie 3D embossing folder.
  • After I ink blended coordinating inks lightly around the edges of the embossed cardstocks, I glued each one to an A2 card base.
  • Next I glued the stenciled strips to the cards and set them aside.
  • I added foam strips to the back of each strip to adhere them to the cards.
  • I felt that the cards needed something extra and decided to add pearl stickers.
  • I was so pleased to find various sets of pearl stickers that had the perfect colors!
  • The sets of pearl stickers I used are: WinterOcean Waves, and Fall Is In The Air.

I'm so happy to have these sympathy cards for my stash. While I never like the reason for the need, I am so glad to have a card to use at those moments.

I hope I've given you inspiration for your card stash! Thank you so very much for stopping by!

Thank you so much for using my affiliate links to shop (never any additional cost to you)!

Thursday, April 10, 2025

Altenew April Release Blog Hop + Huge Giveaway ($300 in total prizes!)

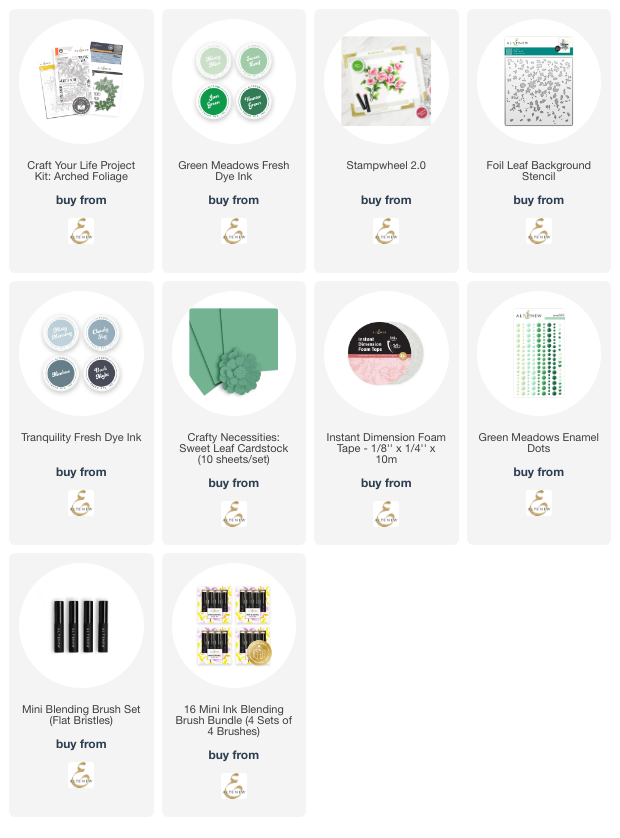
Hello friends!  I'm thrilled to be joining in the blog hop to celebrate Altenew's amazing April 2025 release!  My card features the Arched Foliage Craft Your Life Project Kit.  Read on to see how I got two cards from one stamp!

This hop is filled with lots of awesome inspiration for the Altenew April release.  The link for each stop on the hop is below.  If you would like to start at the beginning, please head over to the Altenew Card Blog.

 ----------------------------------------------------------------------------

The Craft Your Life Project Kit subscriptions are my most favorite among all of the subscriptions that Altenew offers.  I love that the kit includes a stamp set with coordinating dies, a simple coloring stencil, and a 3D embossing folder!  All of my favorite things in one kit!

This months Arched Foliage Craft Your Life Project Kit includes a large, beautiful arched foliage stamp that I cut into two pieces to make two cards!  This stamp would also be gorgeous on scrapbook layouts! 

As I do most of the time, I used the Arched Foliage Simple Coloring Stencils to color the image before I stamped it.  I like to do this so I eliminate any chance of smearing the black ink.  It's actually very easy!

This is when the awesome Stampwheel 2.0 came in handy with its larger size.  I removed the side piece and had plenty of room to use the stencils with my Mini Blending Brushes and the inks from the Green Meadows Fresh Dye Ink set.

I have to say that I seriously debated on whether or not to stamp over the stenciling.  Just look at how beautiful it is without the stamping!

As you can see, I finally decided to go ahead and stamp the Arched Foliage.  I laid the stamp over the stenciled image, making sure it was lined up top-to-bottom and side-to-side.  Pick up the stamp with the Flip Plate.  PRO TIP:  Place the packaging acetate over the stenciled image, ink up the stamp, and stamp onto the acetate.  This is a great way to make sure your stamp is lined up with the stenciled image!  If it's lined up, then remove the acetate and stamp directly onto the stenciled panel.

The Arched Foliage is just as beautiful with the stamp!


I planned on where to cut the Arched Foliage into two pieces and used my paper trimmer to cut it apart.

The Foil Leaf stencil was inked with Misty Morning Fresh dye ink, trimmed and then matted with a piece of Sweet Leaf Crafty Necessities Cardstock for the background.

The sentiments on both cards are a few of many that are included with the Arched Foliage stamp set.  The dies for the large main sentiments are included in the Arched Foliage Die Set.

My second card features the beautiful Arched Foliage 3D Embossing Folder for the background.  To add even more depth to the embossed piece I used a brayer to ink on Lost Shadow Distress Ink onto the more smooth side of the embossing folder.  Then I added my paper to the folder and ran it through my die cutting machine.

All of the card elements are adhered with Instant Dimension Foam Tape.  I added a bit of bling to each card with some enamel dots from the Green Meadows Enamel Dots set.

Thank you for stopping by my blog--you are so appreciated!!  Be sure to leave a comment here and at each stop along the way for your chance to win an awesome prize!


    • Check out lots more beautiful April Release inspiration by clicking each link:

You are invited to the Inlinkz link party!

Click here to enter
Thank you so much for using my affiliate links to shop the products I've used today (never any additional cost to you)!