There's a gorgeous new Spellbinders hot foil plate available today called Swirling Foliage Tree and I had so much fun making these three cards! This is part of the Glimmer for the Holidays Collection release that's filled with many selections of dies, coloring stencils, hot foil plates, sentiments and so much more!
It was lots of fun thinking of three different looks for this beautiful Swirling Foliage Tree hot foil plate! The sentiments on all of the cards are from the Glitter Wishes hot foil plates set. It has 31 sentiments!! Plus a long narrow rectangle die to use to die cut each one!
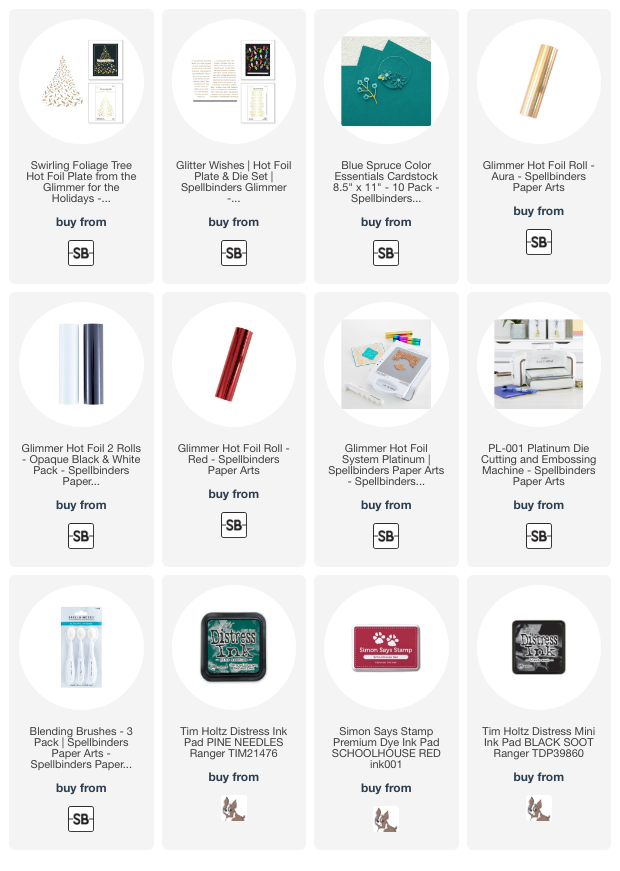
I used my Glimmer Hot Foil System to add Aura Glimmer Foil to red cardstock. After foiling the Swirling Foliage Tree I trimmed the piece to 3-¾" x 5". Then I used ink blending brushes to add dark red ink around the edges, followed by black ink.
It was super easy to make a perfectly coordinating layer for the image and sentiment by adding a sheet of double sided adhesive to white cardstock. Then just remove the adhesive backer and carefully place a sheet of the Aura Glimmer Foil onto the adhesive. It was easy--just go slow and smooth the foil with you other hand as you place it down. Be sure to peel off the clear film of the Glimmer Foil after you adhere the foil!
I added some pretty gold gem stickers to the tree to up the bling factor!
The next version of the Swirling Foliage Tree is done in a dark teal cardstock with Opaque White Glimmer Foil.
The white foil is added to Spellbinder's Blue Spruce cardstock. Now...this is my honest opinion: After hot foiling on several different brands of colored cardstock, I have to say that I get perfect results when I use Spellbinder's colored cardstock! I do not know what the difference is, but it's there!
If you look closely at the previous card, and the next card, there are small imperfections in the foiling, which was on a different brand of cardstock. I didn't like it, but decided to stop being totally picky! LOL!
I inked the edges of this cardstock with Pine Needles Distress Ink and also Black Soot. I used Opaque White Glimmer Foil for the sentiment on this card.
I added silver gem stickers from my stash to the tree this time.
And finally, here is my third rendition of this card!
I used Red Glimmer Foil on 80# Neenah for this card. Then I used my scissors to trim around the tree. I added thin foam tape to the back of the tree.
I inked a 4" x 5-¼" panel of the red cardstock with dark red and black inks and adhered it to an A2 card base. Of course, it was after this step that I decided I wanted white splatters, but not on the tree and sentiment! Haha! I just covered the tree with scrap paper as I added the splatters.
This sentiment is also done in silver foil and added to a white layer. I popped it up onto the card and added red gem stickers.
These cards really were easy to make and I enjoyed the process of finding different versions for each card. Be sure to check out the Swirling Foliage Tree hot foil plate and lots more fun elements in the Glimmer for the Holidays Collection!
Thank you so much for stopping by! I hope you have a wonderful, and crafty day!
I appreciate you so much for using my affiliate links to shop (never any additional cost to you)!


Beautiful trees! I love a great Christmas tree, and your accent inking just puts it right in the spotlight!
ReplyDelete