Showing posts with label Autumn Harvest. Show all posts

Tuesday, September 28, 2021

Celebrate Autumn! Shaker Card | Rubbernecker Stamps

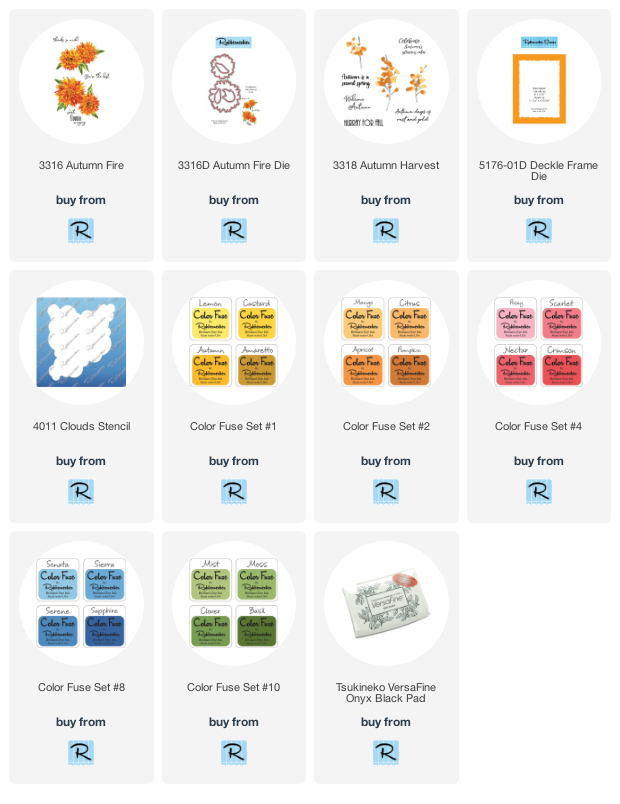
 Hello crafty friends!  Today I have a fun shaker card featuring Rubbernecker Stamps gorgeous Autumn Fire stamp set and coordinating dies.

I used Color Fuse inks to stamp the flower and leaf layers.  Here are the set numbers and colors I used:

  • Flower (from base layer to top layer): Lemon (CF #1); Citrus (CF #2); Apricot (CF #2); and Crimson (CF #4).
  • Leaves: Clover and Basil (CF #10
When I was finished stamping, I used the coordinating flower dies to cut those out and fussy cut the leaves.

Next I used the Cloud Stencil and ink blended some Sonata ink (CF #8) to add clouds to a 4-1/8" x 5-1/8" piece of white card stock.  I adhered this to a top-folding card base.

Next I stamped the sentiment and then adhered one of the flowers and some leaves to the cloud panel.

I prepared a window for the shaker by die cutting the Deckle Frame die twice from woodgrain card stock. I adhered the two frames together and added a clear acetate window.  Then I put foam tape around all of the edges.  I sprinkled in my shaker bits, removed the foam backing, and adhered the cloud piece to it.

I adhered the other flowers and leaves to the outside of the acetate with liquid glue.  Be sure to give it a few extra minutes to dry.


Tuesday, September 14, 2021

Welcome Autumn | Rubbernecker Stamps

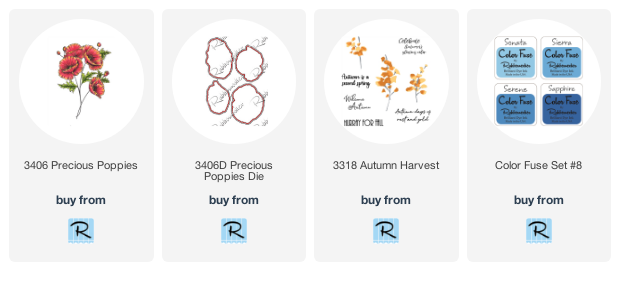
 Hi crafty friends!  My card today features Rubberneckers Stamps gorgeous Precious Poppies stamp set and coordinating dies.  I envisioned these poppies with a crystal clear blue sky on a crisp autumn day!  I rarely create any background without some kind of die cutting, ink splattering or embellishing but I wanted the poppies to just pop with the beautiful blue sky.  This was so fun to create!

For my background, I used a blending brush to create an ombré pattern with the beautiful blues in the Color Fuse set #8 on an A2 sized piece of 80# Neenah Solar White card stock.  I went over the colors 2-3 times and then adhered the panel to my top-folding card base.

Next I stamped the flowers and leaves onto watercolor card stock with Versamark ink.  Then I sprinkled on some gold embossing powder and heat set them.  I used various pretty coral/red watercolors from my stash to color the flowers and leaves.  When everything was dry, I used the coordinating dies to cut out the flowers and fussy cut the leaves and stems.  I adhered the stems and leaves to the flowers with liquid glue.

Next I planned where to stamp my sentiment that's from the Autumn Harvest stamp set by arranging my flowers (without adhering) on the card front.  Then I used my anti-static pouch on the card front before stamping the sentiment with Versamark.  I sprinkled on gold embossing powder and heat set it.

Now all that's left is to add a few foam squares to the back of the flowers, and dots of glue to the stem bottoms.  I love the dimension this adds to the card!

I really enjoyed watercoloring these and I hope to have inspired you today!  Thank you so much for stopping by!  Have a wonderful, crafty week!

Check out these awesome Rubbernecker products:

 
Links for other products I used:

Sunday, September 13, 2020

Celebrate Autumn: Layering Stamps with Embossing | Rubbernecker Stamps

Hello friends!  Today I've added a twist to using layering stamps by embossing the final layer!  I've used Rubbernecker Stamps' beautiful Autumn Harvest stamp set for my slimline card today!

Here are the steps for my autumn card:

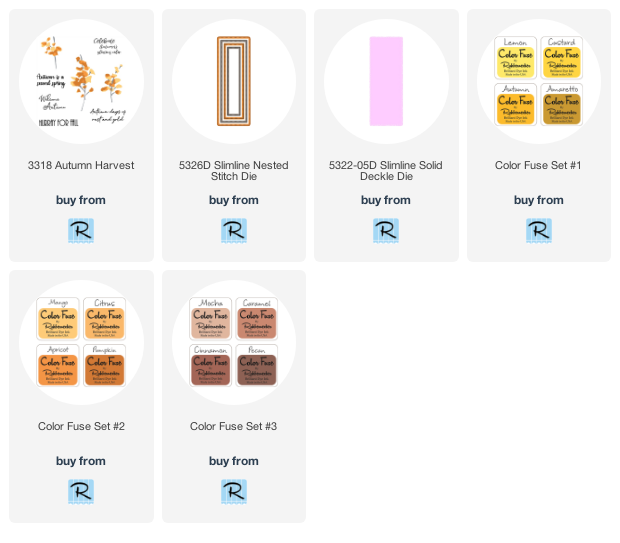
  • I began by centering one of the Slimline Nested Stitch dies (the second largest) in the middle of the Slimline Deckle Die.  Use tape to keep them together.
  • Trace a pencil line around the inside of the rectangle.  (see photo) Be sure to keep them together as we will use them later for die cutting.


  • I roughly planned where the branches would go, using the pencil line as my guide, so I would know where to stamp my sentiment.  See photo above.
  • Next I stamped the sentiment with Versamark ink and added copper embossing powder, then heat set it.  I repeated this step to get a more dimensional look.
  • Stamp the base layers of the stamps in Mocha ink from the Color Fuse Set #3.  I placed the branches randomly, here and there, using the sentiment and pencil line as my guide.

  • Position the second layer of the branches. For this layer I used a variety of inks.  I used Mango, Citrus, and Apricot on the different branches.  The included layering guide makes this very easy!
  • For the final layer, instead of stamping it with inks, I used embossing powder.
  • Make sure all of the inked layers are dry!  Use your anti-static bag, then stamp the third layer with Versamark ink.  I used embossing powders I had in my stash.  One was WOW copper and the other BEE Sweet, a golden yellow shade (and on sale now).  Heat set the powders with your heat tool.
  • Now use the two taped together dies and line the pencil line up with the inside of the rectangle die.  Run it through your die cutting machine.  Be sure to erase your pencil line!

  • I added foam tape to the back of the rectangle piece.
  • I centered it onto a coordinating card base and adhered it.  The card base is from The Paper Cut's Festive Variety Scored Slimline Cards pack.
  • I added liquid glue to the deckled frame and adhered it around the rectangle.
  • To finish it up I added some coordinating sequins from my stash.  I never can have too much bling! Haha!

I loved adding the embossed layer to this card, and I hope I've inspired you to give it a try.  Have a wonderful and crafty week!