Showing posts with label Horizon Slimline Borders. Show all posts

Wednesday, April 16, 2025

In The Garden Of Life, Friends Are The Flowers

Hello crafty friends! Today I'm sharing my spring themed card that features several of Honey Bee Stamps previously released products! I'm loving the opportunity to pull out several of these "older" sets to use to make my card.  Honey Bee has lots of spring themed stamps, dies, and stencils.  Check them out here!

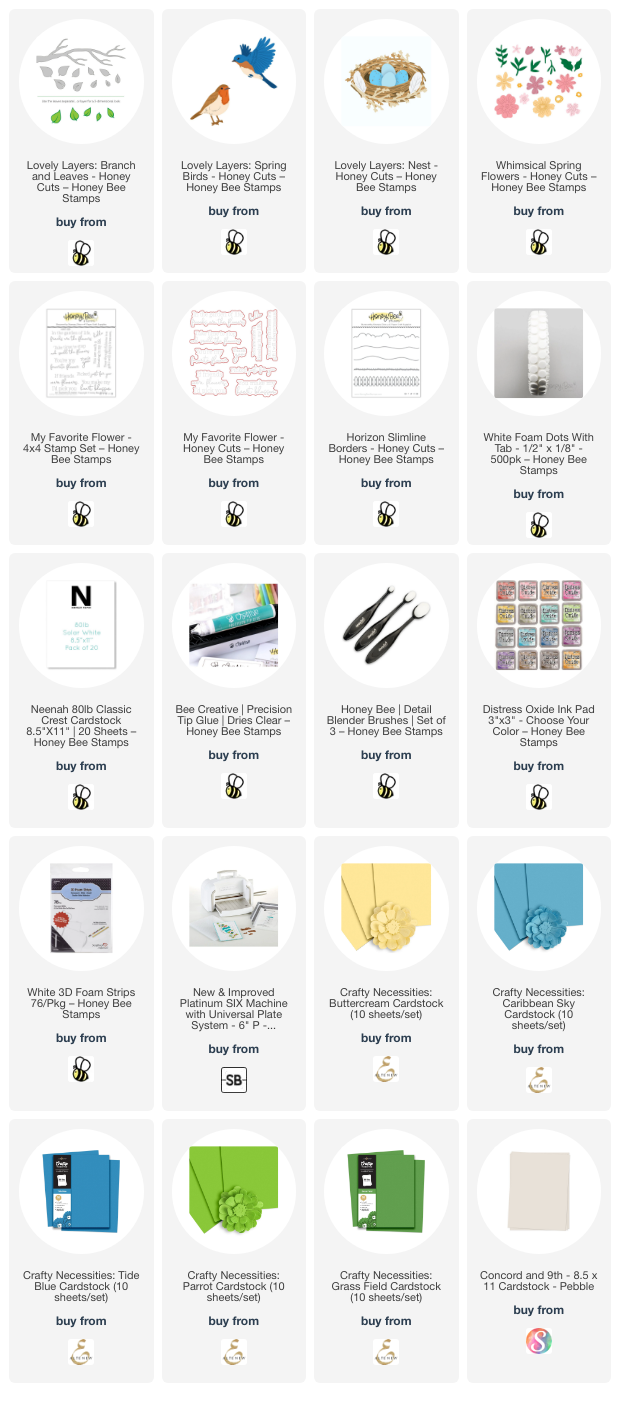
I've used these sets to create my card:  Lovely Layers: Branch and Leaves, Lovely Layers: Spring Birds, Lovely Layers: Nest, Whimsical Spring Flowers, My Favorite Flower stamps and Honey Cuts, and Horizon Slimline Borders (to make a cloud stencil).

I wanted a cloud background for my scene, so I used the cloud die from the Horizon Slimline Borders to die cut printer paper and create my own cloud stencil. Then I used a blender brush to ink light blue ink along the edges of the cloud "stencil". I trimmed it 4" x 5-¼" and glued it to an A2 card base.

The layers of the Lovely Layers: Branch and Leaves are die cut with two shades of green cardstock and white cardstock. I inked the branches with Gathered Twigs and Ground Espresso Distress Oxide inks.

All available cardstock colors are in the list below.

Next I die cut one of the flowers from the Whimsical Spring Flowers Honey Cuts from white cardstock and die cut the flower centers from yellow cardstock. I used a darker yellow Copic marker to color the center of the flowers, then I glued on the die cut yellow centers.

I glued the leaves and flowers to the branches, then adhered them to the card with glue and a few foam squares near the branch tips.

I die cut the Lovely Layers: Nest from white cardstock and inked on more of the brown Distress Oxide inks with a blender brush to color it. I wanted the eggs to have a speckled look so I sprayed some Distress Oxide Sprays onto small pieces of Bristol Smooth cardstock. I used these sprays: Villainous Potion, Salvaged Patina, Saltwater Tarry, and Kitsch Flamingo. When the pieces were dry I die cut the eggs with the die included in the Lovely Layers: Nest set. Then I glued them into the nest.

Yes, I realize that birds would not have a nest of assorted colored eggs. But, hey, it's almost Easter! Haha!

I die cut the sweet bird from the Lovely Layers: Spring Birds from colored cardstocks and glued the layers together. I used foam dots to adhere it to the card.

The sentiment from the My Favorite Flower stamp set is stamped with black ink and cut out with the coordinating die. (I love this sentiment!)  I used foam strips to adhere it to the card.

You can kind of see the sparkled from the clear sparkle pen I added to the eggs and flower centers. I love to add sparkles any time I can!

What older spring themed sets do you have?  I hope I've given you inspiration to get them out and show them some love!  Thanks so much for stopping by!!!

Thank you, always, for using my affiliate links to shop (never any additional cost to you)!
Wednesday, March 26, 2025

Celebrating Honey Bee Stamps' 10th Anniversary Card

Hello, crafty friends! This time tomorrow I will be headed to the airport to go to Oregon for Honey Bee Stamps' 10th Anniversary Card Making Retreat! I'm so excited! As you may guess, this trip is what inspired my card for today!

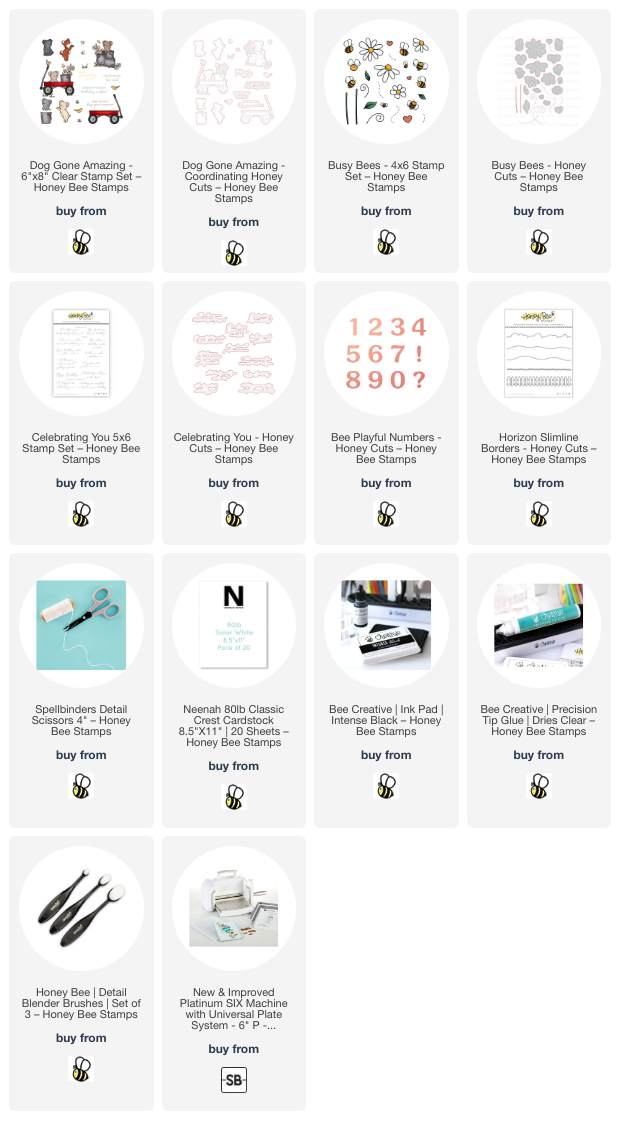
I pulled out what was one of my very first Honey Bee purchases! I still love the Busy Bees stamps and Honey Cuts, and good news, these are still available!

I think that the Busy Bees stamps and Honey Cuts are timeless, as these pair perfectly with newer products!

The background for my card is an A2 card base. First I used a blender brush to add blue ink to the card for the sky. Then I used the hill die from the Horizon Slimline Borders Honey Cuts to die cut green cardstock. I glued this to the bottom of the card base.

Next I stamped the grass from the new Dog Gone Amazing stamp set with green ink onto the hill. Then I stamped two of the dogs from that set with Intense Black ink and colored them with my Copic markers. I cut them out with the coordinating Honey Cuts.

My next step was to stamp all of the flowers, leaves, and some bees from the Busy Bees stamp set with black ink. I repeated the stamping onto more white cardstock since I knew I would want extra. After I colored them with my Copic markers, I cut them out with the coordinating Busy Bees dies.

I decided on an arrangement for the flowers, then adhered some with foam and glued some to the bottom of the card. I used my scissors to trim anything hanging off the edge of the card. I used glue to tuck the leaves here and there around the flowers.

I die cut the 1 and 0 from the Bee Playful Numbers die set four times from white cardstock and once from black. I used glue to adhere the layers together.

I stamped the sentiment from the Celebrating You with black ink and die cut it with the coordinating die.

Next I adhered the Dog Gone Amazing pups with foam squares. Then I put a butterfly from that set onto a stamp block and stamped it with Intense black ink. Then I colored them with a few blue and yellow Copic markers.

To finish up, I glued the number 10 on the card. I added foam strips to the right side of the sentiment and glue to the left to adhere it.

Then I placed the cute little Busy Bees here and there on the card.

If you would like to see some photos from the retreat, then be sure to follow me on my Instagram!  I hope to have time to share some of the fun!

Thank you so much for stopping by! You are most appreciated!

Thank you for using my affiliate links to shop (never any additional cost to you)!

Wednesday, October 9, 2024

Sweet Autumn Card For Our Friends

Hello crafty friends! Today I'm sharing my sweet card I made with Honey Bee Stamps adorable Storybook Fall stamps and coordinating Honey Cuts. I love the sentiments in this set that are so perfect for a card for that special friend!

I created the scene by first stamping some of the images from the Storybook Fall stamp set with Intense black ink, an alcohol marker safe ink. There's the cutest scarecrow in this set but I just didn't have room for him on my card!

I used a variety of Copic markers to color the images. Then I cut them out with the coordinating Storybook Fall dies. I used a white gel pen to add highlights to the apples and stripes on the pup's scarf.

Next I used one of the hill dies that is in the Horizon Slimline Borders die set to cut a strip of white cardstock. I used an ink blending brush to color it with Mowed Lawn and Rustic Wilderness Distress Oxide inks. Then I used the little grass stamp in the Storybook Fall set to add the grass to the piece by stamping with Rustic Wilderness Oxide.

Before I glue on the grass piece, I added Tumbled Glass Oxide ink with a blending brush to my A2 card base. I used glue and some foam dots to adhere the cute images to the scene.

Then I stamped the two sentiments from the Storybook Fall set with black ink and cut them out with the coordinating dies. I added foam strips to the back to pop the sentiments up on the card.

And that's it! A super sweet card made with one stamp set and two die sets! I sure do appreciate you taking a few minutes to stop by today! Have a fabulous day!

Thank you so much for using my affiliate links to shop (never any additional cost to you)!

Wednesday, June 12, 2024

Wishing You An Adventurous Birthday - An Interactive Card

Hello crafty friends! Have you checked out the fabulous new Sunkissed Summer release by Honey Bee Stamps?  I love how there are several items for making cards for the guys! I struggle with masculine cards but not anymore. Today I'm sharing this fun interactive birthday card for our guys that features the Born To Fly and Aviator stamps. This was super easy and fun to make!  If you would like to see the card in action, check out my reel on Instagram!

Still photos don't show you that the two airplanes from the Born To Fly stamp set that I heat embossed in silver actually swing back and forth! I will have a reel posted to my Instagram soon today that will show it in motion.

First I make the background layer by stamping the Aviator background stamp with clear embossing ink onto 80# Neenah. Be sure to treat the cardstock with your anti-static powder first! Then I added white embossing powder and heat set it.

Next I used blender brushes to add Lucky Clover, Cracked Pistachio, and Twisted Citron Distress Oxide inks over the panel. I repeated the inking to get it blended just right. When I finished, I rubbed a clean paper towel over the embossing to remove the excess ink and restore the whiteness of the embossing.

I trimmed the piece to 4" x 5-¼" and glued it to an A2 card base.

Next I die cut two strips of white cardstock with the cloud die from the Horizon Slimline Borders die set. The shorter strip of clouds is about 1" tall and the wider one is 1-½". I glued the wide cloud strips to the card, one at the top and the other at the bottom of the card base.

Before proceeding, smoosh the Lucky Clover Distress Oxide ink pad onto your craft mat. Dilute with some water. Then use a paintbrush to add splatters onto the card base and cloud pieces.

I added foam dots to the back of one of the other cloud strips and adhered it over the other cloud layer at the bottom of the card.

To make the interactive part you will need two pieces of clear nylon string or fishing line, if you have that around the house. As mentioned above, I stamped and silver heat embossed two of the airplanes from the Born To Fly set. I cut them out with the coordinating Born To Fly dies.

To attach the airplanes to the nylon string, I placed the end on the back of the plane and secured it with foam tape pieces. NOTE: DO NOT remove the foam tape backing if you want the airplanes to swing! The smooth backing will help the planes glide over the card surface. Repeat for the other plane.

I adhered the top of the nylon string to the back of the upper cloud strip with foam dots. If you have extra string above the cloud, just trim it with your scissors. Remove the backing of the foam tape on the cloud strip to adhere to the card.

To finish I added a sentiment from the Plane Awesome stamp set that was die cut with the coordinating die.

Of course, you can totally simplify these steps by omitting the string and adhering the airplanes directly to the card. But I think the interactive aspect make for a fun surprise for the recipient!

I hope you have been inspired by my card today! Thank you so much for stopping by. Have a wonderful and crafty day!

Thank for using my affiliate links to shop (never any additional costs to you)!

Wednesday, May 8, 2024

Sweet Herb Garden Scene Birthday Card

Hello crafty friends! Today I'm sharing this sweet garden scene card with a sneaky bunny taking a stem of herbs! I've hung pots of Lovely Layers: Herb Garden onto the Lovely Layers: Barn Wood Fence with the rabbit from the Lovely Layers: Rabbit as the adorable little thief!

First I created my 5" x 7" card base from 80# Neenah and used the cloud stencil from the Outdoor Scene Builder Stencils to ink on Tumbled Glass Distress ink with a blender brush. I used another brush to add Mowed Lawn ink at the bottom of the card front.

Then I die cut the Lovely Layers: Barn Wood Fence twice from white cardstock. I expanded the fence by cutting one section from the second fence and gluing it at the end of the other. Then I used a blender brush to add Lost Shadow Distress ink for some shading. After trimming the fence to 4-½" high, I added foam strips to the back of the fence, but did not adhere it just yet.

I die cut the elements from the Lovely Layers: Herb Garden from gray, light brown, and green cardstocks. Die cutting the layers from colored cardstocks made it easy to add shading to the pieces with more Distress Inks. I used Lost Shadow, Mowed Lawn, Rustic Wilderness and brown and gray green inks from my stash. I used the Layering Guide to assist in assembling the pieces with the herbs and pails with glue. I used my scissor to snip the ends of the basil stems and saved the pieces that I clipped off.

The one step that I did differently from the Layering Guide was to adhere the handle of each pail in an upright position so I could hang two of them from the fence.

I added a large foam dot to the back of each pail. Then I slipped the handle of the two on the sides over the Barn Wood Fence to adhere. I just adhered the center pail slightly lower than the other two. I removed the backing of the foam strips on the fence and adhered it to the card base.

I die cut the layers of the Lovely Layers: Rabbit from white card stock. I used blender brushes to add two shades of brown ink and one light pink ink to color the layers. The Beeluxe Detail Blending brushes were handy for the small pink cheeks. I used my black Copic marker to color the rabbit's eyes. Then I glued each layer together and used a white gel pen on the eyes and cheeks and a brown pen on his mouth for extra details.

The sweet bird is from the Lovely Layers: April Showers Honey Cuts. After I die cut the layers from white cardstock, I used some of the same inks used previously plus Prize Ribbon Distress ink to color the bird with blending brushes.

For a finishing touch, I used a couple pieces of the leftover basil stems and glued the extra leaf onto another piece. Then I tucked it under the rabbit's paw--sneaky rabbit eating the herbs! Haha!

The sentiment is from the Celebrating You stamp set. After I stamped it with black ink, I cut it out with the coordinating die. I added a few narrow foam strips to the back to adhere it to my card.

I love how this sweet scene turned out, and hope I've given you more inspiration with these awesome sets! Thank you so much for stopping by today! I really appreciate you!

Thank you so much for shopping with my affiliate links (never any additional cost to you)!

Wednesday, December 13, 2023

A Snowy Christmas Market Cart Scene Card

Hello crafty friends! Today I'm sharing my snowy scene card featuring Honey Bee Stamps beautiful Christmas Market Cart Add On.  Except for the sentiment, this 5" x 7" card is totally die cut with no coloring!  Read on for the details!

The card base is an A7 card with a layer of the pretty patterned paper from the Winter Wonder paper pad. I die cut two hills with the dies in the Horizon Slimline Borders set. After I trimmed them to fit the width of the card, I used glue to adhere them to the bottom of the scene. I made sure to not add glue to the top edge of the hills so I could tuck in some of my other die cuts.

Next I die cut the Market Cart from white woodgrain cardstock. I used a piece of paper from the Holiday Wishes paper pad to cut the awning die. I die cut some red cardstock with the awning edge die and the wheel die.

Then I chose the elements from the Christmas Market Cart Add On I wanted for my scene. I used white, red, green, brown, and silver metallic cardstock for these pieces. (This Holiday and Winter Cardstock Collection has all the colors I needed.) I die cut two light strings from green cardstock and one from brown, along with additional greenery pieces. Since this was my first time to use this set, I referred to the layering guide that you will find in the product description.

The bulbs for the strings of lights are white cardstock. To easily get a solid covering of glue to adhere the iridescent chunky glitter, I squirted a dollop of glue onto my craft mat. Then I added just a bit of water to thin it out and painted the glue onto each light before adding the glitter. This is super easy!! Just don't forget to rinse out your paintbrush! Haha!

Before I assembled anything more, I added white splatters to all of the green pieces and the market cart too. This created a more cohesive look with the snowy patterned paper.  I used a white gel pen to add details to the red mug. The snowflake and stripes on the white mug were added with a red pen and a pencil.

Next I adhered all of the elements to the card. Most pieces are adhered with glue, with one tree, the wreath and holly leaf/berry piece popped up with foam dots.

To finish, I cut the strings of lights to fit onto the pine trees and glue them to two of the trees. Then I added one large red pearl from the Holiday Wishes Pearl Stickers to the center of the wheel. Next I added lots of drops of red crystal drops. I stamped a sentiment from the Heart Be Light set in black ink, then cut it out with the coordinating die. It's popped up on the card with foam strips.

I really enjoyed making this festive and snowy Christmas card! I hope you have enjoyed it too! Have a wonderful and crafty day!

Thank you so much for shopping with my affiliate links (never any additional cost to you)!

Wednesday, November 22, 2023

Create A Watercolor Look With Solid Stamps with Watercolor Pines Stamp Set

Hello crafty friends! Today I'm sharing my winter scene Christmas card that features the beautiful Watercolor Pines stamps and the coordinating Honey Cuts by Honey Bee Stamps! Using the gorgeous paper from the Winter Wonder paper pad makes this card super quick and easy to make! I'll also explain how to get this pretty watercolored look for your trees!

I truly think that Honey Bee has the most gorgeous paper pads! For this card I chose the beautiful blue piece with the varying shades of blue trees found in the Winter Wonder paper pad. I used the paper for my color cues when I stamped the Watercolor Pines stamps. The technique I used to ink up these stamps is best when used with a stamp positioning tool such as the MISTI as it usually requires a few repeats of the stamping.

I used blending brushes to add some Distress Inks to the Watercolor Pines stamps. I used Chipped Sapphire, Stormy Sky, Faded Jeans, and Walnut Stain for the tree trunks. I used blending brushes to add the ink to the stamps because I can blend the colors and also get a very light layer of ink onto the stamp.

Next I misted the stamps very lightly with water and stamped them onto Bristol Smooth cardstock. This is a smooth heavy weight cardstock that is able to withstand some water. These mini misters are great for easily getting a very fine mist of water!

I dried each ink layer with my heat tool, and then repeated the stamping a few times until I was happy with the results. This is a very imprecise technique, so just have fun with it. Vary the amounts of water you spray to get different results! Now you have beautiful pine trees that look watercolored!

I cut the trees out with the coordinating Watercolor Pines dies and set them aside to create the background layers. Next I trimmed the paper from the Winter Wonder paper pad to 4-¼" x 5-½". Then I used Bee Creative glue to adhere it to an A2 card base.

Next I used the hill die found in the Horizon Slimline Borders dies to cut a piece of glitter cardstock I have in my stash. The piece I had was 8-½" long so I just cut the strip with one hill die, then I cut it into two 4-¼" pieces. I adhered the layers together with glue then added them to the card.

Next I stamped a few snowflakes from the Let It Snow stamp set with clear embossing ink onto 80# Neenah. Then I sprinkled on White Puff Twinkle embossing powder and used my heat tool to set it. This embossing powder has a bit of dimension when heated with a very pretty sparkle! I cut the snowflakes out with the coordinating dies.

I stamped the sentiment also in the Let It Snow stamp set with black ink and then cut it out with the coordinating die. After I decided on an arrangement for the trees, I used glue and foam dots to adhere them, the snowflakes and the sentiment to the card.

And lastly, I decided to add white splatters! So I just covered the sentiment with some removable tape before I added the splatters. Then I also decided to add a bit of sparkle with some Bee Shimmery liquid shimmer watercolor. I put a drop of it onto my craft mat, diluted it with a tiny bit of water, then splattered drops with a paint brush.

If you didn't want this to be a Christmas card, this design would work with a variety of holiday or winter sentiments. I hope you've enjoyed my process for making this card and have been inspired to try this yourself!

At this time of year, I am always so thankful for many things, and YOU are one of those things I'm thankful for. I so appreciate your visits, and kind comments too! Have a wonderful Thanksgiving day tomorrow (if you celebrate that) and otherwise, have a wonderful day no matter what!

Thank you so very much for using my affiliate links to shop (never any additional cost to you)!
Wednesday, November 15, 2023

All Is Calm, All Is Bright Winter Scene Card

Hello crafty friends! Have you ever began a card with a certain design in mind and then you go off in a totally different direction? Well, that's what happened with my card today featuring Honey Bee Stamps beautiful Lovely Layers: Deer! This time, I'm happy that I just went with what evolved, and I love it!

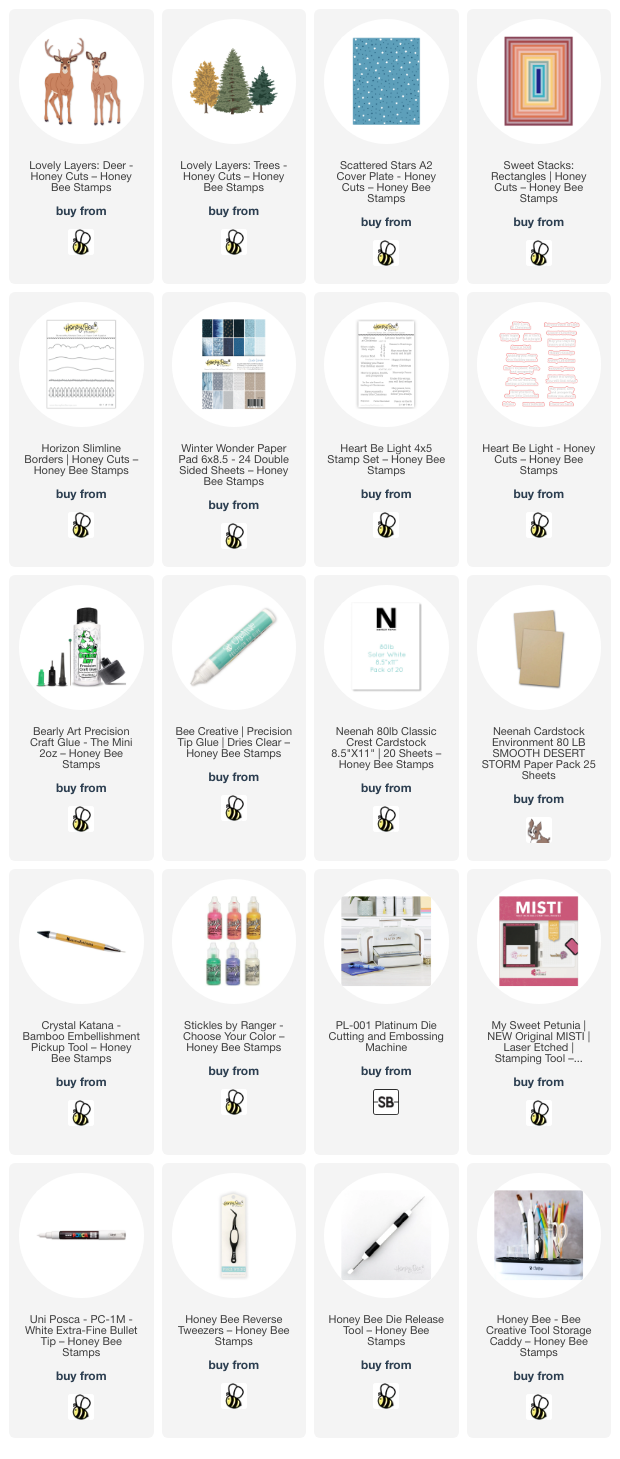
First I die cut the main layers of the Lovely Layers: Deer from Neenah Desert Storm cardstock.  The other small detail pieces are cut from 80# Neenah.  I used my Copic markers in various brown shades to color the deer. I used these markers: B15, B18, B23, B37, and B39. The layering guide, found in the product description, is very helpful for assembling your deer. I think these deer look so sweet!

Three of my go-to tools when assembling detailed dies like these are my reverse tweezers, my die release tool, and my Crystal Katana. These tools stay in front of me in my tool storage caddy at all times!

I used glue with a fine tip to assemble each sweet deer. I used a white paint pen to add a few extra details to the deer.

Next I created the A2 card base and the background layers. The papers in the Winter Wonder paper pad are so gorgeous and I chose two for my background layers. I die cut the tan snowflake paper with the largest Sweet Stacks: Rectangles and then with the Scattered Stars cover plate die. I glued that to my A2 white card base. I die cut the snowy hills with the hills die found in the Horizon Slimline Borders die set and glued them to the card base.

I die cut a set of Lovely Layers: Trees from 80# Neenah. I decided to keep them all white to keep the emphasis on the deer. Then I glued the tree layers together and adhered them to the card.

For the sentiment, I chose one from the Heart Be Light stamp set and stamped it with a coordinating brown ink. Then I cut it out with the coordinating die and popped it up on the card with foam tape.

I added lots of pretty sparkle with some Star Dust Stickles. I love the subtle sparkle this gives! (I wish photos did a better job of showing the sparkle!)

I really love how this turned out and hope you do too!  Thanks so much for stopping by today!

Thank you for using my affiliate links to shop (never any additional cost to you)!

Wednesday, December 14, 2022

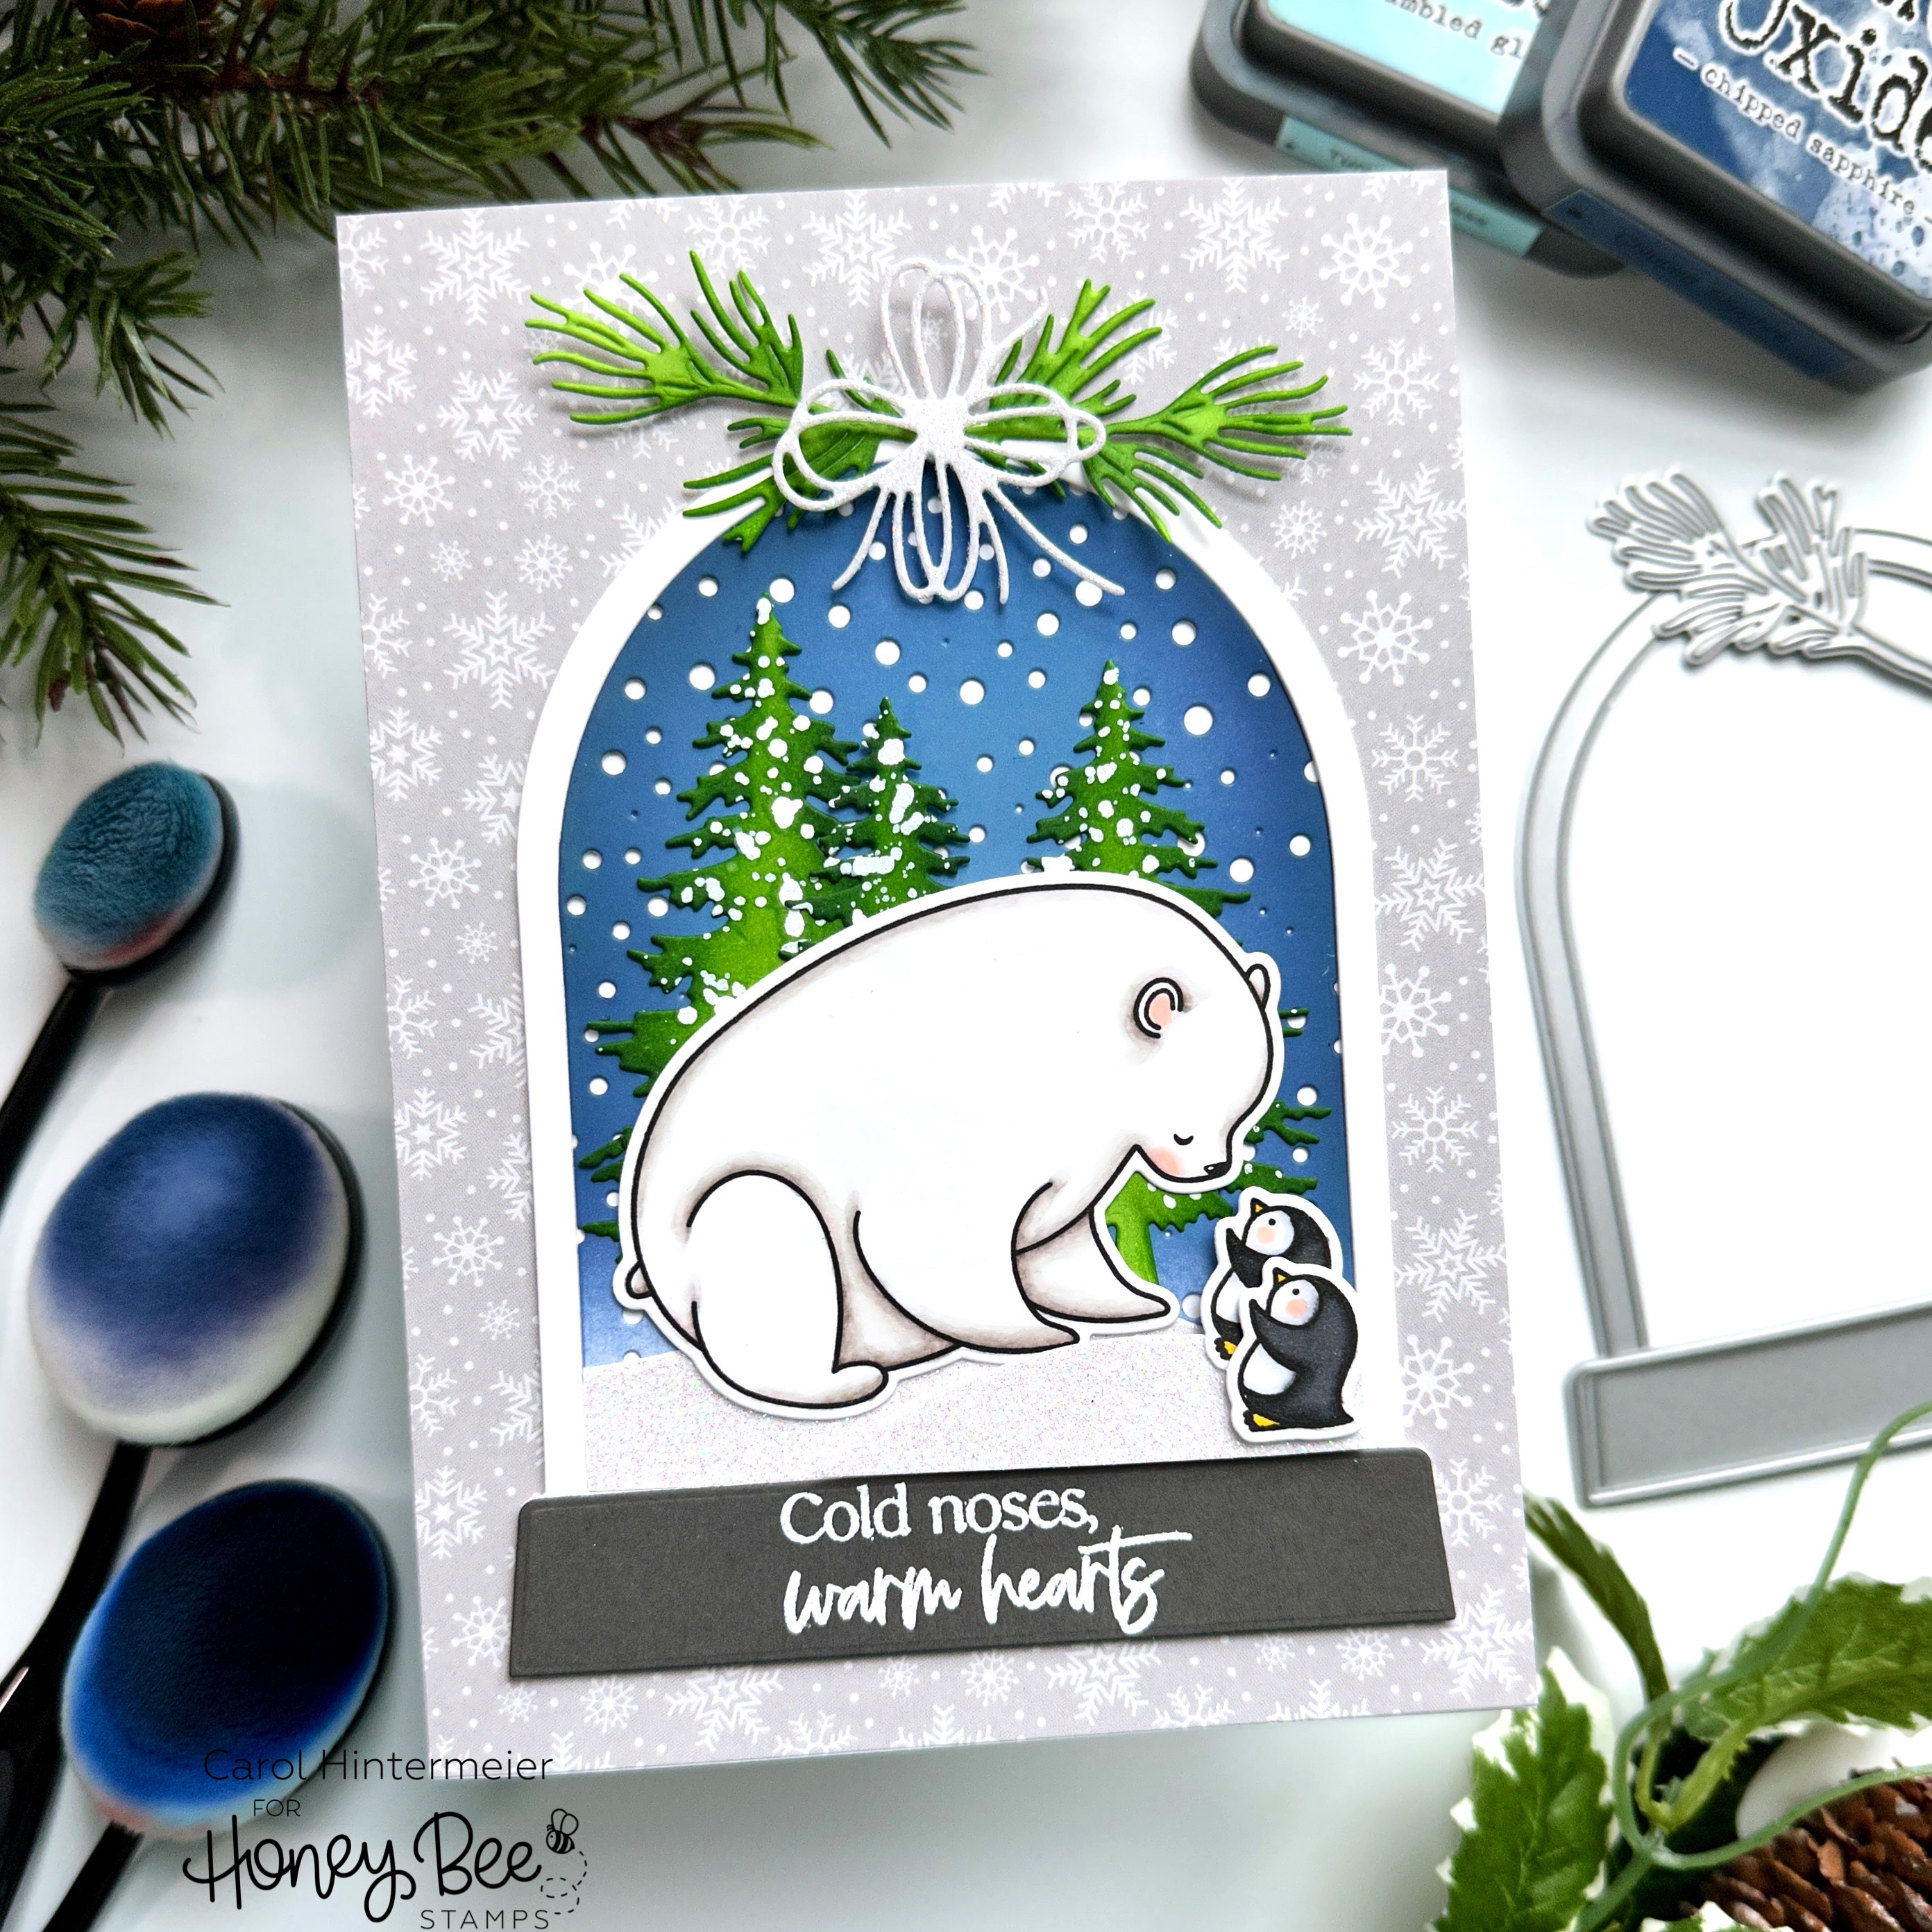
Cold Noses, Warm Heart - Winter Friend Card

 Hello Honey Bee friends! Today I'm sharing my looks-like-a-shaker-card, but it isn't card! I've used the new Polar Pals stamps and Honey Cuts and placed them in the Snow Globe A2 Shaker die on a 5" x 7" card. With the sentiments I used on the outside and inside of the card, this is just perfect to send a paper hug to that special someone!

Let's begin from the card base upwards:

  • Cut a piece of the patterned paper from the Make It Merry paper pad to 5" x 7".
  • Adhere it to an A7 card base.
  • Stamp the sentiment from the Inside: Kindness set on the inside of the card in black ink.
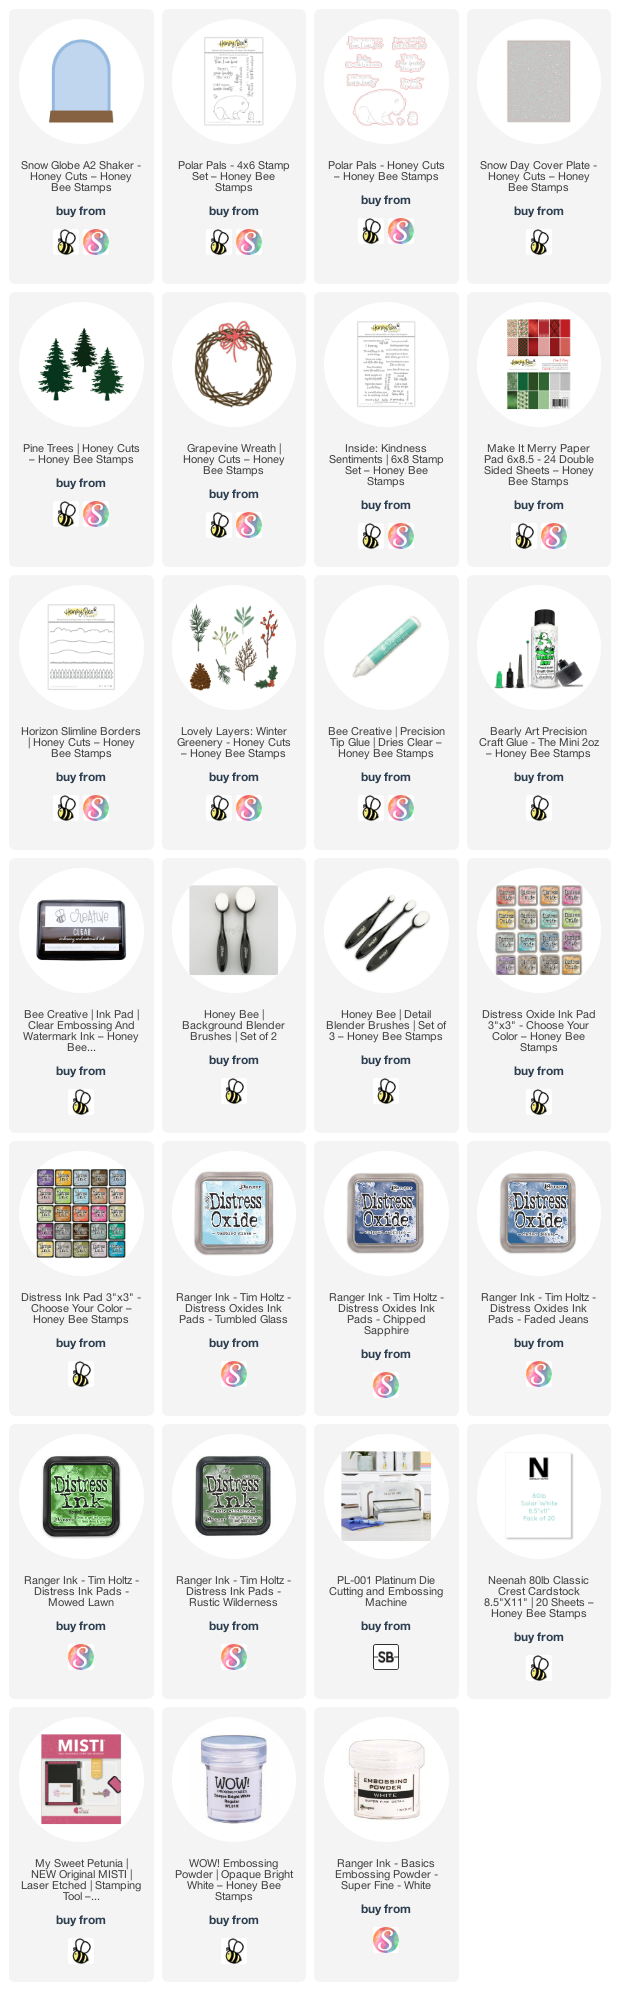
  • Next die cut the pieces of the Snow Globe A2 Shaker Honey Cuts from 80# Neenah.
  • Die cut the frame three times and layer together with glue.
  • Die cut the base from dark gray cardstock.
  • Next stamp the sentiment from the Polar Pals stamps onto the gray base in clear embossing ink and heat set with white embossing powder. Adhere to the snow globe with glue.
  • Ink blend Tumbled Glass, Faded Jeans and Chipped Sapphire Distress Oxide inks onto the center piece of the snow globe.
  • Die cut the ink blended piece with the Snow Day Cover Plate die.
  • Then die cut two hills using the Horizon Slimline Borders Honey Cuts from white glitter cardstock.
  • Trim them with scissors to fit the bottom of the inked snow globe center piece.
  • I adhered one with glue and popped up the small hill with some foam tape.
  • I assembled the snow globe and adhered it to the card base with glue.
  • Next I stamped the polar bear and penguins from the Polar Pals set in Intense Black ink. I used a few Copic markers to color them and then cut them out with the coordinating Honey Cuts.
  • Next I die cut the Pine Trees Honey Cuts and two pieces of pine sprigs from the Lovely Layers: Winter Greenery. I used an ink blending brush to color them with Mowed Lawn and Rustic Wilderness Distress ink.
  • I splattered the pine trees with diluted white paint and adhered all of the pieces to the snow globe with glue and foam squares.
  • I die cut the bow from the Grapevine Wreath Honey Cuts from white glitter cardstock.
  • I splattered the pine trees with diluted white paint and adhered all of the pieces to the snow globe with glue and foam squares.

I just adore the sweet Polar Pals set!! So did I succeed in making my pretend shaker card kind of look like a shaker? I think it works and hope you do too! Thank you so much for stopping by today. You are always so very appreciated!

Thank you so much if you use my affiliate links to shop (never any additional cost to you).

Wednesday, December 1, 2021

Merry Mail Christmas Card | Honey Bee Stamps

Happy December friends! I cannot believe it's already December, but I'm happy there's still lots of time to make our Christmas cards! My card today features the beautiful Honey Bee Stamps Merry Mail stamp set and coordinating Honey Cuts.  I had so much fun creating my scene for the mailbox, I kind of forgot about adding any sentiment! Haha! Keep reading to see which set has the perfect small sentiment that fit just right!

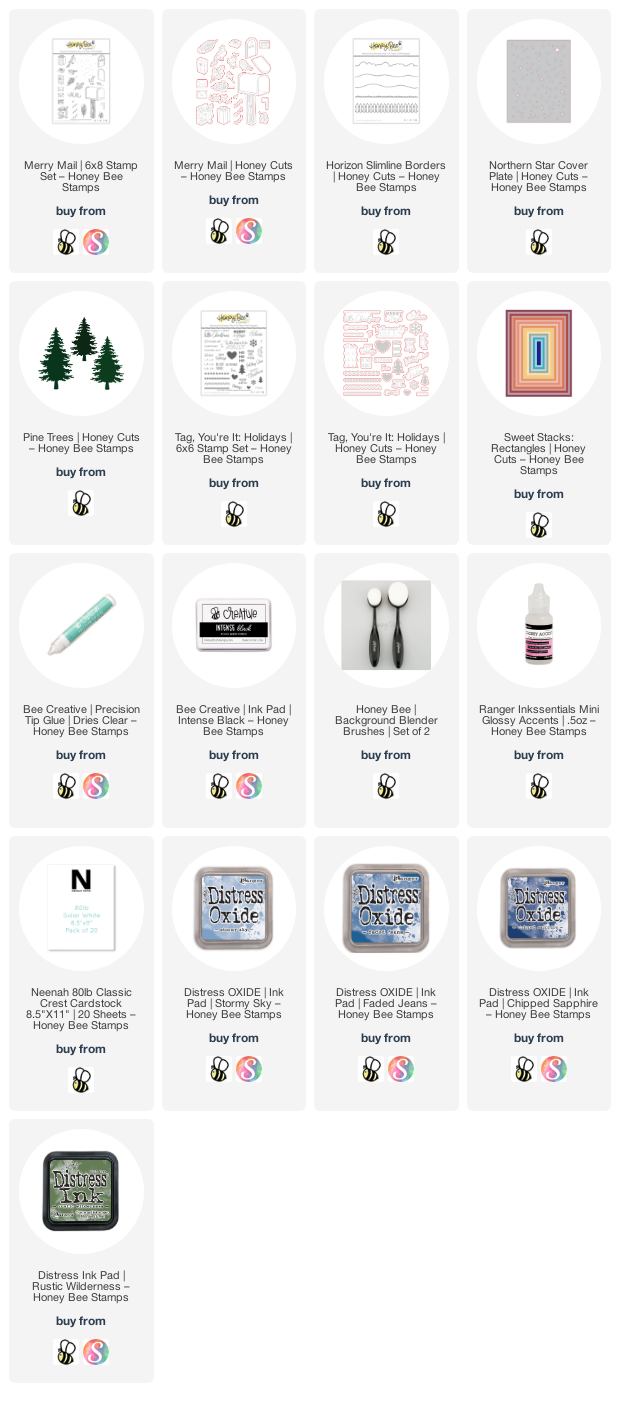
First I created my card base and layer. I inked up some 80# Neenah with my favorite wintery sky Distress Oxide Inks. I used a Detail Blender brush to blend on Chipped Sapphire, Faded Jeans and Stormy Sky in a random pattern. Next I die cut the panel with the Northern Star Cover Plate die. Then I used the second largest Sweet Stacks: Rectangles die to cut it down. I added some splatters of Confetti White Perfect Pearls with a paint brush and water. I adhered it to a top-folding A2 card base with Bee Creative glue.

To add to the background scene I die cut green card stock using the Pine Trees Honey Cuts. I added some Rustic Wilderness Distress Ink around the edges of each tree with a Blender Brush. Next I die cut white card stock to create the hills and fence using the Horizon Slimline Borders Honey Cuts. I trimmed them to 4" and arranged the trees, fence and two hills. Once I had them the way I liked, I used Bee Creative glue to adhere them all but for the top hill, which is popped up with foam tape. I added a line of glue along the top edge of the hill and sprinkled on some coarse glitter for a bit of sparkle.

Next I stamped all of the images from the Merry Mail stamp set with Intense Black Ink. (I usually just stamp everything so I can pick and choose the elements I want as I create my card.) I stamped two each of the pine branches and berry branches. Then I colored them all with my Copic markers. I used the coordinating Honey Cuts to cut them out. Now for the fun part of arranging them all! I trimmed off the bottom of the mailbox post to make it fit the perspective of my scene and popped it up with some thin foam tape. The mailbox flag is also popped up with foam tape. Before I adhered the gifts and mail to the mailbox, I trimmed off the white edge on the left side to give it a more seamless look with the mailbox.

Once everything was adhered, I added Glossy Accents to the berries. I used a black pen to add details to two of the gifts and a clear glitter pen for some sparkle. AND, it was at this point I remembered I forgot to plan for a sentiment! Haha! Well, the small sentiments from the Tag, You're It: Holidays came to the rescue! I stamped one of the sentiments with Intense Black Ink and used the coordinating Honey Cut to cut it out. Having coordinating dies for the sentiments makes it so easy to put your sentiment on your finished card!!!

I hope I've brought some inspiration to you today for your Christmas cards. I always appreciate you so much for stopping by! Have a wonderful, crafty day!

Wednesday, November 10, 2021

Merry Christmouse | Honey Bee Stamps

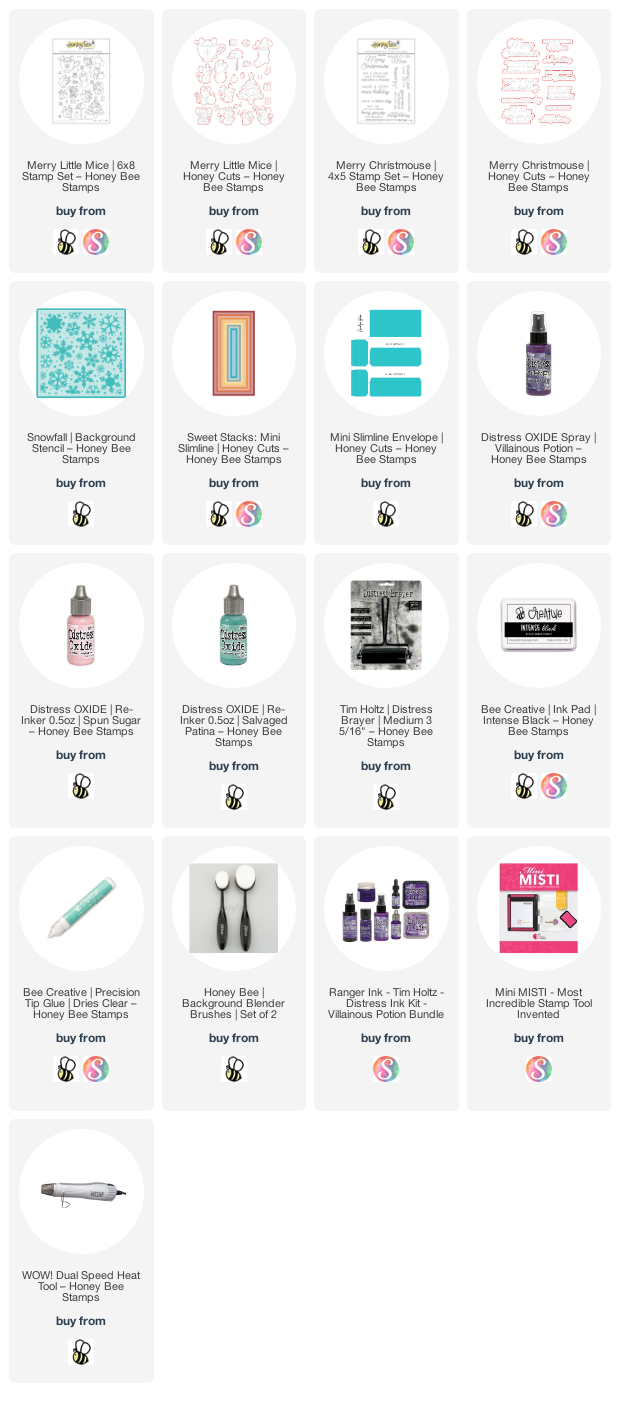
Happy Wednesday crafty friends! Today I'm sharing a cute mini slimline card I made using the totally adorable Merry Little Mice stamps and coordinating Honey Cuts by Honey Bee Stamps. I made an inky snowy background with lots of sparkles and spatters to set the scene for the mice--keep reading for the details.


 First I die cut some watercolor paper with the largest die from Sweet Stacks: Mini Slimline Honey Cuts. Then I spritzed on some Villainous Potion Distress Oxide Spray near the top of the card. I used a paper towel to dab up some of the color and then dried it with my heat tool. I don't have the Oxide Sprays of my next two colors, Salvaged Patina and Spun Sugar, but I do have the Oxide ink pad re-inkers. I just squeezed out a bit of the colors and used a brayer to swipe on the colors, overlapping them just a bit.

Then I used my heat tool to dry the panel, and spattered on some white gouache. I also used a white gel pen to add white dots.

Next I die cut more watercolor card with the hills in the Horizon Slimline Border Honey Cuts. I trimmed them to 3" and glue one directly to the inky panel and popped up the second one. I then put a line of Bee Creative glue along the edges, sprinkled on some chunky glitter and set it aside to dry.

I stamped the images from the Merry Little Mice set with Intense Black ink onto 80# Neenah Solar White. I used some Copic markers to color them and then cut them out with the coordinating Honey Cuts. I added some white dots with a white gel pen to the mice's cheeks and also to the Christmas tree.  Next I stamped the sentiment from Merry Christmouse with Versamark, added black embossing powder and heat set it.  I used the coordinating Honey Cut to cut it out.

To assemble the card, I adhered the inked panel to a side-folding card base with Bee Creative Glue. You can create by scoring a piece of 6-½" x 6-¼" card stock longways at 3-¼". I popped up all of the card images with foam tape and foam squares. I used my nonstick scissors to cut a few small foam strips for the music notes.

I decided to make a coordinating envelope to go with my mini slimline card.  I die cut some 32# printer paper I have in my stash with the Mini Slimline Envelope dies.  I adhered the pieces together with Bee Creative glue.  Then I used the Snowfall Background stencil to add some pink snowflakes to the front of the envelope.  This was really easy with a Background Blender Brush and some Spun Sugar Distress Oxide ink.

I added a bit more sparkle and shine by adding some Glossy Accents to the tree's ornaments.  Then I used a clear glitter pen to add sparkle to the star and splatters to the background.

I hope you've enjoyed my inky, mouse-filled card today!  Thank you so much for stopping by!

Links for products I've used today:  (thank you, if you use my link to purchase anything!)

Wednesday, November 3, 2021

Happy Howl-idays! | Honey Bee Stamps

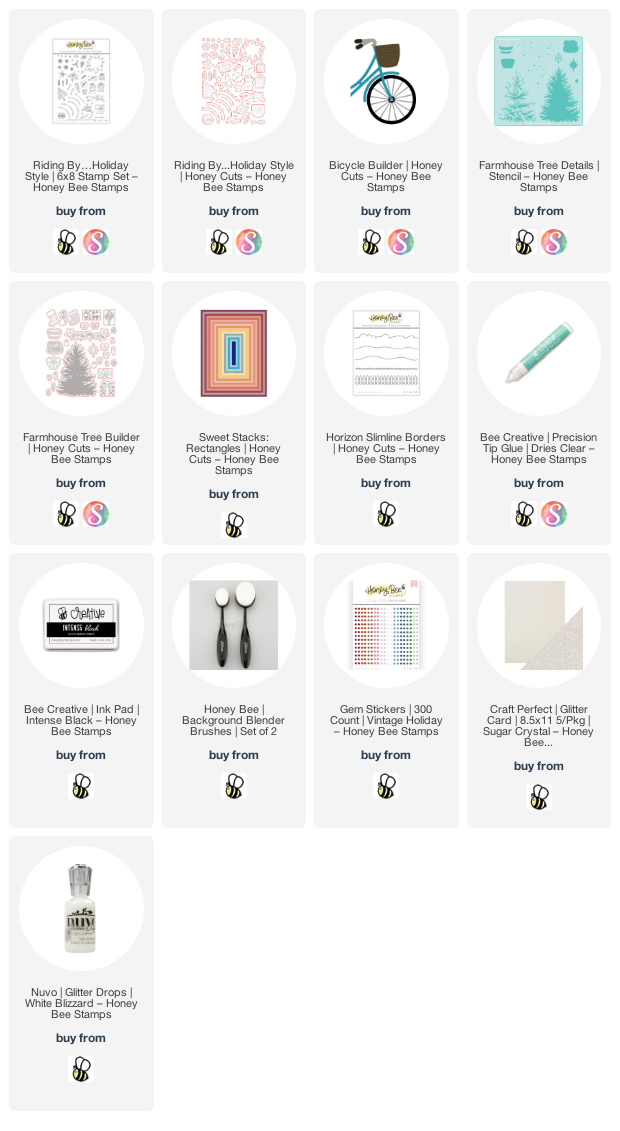
 Happy Wednesday crafty friends!  Today I'm sharing a card that features Honey Bee Stamps' new, and so adorable, Riding By...Holiday Style stamp set and coordinating dies!  This is a fun holiday add-on set for the Bicycle Builder die set that has lots of options for your holiday cards.

First I worked on my background layer. I used a piece of patterned paper from the current "free BEE", a beautiful vintage holiday paper pack that's free with your qualifying purchase. I die cut it with the second largest Sweet Stacks: Rectangles. Then I die cut some white glitter paper with the hill die from the Horizon Slimline Borders Honey Cuts. I trimmed it into two 4" hills and adhered them to the patterned paper with Bee Creative glue. 

I made the evergreen tree by stenciling the tree using the Farmhouse Tree Details stencil. I first stenciled the base layer lightly with Rustic Wilderness Distress Oxide ink and my Background Blender brush. I positioned the second layer of the tree over the first and applied a heavier layer of Rustic Wilderness ink. Then I used the tree die from the Farmhouse Tree Builder Honey Cuts to die cut it. I added white dots to the tree with my white gel pen and adhered the tree to the card. I trimmed off the overhanging part of the tree and then I adhered the piece to a top-folding A2 card base.

I die cut the Bicycle Builder pieces from some red glitter paper, silver matte, and black card stock. I adhered the pieces together with Bee Creative glue.

Next I stamped the images and sentiment from the Riding By... Holiday Style stamp set with Intense Black ink. I colored all the images with my Copic markers and used the coordinating Honey Cuts to cut them out. After I adhered the images to the bicycle I added very narrow strips of thin foam tape to the back. Then I decided to stamp the tiny snowflakes that are also in the Riding By...Holiday Style set. I put the card in my MISTI, positioned the bicycle (without adhering) and then placed the snowflake stamps where I wanted them. I removed the bicycle, patted on my anti-static pouch, inked up the stamps with Versamark and stamped them. I added some white embossing powder and heat set it. and then added it to my card. Here's a super close-up photo for you to see the details:

I added some fun details to the dog's scarf, the little tree, and the bow with a white gel pen. Then I added some sparkle to the lights by dotting on Nuvo White Blizzard glitter drops. The sparkle on the large tree are some red gem from the Vintage Holiday Gem Stickers set.

Before I finish my blog post I wanted to share with you this awesome new Bee Creative Tool Caddy from Honey Bee! I am really enjoying using it to keep my most-used tools right in from of me. Honey Bee has a lot of new products from this tool caddy to foam tape. If you type "bee creative" in the search bar, you will find lots of awesome new products for your everyday card making.


Well, I think our pup is enjoying his bicycle ride!  Be sure to check out the set to see all of the other holiday options for your bicycle!  Thank you so much for stopping by today!

Click the image for more details: