Showing posts with label Holiday Wishes paper pad. Show all posts

Wednesday, December 20, 2023

Two Fun and Easy Holiday Gift Card/Treat Boxes

Hello crafty friends! Today I'm sharing two versions of gift card boxes I made with the Vintage Gift Card Box dies and the Christmas Lights Vintage Gift Card Box Add-on stamps and dies. These cute boxes are perfect for your gift cards with lots of room to include some sweet treats! I also custom died ribbons to coordinate with my colors! Read on for the details.

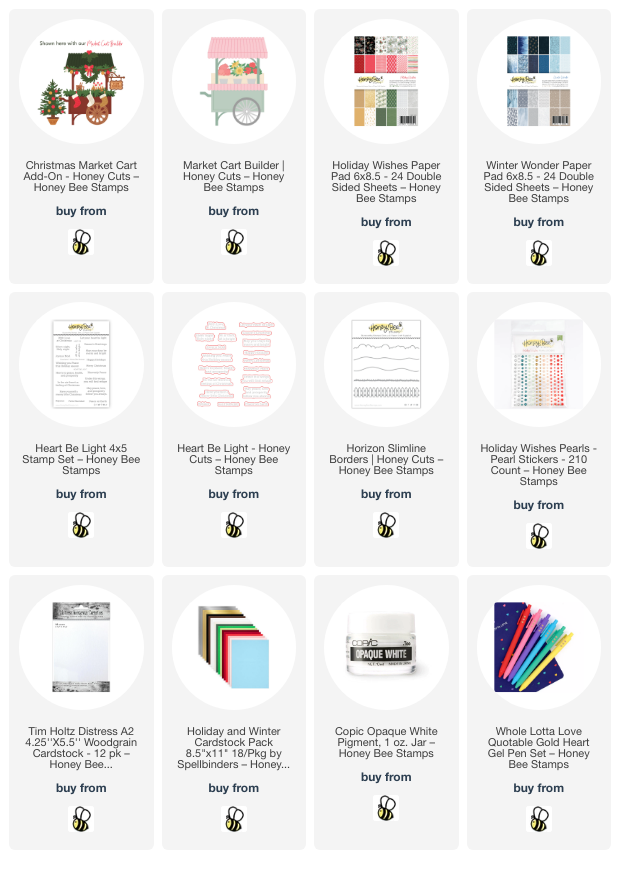
First I die cut two each of the Vintage Gift Card Box dies from satin silver cardstock. I used glue to adhere each of the boxes' pieces.

This box with the blue trim took a bit longer than the other box simply because I heat embossed the stamps from the Christmas Lights Vintage Gift Card Box Add-on stamp set. I used the pine branch stamp, one ornament, and some of the snowflakes in the set along with two from the Let It Snow stamp set. All were stamped with clear embossing ink. I heat embossed the images after sprinkling on silver embossing powder and some green sparkle embossing powder from my stash. Then I cut out the heat embossed images with the coordinating Christmas Lights dies and Let It Snow dies.

Next I used B02, B01, and B000 Copic markers to color the ornament and the bow. To custom die the ribbon I placed the ribbon into a small glass dish. Then I added drops of B02 and B01 Copic re-inkers. With a disposable glove on my hand I smooshed the ribbon until the ink was distributed and used my heat tool to dry it.

I tied the ribbon around the box and adhered the heat embossed elements with glue and foam tape. After I used a hole punch to punch a hole at the top of the ornament, I tied it and the snowflake around the bow with baker's twine. Finally, I added a few coordinating pearls from the Winter Pearl Stickers set.

This next box has some patterned paper from the Holiday Wishes paper pad that I die cut with the rectangle die in the Christmas Lights Add-on set. I also die cut the leaves and berries with dies in the Lovely Layers: Candy Cane Honey Cutsfrom colored cardstock.

I added Snowfall Grit Paste to the edges of the leaves and set them aside to dry. I died more crinkle ribbon by spraying it with Tart Cranberry Distress Mica Stain. I used a disposable glove again and held it with my reverse tweezers while I dried it with my heat tool.

I will have a reel posted on my Instagram sometime tomorrow morning, if you would like to see some of my creative process for these boxes!

I stamped the sentiments from the Mini Messages: Holiday in matching red ink and cut them out with the coordinating Mini Messages Banners. I adhered the sentiments with some foam tape strips.

This cute Vintage Gift Card box is large enough to hold at least a dozen candy kisses and your gift card too!


These are so great to have on hand for those last-minute gifts!  Thank you so much for stopping by today!  I hope your holiday season is filled with joy and happiness! Merry Christmas!

Thank you for shopping with my affiliate links (never any additional cost to you)!
Wednesday, December 13, 2023

A Snowy Christmas Market Cart Scene Card

Hello crafty friends! Today I'm sharing my snowy scene card featuring Honey Bee Stamps beautiful Christmas Market Cart Add On.  Except for the sentiment, this 5" x 7" card is totally die cut with no coloring!  Read on for the details!

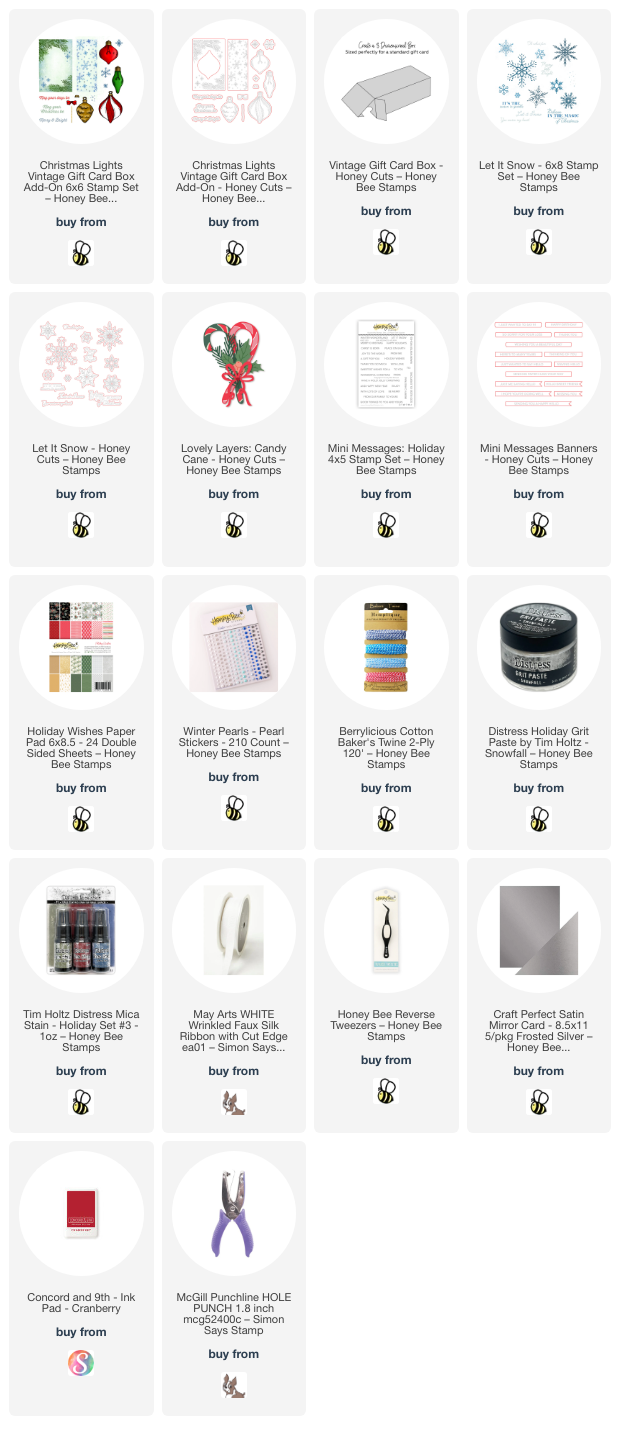
The card base is an A7 card with a layer of the pretty patterned paper from the Winter Wonder paper pad. I die cut two hills with the dies in the Horizon Slimline Borders set. After I trimmed them to fit the width of the card, I used glue to adhere them to the bottom of the scene. I made sure to not add glue to the top edge of the hills so I could tuck in some of my other die cuts.

Next I die cut the Market Cart from white woodgrain cardstock. I used a piece of paper from the Holiday Wishes paper pad to cut the awning die. I die cut some red cardstock with the awning edge die and the wheel die.

Then I chose the elements from the Christmas Market Cart Add On I wanted for my scene. I used white, red, green, brown, and silver metallic cardstock for these pieces. (This Holiday and Winter Cardstock Collection has all the colors I needed.) I die cut two light strings from green cardstock and one from brown, along with additional greenery pieces. Since this was my first time to use this set, I referred to the layering guide that you will find in the product description.

The bulbs for the strings of lights are white cardstock. To easily get a solid covering of glue to adhere the iridescent chunky glitter, I squirted a dollop of glue onto my craft mat. Then I added just a bit of water to thin it out and painted the glue onto each light before adding the glitter. This is super easy!! Just don't forget to rinse out your paintbrush! Haha!

Before I assembled anything more, I added white splatters to all of the green pieces and the market cart too. This created a more cohesive look with the snowy patterned paper.  I used a white gel pen to add details to the red mug. The snowflake and stripes on the white mug were added with a red pen and a pencil.

Next I adhered all of the elements to the card. Most pieces are adhered with glue, with one tree, the wreath and holly leaf/berry piece popped up with foam dots.

To finish, I cut the strings of lights to fit onto the pine trees and glue them to two of the trees. Then I added one large red pearl from the Holiday Wishes Pearl Stickers to the center of the wheel. Next I added lots of drops of red crystal drops. I stamped a sentiment from the Heart Be Light set in black ink, then cut it out with the coordinating die. It's popped up on the card with foam strips.

I really enjoyed making this festive and snowy Christmas card! I hope you have enjoyed it too! Have a wonderful and crafty day!

Thank you so much for shopping with my affiliate links (never any additional cost to you)!