Showing posts with label Lovely Layers: Candy Canes. Show all posts

Wednesday, December 20, 2023

Two Fun and Easy Holiday Gift Card/Treat Boxes

Hello crafty friends! Today I'm sharing two versions of gift card boxes I made with the Vintage Gift Card Box dies and the Christmas Lights Vintage Gift Card Box Add-on stamps and dies. These cute boxes are perfect for your gift cards with lots of room to include some sweet treats! I also custom died ribbons to coordinate with my colors! Read on for the details.

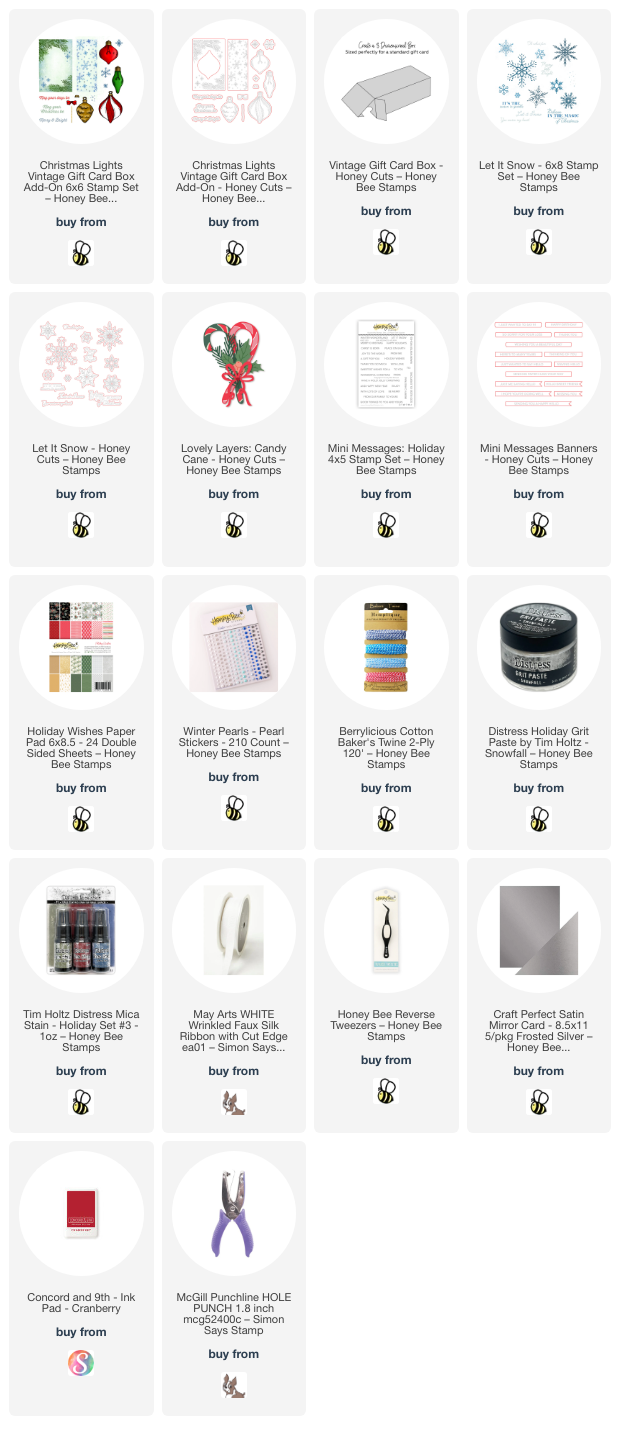
First I die cut two each of the Vintage Gift Card Box dies from satin silver cardstock. I used glue to adhere each of the boxes' pieces.

This box with the blue trim took a bit longer than the other box simply because I heat embossed the stamps from the Christmas Lights Vintage Gift Card Box Add-on stamp set. I used the pine branch stamp, one ornament, and some of the snowflakes in the set along with two from the Let It Snow stamp set. All were stamped with clear embossing ink. I heat embossed the images after sprinkling on silver embossing powder and some green sparkle embossing powder from my stash. Then I cut out the heat embossed images with the coordinating Christmas Lights dies and Let It Snow dies.

Next I used B02, B01, and B000 Copic markers to color the ornament and the bow. To custom die the ribbon I placed the ribbon into a small glass dish. Then I added drops of B02 and B01 Copic re-inkers. With a disposable glove on my hand I smooshed the ribbon until the ink was distributed and used my heat tool to dry it.

I tied the ribbon around the box and adhered the heat embossed elements with glue and foam tape. After I used a hole punch to punch a hole at the top of the ornament, I tied it and the snowflake around the bow with baker's twine. Finally, I added a few coordinating pearls from the Winter Pearl Stickers set.

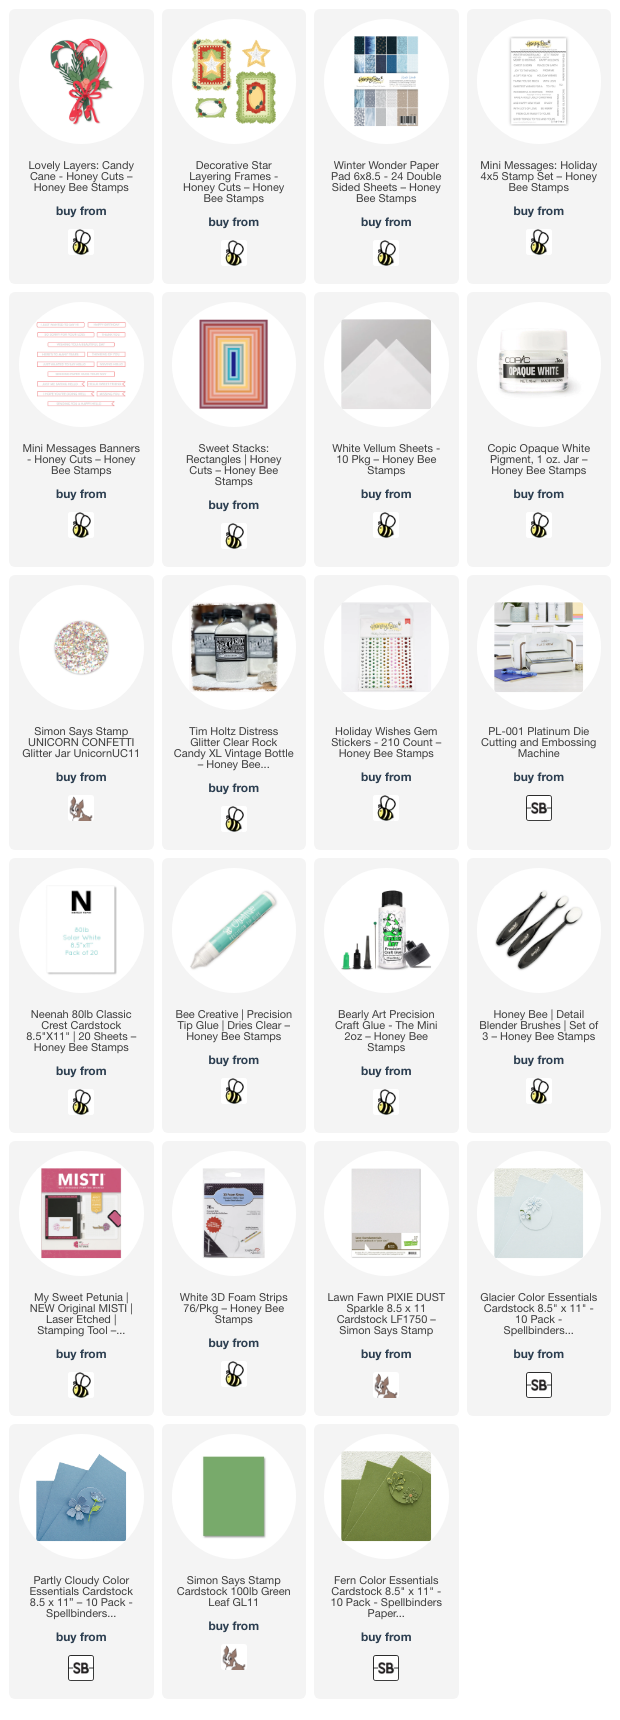
This next box has some patterned paper from the Holiday Wishes paper pad that I die cut with the rectangle die in the Christmas Lights Add-on set. I also die cut the leaves and berries with dies in the Lovely Layers: Candy Cane Honey Cutsfrom colored cardstock.

I added Snowfall Grit Paste to the edges of the leaves and set them aside to dry. I died more crinkle ribbon by spraying it with Tart Cranberry Distress Mica Stain. I used a disposable glove again and held it with my reverse tweezers while I dried it with my heat tool.

I will have a reel posted on my Instagram sometime tomorrow morning, if you would like to see some of my creative process for these boxes!

I stamped the sentiments from the Mini Messages: Holiday in matching red ink and cut them out with the coordinating Mini Messages Banners. I adhered the sentiments with some foam tape strips.

This cute Vintage Gift Card box is large enough to hold at least a dozen candy kisses and your gift card too!


These are so great to have on hand for those last-minute gifts!  Thank you so much for stopping by today!  I hope your holiday season is filled with joy and happiness! Merry Christmas!

Thank you for shopping with my affiliate links (never any additional cost to you)!
Wednesday, October 25, 2023

Sparkly Candy Cane Christmas Card

Hello crafty friends! Have you checked out Honey Bee Stamps gorgeous Holiday Wishes release? There are so many awesome products that I can't wait to create with! Today I'm sharing my card featuring the new Lovely Layers: Candy Canes!

I let this gorgeous patterned paper from the new Winter Wonder paper pad be my inspiration for my card's color palette. I love this shade of blue for winter/Christmas cards! I die cut two each of the Lovely Layers: Candy Canes layers from a light blue, dark blue, and white sparkle cardstock. Next I die cut the greenery in this set from two shades of green cardstock. I added shading to the greenery with blender brushes and Mowed Lawn and Rustic Wilderness Distress inks.  (Links for the cardstock are below.)

The berries and bow are also die cut from the same white glitter cardstock. I adhered the layers of the candy canes with Bee Creative glue.

I used the largest Sweet Stacks: Rectangles to die cut the patterned paper from the Winter Wonder paper pad and glued it to my A2 card base. Next I die cut vellum with the Decorative Star Layering Frames largest die. But don't adhere it to the card base yet!

I arranged the Lovely Layers: Candy Canes elements and then used Bee Creative glue to adhere each piece to the vellum. I only added a few dots of glue to each piece so the vellum wouldn't buckle much. I did use a few foam squares at the top of the upper candy cane to support it over the other pieces.

Of course, my wintery Christmas card had to have lots of extras! Before I adhered the vellum to the card, I splattered white paint all over. Then I added some beautiful iridescent chunky glitter to the greenery. If you don't have that glitter, Clear Rock Candy glitter would be beautiful too! 

After the glitter was dry, I added drops of glue to the back of the vellum, hiding the drops behind the elements of the card. Then I attached it to the card and let it dry.

I stamped the sentiment from the Mini Messages: Holiday stamp set with Stormy Sky Distress Oxide ink. Using my MISTI allowed me to stamp it a few times for a good impression. After I cut it out with a die from the Mini Messages Banners Honey Cuts, I added foam tape to the back to adhere it to my card.

A few gem stickers from the Holiday Wishes stickers finished it off with a bit more sparkle!

I love all the sparkle; and if you'd like to see it even better, check out the reel I'll have posted very soon over on my Instagram! 

I hope you've found more inspiration here for the Holiday Wishes release! Thank you so much for stopping! Have a wonderful and crafty day!

Thank you for using my affiliate links to shop (never any additional cost to you)!