Showing posts with label Decorative Star Layering Frames. Show all posts

Wednesday, June 25, 2025

With Sympathy -- How To Create A Watermark Card Background

Hello crafty friends!  Today I'm sharing a sympathy card featuring Honey Bee Stamps beautiful Zelia's English Garden stamp.  Read all of the details below!

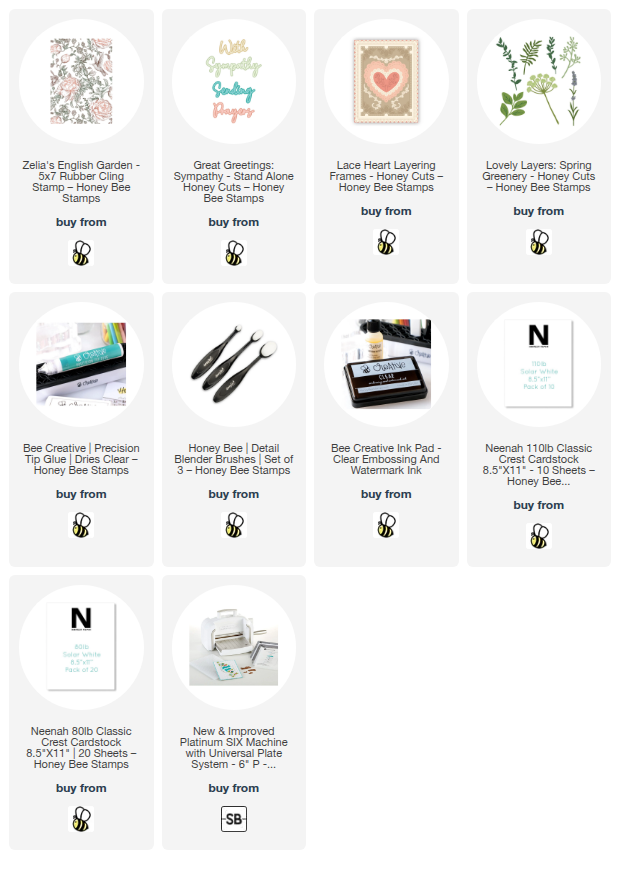
First I selected a blue cardstock and die cut it with the rectangle die in the Lace Heart Layering Frames Honey Cuts.  I added a bit of subtle shading around the edges with a blender brush and Shaded Lilac Distress Ink.

Next I placed the die cut panel into my MISTI and then inked up the Zelia's English Garden stamp with clear embossing ink and stamped it onto the blue cardstock piece.

I let the stamped piece dry for several hours (overnight) so I wouldn't accidentally smear the ink.  I love the watermarked background this created.  It is subtle but the image of the stamp is still clearly visible.  I used glue to adhere it to an A2 card base

I die cut two greenery sprigs from the Lovely Layers: Greenery Honey Cuts.  Two from white cardstock and one from mat silver cardstock.  I used glue to adhere these to the card.

The sentiment is from the Great Greetings: Sympathy die set.  I die cut the shadow layer from 110# cardstock and the top layer from mat silver cardstock.  I used foam tape strips to adhere them to the card.

It's always great to have these type of cards in my stash ready to send, when needed.  This card would also be very easy to mass produce in other colors!

I always appreciate you stopping!  Thank you!!  Have a fabulous day!

Thanks so very much for using my affiliate links to shop (never any additional cost to you)!
Wednesday, November 27, 2024

Gingerbread Sweet Christmas Card + A Black Friday Sneak Peek!

Hello friends! Today I'm sharing my card featuring products from Honey Bee Stamps Cozy Christmas release along with a sneak peek of their Black Friday Free Bee. This adorable die set will be free, while supplies last, with any orders over $100! Of course, you know there will be more fun on Black Friday, so watch for it over at Honey Bee's website!

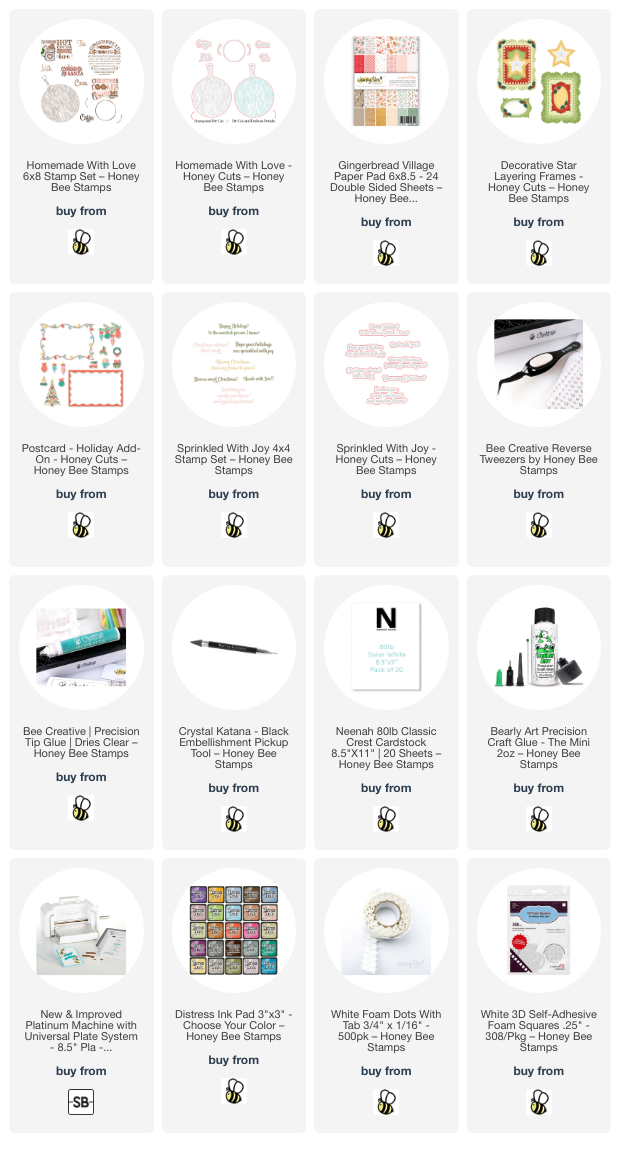
I die cut the adorable dies from the BF Free Bee die set from red, brown, and white cardstocks. I added a bit of shading to the gingerbread with a blending brush and Walnut Stain Distress Ink. I used glue to adhere these cuties together. Using your reverse tweezers and pick-up tool makes assembly so easy!

Next I stamped the wooden tray from the Homemade With Love stamps set with a very light brown ink. Next I stamped the gingerbread recipe onto the board (from the same stamp set) in a dark brown ink. Then I cut it out with the coordinating die.

I tied a red gingham bow onto the board, added some twine at the top, and foam dots to the back. It's adhered to an A2 card base with a piece of paper from the Gingerbread Village paper pad and a white cardstock layer I cut with a die from the Decorative Star Layering Frames dies.

To add a bit more interest and color, I die cut green cardstock with a pine branch die in the Postcard Holiday Add-On dies. I used glue to tuck them in at the top of the board.

I added foam dots and squares to the gingerbread people to adhere them to the card front. I stamped a sentiment from the Sprinkled With Joy stamp set with dark brown ink and cut it out with the coordinating die.

The BF Free Bee die set is so cute and fun to use. I think these would be adorable as a tag for sweet treats to gift during the holidays too! There are lots of sets from the Cozy Christmas release to coordinate with this adorable Free Bee set! 

Thank you so very much for stopping by! If you are celebrating Thanksgiving tomorrow, or not, I hope you have a most wonderful day!

Thank you so much for choosing to shop with my affiliate links (never any additional cost to you)!

Wednesday, October 25, 2023

Sparkly Candy Cane Christmas Card

Hello crafty friends! Have you checked out Honey Bee Stamps gorgeous Holiday Wishes release? There are so many awesome products that I can't wait to create with! Today I'm sharing my card featuring the new Lovely Layers: Candy Canes!

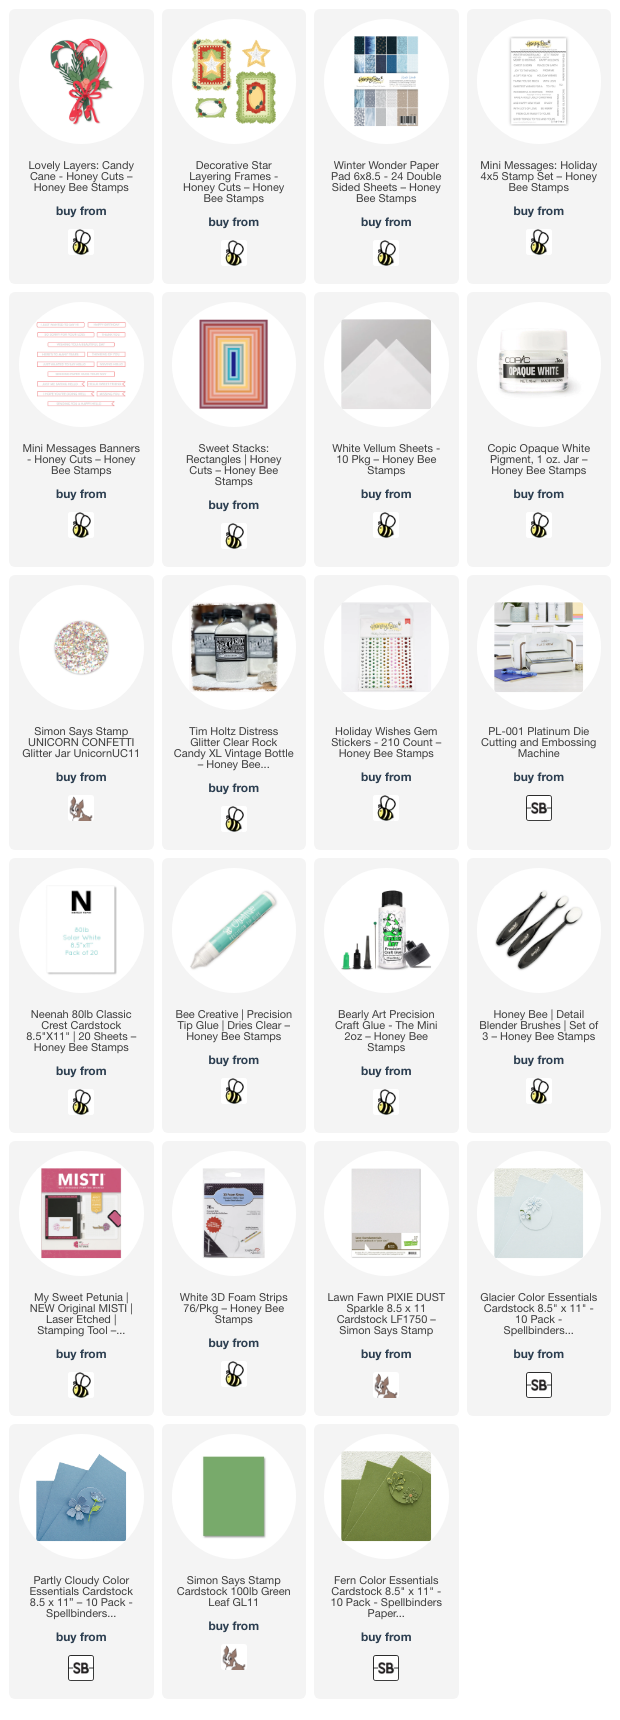
I let this gorgeous patterned paper from the new Winter Wonder paper pad be my inspiration for my card's color palette. I love this shade of blue for winter/Christmas cards! I die cut two each of the Lovely Layers: Candy Canes layers from a light blue, dark blue, and white sparkle cardstock. Next I die cut the greenery in this set from two shades of green cardstock. I added shading to the greenery with blender brushes and Mowed Lawn and Rustic Wilderness Distress inks.  (Links for the cardstock are below.)

The berries and bow are also die cut from the same white glitter cardstock. I adhered the layers of the candy canes with Bee Creative glue.

I used the largest Sweet Stacks: Rectangles to die cut the patterned paper from the Winter Wonder paper pad and glued it to my A2 card base. Next I die cut vellum with the Decorative Star Layering Frames largest die. But don't adhere it to the card base yet!

I arranged the Lovely Layers: Candy Canes elements and then used Bee Creative glue to adhere each piece to the vellum. I only added a few dots of glue to each piece so the vellum wouldn't buckle much. I did use a few foam squares at the top of the upper candy cane to support it over the other pieces.

Of course, my wintery Christmas card had to have lots of extras! Before I adhered the vellum to the card, I splattered white paint all over. Then I added some beautiful iridescent chunky glitter to the greenery. If you don't have that glitter, Clear Rock Candy glitter would be beautiful too! 

After the glitter was dry, I added drops of glue to the back of the vellum, hiding the drops behind the elements of the card. Then I attached it to the card and let it dry.

I stamped the sentiment from the Mini Messages: Holiday stamp set with Stormy Sky Distress Oxide ink. Using my MISTI allowed me to stamp it a few times for a good impression. After I cut it out with a die from the Mini Messages Banners Honey Cuts, I added foam tape to the back to adhere it to my card.

A few gem stickers from the Holiday Wishes stickers finished it off with a bit more sparkle!

I love all the sparkle; and if you'd like to see it even better, check out the reel I'll have posted very soon over on my Instagram! 

I hope you've found more inspiration here for the Holiday Wishes release! Thank you so much for stopping! Have a wonderful and crafty day!

Thank you for using my affiliate links to shop (never any additional cost to you)!