Showing posts with label Winter Wonder paper pad. Show all posts

Wednesday, December 13, 2023

A Snowy Christmas Market Cart Scene Card

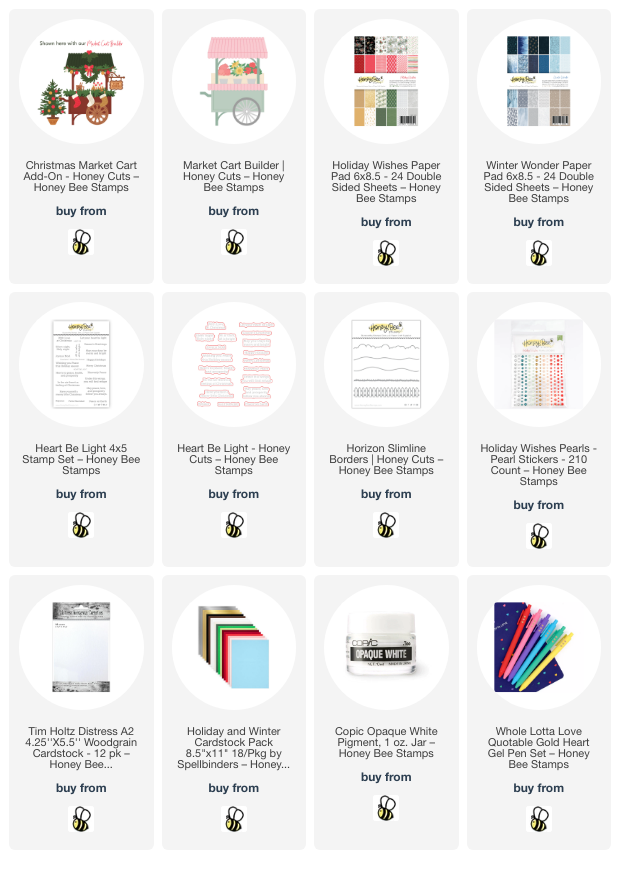
Hello crafty friends! Today I'm sharing my snowy scene card featuring Honey Bee Stamps beautiful Christmas Market Cart Add On.  Except for the sentiment, this 5" x 7" card is totally die cut with no coloring!  Read on for the details!

The card base is an A7 card with a layer of the pretty patterned paper from the Winter Wonder paper pad. I die cut two hills with the dies in the Horizon Slimline Borders set. After I trimmed them to fit the width of the card, I used glue to adhere them to the bottom of the scene. I made sure to not add glue to the top edge of the hills so I could tuck in some of my other die cuts.

Next I die cut the Market Cart from white woodgrain cardstock. I used a piece of paper from the Holiday Wishes paper pad to cut the awning die. I die cut some red cardstock with the awning edge die and the wheel die.

Then I chose the elements from the Christmas Market Cart Add On I wanted for my scene. I used white, red, green, brown, and silver metallic cardstock for these pieces. (This Holiday and Winter Cardstock Collection has all the colors I needed.) I die cut two light strings from green cardstock and one from brown, along with additional greenery pieces. Since this was my first time to use this set, I referred to the layering guide that you will find in the product description.

The bulbs for the strings of lights are white cardstock. To easily get a solid covering of glue to adhere the iridescent chunky glitter, I squirted a dollop of glue onto my craft mat. Then I added just a bit of water to thin it out and painted the glue onto each light before adding the glitter. This is super easy!! Just don't forget to rinse out your paintbrush! Haha!

Before I assembled anything more, I added white splatters to all of the green pieces and the market cart too. This created a more cohesive look with the snowy patterned paper.  I used a white gel pen to add details to the red mug. The snowflake and stripes on the white mug were added with a red pen and a pencil.

Next I adhered all of the elements to the card. Most pieces are adhered with glue, with one tree, the wreath and holly leaf/berry piece popped up with foam dots.

To finish, I cut the strings of lights to fit onto the pine trees and glue them to two of the trees. Then I added one large red pearl from the Holiday Wishes Pearl Stickers to the center of the wheel. Next I added lots of drops of red crystal drops. I stamped a sentiment from the Heart Be Light set in black ink, then cut it out with the coordinating die. It's popped up on the card with foam strips.

I really enjoyed making this festive and snowy Christmas card! I hope you have enjoyed it too! Have a wonderful and crafty day!

Thank you so much for shopping with my affiliate links (never any additional cost to you)!
Wednesday, November 29, 2023

Happy Holidays -- Let's Decorate A Die Cut Window Frame!

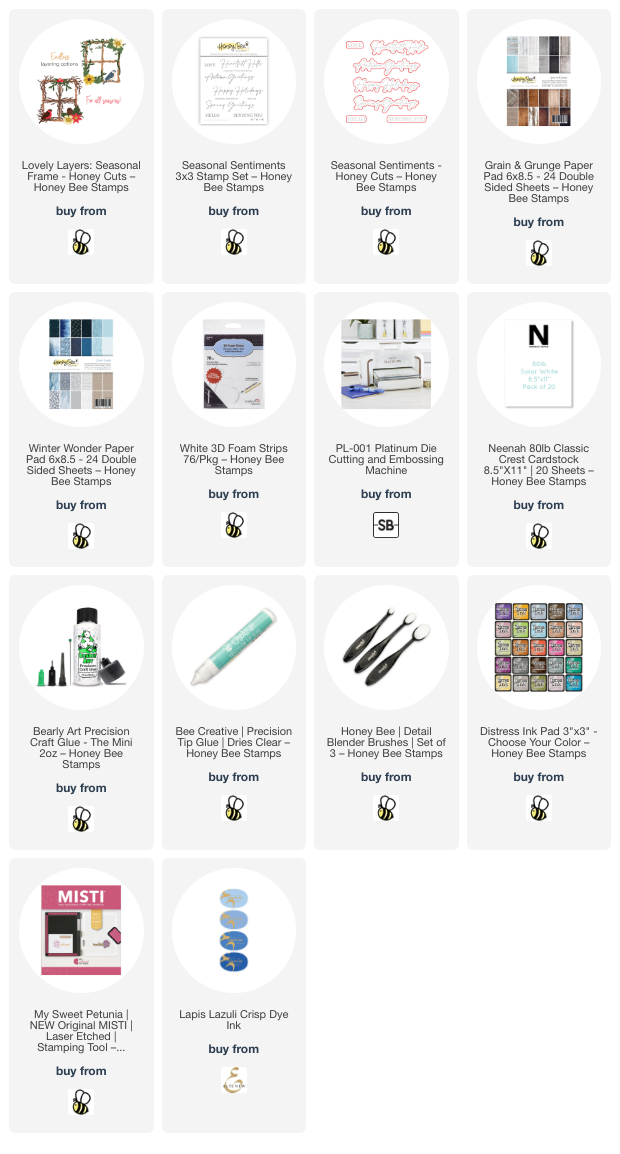
Hello, crafty friends!  Can you believe November is almost over?!!  Well, I have another Christmas card to share with you.  This card features the beautiful Lovely Layers: Seasonal Frame by Honey Bee Stamps.  I've always loved those old windows where someone has added greenery and flowers to it and used it as a wall hanging!  There are many different dies included in this set to use for the holidays, autumn, and spring themed cards too.

First I created the A2 card base and layers. I added a piece of patterned paper from the Grain and Grunge paper pad, trimmed it to 4-¼" x 5-½" and glued it to my card base. Next I die cut 80# Neenah with the window frame from the Lovely Layers: Seasonal Frame three times. After I glued the three layers together, I adhered it to the card front.

To fill in the window openings, I chose a blue snowy piece of paper from the Winter Wonder paper pad and ran it through my die cutting machine with the window frame die. This time I used the four squares from the die cut and adhered them into the window openings.

I chose one of the flowers, the greenery, bird, pinecone and berries dies from the Seasonal Frame and die cut the pieces from 80# Neenah. I used my detail blender brushes to color the pieces with various inks. Several of the inks I used were Distress Ink. The colors I used are: Candied Apple, Aged Mahogany, Shabby Shutters, Mowed Lawn, and Rustic Wilderness. The other inks are from my stash.

I glued the bird and flower layers together, then arranged the pieces on my card. When I was happy with the arrangement, I used glue with a fine tip nozzle to adhere the pieces. I also used my favorite reverse tweezers in the assembly.

The sentiment is from the Seasonal Sentiments stamp set and stamped in black ink. After I cut it out with the coordinating die, I added a foam tape strip to the back to pop it up on the card.

Here is when I decided to add a bit of glitter! Haha! I used that fine-tipped glue to add lines of glue to the flowers and berries. Then I sprinkled on some fine white glitter. When the glue had dried, I used a soft brush to sweep away any stray glitter. I love the subtle sparkle!

I can think of several ways to use the Seasonal Frame and can't wait to try making one with bright springtime colors! Thanks so much for stopping by. I appreciate you!

Thank you for shopping with my affiliate links (never any additional cost to you)!

Wednesday, November 22, 2023

Create A Watercolor Look With Solid Stamps with Watercolor Pines Stamp Set

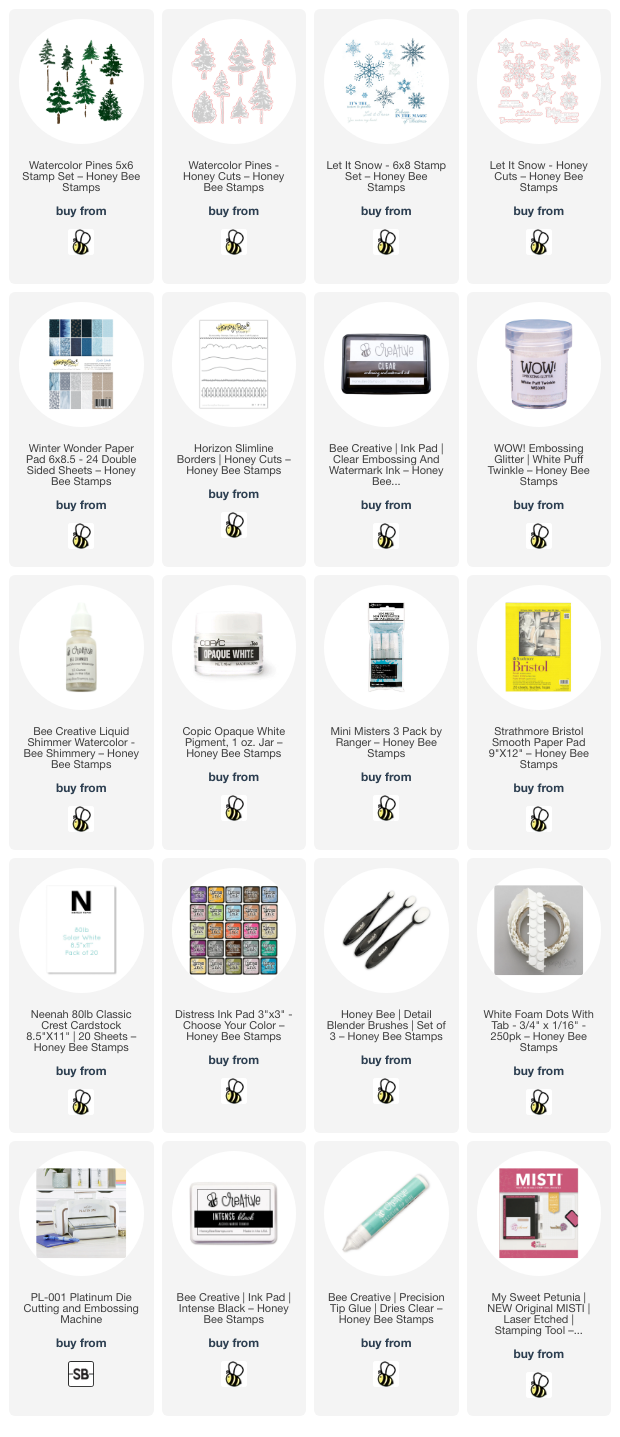
Hello crafty friends! Today I'm sharing my winter scene Christmas card that features the beautiful Watercolor Pines stamps and the coordinating Honey Cuts by Honey Bee Stamps! Using the gorgeous paper from the Winter Wonder paper pad makes this card super quick and easy to make! I'll also explain how to get this pretty watercolored look for your trees!

I truly think that Honey Bee has the most gorgeous paper pads! For this card I chose the beautiful blue piece with the varying shades of blue trees found in the Winter Wonder paper pad. I used the paper for my color cues when I stamped the Watercolor Pines stamps. The technique I used to ink up these stamps is best when used with a stamp positioning tool such as the MISTI as it usually requires a few repeats of the stamping.

I used blending brushes to add some Distress Inks to the Watercolor Pines stamps. I used Chipped Sapphire, Stormy Sky, Faded Jeans, and Walnut Stain for the tree trunks. I used blending brushes to add the ink to the stamps because I can blend the colors and also get a very light layer of ink onto the stamp.

Next I misted the stamps very lightly with water and stamped them onto Bristol Smooth cardstock. This is a smooth heavy weight cardstock that is able to withstand some water. These mini misters are great for easily getting a very fine mist of water!

I dried each ink layer with my heat tool, and then repeated the stamping a few times until I was happy with the results. This is a very imprecise technique, so just have fun with it. Vary the amounts of water you spray to get different results! Now you have beautiful pine trees that look watercolored!

I cut the trees out with the coordinating Watercolor Pines dies and set them aside to create the background layers. Next I trimmed the paper from the Winter Wonder paper pad to 4-¼" x 5-½". Then I used Bee Creative glue to adhere it to an A2 card base.

Next I used the hill die found in the Horizon Slimline Borders dies to cut a piece of glitter cardstock I have in my stash. The piece I had was 8-½" long so I just cut the strip with one hill die, then I cut it into two 4-¼" pieces. I adhered the layers together with glue then added them to the card.

Next I stamped a few snowflakes from the Let It Snow stamp set with clear embossing ink onto 80# Neenah. Then I sprinkled on White Puff Twinkle embossing powder and used my heat tool to set it. This embossing powder has a bit of dimension when heated with a very pretty sparkle! I cut the snowflakes out with the coordinating dies.

I stamped the sentiment also in the Let It Snow stamp set with black ink and then cut it out with the coordinating die. After I decided on an arrangement for the trees, I used glue and foam dots to adhere them, the snowflakes and the sentiment to the card.

And lastly, I decided to add white splatters! So I just covered the sentiment with some removable tape before I added the splatters. Then I also decided to add a bit of sparkle with some Bee Shimmery liquid shimmer watercolor. I put a drop of it onto my craft mat, diluted it with a tiny bit of water, then splattered drops with a paint brush.

If you didn't want this to be a Christmas card, this design would work with a variety of holiday or winter sentiments. I hope you've enjoyed my process for making this card and have been inspired to try this yourself!

At this time of year, I am always so thankful for many things, and YOU are one of those things I'm thankful for. I so appreciate your visits, and kind comments too! Have a wonderful Thanksgiving day tomorrow (if you celebrate that) and otherwise, have a wonderful day no matter what!

Thank you so very much for using my affiliate links to shop (never any additional cost to you)!

Wednesday, October 25, 2023

Sparkly Candy Cane Christmas Card

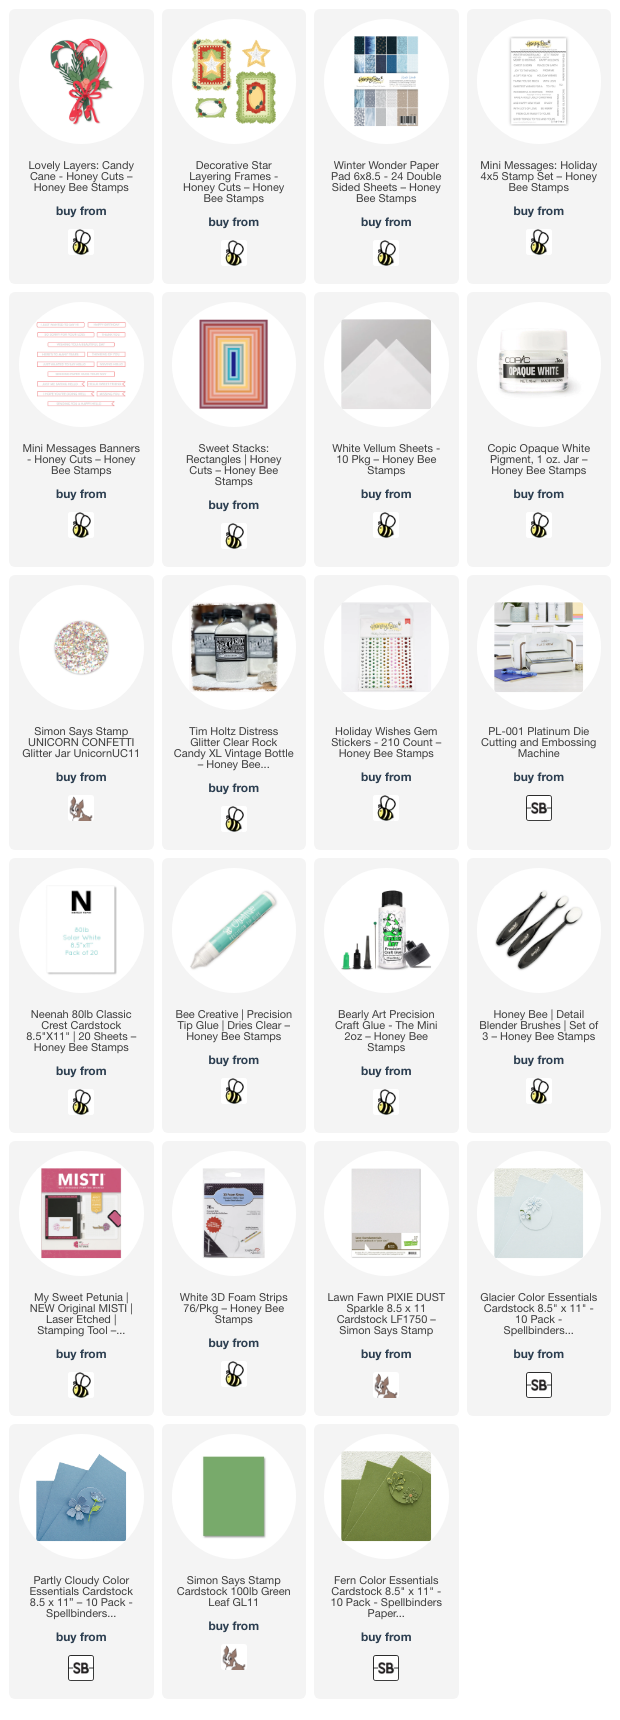
Hello crafty friends! Have you checked out Honey Bee Stamps gorgeous Holiday Wishes release? There are so many awesome products that I can't wait to create with! Today I'm sharing my card featuring the new Lovely Layers: Candy Canes!

I let this gorgeous patterned paper from the new Winter Wonder paper pad be my inspiration for my card's color palette. I love this shade of blue for winter/Christmas cards! I die cut two each of the Lovely Layers: Candy Canes layers from a light blue, dark blue, and white sparkle cardstock. Next I die cut the greenery in this set from two shades of green cardstock. I added shading to the greenery with blender brushes and Mowed Lawn and Rustic Wilderness Distress inks.  (Links for the cardstock are below.)

The berries and bow are also die cut from the same white glitter cardstock. I adhered the layers of the candy canes with Bee Creative glue.

I used the largest Sweet Stacks: Rectangles to die cut the patterned paper from the Winter Wonder paper pad and glued it to my A2 card base. Next I die cut vellum with the Decorative Star Layering Frames largest die. But don't adhere it to the card base yet!

I arranged the Lovely Layers: Candy Canes elements and then used Bee Creative glue to adhere each piece to the vellum. I only added a few dots of glue to each piece so the vellum wouldn't buckle much. I did use a few foam squares at the top of the upper candy cane to support it over the other pieces.

Of course, my wintery Christmas card had to have lots of extras! Before I adhered the vellum to the card, I splattered white paint all over. Then I added some beautiful iridescent chunky glitter to the greenery. If you don't have that glitter, Clear Rock Candy glitter would be beautiful too! 

After the glitter was dry, I added drops of glue to the back of the vellum, hiding the drops behind the elements of the card. Then I attached it to the card and let it dry.

I stamped the sentiment from the Mini Messages: Holiday stamp set with Stormy Sky Distress Oxide ink. Using my MISTI allowed me to stamp it a few times for a good impression. After I cut it out with a die from the Mini Messages Banners Honey Cuts, I added foam tape to the back to adhere it to my card.

A few gem stickers from the Holiday Wishes stickers finished it off with a bit more sparkle!

I love all the sparkle; and if you'd like to see it even better, check out the reel I'll have posted very soon over on my Instagram! 

I hope you've found more inspiration here for the Holiday Wishes release! Thank you so much for stopping! Have a wonderful and crafty day!

Thank you for using my affiliate links to shop (never any additional cost to you)!