Showing posts with label Make It Merry paper. Show all posts

Wednesday, June 14, 2023

Retirement Card Using Products in an Unexpected Way!

Happy Wednesday crafty friends! This retirement card I'm sharing today features a few new products from Honey Bee Stamps newest Adventure Awaits release along with some previously released products that I still love! When I was making this card, I was reminding myself that I (we) need to always look at the products for what they are, not what they may be called. Keep reading and you'll see what I'm talking about!


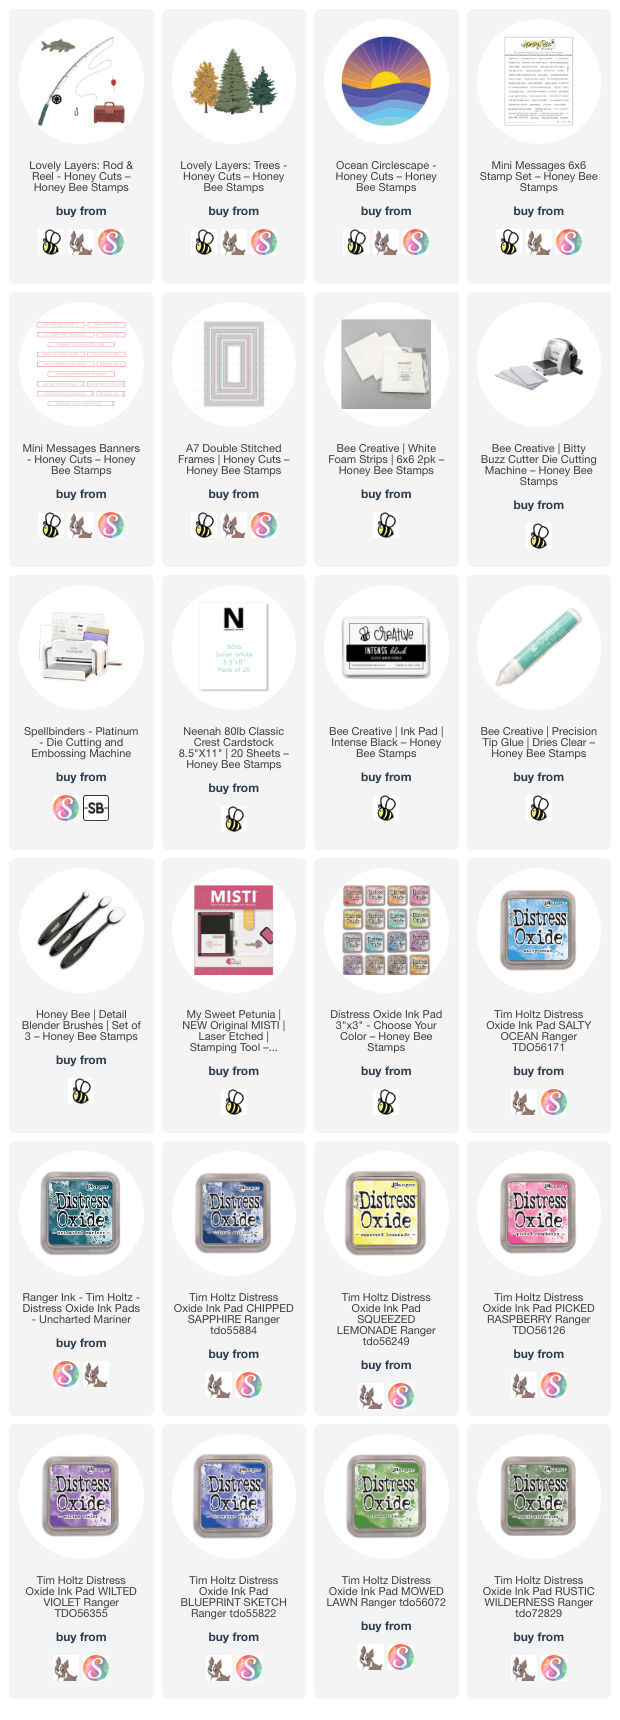
Here is the first example of looking just at the product, not at what the name of it is. I used the Ocean Circlescape Honey Cuts to create a small "lake" scene that would coordinate with the new Lovely Layers: Rod & Reel and the Lovely Layers: Trees!

After I die cut the Ocean Circlescape die from 80# Neenah, I added a few pieces of removable tape to the back of the "lake" layers for ease of ink blending. Then I used several Distress Oxide inks and my Detail Blending brushes to color the lake and sunset. For the lake I used: Chipped Sapphire, Uncharted Mariner, and Salty Ocean. I added some water splatters and white paint splatters to the waves. For the sunset I used: Squeezed Lemonade, Picked Raspberry, Wilted Violet and Blueprint Sketch. 

I cut a circle with a die from the Circlescape Shaker Frames Honey Cuts. Then I used Bee Creative glue to adhere the Ocean Circlescape to the die cut circle.

The Lovely Layers: Rod & Reel pieces were die cut from 80# Neenah and the rod portion from silver cardstock. I used a few Copic markers to color the rod pieces, tackle box, and the fish. I used glue to adhere the rod pieces together.

The Lovely Layers: Trees are also die cut from 80# Neenah and colored with Mowed Lawn, Rustic Wilderness, and Twisted Citron Distress Oxide inks. I colored the trunks with a brown Copic marker.

Here is the second example of looking at the product, not the name. I die cut a piece of paper from the Make It Merry paper pad with the largest A7 Double Stitched Frames die for the card base layer. It was the perfect color to coordinate with my card!

The sentiment strips from the new Mini Messages: Everyday are stamped with Intense black ink and die cut with the coordinating dies. The trees and sentiments have foam tape to pop them up a bit, and the other elements are adhered with glue.

I love combining new products with older favorites! And with this design and card style, just switch out the sentiment to make a birthday, Father's Day, or other masculine card.

I hope you've found inspiration today for looking at your Honey Bee goodies in a different way! If you give this a try, I hope you'll share it over on the Honey Bee Buzzworthy Facebook group (you can share any card made with Honey Bee products in addition to the challenge cards) and tag me--I'd love to see what you create! Thank you so much for stopping by!

Thank you very much for using my affiliate links (never any additional cost to you)!
Wednesday, December 14, 2022

Cold Noses, Warm Heart - Winter Friend Card

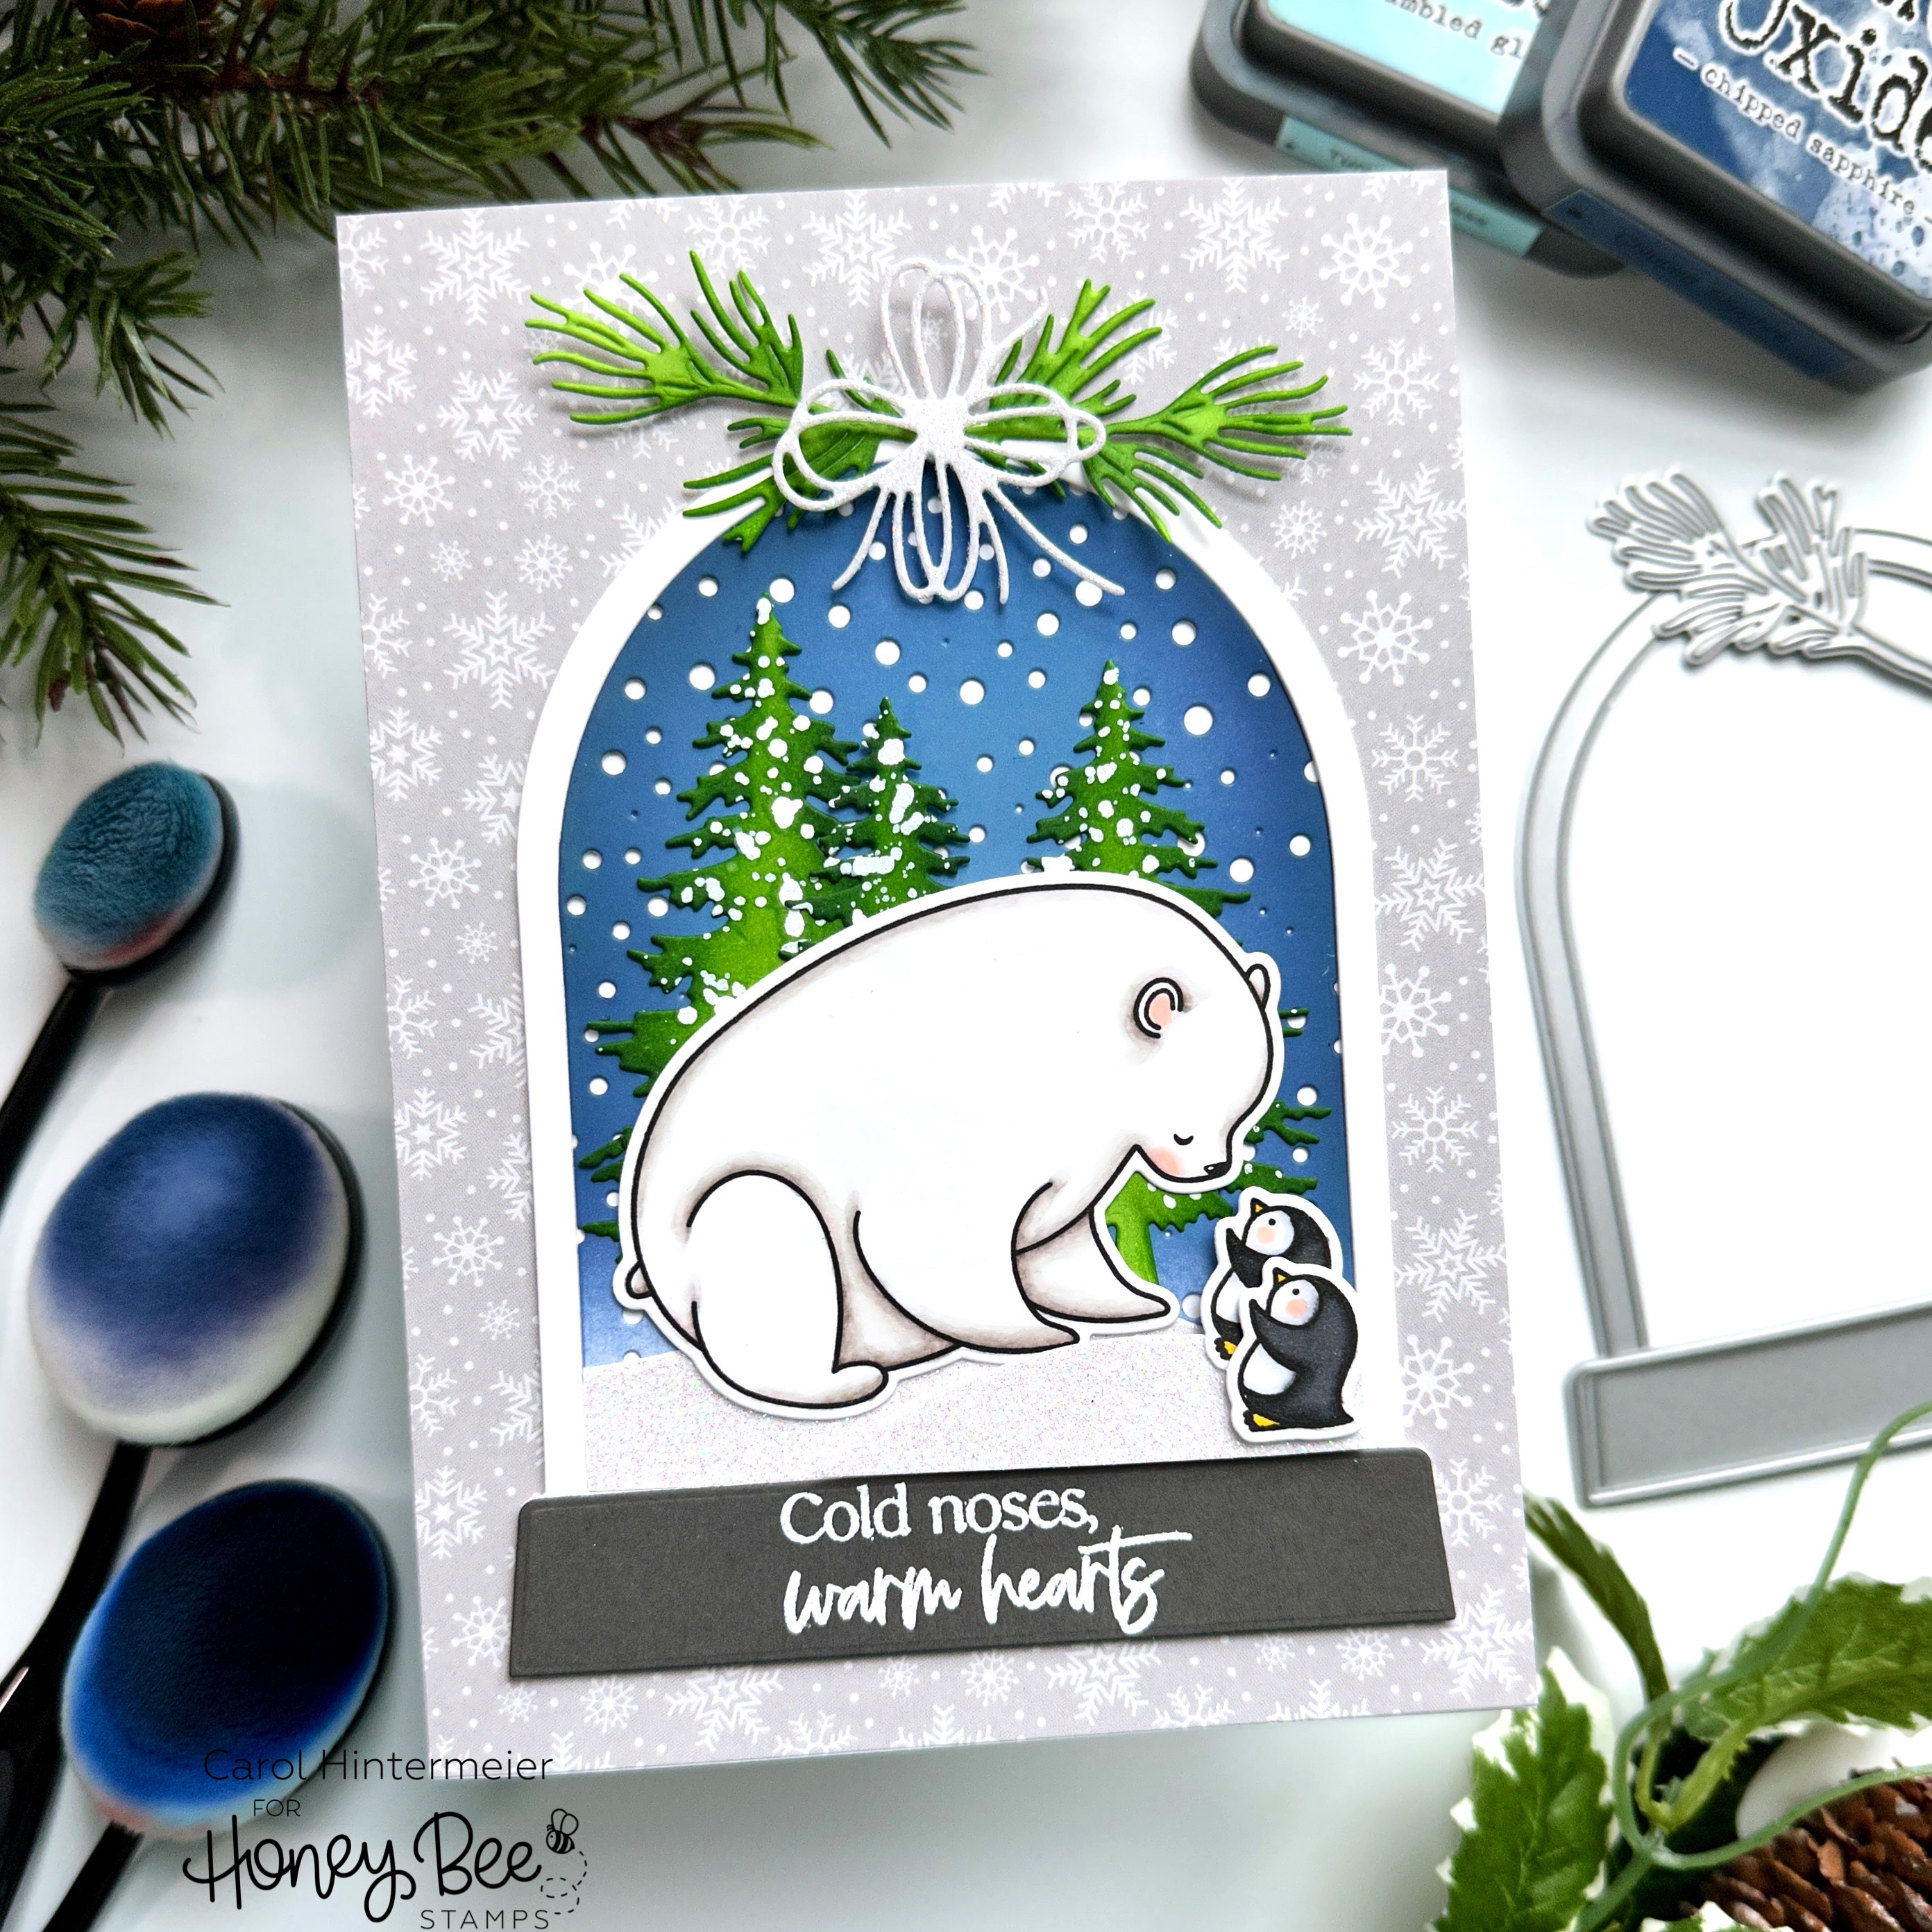
 Hello Honey Bee friends! Today I'm sharing my looks-like-a-shaker-card, but it isn't card! I've used the new Polar Pals stamps and Honey Cuts and placed them in the Snow Globe A2 Shaker die on a 5" x 7" card. With the sentiments I used on the outside and inside of the card, this is just perfect to send a paper hug to that special someone!

Let's begin from the card base upwards:

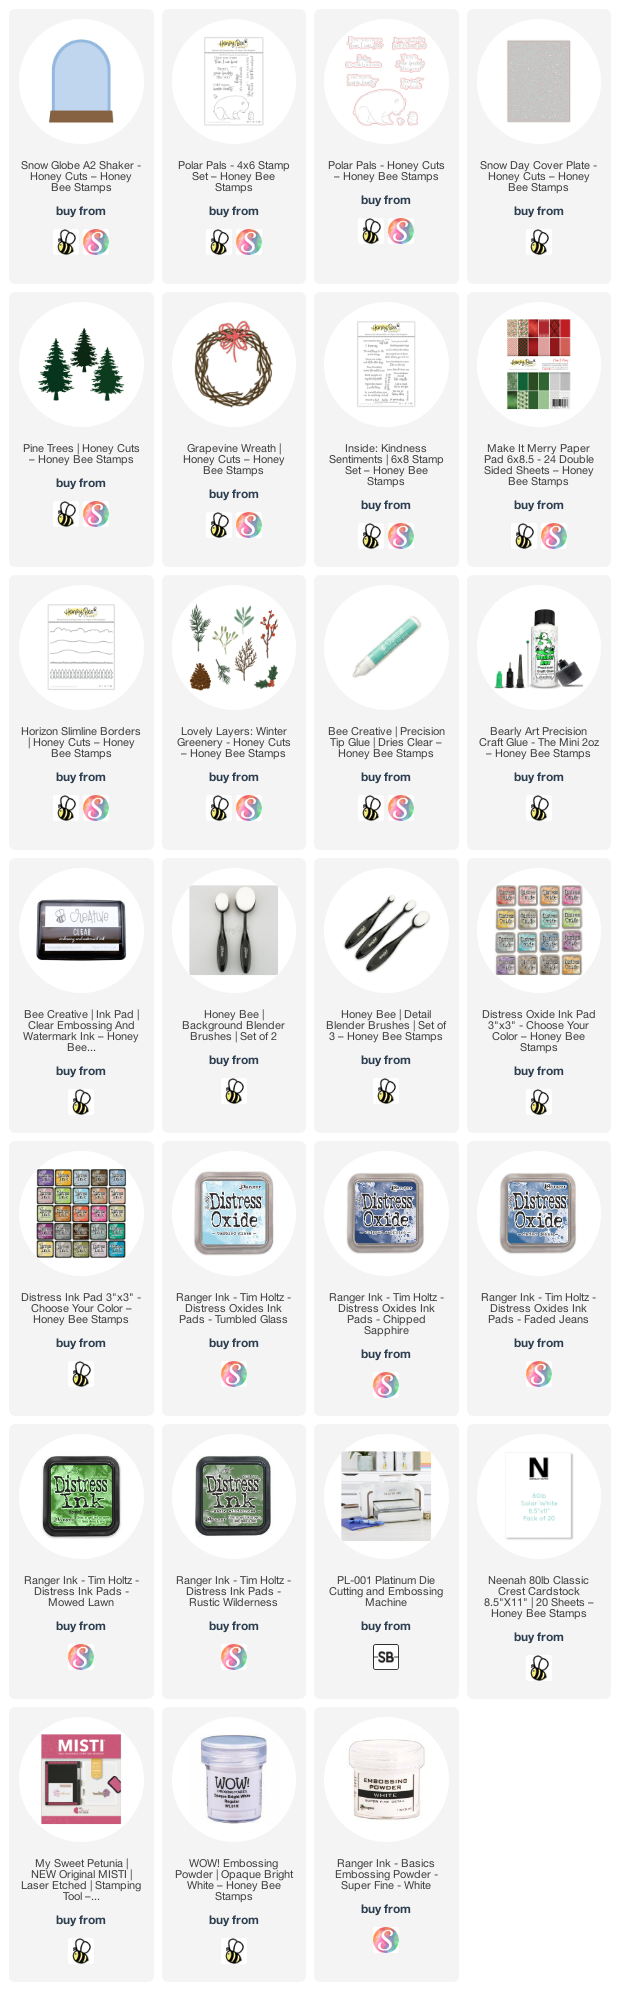
  • Cut a piece of the patterned paper from the Make It Merry paper pad to 5" x 7".
  • Adhere it to an A7 card base.
  • Stamp the sentiment from the Inside: Kindness set on the inside of the card in black ink.
  • Next die cut the pieces of the Snow Globe A2 Shaker Honey Cuts from 80# Neenah.
  • Die cut the frame three times and layer together with glue.
  • Die cut the base from dark gray cardstock.
  • Next stamp the sentiment from the Polar Pals stamps onto the gray base in clear embossing ink and heat set with white embossing powder. Adhere to the snow globe with glue.
  • Ink blend Tumbled Glass, Faded Jeans and Chipped Sapphire Distress Oxide inks onto the center piece of the snow globe.
  • Die cut the ink blended piece with the Snow Day Cover Plate die.
  • Then die cut two hills using the Horizon Slimline Borders Honey Cuts from white glitter cardstock.
  • Trim them with scissors to fit the bottom of the inked snow globe center piece.
  • I adhered one with glue and popped up the small hill with some foam tape.
  • I assembled the snow globe and adhered it to the card base with glue.
  • Next I stamped the polar bear and penguins from the Polar Pals set in Intense Black ink. I used a few Copic markers to color them and then cut them out with the coordinating Honey Cuts.
  • Next I die cut the Pine Trees Honey Cuts and two pieces of pine sprigs from the Lovely Layers: Winter Greenery. I used an ink blending brush to color them with Mowed Lawn and Rustic Wilderness Distress ink.
  • I splattered the pine trees with diluted white paint and adhered all of the pieces to the snow globe with glue and foam squares.
  • I die cut the bow from the Grapevine Wreath Honey Cuts from white glitter cardstock.
  • I splattered the pine trees with diluted white paint and adhered all of the pieces to the snow globe with glue and foam squares.

I just adore the sweet Polar Pals set!! So did I succeed in making my pretend shaker card kind of look like a shaker? I think it works and hope you do too! Thank you so much for stopping by today. You are always so very appreciated!

Thank you so much if you use my affiliate links to shop (never any additional cost to you).