Showing posts with label Mini Messages: Everyday. Show all posts

Wednesday, August 2, 2023

Hello Beautiful!! -- Floral Birthday Card

Hello crafty friends! I cannot believe it's August!  I'm staying inside, out of the heat, and having lots of crafty fun! Today I'm sharing this card I made using Honey Bee Stamps' Adventure Awaits paper pad along with several other previously released products.

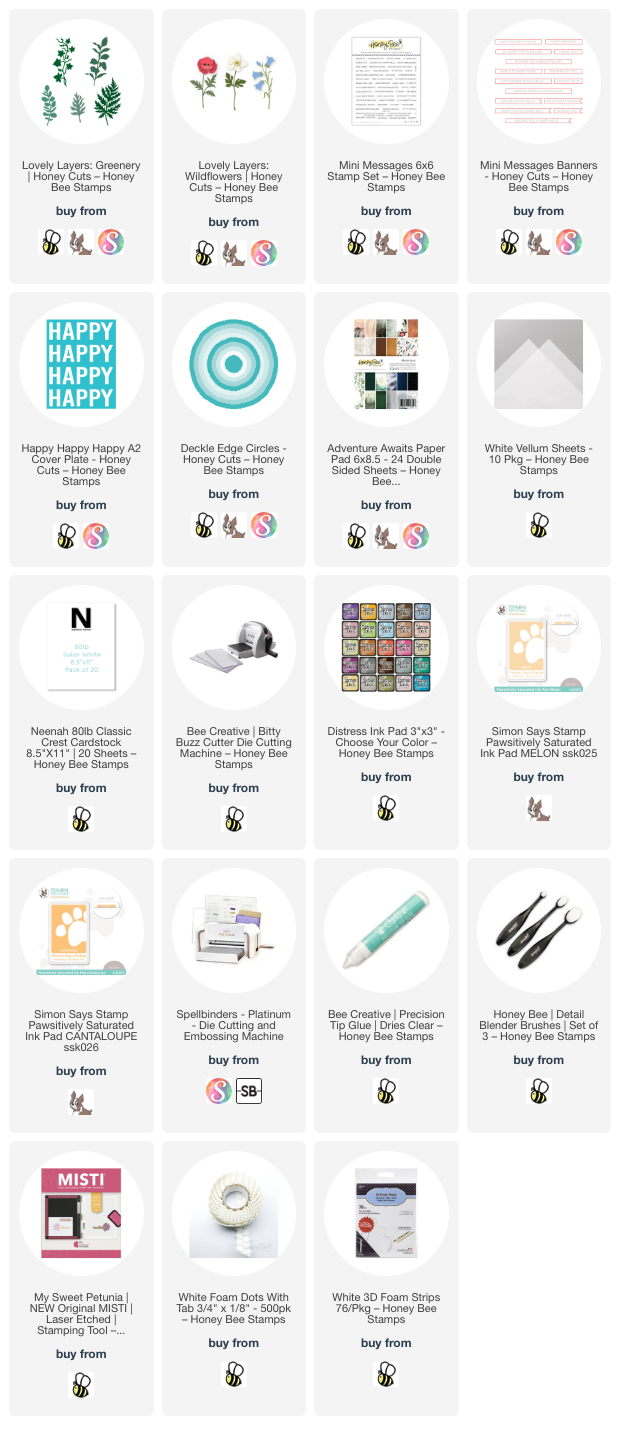
First I created the layers for the card base by die cutting the Happy Happy Happy A2 cover plate die four times. Once was from patterned paper in the Adventure Awaits paper pad and three times from white cardstock.  Be sure to save those middle pieces from the "A's" and "P's"!!

Tip: Do what I totally forgot to do and put sheets of double-sided adhesive to the papers before die cutting! Otherwise, use Bee Creative glue to adhere the the layers and the fallout pieces for the A's and P's, like I did.

Once you have the layers adhered, add a piece of dark green paper (Adventure Awaits paper pad) to an A2 card base. Then adhere the Happy Happy Happy die cut to the card. Next adhere the center pieces of the A's and P's.

Next I chose two of the dies from the Lovely Layers: Greenery set. I die cut one greenery once, and the other two times from 80# Neenah. I used some ink blending brushes and Distress inks to color the greenery. I used Shabby Shutters, Peeled Paint, Bundled Sage, and Rustic Wilderness.

Next I die cut the poppy layers from the Lovely Layers: Wildflower set. I used a few of the same green Distress Inks as before, plus a couple of coral-orange inks in my stash to color the layers.

To defuse the business of the patterned paper, I die cut some vellum with the fourth largest Deckle Circle die. As you can see in the photo, I trimmed off the edge just a bit. Then I used dots of glue to adhere the greenery and poppy to the vellum. When the glue was dry I turned the piece over and added pieces of foam dots to the back of the vellum making sure they wouldn't show through to the front. (I just cut the foam dots in halves or quarters to make them fit where needed!)

One more step before I removed the backing from the foam dot pieces! I stamped the sentiments from the Mini Messages: Everyday in green ink and die cut them with the two coordinating dies. I used tape runner to glue the sentiments to the vellum, as shown. Then I added a narrow foam strip to the back of the sentiments. This will hold up that side of the vellum! Remove the foam tape backing and adhere the piece to the card.

I added a few pretty pearls that coordinated from the Spring Pearls pearl stickers set.

In spite of the details of this card, I had this made in a surprisingly short amount of time!  I'm still building up my low birthday card stash, and this will be perfect for a fall birthday! Thank you so much for stopping by!

I so appreciate it when you use my affiliate links to shop (never any additional cost to you)!
Wednesday, June 28, 2023

Birthday Card with a Cute Pink Cabin

Happy Wednesday crafty friends!! Today I'm sharing a sweet birthday card for Honey Bee Stamps featuring a pink Summer Cabin and the gorgeous Spring Medley embossing folder.

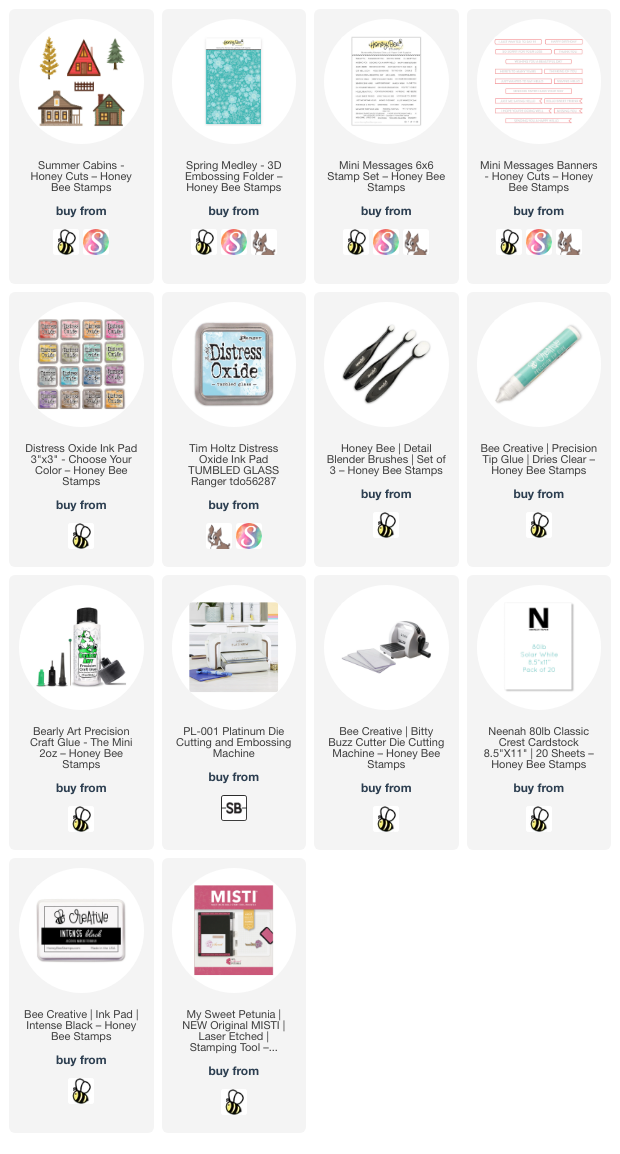
First I die cut one of the cute cabins from the Summer Cabins Honey Cuts. The white pieces are 80# Neenah and the others are colored cardstock from my stash. I did use a brown Copic marker to color the trunks of the trees and also a blue marker for the backing I made to go behind the windows.

Next I used glue with a fine tip to make it easy to assemble the pieces of the cabin and trees. There's also a very handy link to a layering guide you can download and print in the product description.


Next I ran the Spring Medley 3D embossing folder and pink cardstock through my die cutting machine. I trimmed the embossed piece to 4" x 2-¾". I also trimmed a narrow strip of green cardstock.

Before adhering any element to my A2 card base, I used a Detail Blender brush to ink on a bit of Tumbled Glass Distress Oxide ink to create a sky for my scene. I used the embossed panel and the cabin as a guide for where to place the ink.

Next I adhered the pink embossed piece to my card and then the green strip. I used thin foam circles to adhere the cabin, and glue to adhere the other elements except the small tree. I popped it up with foam tape.

I stamped the sentiment from the Mini Messages: Everyday set in Intense black ink. Then I cut it out with a die from Mini Messages Banners. I added a narrow foam tape strip to pop it up.

I totally love how this turned out, and I hope you do too! I enjoy using sets like the Summer Cabins in a bit of an unexpected way. Thank you so much for stopping by today--you are appreciated!

Thank you for using my affiliate links to shop (never any additional cost to you)!

Wednesday, June 21, 2023

A Beautiful Day -- A Fun Card with Distress Spray Stains

Happy Wednesday crafty friends! Have you noticed that lately I'm very much into using my inks for lots of fun techniques? Well today's card is no exception!  Haha!  I've used the beautiful Lovely Layers: Water Lily by Honey Bee Stamps on my card with lots of ink sprays and stenciling! Check out the the details below!

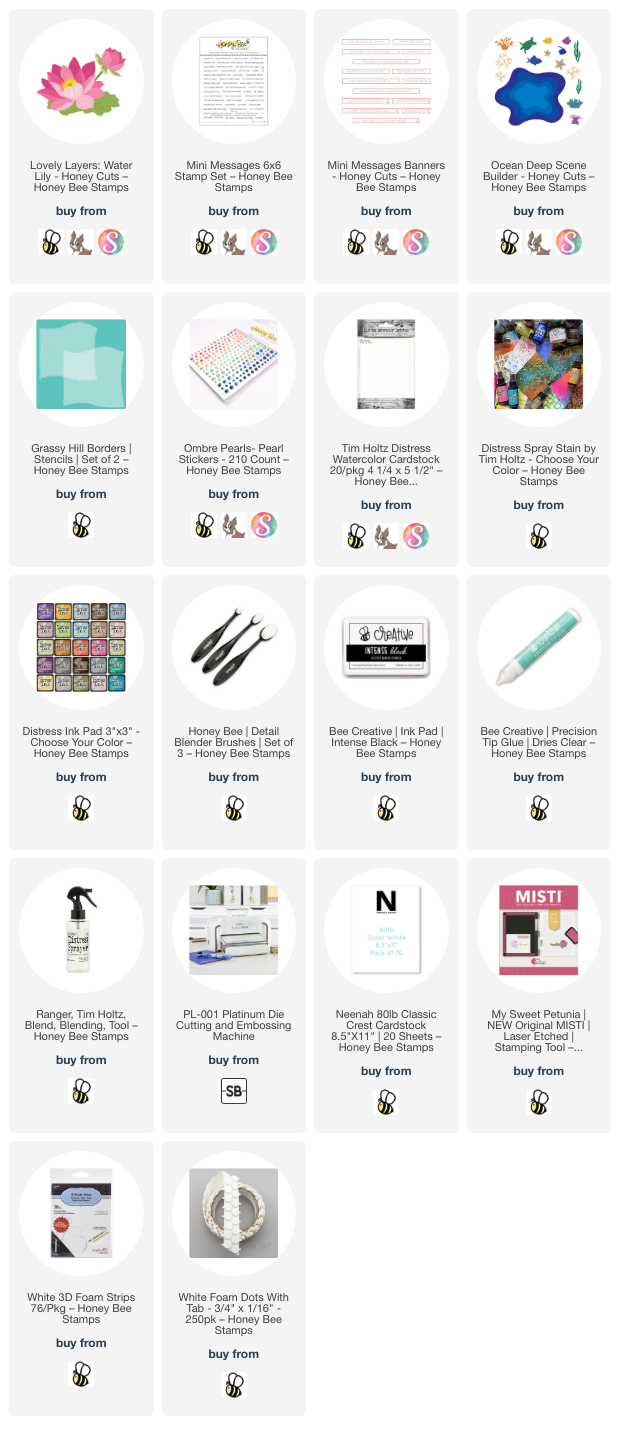
First I created the background layers for the Water Lily. My thoughts were to create a pond surrounded by a grassy meadow. For all of the layers and flower I used Distress Watercolor cardstock. I began by coloring panels of the watercolor cardstock. For the green layer I first sprayed on Twisted Citron Distress Spray Stain. I used my water mister to spritz it with water to totally saturate the panel. You can let it air dry or use your heat tool to dry. The main thing is to always dry one layer before moving onto the next layer of ink.

Since I don't have any other green Distress Ink Spray Stains, I added Mowed Lawn Distress ink with the ink smooshing technique. Just press the ink pad onto your craft mat, lightly spritz with water, and dip the panel in. Dry, dip and repeat until you are happy! I created another panel to use to die cut the green pieces of the Lovely Layers: Water Lily.

Next I used the Grassy Hill border stencil to add in the grass. I used a Detail Blender brush and Rustic Wilderness Distress ink to add multiple layers of grass.  I used some white paint to add dots to emulate small flowers with a #1 paint brush.

I trimmed the grassy panel to 5-½" x 4-5/8" and adhered it to a white card base. Yes, the size is unusual, but it will fit easily into an A7 envelope. Next I created a blue watery panel using the same technique as the grassy panel, but I only used two Distress Sprays Stains: Salvaged Patina and Mermaid Lagoon. Die cut the dry panel with the largest die in the Ocean Deep Scene Builder Honey Cuts. I used Bee Creative glue to adhere it to the card.

I used the same techniques to create the Lovely Layers: Water Lily. The watercolor cardstock was spritzed with Saltwater Taffy and Abandoned Coral Distress Spray Stains. Before I die cut the layers, I added white paint splatters. The flower has some thin foam dots between the layers to show off the dimension.

I stamped the sentiment from the Mini Messages: Everyday with Intense Black ink and cut it out with a Mini Messages Banner die. A thin foam strip was used to adhere it to the card.  I added a few Ombré Pearl Stickers for some subtle bling.

It's so fun to create your own inky panels! No two are alike and yet all will be beautiful! I hope I've given you some inspiration to give these techniques a try. Thank you so much for stopping by today!

I so appreciate you using my affiliate links to shop (never any additional cost to you)!

Wednesday, June 14, 2023

Retirement Card Using Products in an Unexpected Way!

Happy Wednesday crafty friends! This retirement card I'm sharing today features a few new products from Honey Bee Stamps newest Adventure Awaits release along with some previously released products that I still love! When I was making this card, I was reminding myself that I (we) need to always look at the products for what they are, not what they may be called. Keep reading and you'll see what I'm talking about!


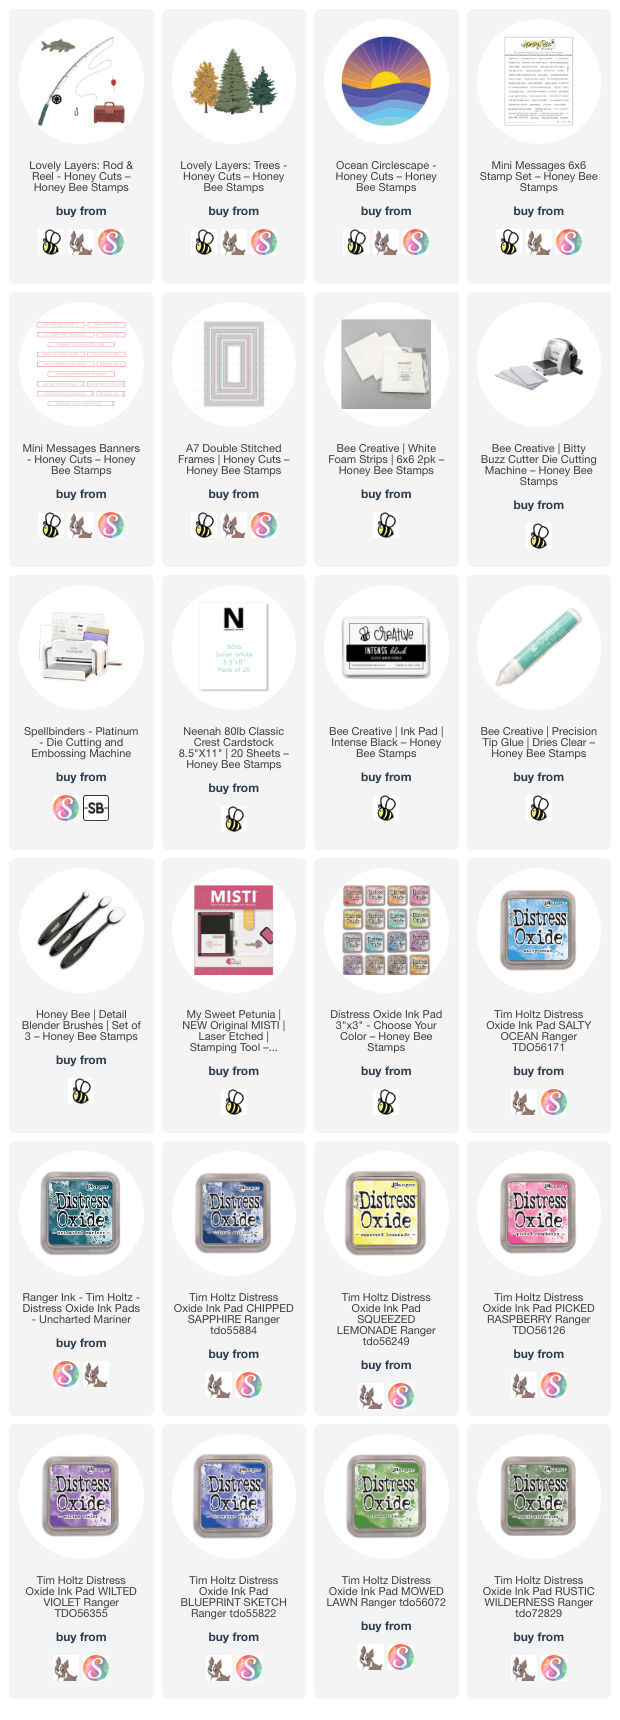
Here is the first example of looking just at the product, not at what the name of it is. I used the Ocean Circlescape Honey Cuts to create a small "lake" scene that would coordinate with the new Lovely Layers: Rod & Reel and the Lovely Layers: Trees!

After I die cut the Ocean Circlescape die from 80# Neenah, I added a few pieces of removable tape to the back of the "lake" layers for ease of ink blending. Then I used several Distress Oxide inks and my Detail Blending brushes to color the lake and sunset. For the lake I used: Chipped Sapphire, Uncharted Mariner, and Salty Ocean. I added some water splatters and white paint splatters to the waves. For the sunset I used: Squeezed Lemonade, Picked Raspberry, Wilted Violet and Blueprint Sketch. 

I cut a circle with a die from the Circlescape Shaker Frames Honey Cuts. Then I used Bee Creative glue to adhere the Ocean Circlescape to the die cut circle.

The Lovely Layers: Rod & Reel pieces were die cut from 80# Neenah and the rod portion from silver cardstock. I used a few Copic markers to color the rod pieces, tackle box, and the fish. I used glue to adhere the rod pieces together.

The Lovely Layers: Trees are also die cut from 80# Neenah and colored with Mowed Lawn, Rustic Wilderness, and Twisted Citron Distress Oxide inks. I colored the trunks with a brown Copic marker.

Here is the second example of looking at the product, not the name. I die cut a piece of paper from the Make It Merry paper pad with the largest A7 Double Stitched Frames die for the card base layer. It was the perfect color to coordinate with my card!

The sentiment strips from the new Mini Messages: Everyday are stamped with Intense black ink and die cut with the coordinating dies. The trees and sentiments have foam tape to pop them up a bit, and the other elements are adhered with glue.

I love combining new products with older favorites! And with this design and card style, just switch out the sentiment to make a birthday, Father's Day, or other masculine card.

I hope you've found inspiration today for looking at your Honey Bee goodies in a different way! If you give this a try, I hope you'll share it over on the Honey Bee Buzzworthy Facebook group (you can share any card made with Honey Bee products in addition to the challenge cards) and tag me--I'd love to see what you create! Thank you so much for stopping by!

Thank you very much for using my affiliate links (never any additional cost to you)!