Showing posts with label Summer Cabins. Show all posts

Wednesday, July 5, 2023

Summer Cabin Beach Scene Dimensional Card

 Hello crafty friends!! Today I'm sharing another way to create a different scene with my favorite Honey Bee Stamps Summer Cabins! It's super hot here now and I wish I had a beach trip planned, (but I don't) so I'll just pretend with this fun beach scene card!

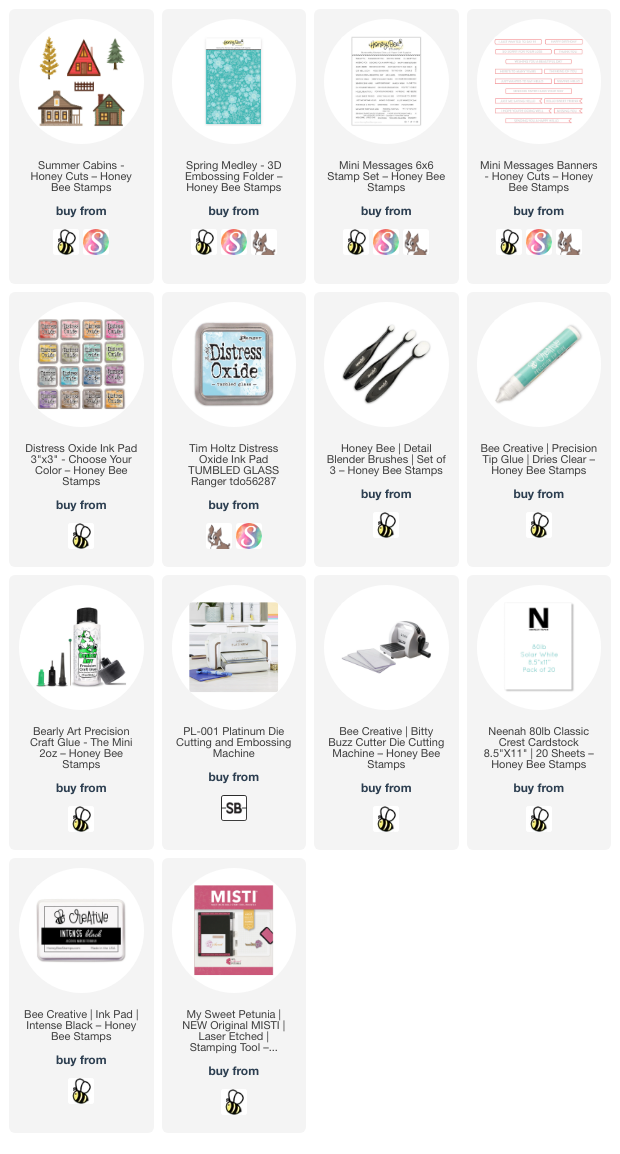
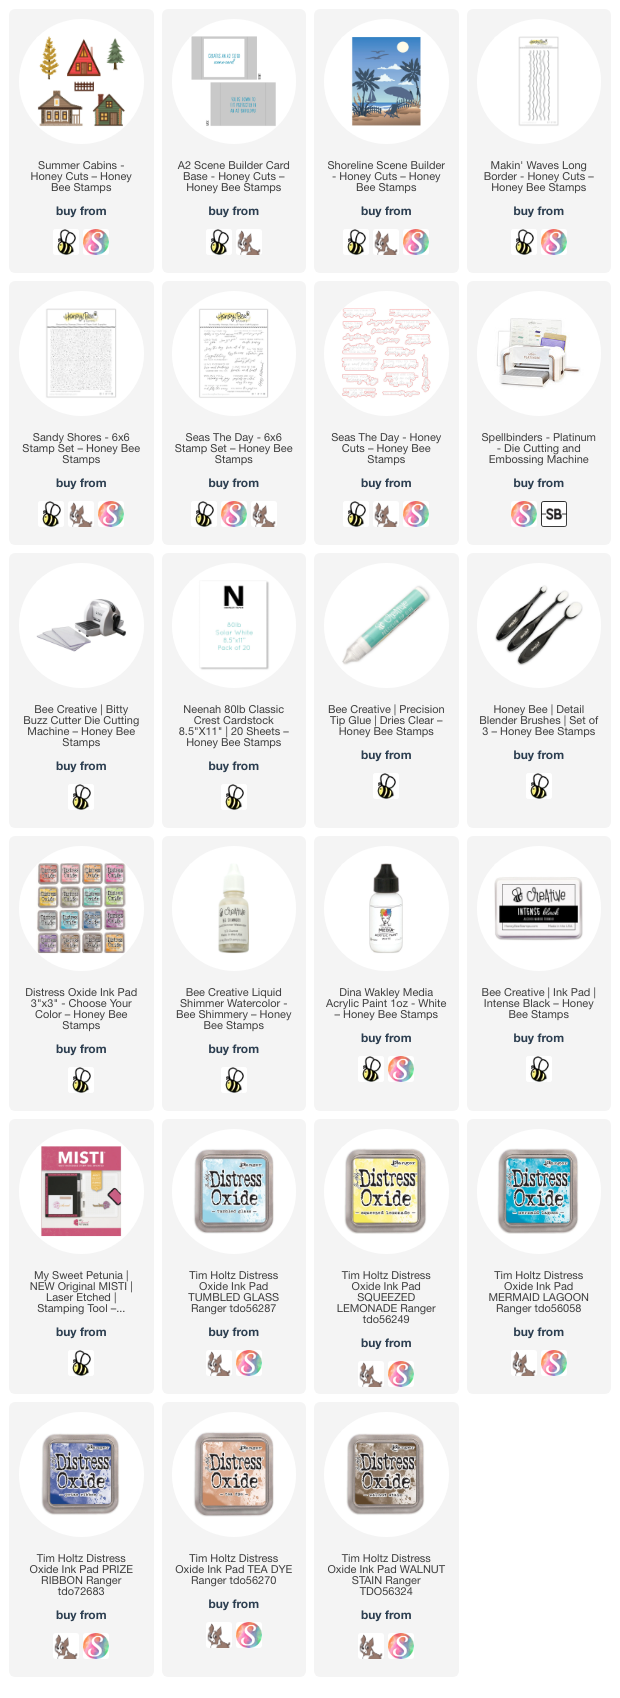
I began by die cutting teal and white cardstock with the two dies in the A2 Scene Builder Card Base set. Next I die cut two strips of white cardstock with two of the waves dies in the Makin' Waves Borders Honey Cuts. I used blender brushes to add Mermaid Lagoon to one strip and Prize Ribbon Distress Oxide ink to the other. I trimmed these strips to 5" wide and one to about 1" tall and the other 1-½" tall. I scored the ends at ¼".

Before I adhered them to the teal frame, I splattered on diluted white paint and some Bee Shimmery liquid shimmer watercolor for some fun sparkle. I added 1/8" double sided tape to the scored tabs to secure the layers to the scene. I created the layer of sand by stamping beige cardstock with the Sandy Shores Background stamp and Tea Dye and Walnut Stain Distress Oxide inks. I hand-trimmed the piece and used my trimmer to cut it to 4-½" and then glued it directly to the back of the frame.

Before I glued on the back of the Card Base I created the other elements for the scene. (I find it easier to glue them in place without the Card Base back adhered.) I chose this cute little cabin from the Summer Cabins Honey Cuts for my scene. I die cut the layers from yellow and teal cardstock and use Bee Creative glue to adhere the pieces. Using your reverse tweezers to place the pieces makes it super easy!

See the little "bushes" in front of the cabin? Well, actually I die cut them using the tiny cloud die in the Shoreline Scene Builder Honey Cuts! This set also is where the palm tree, sailboat and birds are from. I die cut the pieces from white cardstock and used a few Copic markers to color them.

Next I added color to the back of the Card Base by inking on Mustard Seed and Squeezed Lemonade Oxide inks for the sun. I inked on Tumbled Glass Oxide for the sky.

I used glue to adhere the cabin, palm tree, and saiboat to the card layers as shown. Then I folded the back of the Card Base at the score lines and used glue to adhere it to the sides of the card front.

I stamped the sentiment from the Seas The Day stamp set in black ink and cut it out with the coordinating die. Then I glued it and the birds to the back.

I just love that I thought of another scene for the Summer Cabins! I sure hope you've found inspiration too, and thank you so much for stopping by today!

Thank you so much for using my affiliate links to shop (never any additional cost to you)!
Wednesday, June 28, 2023

Birthday Card with a Cute Pink Cabin

Happy Wednesday crafty friends!! Today I'm sharing a sweet birthday card for Honey Bee Stamps featuring a pink Summer Cabin and the gorgeous Spring Medley embossing folder.

First I die cut one of the cute cabins from the Summer Cabins Honey Cuts. The white pieces are 80# Neenah and the others are colored cardstock from my stash. I did use a brown Copic marker to color the trunks of the trees and also a blue marker for the backing I made to go behind the windows.

Next I used glue with a fine tip to make it easy to assemble the pieces of the cabin and trees. There's also a very handy link to a layering guide you can download and print in the product description.


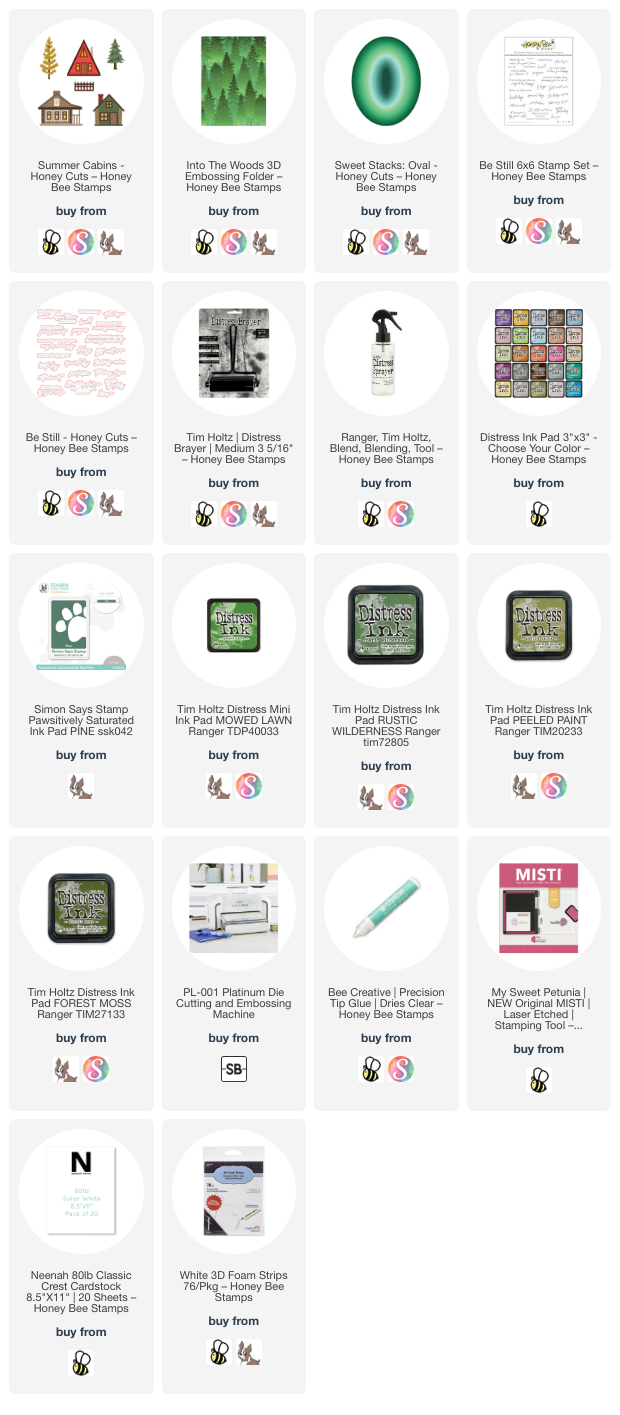
Next I ran the Spring Medley 3D embossing folder and pink cardstock through my die cutting machine. I trimmed the embossed piece to 4" x 2-¾". I also trimmed a narrow strip of green cardstock.

Before adhering any element to my A2 card base, I used a Detail Blender brush to ink on a bit of Tumbled Glass Distress Oxide ink to create a sky for my scene. I used the embossed panel and the cabin as a guide for where to place the ink.

Next I adhered the pink embossed piece to my card and then the green strip. I used thin foam circles to adhere the cabin, and glue to adhere the other elements except the small tree. I popped it up with foam tape.

I stamped the sentiment from the Mini Messages: Everyday set in Intense black ink. Then I cut it out with a die from Mini Messages Banners. I added a narrow foam tape strip to pop it up.

I totally love how this turned out, and I hope you do too! I enjoy using sets like the Summer Cabins in a bit of an unexpected way. Thank you so much for stopping by today--you are appreciated!

Thank you for using my affiliate links to shop (never any additional cost to you)!

Wednesday, June 7, 2023

Woodsy Birthday Card with Embossing Folder Techniques

Hello Honey Bee friends!! I love ink smooshing watercolor panels anytime. But when you emboss that panel with an awesome embossing folder like the Into The Woods 3D embossing folder, it takes it to the next level!! Check out the details of how I made this woodsy card with the Summer Cabins that's great for a guy's birthday, but I know I'd love to get one like this too!

I also have a reel posted on my Instagram feed if you'd like to see some of the inky fun!

For the inky panel I used these Distress Inks: Mowed Lawn, Rustic Wilderness, Peeled Paint, and Forest Moss. I used a silicone mat and smooshed Peeled Paint and Forest Moss first. Just press each ink pad 3-4 times onto the mat. Then I used a water sprayer and spritzed water 4-5 times over the ink. I took a panel of watercolor cardstock and began to dip it.

Note: If you don't want ink to stain your fingers, be sure to use gloves. For the first layer, just press the cardstock into the ink two or three times. Use your heat tool to dry the ink. Then press it into the remaining ink and dry again. I repeated these steps with Mowed Lawn and Rustic Wilderness. As long as you dry between each dip into the ink, you will get beautiful layers.

Don't worry if you don't think it's perfect! Because with this next step it will turn into WOW! Take the Into The Woods embossing folder and use a brayer to roll on a dark green ink (I used Simon Says Stamp's Pine ink--linked below). Be sure to brayer the ink onto the side of the embossing folder that is the recessed area behind the trees.

Place your inky cardstock onto the non-inked side of the embossing folder. Carefully close the embossing folder closed and run it through your die cut machine with the suggested layers for embossing folders. I was totally amazed at the dimension this adds! Trim this to 4" x 5-¼" and adhere to an A2 card base.

Next I die cut one of the cabins in the Summer Cabins Honey Cuts from 80# Neenah. I used Copic markers to color all of the pieces. Here's a list of the colors I used:

  • Green pieces: G29, G28, G94, G24
  • Browns: E59, E57, E25
  • Chimney and stone foundation: W5, W3
  • Window lights: YR31

I used Bee Creative glue to adhere the layers together. If you need some help, be sure to check out the graphics in the product link. Then I used an oval from the new Sweets Stacks: Oval to cut a piece of vellum. I used tape runner and some dots of glue on the cabin and trees to adhere them to the oval. Now it's easy to hide the glue by adding tape runner on the back of the oval behind the cabin to adhere it to your card!

I stamped the sentiments from the Be Still stamp set with the Pine ink. Then I cut them out with the coordinating Honey Cuts. I used thin foam strips to pop them up onto the card.

This is such a fun technique and I hope I've given you inspiration today!  Thanks so very much for stopping by!  Have a crafty day y'all!

Thank you so much for using my affiliate links to shop (never any additional cost to you)!

Wednesday, May 24, 2023

Beautiful Lakeside Scene Card

Hello crafty friends! Have you seen the new Adventure Awaits release by Honey Bee Stamps? This is such an awesome release and one of my favorite products of this release is the Lakeside Scene Builder Honey Cuts! After I made this card I wanted to find a cabin at the lake to stay at this summer!! It looks so calming and peaceful.

Before I get to my card details, I want to let you know that there will be an Instagram Hop on May 26 and a YouTube hop on May 27 with lots more inspiration from the Adventure Awaits Release. Both will be posted at 9 am CST on the respective days, and there will be two prizes for each hop of two $50 gift certificates to Honey Bee's shop.  Just hop along and the more comments you leave, the greater your chances of winning.  You can find the hops by going to my Instagram page and Honey Bee's YouTube channel.

First I created a 5-½" square card base by scoring a 5-½" x 11" piece of 80# Neenah cardstock at 5-½". Then I used the At The Lake stencil set to begin my coloring. Each of the six stencils have the description etched on it. I found the stencil for the Sky and Lower Tree Bank and used removable tape to hold it in place over my card base. I used a couple of blue inks to stencil the sky directly onto the card base.

Then I die cut the Lakeside Scene Builder die from 80# Neenah. I place the same stencil over the die cut and stenciled the lower tree bank. I used several shades of green inks from my stash to complete each layer of stenciling. I used the same blue inks for the lake that were used for the sky. The small Detail Blender Brushes and some of these brushes are awesome for all of the stenciling.

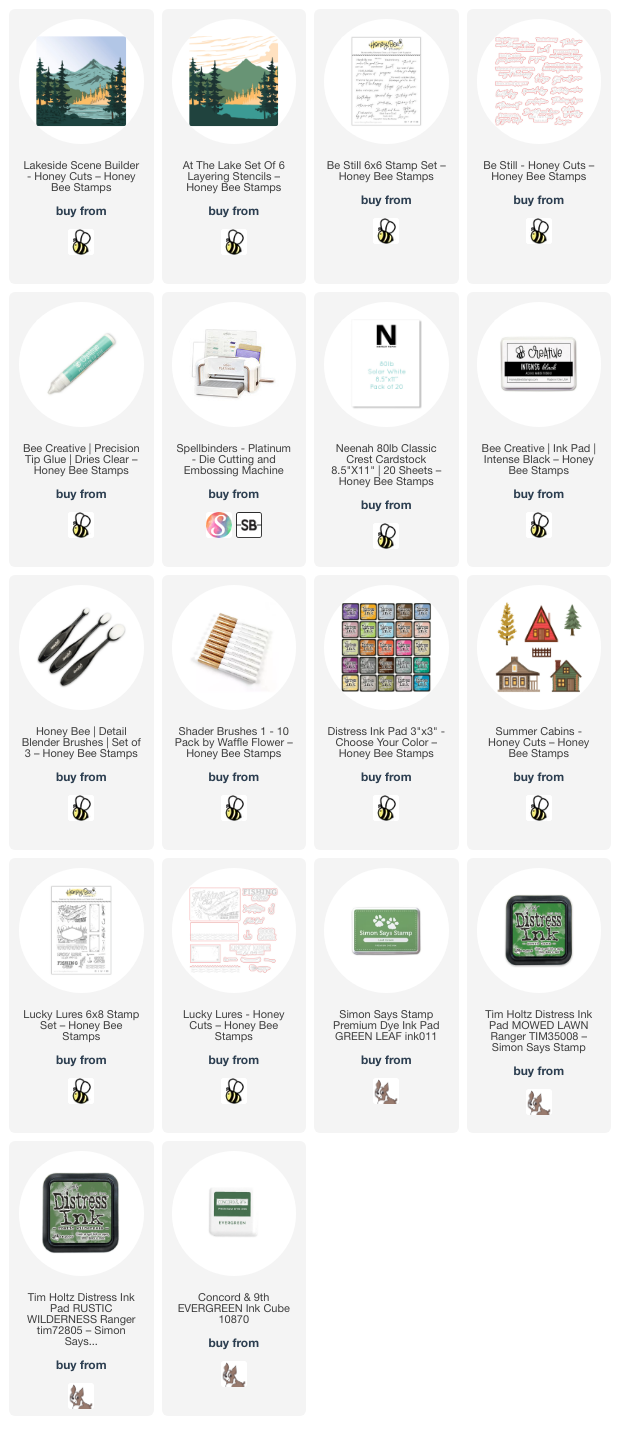
If you're curious about what green inks I used, I've listed the ones available below. Evidently, Altenew has discontinued their Crisp Dye Ink line (that I used four green and two blue of) for the newer version, which I don't have.

I love how the Lakeside Scene Builder cuts slits in the lake to insert the oar and canoe! This smaller canoe and oar are found in the Lucky Lures stamp set. I stamped them in brown ink and lightly blended on more brown ink over it all. I fussy cut both out but there are coordinating dies for the Lucky Lures images. I used a couple of brown Copic markers to add simple shading to the canoe. I inserted both into the slits and used Bee Creative glue to hold them in place. The larger canoe and oar are in the Lakeside Scene Builder die set. I popped that one up with foam tape.

I added a few extra trees from the Summer Cabins Honey Cuts. After I cut them out, I used a couple of the green inks to color them.

I finished the card by adding a sentiment from the Be Still stamp set stamped in Intense Black ink. I cut it out with the coordinating die and popped it up with foam tape.

I absolutely love the peaceful serenity this card evokes! I hope you've found some inspiration today for your cards. Thank you so much for stopping by!