Showing posts with label Adventure Awaits release. Show all posts

Wednesday, May 24, 2023

Beautiful Lakeside Scene Card

Hello crafty friends! Have you seen the new Adventure Awaits release by Honey Bee Stamps? This is such an awesome release and one of my favorite products of this release is the Lakeside Scene Builder Honey Cuts! After I made this card I wanted to find a cabin at the lake to stay at this summer!! It looks so calming and peaceful.

Before I get to my card details, I want to let you know that there will be an Instagram Hop on May 26 and a YouTube hop on May 27 with lots more inspiration from the Adventure Awaits Release. Both will be posted at 9 am CST on the respective days, and there will be two prizes for each hop of two $50 gift certificates to Honey Bee's shop.  Just hop along and the more comments you leave, the greater your chances of winning.  You can find the hops by going to my Instagram page and Honey Bee's YouTube channel.

First I created a 5-½" square card base by scoring a 5-½" x 11" piece of 80# Neenah cardstock at 5-½". Then I used the At The Lake stencil set to begin my coloring. Each of the six stencils have the description etched on it. I found the stencil for the Sky and Lower Tree Bank and used removable tape to hold it in place over my card base. I used a couple of blue inks to stencil the sky directly onto the card base.

Then I die cut the Lakeside Scene Builder die from 80# Neenah. I place the same stencil over the die cut and stenciled the lower tree bank. I used several shades of green inks from my stash to complete each layer of stenciling. I used the same blue inks for the lake that were used for the sky. The small Detail Blender Brushes and some of these brushes are awesome for all of the stenciling.

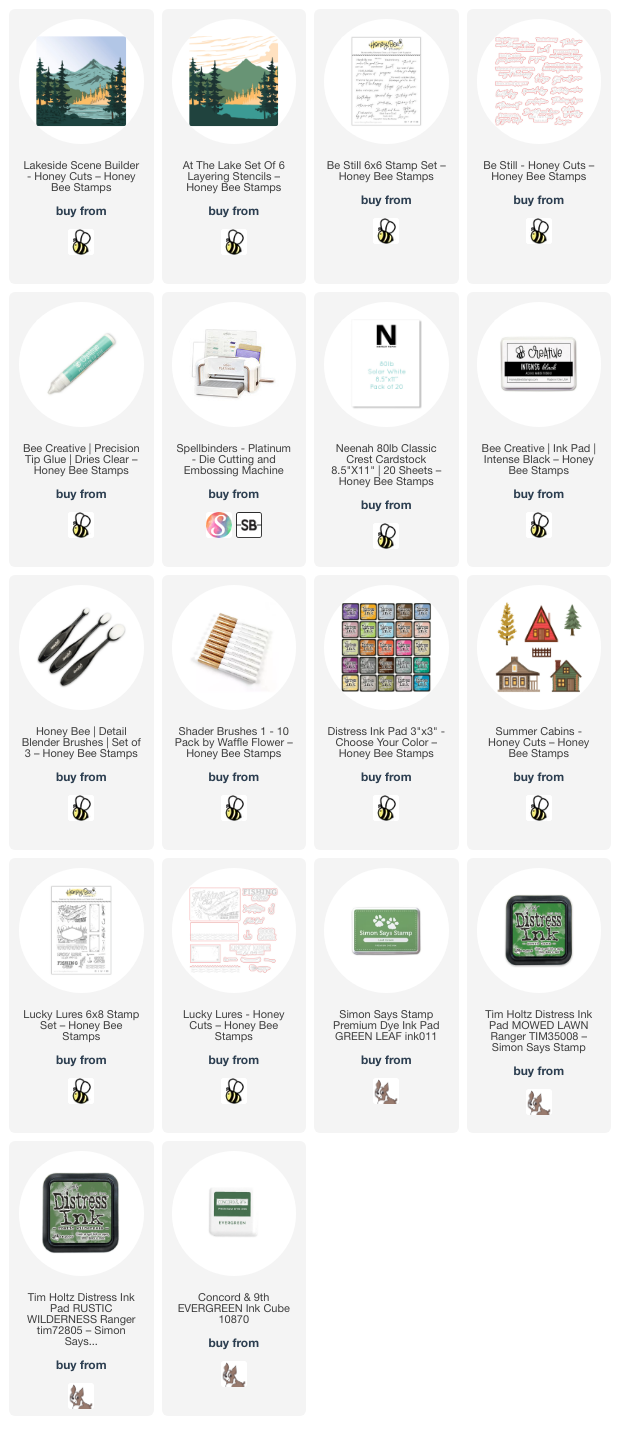
If you're curious about what green inks I used, I've listed the ones available below. Evidently, Altenew has discontinued their Crisp Dye Ink line (that I used four green and two blue of) for the newer version, which I don't have.

I love how the Lakeside Scene Builder cuts slits in the lake to insert the oar and canoe! This smaller canoe and oar are found in the Lucky Lures stamp set. I stamped them in brown ink and lightly blended on more brown ink over it all. I fussy cut both out but there are coordinating dies for the Lucky Lures images. I used a couple of brown Copic markers to add simple shading to the canoe. I inserted both into the slits and used Bee Creative glue to hold them in place. The larger canoe and oar are in the Lakeside Scene Builder die set. I popped that one up with foam tape.

I added a few extra trees from the Summer Cabins Honey Cuts. After I cut them out, I used a couple of the green inks to color them.

I finished the card by adding a sentiment from the Be Still stamp set stamped in Intense Black ink. I cut it out with the coordinating die and popped it up with foam tape.

I absolutely love the peaceful serenity this card evokes! I hope you've found some inspiration today for your cards. Thank you so much for stopping by!
Tuesday, May 23, 2023

Vintage Gift Card Box with Lucky Lures Stamps

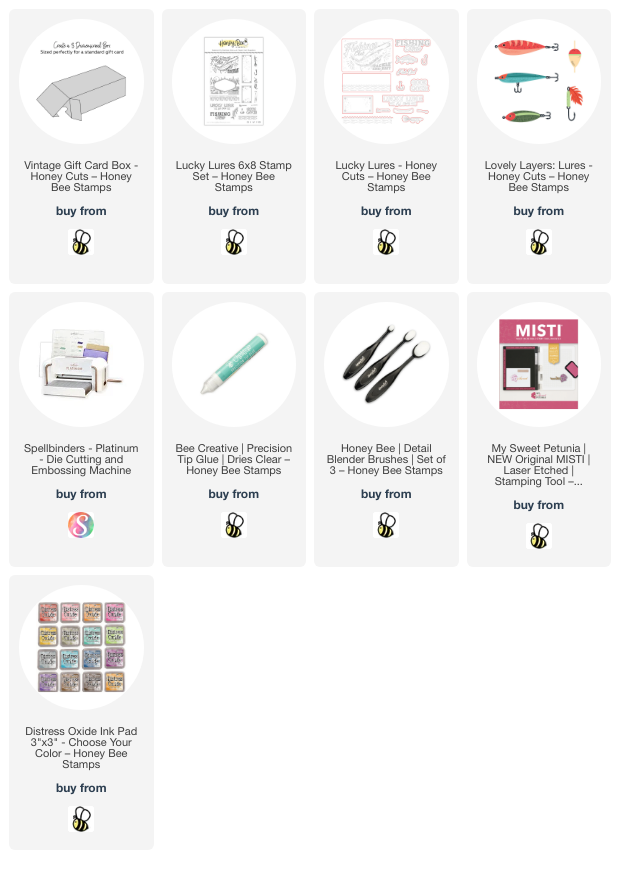
This is the coolest gift card holder I made with the Vintage Gift Card Box dies!  It's new from Honey Bee Stamps from the Adventure Awaits release!  The Lucky Lures stamp set lets you stamp different elements onto the box--it's so clever!  (And don't tell, but I heard there may be some add-on stamp sets for upcoming seasons for the gift card box!)

I used some light cream colored cardstock from my stash to die cut the Vintage Gift Card Box.  Then I stamped some images from the Lucky Lures stamp set onto the top and sides of the box with Rustic Wilderness Distress Oxide ink.  I used some removable tape to mask off the center of the framed area.

Next I used Faded Jeans Distress Oxide to stamp the waves.  I created a little mask for the waves and stamped the canoe in Lumberjack Plaid.  I stamped the oar on a scrap piece in Walnut Stain and fussy cut it out.  There are coordinating dies, but I didn't want the edge around the stamped portion.

I used a few Copic markers to add color to the image on the top of the box.  I kept my coloring very simple with minimal shading.  I used these Copics:  G28, G46, Y35, R39, and R27.

Now it's time to fold on the score lines.  I used my bone folder to crease along the lines left from the dies.  I folded portions of the box and ink blended Walnut Stain here and there along each side of the box for a more vintage look.  Then I used Bee Creative glue to assemble the box.

I love how this turned out!!  It easily holds a gift card and there's room to put some small candies, or even a fishing lure inside!  See the lure in my photos?  It's a sneak peek at one of the lure in the Lovely Layers: Lures die set!

I really appreciate it if you stopped by today for a look!  I hope your day is awesome!

Thank you if you choose to use my affiliate links to shop (never any additional cost to you)!

Monday, May 22, 2023

Vintage Is In! A Totally Masculine Birthday Card

Do you need a quick and easy masculine card?  This one is totally masculine!!  It features several of Honey Bee Stamps new products from the Adventure Awaits release.  This card did not take me long to make and that's always a bonus for me!

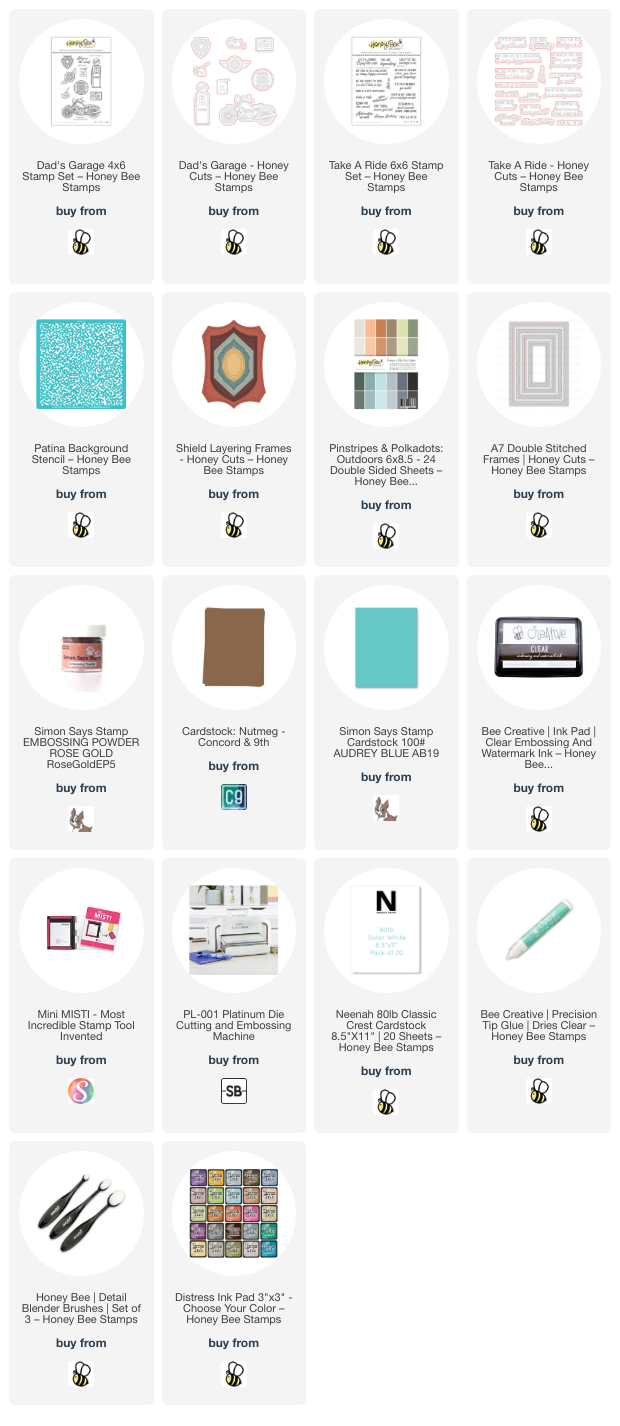
First I made two pieces using the new Patina Stencil.  I die cut brown cardstock (all product links are below) with the A7 Double Stitched Frames die.  The stencil doesn't cover the entire piece but you can't tell that at all.  The Clear Embossing Ink I stenciled through is very subtle.  (I used a new Paper Pouncer to add the clear ink through the stencil!  Makes it SO easy!)

Next I added more embossing ink through the stencil onto teal cardstock.  I added rose gold embossing powder and heat set it.  I die cut that piece and the striped paper (the new Pinstripes & Polka Dots: Outdoors paper pad) with dies from the Shield Layering Frames set.  I blended on some Brushed Corduroy Distress ink around the teal layer for more of a vintage look.

I added the layers to an A7 card base.  Then I stamped the motorcycle and the sentiments with clear embossing ink and heat set the rose gold embossing powder.  These are found in the Dad's Garage and Take A Ride stamp sets.  There are coordinating Dad's Garage and Take A Ride dies to cut them out!  Be sure to check out all of the awesome sentiments in the Take A Ride stamp set.

I added foam tape to the motorcycle and sentiments to pop them up on the card.


And just like that, you have a fabulous masculine card!  Be sure to check out all of the other amazing things in the Adventure Awaits release.  Thank you so much for stopping by!

Thank you very much for using my affiliate links to shop (never any additional cost to you)!

Sunday, May 21, 2023

Happy Birthday, To The Wise One -- New Lovely Layers: Owl

Have you seen the latest Honey Bee Stamps Adventure Awaits release?  Let me tell you, this release is all about the outdoors (which I love) and has lots of new sets to make creating masculine cards SO much easier!!

I'm going to be sharing lots of cards for your inspiration this week, so I'm keeping my blog posts brief.  All of the supplies I've used are linked below for you to check out.  If you have questions, please use the "contact me" box in the left side of my blog.

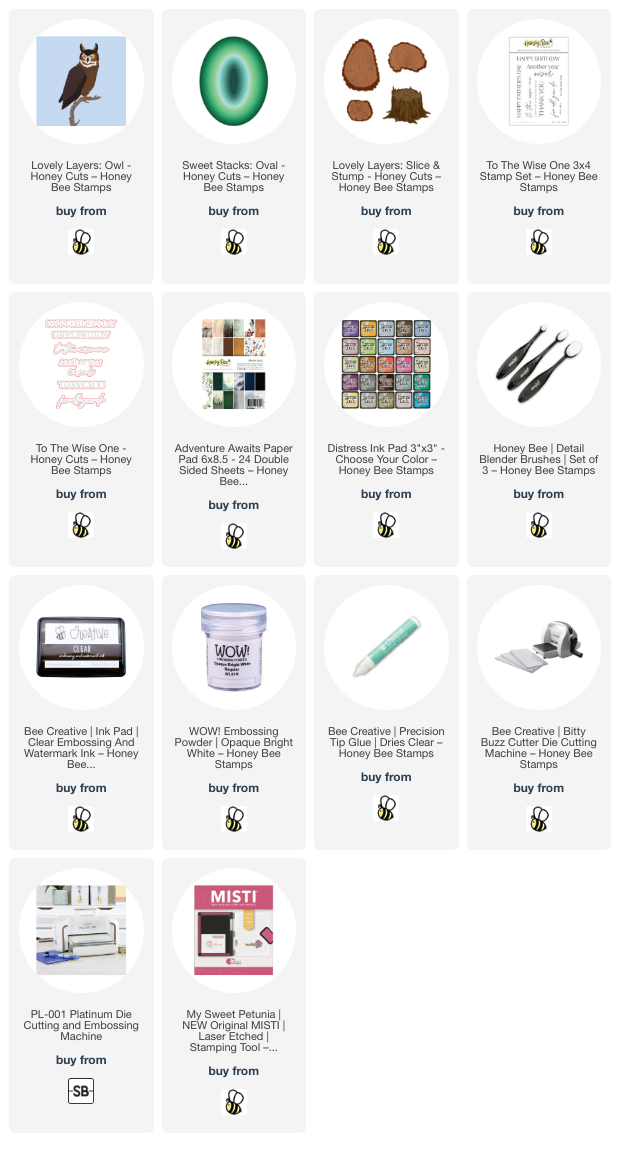
My card that I'm sharing today features the absolutely beautiful new Lovely Layers: Owl die set.

This Lovely Layers: Owl die set is so very detailed!  After you die cut the layers, you will see many embossed lines from the dies that add so much interest.  Be sure to download the very helpful layering guide found in the product description!

I put my owl perched on a stump from the new Lovely Layers: Slice & Stump.  All of my images were colored by blending a few Distress Inks with blending brushes.  I used these colors:  Owl: Ground Espresso, Antique Linen; Stump: Gathered Twigs, Antique Linen.

He is peering through an oval created with the new Sweet Stacks: Ovals die set.  By the way, this set has 18 ovals!

And how can you not notice the beautiful background around the owl?!!  Well surprise, it is paper from the new Adventure Awaits paper pad!!  I've used lots of the papers already and will be ordering another (for hoarding? LOL).

I used the backside of the patterned paper to heat emboss the sentiment from the new To The Wise One stamp set.  I love how this coordinates with the theme of the card.  I cut the sentiments out with the coordinating To The Wise One dies.

Be sure to check back each day for more inspiration from this wonderful release.  Also, if you are on Instagram, find the #HBSAdventureAwaits to see lots more from the team.

Thank you so much for stopping by!  I'll see you back here tomorrow with a totally masculine card!

I so appreciate your using my affiliate links for shopping (never any additional cost to you)!