Showing posts with label Ocean Deep Scene Builder. Show all posts

Wednesday, June 21, 2023

A Beautiful Day -- A Fun Card with Distress Spray Stains

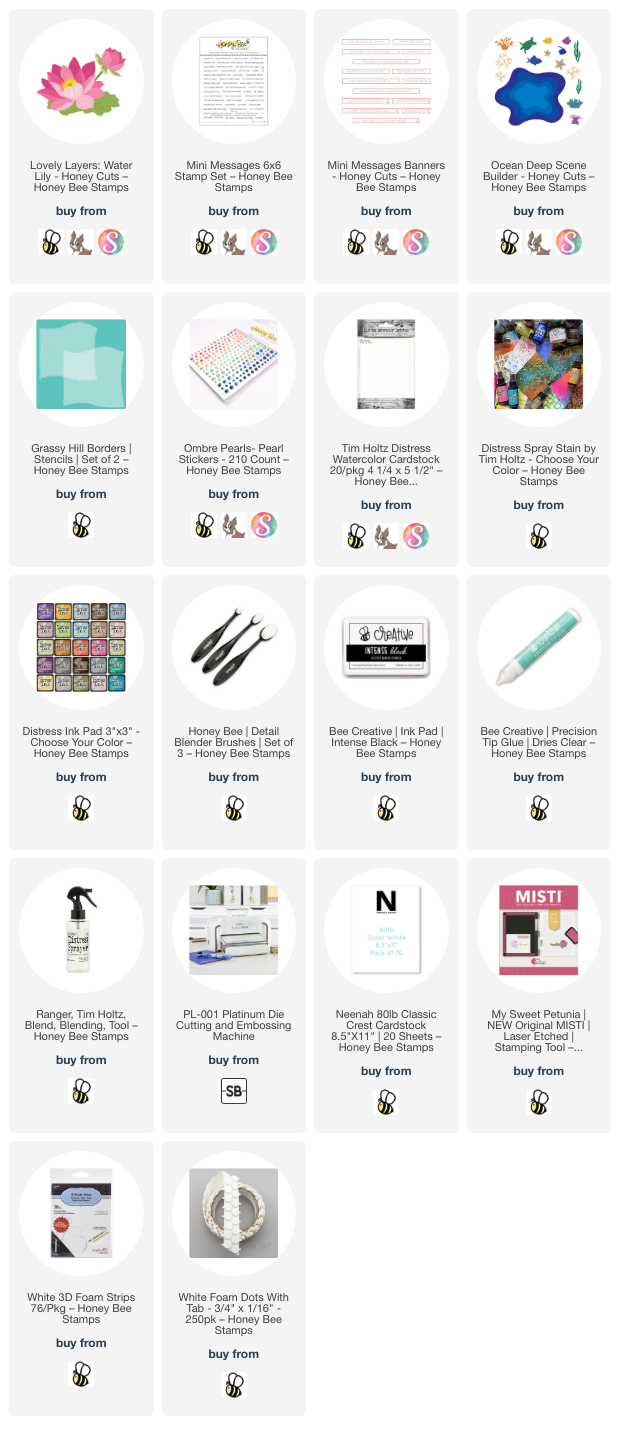
Happy Wednesday crafty friends! Have you noticed that lately I'm very much into using my inks for lots of fun techniques? Well today's card is no exception!  Haha!  I've used the beautiful Lovely Layers: Water Lily by Honey Bee Stamps on my card with lots of ink sprays and stenciling! Check out the the details below!

First I created the background layers for the Water Lily. My thoughts were to create a pond surrounded by a grassy meadow. For all of the layers and flower I used Distress Watercolor cardstock. I began by coloring panels of the watercolor cardstock. For the green layer I first sprayed on Twisted Citron Distress Spray Stain. I used my water mister to spritz it with water to totally saturate the panel. You can let it air dry or use your heat tool to dry. The main thing is to always dry one layer before moving onto the next layer of ink.

Since I don't have any other green Distress Ink Spray Stains, I added Mowed Lawn Distress ink with the ink smooshing technique. Just press the ink pad onto your craft mat, lightly spritz with water, and dip the panel in. Dry, dip and repeat until you are happy! I created another panel to use to die cut the green pieces of the Lovely Layers: Water Lily.

Next I used the Grassy Hill border stencil to add in the grass. I used a Detail Blender brush and Rustic Wilderness Distress ink to add multiple layers of grass.  I used some white paint to add dots to emulate small flowers with a #1 paint brush.

I trimmed the grassy panel to 5-½" x 4-5/8" and adhered it to a white card base. Yes, the size is unusual, but it will fit easily into an A7 envelope. Next I created a blue watery panel using the same technique as the grassy panel, but I only used two Distress Sprays Stains: Salvaged Patina and Mermaid Lagoon. Die cut the dry panel with the largest die in the Ocean Deep Scene Builder Honey Cuts. I used Bee Creative glue to adhere it to the card.

I used the same techniques to create the Lovely Layers: Water Lily. The watercolor cardstock was spritzed with Saltwater Taffy and Abandoned Coral Distress Spray Stains. Before I die cut the layers, I added white paint splatters. The flower has some thin foam dots between the layers to show off the dimension.

I stamped the sentiment from the Mini Messages: Everyday with Intense Black ink and cut it out with a Mini Messages Banner die. A thin foam strip was used to adhere it to the card.  I added a few Ombré Pearl Stickers for some subtle bling.

It's so fun to create your own inky panels! No two are alike and yet all will be beautiful! I hope I've given you some inspiration to give these techniques a try. Thank you so much for stopping by today!

I so appreciate you using my affiliate links to shop (never any additional cost to you)!
Wednesday, July 13, 2022

Ocean Deep Scene Builder Dimensional Thank You Card

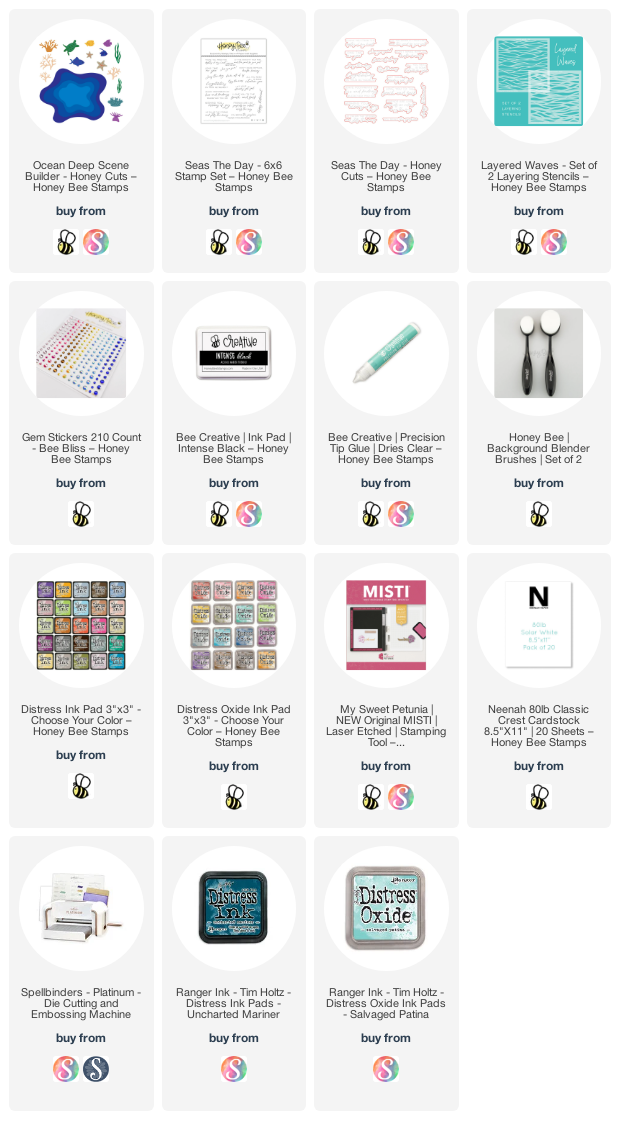
Hello Honey Bee Friends! Today I have this thank you card I made featuring the awesome Ocean Deep Scene Builder Honey Cuts. I used them in a different way by using the negative portion of the die cuts to make this dimensional, see-all-the-way-through, 5" x 7" card. Read on for the details!

First I created the card base layers. I dove deep (get the pun? LOL!) into my cardstock stash and chose four ombré shades of turquoise cardstock. Then I cut each piece into a 5" x 7" rectangle--EXCEPT the second to darkest shade which was cut to 5-¼" x 7". Use a score board to score it at ¼". Then beginning with the lightest shade of cardstock, I die cut it with the largest of the Ocean Deep Scene Builder dies. (Set the die cut pieces aside to use on another card.) I placed the next shade of cardstock behind the one I just die cut in order to get the second to largest Ocean Deep die positioned. I repeated these steps for each subsequent layer. 

Next I die cut the smallest Ocean Deep die with another piece of the darkest cardstock. To make that last piece stand out, I used an ink blender brush to add Uncharted Mariner Distress Ink over it.

To assemble the card, first I took the scored layer and added Bee Creative glue just along the ¼" scored piece of the layer and folded it over the edge of the darkest cardstock to the back. While that was drying I added foam tape to the back of the top three layers and adhered them to the card, ending with the largest opening on top.

That's the order I made this card in.  However!! Notice the stenciling? It would be LOTS easier to stencil that layer with the top layer of the Layered Waves stencil set before adhering!! I managed to add the Salvaged Patina Distress Oxide ink without making a mess after I had adhered the layers. Whew! Haha!

Next I die cut all of the underwater elements also in the Ocean Deep Scene Builder set from 80# Neenah. I used (way too many to list here) Copic markers to color each one. I added details such as the eyes of the fish and turtle with a black Micron 05 pen.

Then I had fun arranging the plants and animals on the card throughout the layers. I adhered each on with Bee Creative glue. Check out this next photo that shows what the card looks like when it's open.


I stamped the sentiment from the Seas The Day stamp set with Intense Black ink and then used the coordinating Honey Cut to cut it out. I glued it to the inside of the card making sure it was centered when looking at the closed card.

Of course, I needed some bling on the card! There are two shades of gem stickers in the Bee Bliss Gem Sticker set that coordinating perfectly! 

This card was so fun to make! It reminds me of snorkeling in clear blue waters and seeing the beautiful life in the waters! Thank you so much for stopping by!!