Showing posts with label Lovely Layers: Water Lily. Show all posts

Wednesday, June 21, 2023

A Beautiful Day -- A Fun Card with Distress Spray Stains

Happy Wednesday crafty friends! Have you noticed that lately I'm very much into using my inks for lots of fun techniques? Well today's card is no exception!  Haha!  I've used the beautiful Lovely Layers: Water Lily by Honey Bee Stamps on my card with lots of ink sprays and stenciling! Check out the the details below!

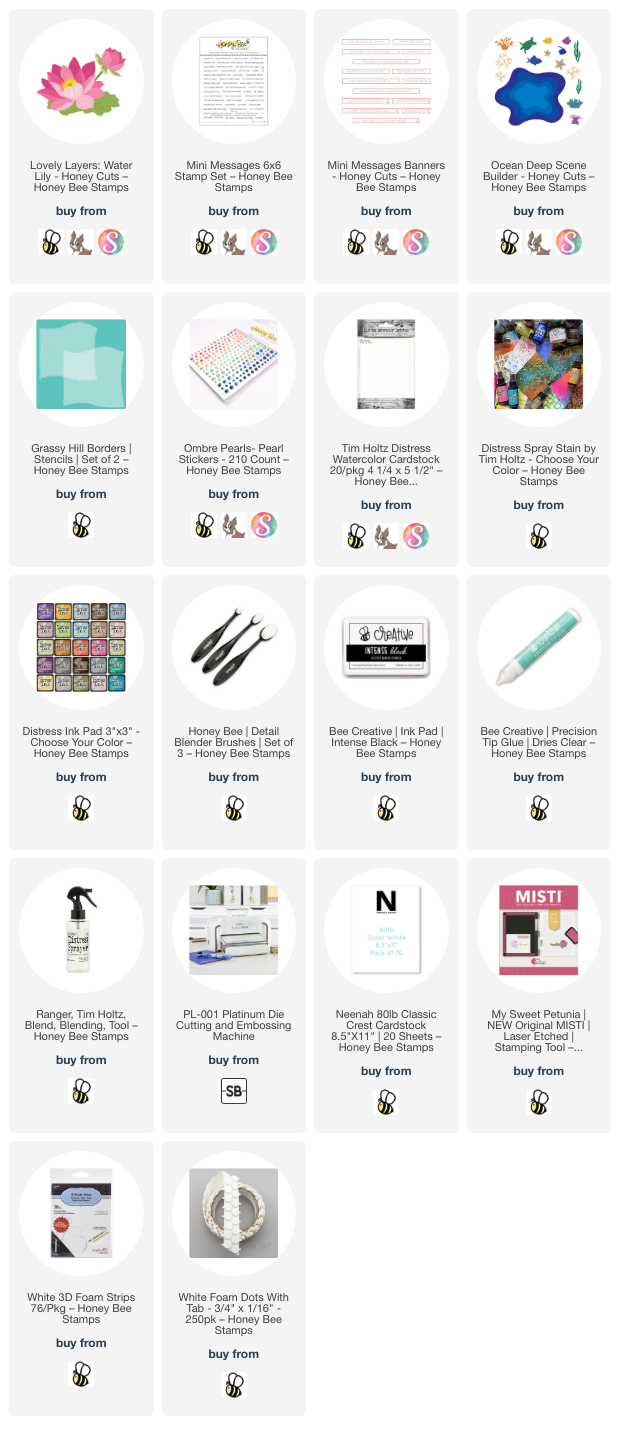
First I created the background layers for the Water Lily. My thoughts were to create a pond surrounded by a grassy meadow. For all of the layers and flower I used Distress Watercolor cardstock. I began by coloring panels of the watercolor cardstock. For the green layer I first sprayed on Twisted Citron Distress Spray Stain. I used my water mister to spritz it with water to totally saturate the panel. You can let it air dry or use your heat tool to dry. The main thing is to always dry one layer before moving onto the next layer of ink.

Since I don't have any other green Distress Ink Spray Stains, I added Mowed Lawn Distress ink with the ink smooshing technique. Just press the ink pad onto your craft mat, lightly spritz with water, and dip the panel in. Dry, dip and repeat until you are happy! I created another panel to use to die cut the green pieces of the Lovely Layers: Water Lily.

Next I used the Grassy Hill border stencil to add in the grass. I used a Detail Blender brush and Rustic Wilderness Distress ink to add multiple layers of grass.  I used some white paint to add dots to emulate small flowers with a #1 paint brush.

I trimmed the grassy panel to 5-½" x 4-5/8" and adhered it to a white card base. Yes, the size is unusual, but it will fit easily into an A7 envelope. Next I created a blue watery panel using the same technique as the grassy panel, but I only used two Distress Sprays Stains: Salvaged Patina and Mermaid Lagoon. Die cut the dry panel with the largest die in the Ocean Deep Scene Builder Honey Cuts. I used Bee Creative glue to adhere it to the card.

I used the same techniques to create the Lovely Layers: Water Lily. The watercolor cardstock was spritzed with Saltwater Taffy and Abandoned Coral Distress Spray Stains. Before I die cut the layers, I added white paint splatters. The flower has some thin foam dots between the layers to show off the dimension.

I stamped the sentiment from the Mini Messages: Everyday with Intense Black ink and cut it out with a Mini Messages Banner die. A thin foam strip was used to adhere it to the card.  I added a few Ombré Pearl Stickers for some subtle bling.

It's so fun to create your own inky panels! No two are alike and yet all will be beautiful! I hope I've given you some inspiration to give these techniques a try. Thank you so much for stopping by today!

I so appreciate you using my affiliate links to shop (never any additional cost to you)!
Friday, May 26, 2023

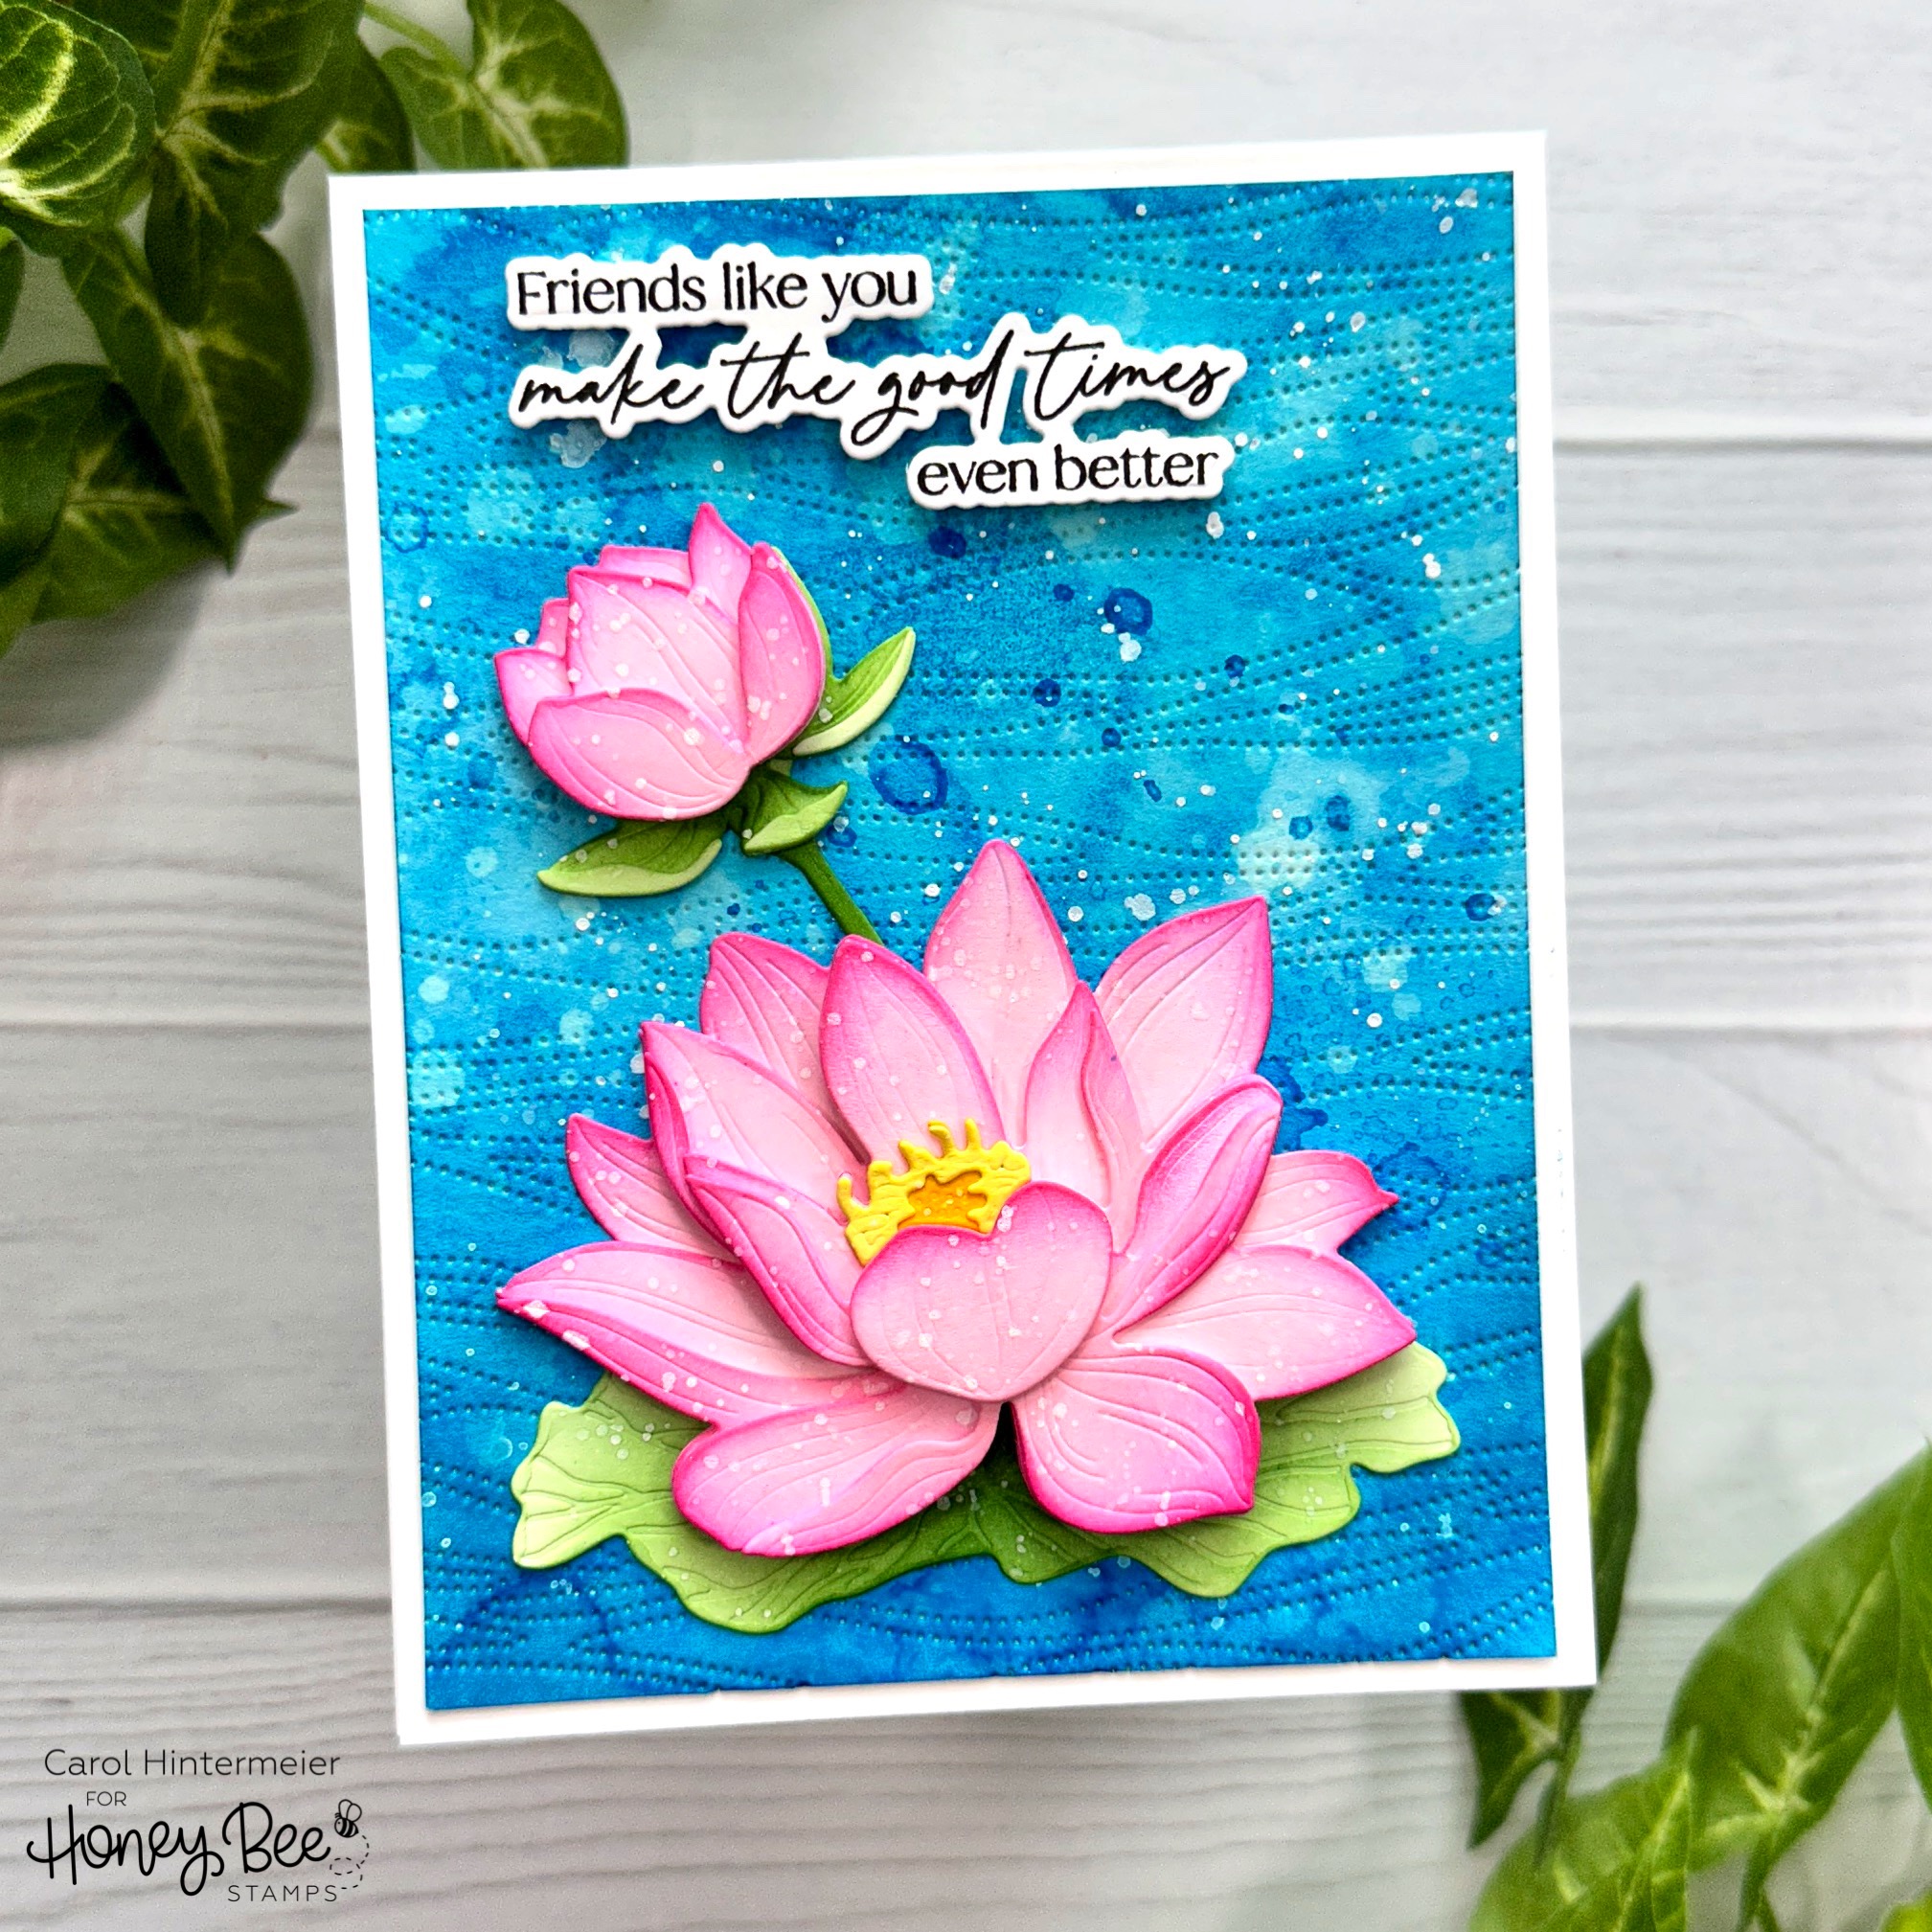
Friends Like You -- Lovely Layers: Water Lily

Happy Friday crafty friends!  Today I'm sharing my card that's part of an Instagram hop to celebrate Honey Bee Stamps new Adventure Awaits release!  I've used another gorgeous set in the Lovely Layers line called Lovely Layers: Water Lily!

(THIS HOP HAS CONCLUDED.)  I hope you'll pop over to the Instagram hop where I have the complete hop list.  There will be two commenters chosen to receive a $50 gift card to Honey Bee's shop!!

First I created my inky water-like background.  I smooshed Salty Ocean and Mermaid Lagoon Distress inks onto my craft mat.  I spritzed the ink with water and smooshed a piece of watercolor cardstock into the ink.  I dried it with my heat tool, and repeated the steps until I had the look I wanted.

Next I ran the piece through my die cutting machine with the Waves Pierced A2 Cover Plate die.  Then I trimmed it to A2 size.  I decided to add more of a watery look by first sprinkling on water drops then blotting them up with a clean paper towel.  Next I added some small splatters of white paint that I diluted with water.

TIP:  I recently discovered white paint that even when diluted will NOT pick up the Distress Ink (or any other ink) colors.  I've tried gouache, acrylic, and gel pens and those would all eventually pick up the blue shade.  This fabulous paint is called Dr. Ph. Martin's Bleed Proof White and I've found it on Amazon and at Blick art supplies (who I trust for this type of product much more than Amazon).

When I was all dry, I used double-sided tape to adhere it to my card base.

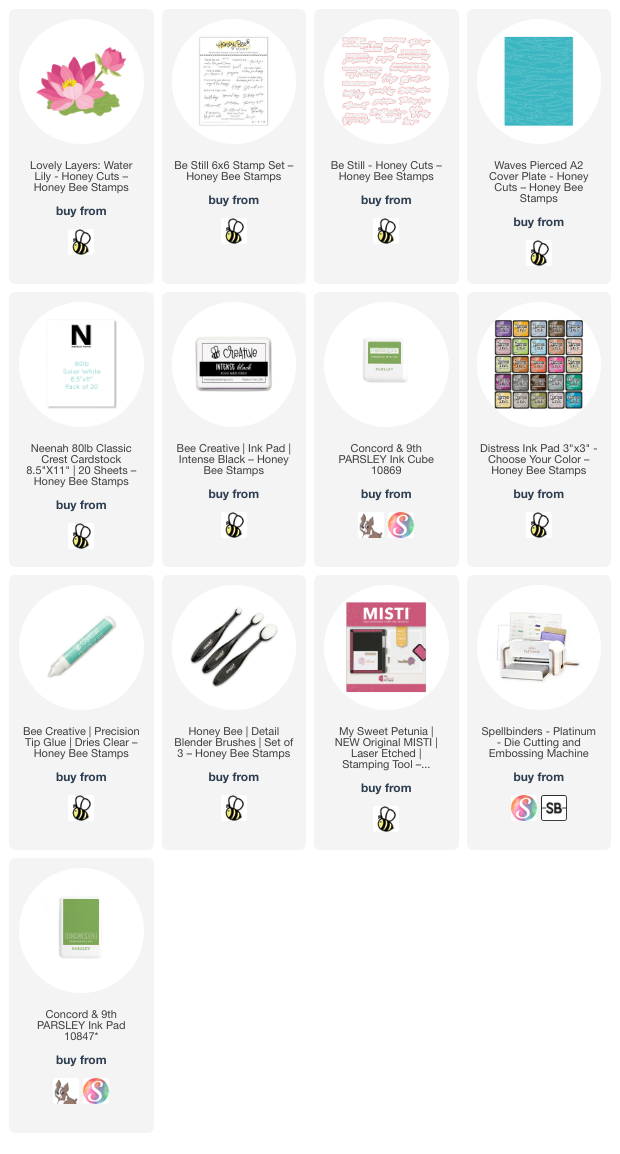
Next I die cut all of the pieces in the Lovely Layers: Water Lily die set from 80# Neenah.  I used my ink blending brushes to add color to each piece with Distress Inks and Parsley green ink from Concord & 9th.  The Distress Inks I used are:  Picked Raspberry, Spun Sugar, Rustic Wilderness, Squeezed Lemonade, and Mustard Seed.

I used some of Honey Bee's thin foam strips to adhere each layer of the flower and bud together.  This adds a lot of beautiful dimension, but doesn't make it too thick.  I used Bee Creative glue to adhere the flowers to the greenery and then to the card.

I stamped the sentiment from the Be Still stamp set with black ink and cut it out with the coordinating die.  I popped it up on the card with narrow foam strips.

I so enjoy creating inky backgrounds like this!  And the Lovely Layers: Water Lily is super easy and quick to color and put together!  I sure hope your Memorial Day weekend is a good one as we remember those who gave everything for our country.  

Don't forget to stop by our inspirational Instagram hop!  Thank you so much for stopping by!

Thank you for using my affiliate links to shop (never any additional cost to you)!