Hello crafty friends! Today I'm sharing my spring themed card that features several of Honey Bee Stamps previously released products! I'm loving the opportunity to pull out several of these "older" sets to use to make my card. Honey Bee has lots of spring themed stamps, dies, and stencils. Check them out here!

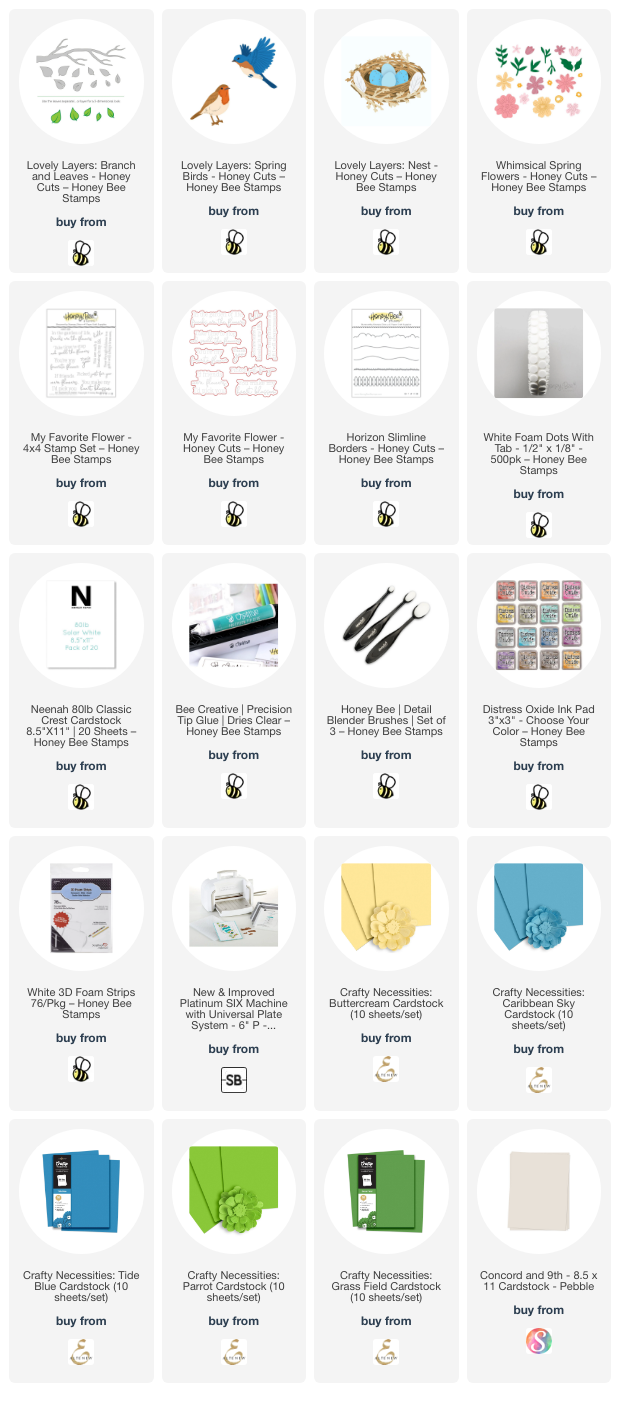
I've used these sets to create my card: Lovely Layers: Branch and Leaves, Lovely Layers: Spring Birds, Lovely Layers: Nest, Whimsical Spring Flowers, My Favorite Flower stamps and Honey Cuts, and Horizon Slimline Borders (to make a cloud stencil).
I wanted a cloud background for my scene, so I used the cloud die from the Horizon Slimline Borders to die cut printer paper and create my own cloud stencil. Then I used a blender brush to ink light blue ink along the edges of the cloud "stencil". I trimmed it 4" x 5-¼" and glued it to an A2 card base.
The layers of the Lovely Layers: Branch and Leaves are die cut with two shades of green cardstock and white cardstock. I inked the branches with Gathered Twigs and Ground Espresso Distress Oxide inks.
All available cardstock colors are in the list below.
Next I die cut one of the flowers from the Whimsical Spring Flowers Honey Cuts from white cardstock and die cut the flower centers from yellow cardstock. I used a darker yellow Copic marker to color the center of the flowers, then I glued on the die cut yellow centers.

I glued the leaves and flowers to the branches, then adhered them to the card with glue and a few foam squares near the branch tips.
I die cut the Lovely Layers: Nest from white cardstock and inked on more of the brown Distress Oxide inks with a blender brush to color it. I wanted the eggs to have a speckled look so I sprayed some Distress Oxide Sprays onto small pieces of Bristol Smooth cardstock. I used these sprays: Villainous Potion, Salvaged Patina, Saltwater Tarry, and Kitsch Flamingo. When the pieces were dry I die cut the eggs with the die included in the Lovely Layers: Nest set. Then I glued them into the nest.
Yes, I realize that birds would not have a nest of assorted colored eggs. But, hey, it's almost Easter! Haha!
I die cut the sweet bird from the Lovely Layers: Spring Birds from colored cardstocks and glued the layers together. I used foam dots to adhere it to the card.
The sentiment from the My Favorite Flower stamp set is stamped with black ink and cut out with the coordinating die. (I love this sentiment!) I used foam strips to adhere it to the card.
You can kind of see the sparkled from the clear sparkle pen I added to the eggs and flower centers. I love to add sparkles any time I can!

What older spring themed sets do you have? I hope I've given you inspiration to get them out and show them some love! Thanks so much for stopping by!!!
Thank you, always, for using my affiliate links to shop (never any additional cost to you)!